One of the main aspects to be able to enjoy and use our Android portable devices without interruption is undoubtedly the autonomy of its battery , and in relation to this there are several factors that directly affect our experience as a user.
We well know that there are smartphones and tablets of higher value that include types of battery that have a greater autonomy than those of other equipment, of course we also know that depending on the applications we run on the device, the use of energy will be greater or less .
However, this is one of the factors that directly affect the user experience that we will obtain with the equipment since it is also important here not only the durability of the autonomy but also the charging time that the device requires to complete. the energy required by the battery to be full.
In this regard, it is important to bear in mind that it will also depend on the type of charger that our Android device has, the time it will take to charge, since not all work in the same way, and we also know that the direct connection to the current of electrical energy with the transformer, it will offer us a shorter charging time than if we connect the smartphone or tablet to the PC through the USB port.
But in addition to this, we must bear in mind that our charger could become broken without our realizing it, which would directly affect the charging time of the battery, especially in regard to charging through of mini USB.
Precisely here we tell you some options available to be able to evaluate with certainty if our mini USB cable is charging correctly, solutions with which to measure the current intensity that the charger is delivering to our Android smartphone or tablet.
Contents
Using App Ampere
One of the first things we can do to confirm that the mini USB charging cable of our Android device is delivering the adequate current, is to use an application called Ampere, which you can download for free at this link .
In general, it is a tool that allows us to measure the charging current delivered by the USB cable of the charger of our Android smartphone or tablet, as well as the discharge time of its battery.

It is important to mention that the truth is that Ampere does not offer us precise and exact information in terms of mA, but it allows us in broad strokes to evaluate if the set of the charger, the USB cable, and the device are working correctly in regards to charging the battery.
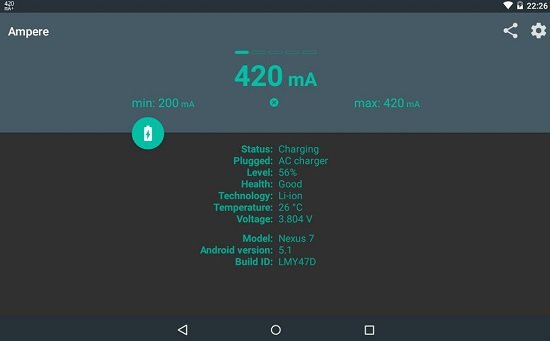
To use Ampere, once we have downloaded the application, we just have to run it and wait 10 seconds for it to carry out the measurement, which will be reported on the device screen.
Test the charger with Ampere
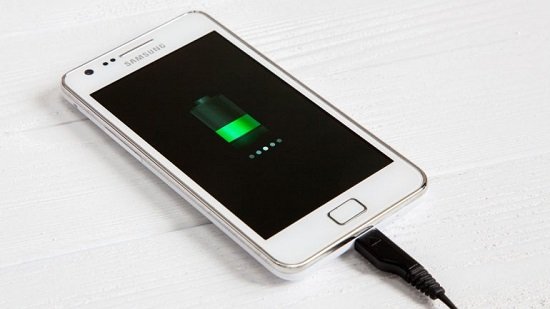
The next thing we should do is carry out a test on the Android device charger, for which we must connect the charger to any suitable power source, that is, directly into the power outlet, or through USB with the computer. A portable battery can also be used. Ideally, we would connect it to the electrical supply, but any alternative will do.
Once the smartphone or tablet is charging, and we have already run Ampere, we will see that the app provides us with a series of information. It is important to bear in mind that when the equipment is not connected to the power source, the information on the app screen will be shown in orange, while when the device is plugged in, the color will be blue , thus we can already know if the charger delivers energy or not.
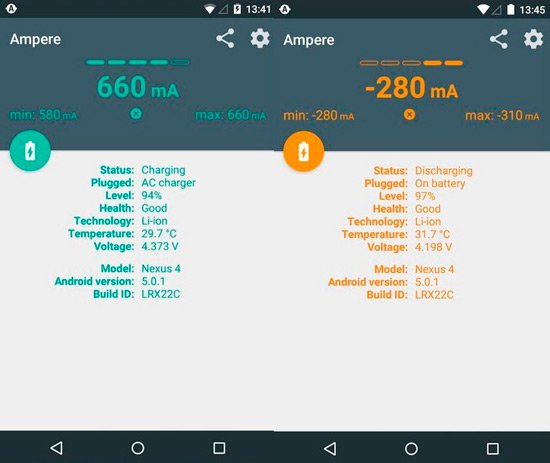
In addition, when the smartphone or tablet is not connected to electricity, the app informs us about the amount of energy that the device is using at that moment, of course , this data will always depend on the tasks that the equipment performs. is performing, as well as the applications that are running at that time.
Within the information that Ampere shows, we must bear in mind that when negative numbers are presented, this means that our device is losing charge, while positive numbers indicate the amount of charge that the equipment is gaining.
In this sense, it is important to mention that if our Android smartphone or tablet is usually used frequently with several applications at the same time, then it is possible that the current consumption is higher than usual, so when testing the charger we could be obtaining a number lower charge, but this is not the fault of the charger.
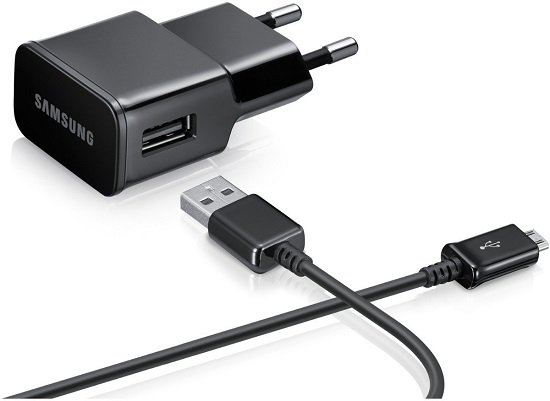
Know the cable
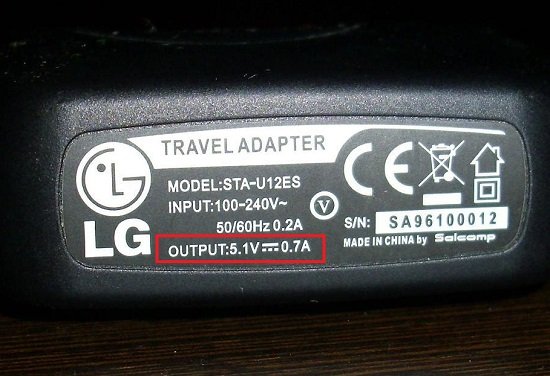
It is extremely important that we bear in mind that there are a great variety of charging cables, and all of them are in some way different, so we must always read the label that the charger includes, to know some information of great interest to us in this moment.
This adhesive or printing label, which includes the charger at its source, provides us with information regarding its specifications. Here the data that interests us the most is in relation to the output, that is, the output since as each charger delivers a certain amount of mA, and not all are the same, we must always use the appropriate device with the device, that is, with the same one. amount of mA output.
Some adjustments we can make
In the case in which we notice that when charging the Android device, this charge does not occur as quickly as we need it, then there are some factors that we can take into account to increase the speed of said charge.
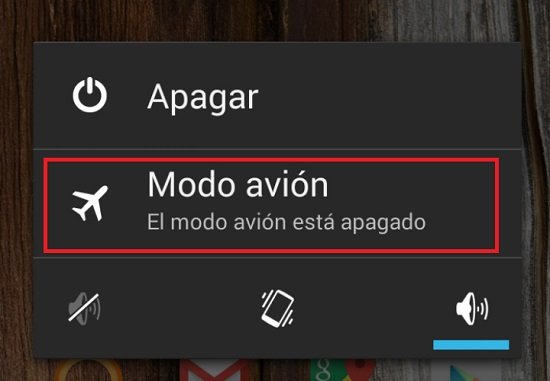
One of the most used options is to set our smartphone or tablet in airplane mode and with the screen off, while charging is taking place, which of course will allow us to reach a higher speed.
Another alternative is to always charge the equipment through the power socket, that is, directly to the electrical connection, instead of doing it through the USB port of the computer, since we must take into account that in both cases the power supply is different. In this regard, it is important to keep in mind that the computer does not provide us with the same level of output amperage as an electrical outlet.
Addition, as we mentioned before, it is best to use the cable and charger that have come from the factory together with the device, and avoid using others, since there may be a difference in the mA that it delivers.
In all cases, in order to achieve a full battery charge quickly and safely, it is advisable to keep the device cool, since heat is a negative factor for the batteries, and ultimately if we want to extend the useful life of our equipment, the first thing we must take care of is the battery.