GeForce Experience software is also installed simultaneously with the driver for video cards from NVIDIA. This is a universal utility that allows you to fine-tune the image in various games, as well as create videos from real gameplay without additional software.
Let’s take a closer look at how to set up screen recording in NVidia GeForce Experience, how to activate this function, and in what cases problems may arise.
Contents
Activate recording
GeForce Experience has a screen recording feature while working on your computer. This will be extremely useful for creating videos on various games or recording your actions in folders and third-party programs.

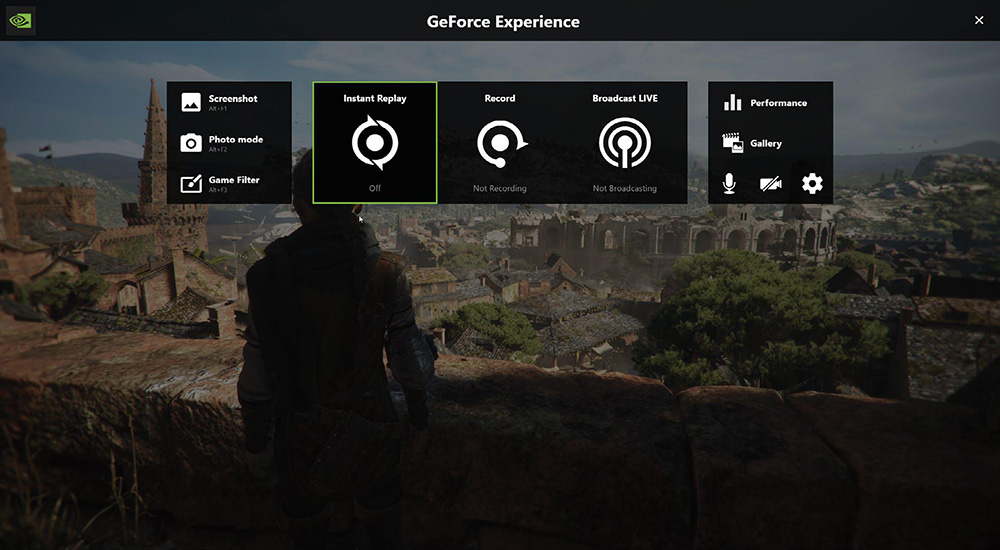
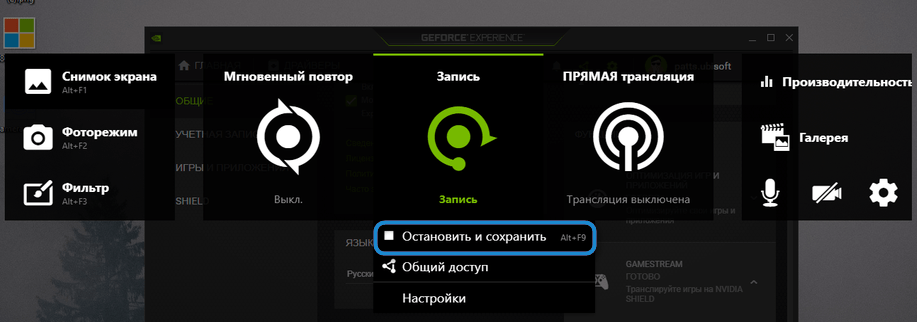
To activate standard recording of what is happening on the screen, you need to launch the overlay using the ALT+Z key combination, and then click on the “Record” button. To start recording the video, all you have to do is click on the “Start” button in the overlay.

Separately, it is possible to activate screen recording bypassing the overlay interface by immediately using the instant key combination ALT+F9.
If the user has previously made adjustments to the computer’s privacy settings and allowed desktop recording, then the internal GeForce Experience software can easily record what is happening on the screen, regardless of the type of program running.
Stopping recording is carried out using a similar method through the main overlay menu or by pressing the ALT+F9 buttons.
Additional useful features
NVIDIA Shadowplay software allows you to continuously record video as a background process, and then save the most striking moments of gameplay when a user signals it. This useful feature is called “Instant Replay”.
Activation and deactivation are possible using a standard overlay, which can be opened with the Alt+Z combination. If you don’t want to look for the required item in the overlay, it makes sense to use the shortcut command Alt+Shift+F10 for instant control.
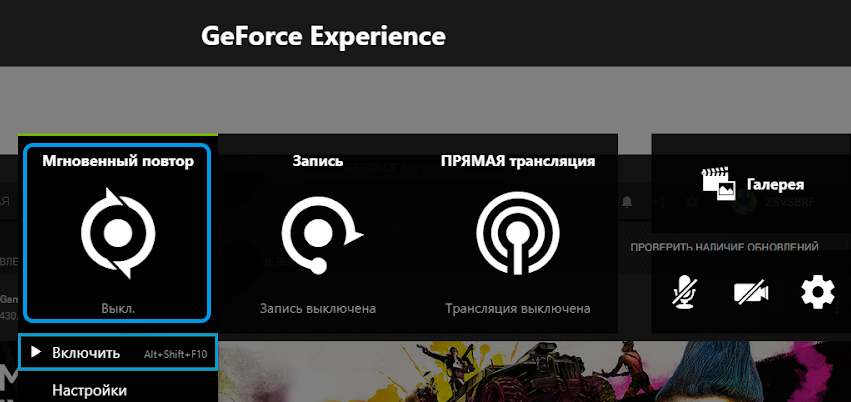
The duration of the saved fragment, as well as its quality, can be set in the program settings. Available durations range from 15 seconds to 20 minutes. The standard instant replay recording period includes saving the last 5 minutes.
In the same settings section, you can select a location to save the recording on your computer disk.
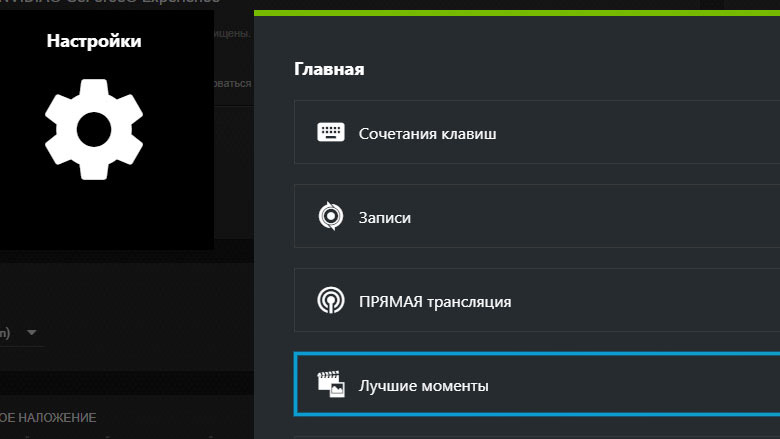
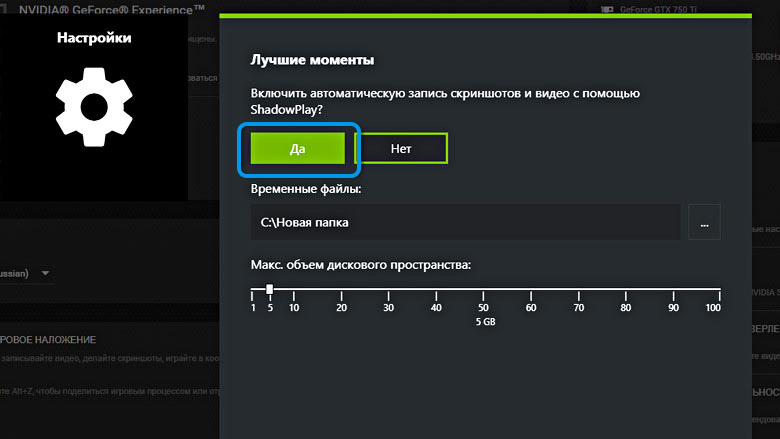
It is worth noting that in some games, the built-in Geforce Experience is able to automatically determine which sections of video and screenshots make sense to save to disk. This is a special feature called “Best Moments”.
Enabling and disabling the option is carried out as follows:
- launch the overlay using the Alt+Z buttons;
- open the section called “Best Moments”;
- Click on the switch located at the top of the window.
In the same section, you can specify the location of temporary files, select the volume and specify the location for saving the best moments.
Where are the videos saved?
The default settings of the NVIDIA Experience program require saving recorded videos from a game or from the screen in the C:UsersnameVideos and C:UsersnameAppDataLocalTempHighlights folders.
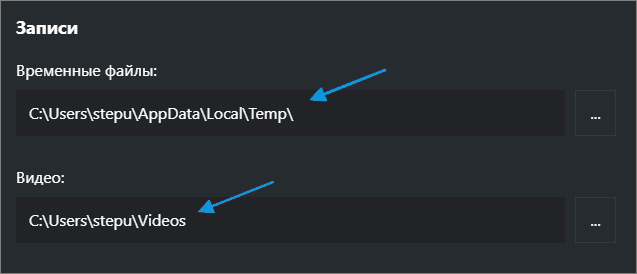
At the same time, users can change the save path at any time using the overlay settings, which can be entered using the Alt+Z key combination.
Possible problems
All Geforce Experience functionality most often works without any complaints. However, sometimes users encounter problems. Video recording may not work, there may be no audio, or there may be problems saving data.
Here you need to carefully study the recording settings, checking the video and audio parameters in the appropriate paragraphs. It is also important to ensure that there is always free space on the disk selected as the storage location. The video simply cannot be saved if the disk is full.
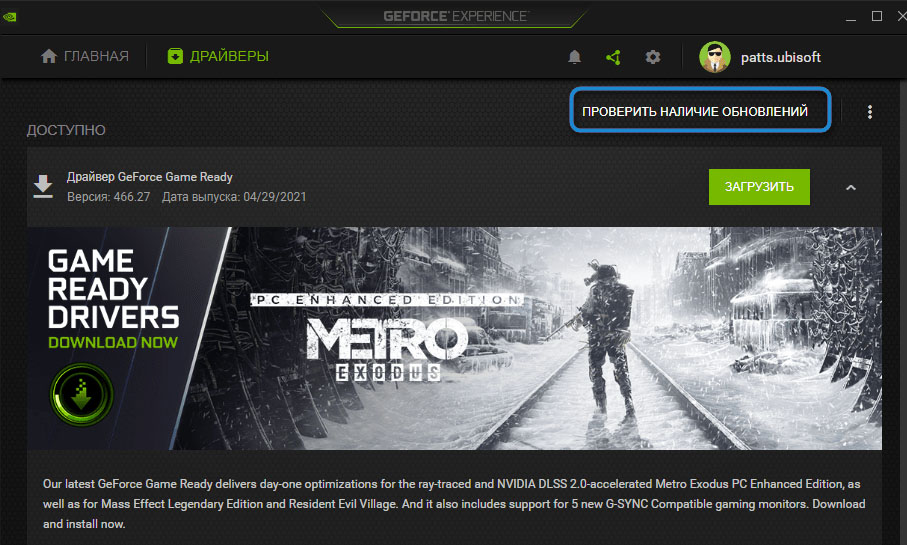
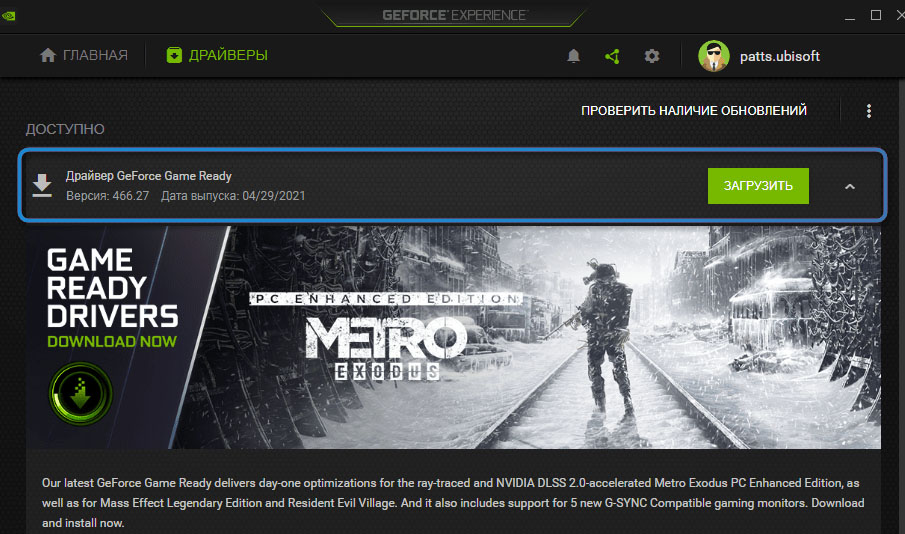
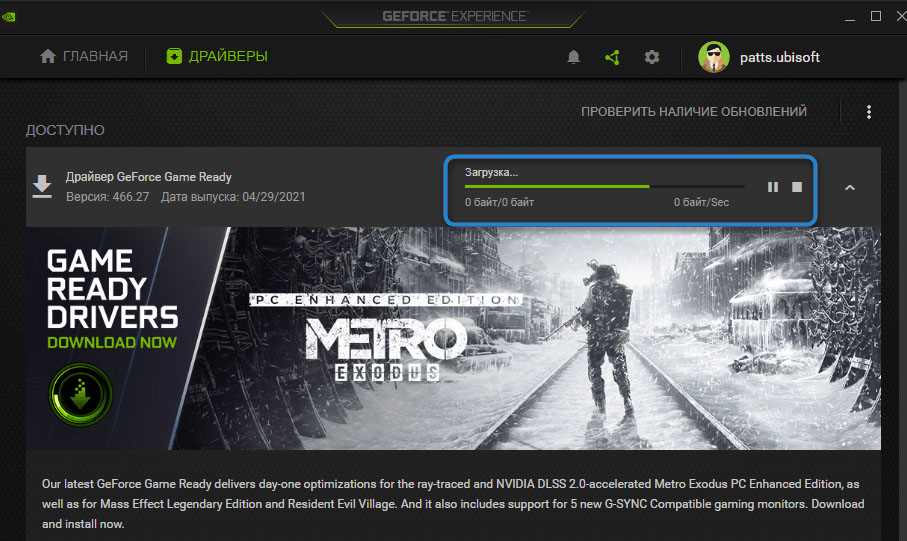
Sometimes the problem lies in the in-game overlay or video card drivers. It is recommended to install the latest drivers from the official website in advance, and also restart the overlay. It would be a good idea to check whether all the necessary updates are installed in the operating system itself. It often happens that the old version of the OS simply does not contain the necessary files for the Geforce Experience program to function correctly.
NVidia GeForce Experience screen recording allows you to save your gameplay in games, conduct online broadcasts and create a wide variety of content for further publication. The built-in functionality of the program is quite sufficient for most purposes, so there is no need to use third-party software.
Have you ever had problems with NVidia GeForce Experience screen recording? How did you manage to solve them? Share with us in the comments.
