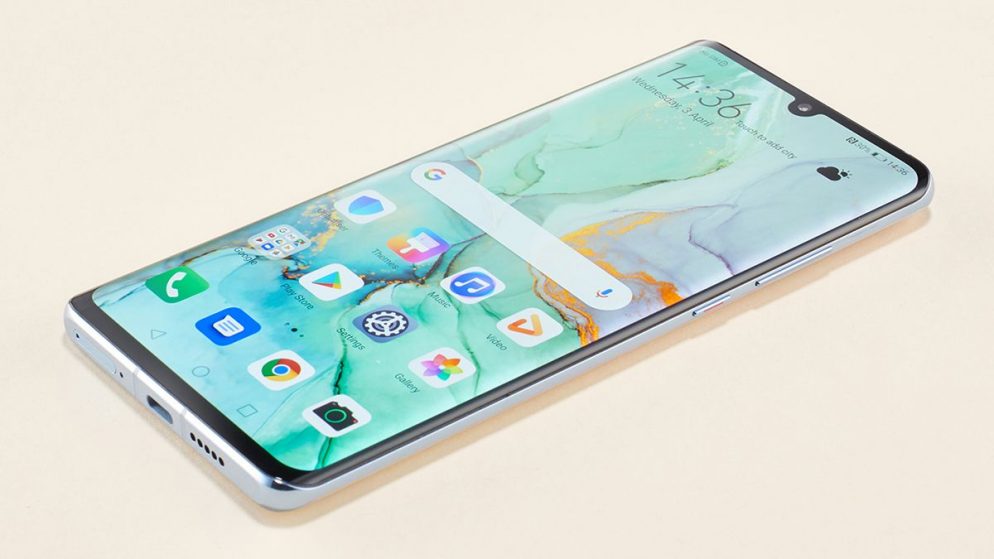
Huawei * P40 lite – take a screenshot * and save – Huawei * hassignificantly revised the main camera ofthe new Huawei * P40 lite and now offers 4 lenses. The company relies on a 48MP sensor and 3 other lenses for different uses (main cameras: 48 MP main camera + 8 MP ultra-wide-angle lens + 2 MP macro lens + 2 MP bokeh lens). Huawei writes:
The world is full of beauty and wonders that you want to discover. With 4 cameras on the back, the HUAWEI P40 lite takes the widest, clearest and closest photos you can ever imagine. Take cinematic portraits with the bokeh lens, then switch to the macro lens and take detailed nature shots. All when using the same smartphone. It’s like having a professional studio in your pocket.
Nothing has changed in the screenshot *, the models still have the option of recording the screen * quite easily and the Huawei P40 lite offers a whole range of options for taking a screenshot *. So you can choose which variant is best for you.
Huawei P40 lite – Take and save screenshot
There are two ways to do this.
Shortcut screenshot
- First open the relevant content on the display.
- Then press the “On / Off button” and “Volume down” button simultaneously.
- Hold down until you see a confirmation on the screen * or an acoustic signal.
- The screenshot can now be found in the folder of the same name under “Photos”.
Screenshot by knuckle
- First call up the desired page again.
- Then tap the screen * twice with your knuckles .
- The screenshot can now also be found in the “Screenshots” folder in the Huawei gallery.
These two variants each “only” allow the recording of the currently displayed screen. With both smartphones, however, it is possible to take a cross-page screenshot.
Huawei P40 lite – take screenshot with scroll function
There are also two ways to create the corresponding screenshot.
Scrollshot via the “Links” tab
- At the beginning the desired article or similar. open on the screen.
- Then pull the quick bar down and tap on the “Screen with scissors” icon to take a conventional screenshot.
- Then touch – within a maximum of 3 seconds – the “shortcut” symbol which shows the outline of a smartphone, with three dashes in the middle on the left and right. These should represent the extended screen.
- The screen then scrolls down automatically and takes the complete article as a screenshot.
Scrollshot with the knuckle
- Go to the corresponding page or article.
- Now tap the display with your knuckle once.
- Then draw the letter “S” on the screen with your knuckles .
- The screen automatically scrolls down and takes in all of the content.
In addition, there is the possibility to just capture a small section with a screenshot. To do this, first tap the display with your knuckles. You leave your ankle on the screen and wait until a blue dot appears. Then draw the area to be captured. Then you can edit the image section. For example, there is the option to choose pre-made frames in the form of a heart , a star , a square or a circle . Finally click on the “diskette” symbol in the bottom right corner to save the screenshot.
As already mentioned, the pictures are in the screenshot folder under photos. There you can open, edit, share or delete the screen recordings accordingly.
NOTES ON SCREENSHOT
Screenshots are mostly taken to publish them. Sometimes they are only sent to friends and acquaintances (e.g. via WhatsApp), but often a screenshot is posted more or less publicly on the Internet (on Facebook, Instagram or Twitter).
In many cases, this is not a problem, but you should be aware that a screenshot always contains a whole range of data about your own smartphone * and its use. The status symbols are also recorded in a screenshot and therefore you can see on the screenshot which network operator you are using, whether you are logged in to the WLAN and whether other systems (NFC or Bluetooth) are activated.
Some messengers (for example on Facebook) also directly display the pictures or avatars of the contacts that are currently active on the screen. That would also appear on the screenshot and provide information about who you are in contact with.
As a third point, a screenshot (depending on where you record it) also shows a part of the apps on the device and if you record the settings, it can also contain data that a third party could not otherwise know.
You should therefore check which data you really want to release via the screenshot and which not. If in doubt, you can edit the screenshot and cut off the status bar, for example. This works pretty well with almost all standard machining programs. Alternatively, you can also put stickers over areas that you do not want to show.