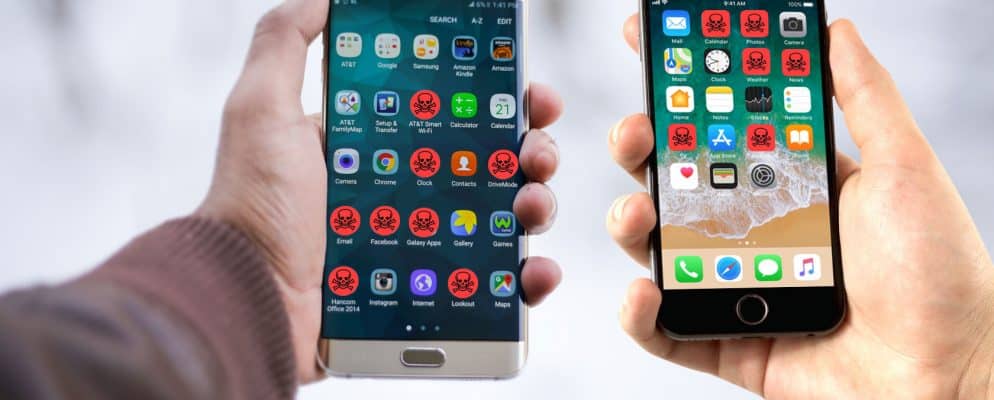
Switching from Android * on iOS: As the entrainment is data, appointments and contacts – must or want to be on the operating system Android * switch to iOS, so the question arises: But what about my data and how to quickly, easily and the safest to migrate?
Because often, not only simple photos are included, but also those of precious life events, important contacts or painstakingly put together favorite music. If these are lost during a change, it would be a disaster for many.
Table of Contents
Migrate contacts, appointments or emails
If you have a free Google account, you can make full use of the functionality of an Android * -based smartphone,
İn plain language: contacts, emails or appointments can be synchronized via Google and then imported on the iPhone by adding a new account.
- To do this, simply navigate in the settings on the Android smartphone *, to “Account” or “Account and synchronization”.
- On the iPhone also under Settings, navigate to “Mail, Contacts, Calendar” and then select “Add account”. Then add the “Google” option and enter all required account information plus a password. You can then select which data records are to be compared. With “Save”, the data is imported from the Google account to the iPhone.
Google music collection on iPhone too
If you are well familiar with Google Music in combination with the Android smartphone * and have used it to hoard your music, this has the advantage that Google services are closely interlinked.
Because then all you need is the free Google Music App for IOS from the iTunes Store.
If you install the app and enter the usual data when logging in, you can continue to enjoy your music collection.
All you need is a Mac PC and a USB port. The Android smartphone* is connected to the USB port and in the opening drive the file path “Android File Transfer”, via “DCIM” and finally to “Camera”.
All photos stored on the Android smartphone are in the directory.
Other photos that are already stored on the computer or, for example, are in a cloud storage, can of course also be taken along.
When everything is selected, the big move back and forth begins. This means that everything that should be on the iPhone is now dragged into the “Pictures” directory in the Finder.
Then, simply connect the iPhone to the Mac and start iTunes on it.
Select the iPhone in the menu bar and check the checkbox under “Photos” and these photos will also be synchronized with the iPhone.
