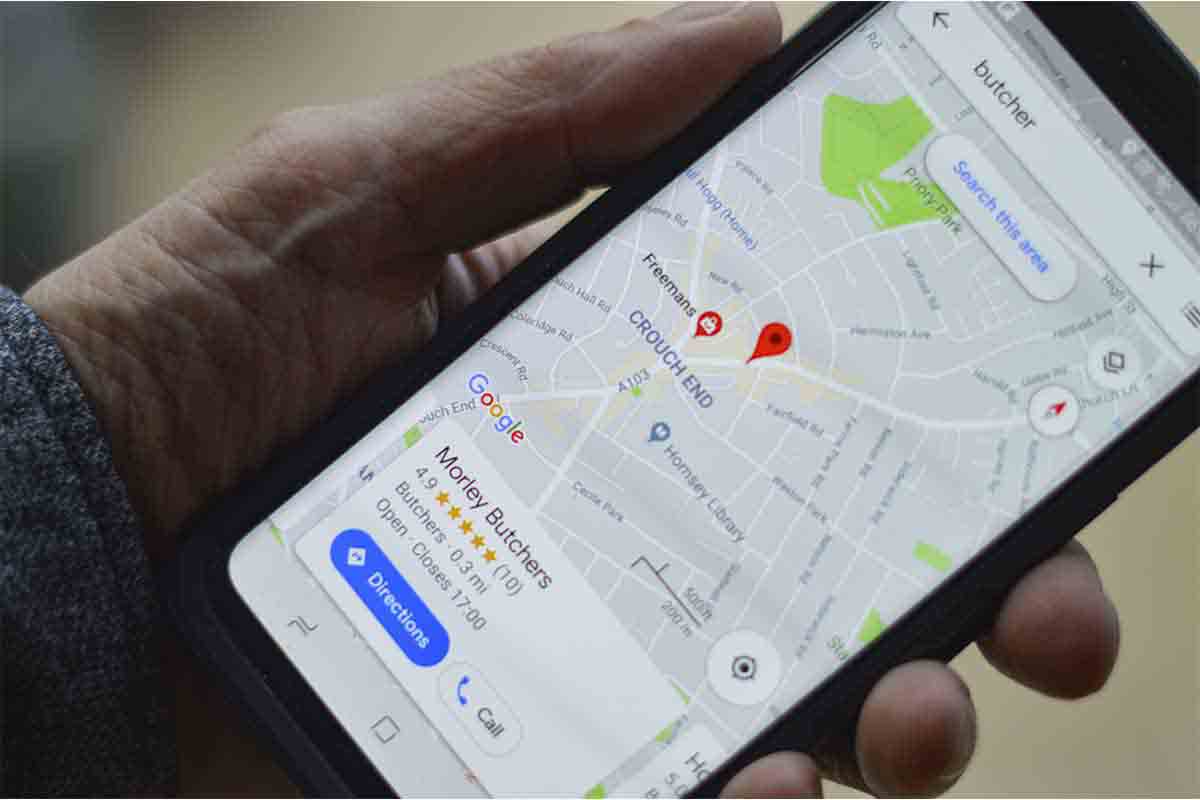
Google Maps is one of the most complete applications in terms of locations and map services. In it, all the searches we do and where we go are recorded. But if we do not want this to be stored we can delete it, we explain how to delete sites in Google Maps from the mobile.
If there is a popular map application around the world, it is Google Maps . Its users exceed one billion and from the application you can visit more than 220 countries and territories around the world.
Of course, the platform is a huge catalog, because in 2020 more than 200 million monuments, well-known places and businesses were registered. Statistics say that every day more than a billion kilometers are traveled using this application.
In addition to telling us how to get to a certain place, Google Maps is also a file of the information that we enter on the platform. It may be that at a certain moment we are not interested in showing the locations to which we have been. That is why we explain how to delete sites on Google Maps from your mobile.
Contents
CAN PLACES BE DELETED ON GOOGLE MAPS?
So … Can you delete places on Google Maps ?. The answer is yes. If you can delete places on Google Maps. Next, we explain how to delete sites on Google Maps from your mobile.
To know how to delete sites on Google Maps from your mobile, the first thing you have to do is enter the Google Maps app and then go to the icon of your profile image . Press it and enter “settings” and immediately afterwards in “map history” . It will ask you to enter your username and password if you have more than one account.
Then you will see the places that you have registered, click on the one you want to delete and click on “Remove” and then on “delete” if you have an Android mobile. In the event that you have a mobile with iOS next to the record that you want to delete, click on an X and then click on “Delete”.
HOW TO DELETE DESTINATIONS ON GOOGLE MAPS
Google Maps stores all the searches and destinations that we enter on the platform. If you want to know how to delete destinations on Google Maps, remember that you must enter the app and click on your profile image.
Then go into “settings” and “Maps history”. There you can delete all destinations or one by one manually . Remember that you can also configure the automatic deletion of data from that same section.
You can tell Google Maps to automatically delete Google Maps activity older than 3 months, 18 months, or 36 months. So you won’t have to worry about erasing the destination history on the platform.

HOW TO CLEAR GOOGLE MAPS HISTORY ON ANDROID
To know how to delete the history of Google Maps on Android, the first thing you have to do is open the Google Maps application and log in with your username and password. Then tap on the profile picture that appears at the top right of the screen and click on “Settings”.
Now you must click where it says “Map history”. Then in the search bar at the top right, tap on the three dots and choose “delete activity by”. Now you can decide whether to delete the activity by dates or delete all history forever. Choose the one that suits you best. Then click “Delete”.
Keep in mind that deleting all your Google Maps history does not erase the sites that you have saved or shared.
HOW TO REMOVE ESTABLISHMENTS ON GOOGLE MAPS
If what you need is not to know how to delete places on Google Maps from your mobile, but to know how to remove establishments on Google Maps, follow the steps below.
From a computer go to Google Maps. You must log in with the username and password you used in Google My Business. If you are not the owner of the establishment, you can also request that it be removed, but you must log in with your Gmail username and password.
Then find the establishment you want to remove on the map and click on it. Then click on “Suggest a change”. After click on “close or remove” . Finish the process by following the instructions on the screen.