Comparative testing is a generally accepted way to find out which manufacturer’s product is better. When it comes to computers, here such testing is designated by a special term – benchmark. Initially, it was understood as testing the performance and computing power of a computer, but now the term is used to refer to specialized programs that perform such testing. As you know, a modern computer has many components, therefore benchmarks are universal and highly specialized. For example, to measure the performance solely of processors or video adapters, or storage devices.
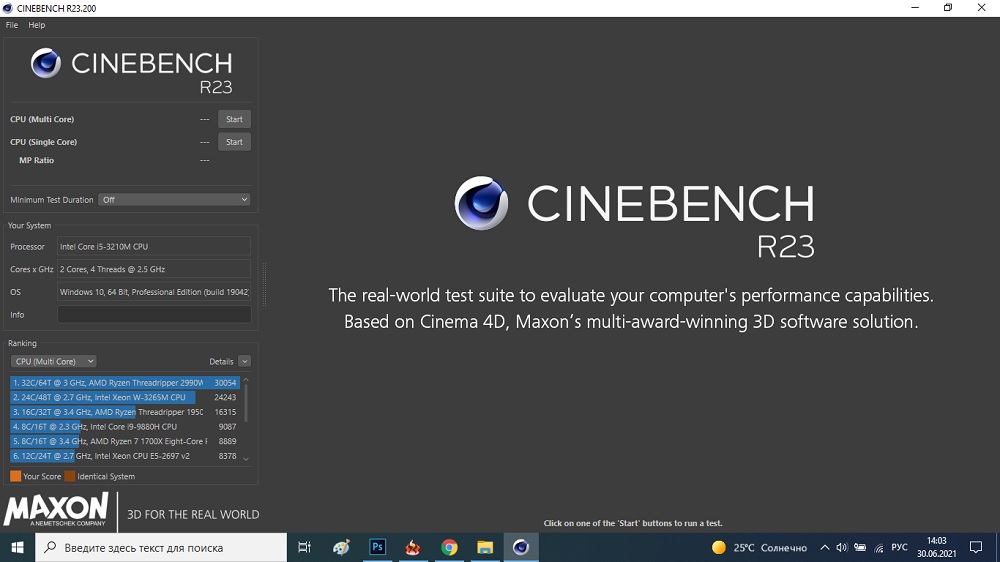
Cinebench is one of the best programs for measuring performance primarily of processors, although it can also be used to test video cards.
A feature of the program is the use of a unique 3D scene rendering algorithm that can test modern multi-core processors if you select the Multi Core mode, although it is possible to test each core separately (Single Core). The result, like most other processor benchmarks, is measured in points: the more points, the better.
The advantage of Cinebench over its peers is a more accurate measurement of CPU power – the competitors’ test results are more synthetic, that is, divorced from real indicators.
Contents
Installing Cinebench
The program should be downloaded from the official website of the manufacturer; downloading from the Windows application store is also safe. Note that the utility is currently available in version R23, and there is a version for Windows and for MAC. Earlier versions (R15, R20) have less functionality, but they are less demanding on resources: R23, according to the manufacturer, is capable of running only on the top ten or macOS, starting from version 10.13.6, in both cases 4 GB of RAM is required. memory.
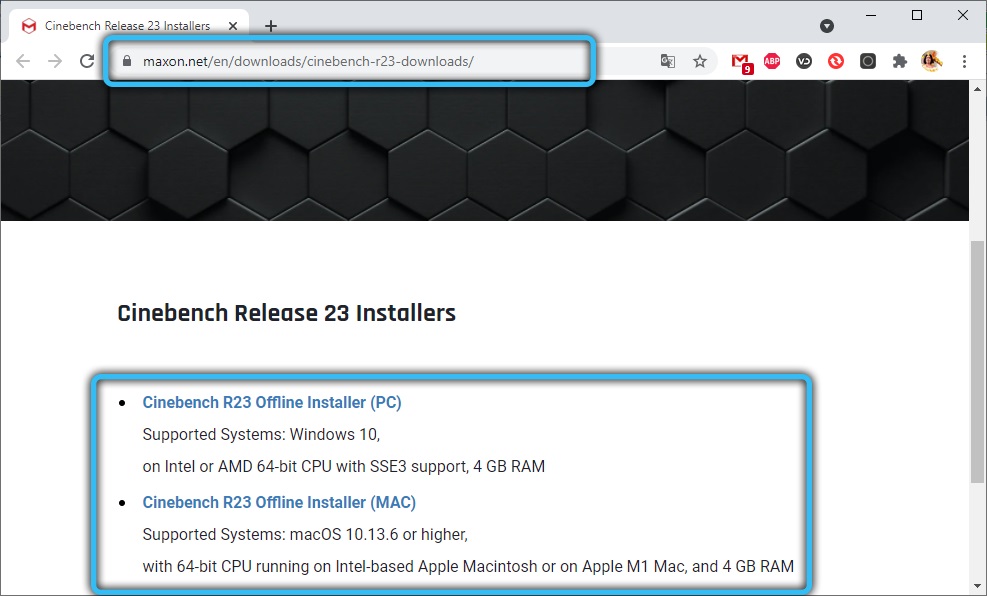
Early versions of the benchmark are not so “bloodthirsty”, but in any case they only work on 64-bit systems. If your computer’s resources aren’t enough to run a full test, Cinebench will simply shut down automatically. The question arises, is it worth looking for earlier versions of the program? The answer will only be “yes” if your PC or laptop is not able to handle the R23, since it is he who makes the most accurate tests of the CPU / GPU performance. But the OpenGL test is no longer here, and the results obtained by different versions of Cinebench for the same computer will differ, so if you intend to test several PCs, do it with one specific version, not different ones.
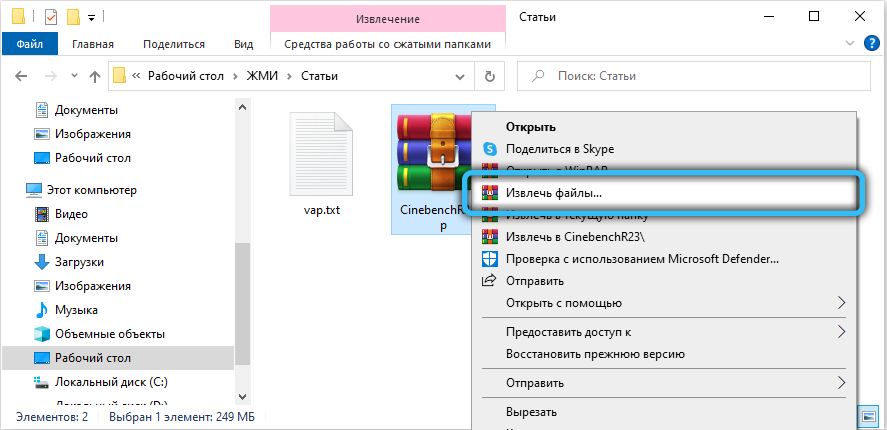
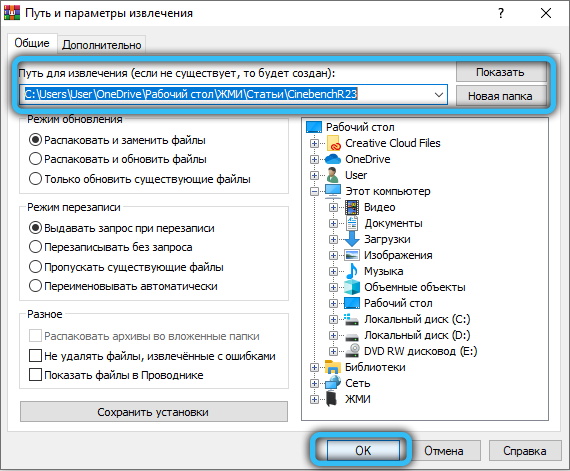
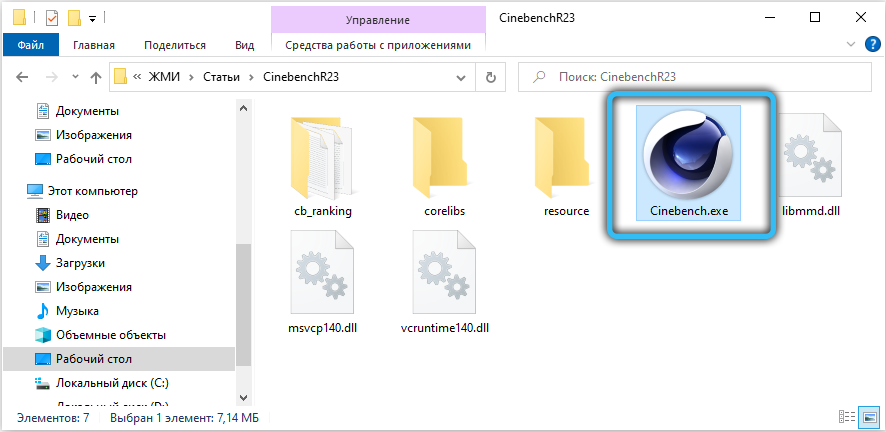
The program is supplied zipped (zip), to run it you must first unzip it. For normal operation of the Cinebench benchmark, you will need to have Visual C ++ installed.
The benchmark does not have an installer – after unzipping the program is completely ready to work.
Since testing is meaningless without comparing the results with other processors, Cinebench provides such a comparison – its database contains data for a large number of processors, but for comparison only results with similar CPU characteristics will be displayed. This database was formed based on the results of real tests, and you will also get the opportunity to replenish it.
Cinebench benchmark: how to use the program
Once again, we note that it is better to have the most recent release, in our case – R23. But if you decide to use Cinebench R15 or R20, the results will still be as accurate as possible, just the numbers in the points will not match. The testing algorithm for different versions is approximately the same, the difference is in the details.
The interface of the program is spartan, one-window. The left block displays information about the hardware of your PC, below – a list of processors with similar performance with their estimates. There is also a button to start testing.
The right block is much larger in size, it is in this window that the 3D scene generated by the test will be displayed.
Testing the processor in the Cinebench benchmark
To run Cinebench, click the Run button located at the top of the left block.
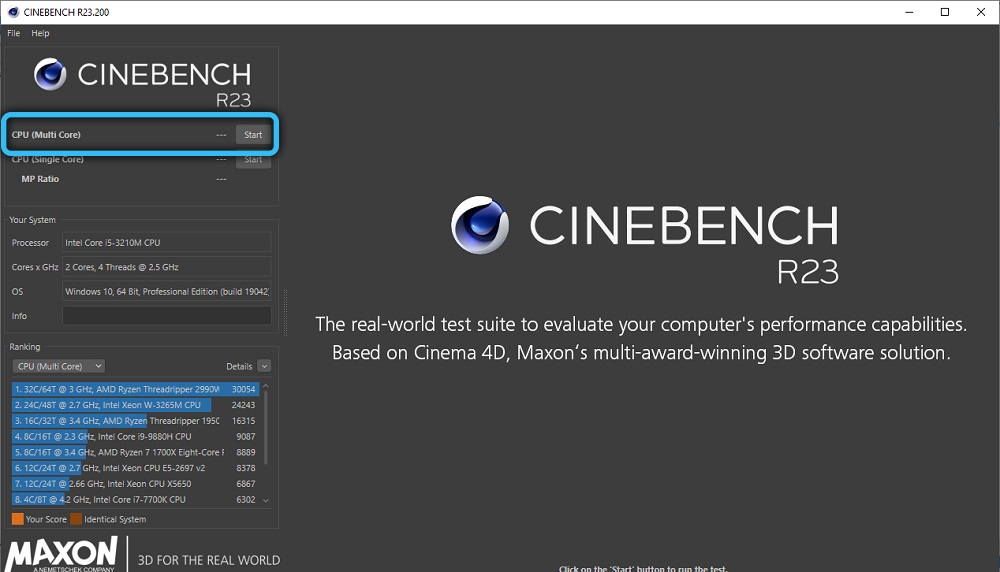
The default mode is Multi Core, that is, all the cores of your processor will be used during testing. This means that the rendering of the scene will finish relatively quickly, and in about 10 minutes you will have the final result in the form of points scored by your computer.
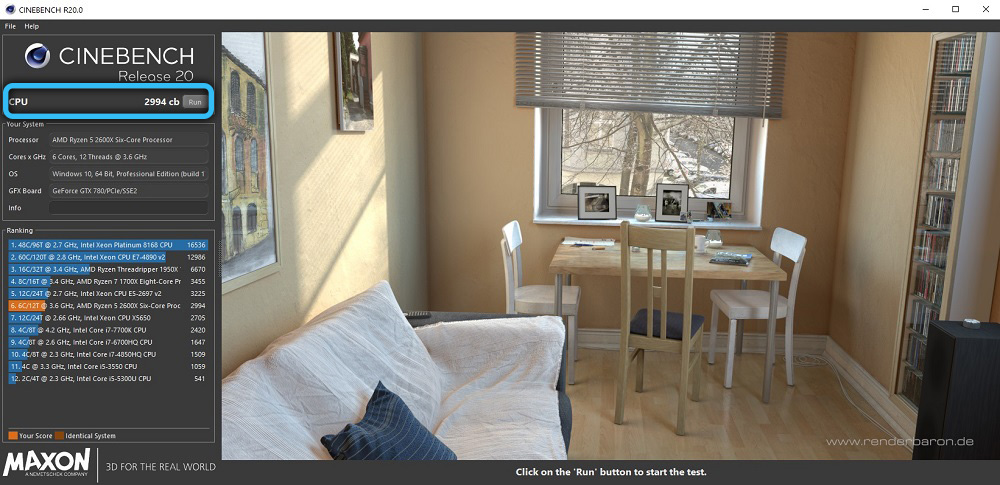
It will also be added to the list of results for similar processors and will be highlighted in yellow for clarity.
Testing in Single Core
The performance testing mode for each of the cores separately is used mainly by gamers – it is in games that this indicator is considered very important. In the R23 Cinebench version, such an opportunity appeared. To switch to Single mode, click File in the main menu, and then tick the Advanced benchmark option. As a result, in the left block under the Run button, you can see the second button, opposite the CPU (Single Core) text.
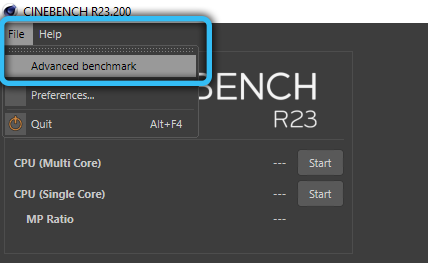
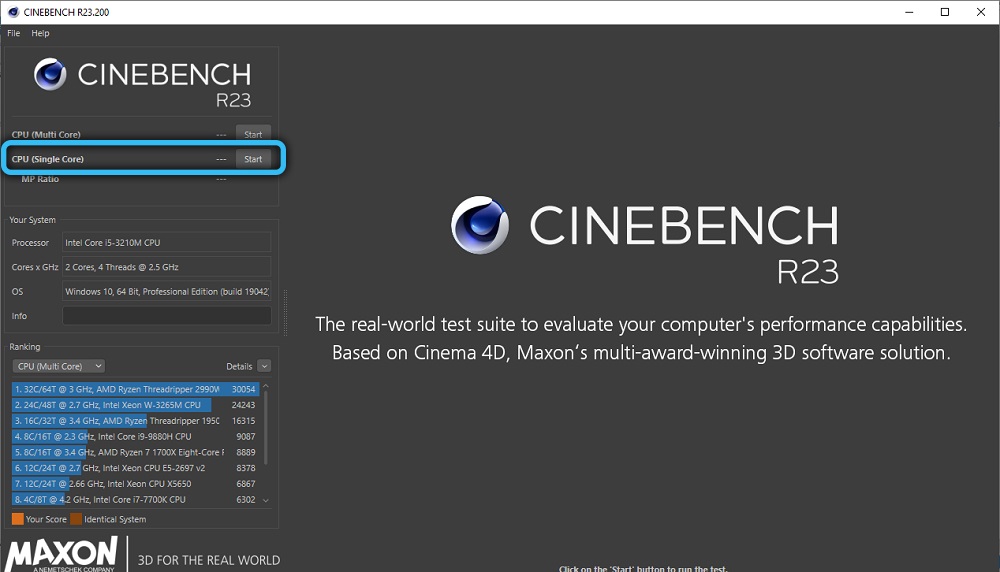
A single-core test will take noticeably longer, but the dependence on the number of cores will not be linear. The test results will be displayed below, and also in comparison with single-core testing of other processors.
Submitting results to the site
Comparison of processors in Cinebench, as we have already noted, is based on the data present in the benchmark database. You can replenish it by sending test results to the developer’s server. The disadvantage of the program is that you need to do this manually, while you cannot do without minimal skills in using graphic editors – you will have to crop the picture.
In a word, this is a voluntary matter, and if you want the results of your testing to become the property of the computer public, you need to open the RebusFarm project page in a browser, and then consistently fill in all the fields of the form that appears.
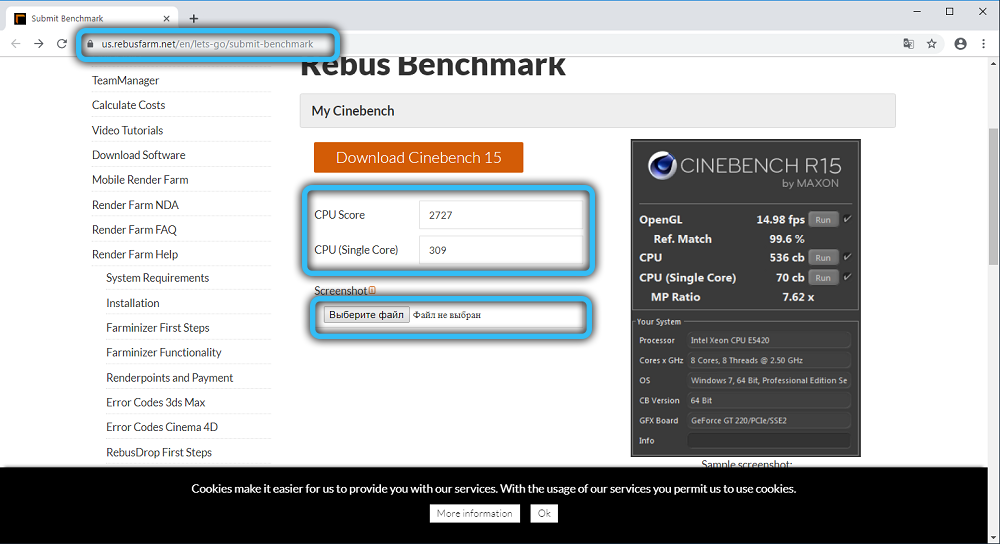
So, in the CPU Score fields, indicate the result obtained as a result of testing in multi-core and single-core tests, confirming this with the uploaded picture with the corresponding screenshot from Cinebench. The screenshot must be cropped so that the size of the picture is 500×700 pixels and includes only the test results.
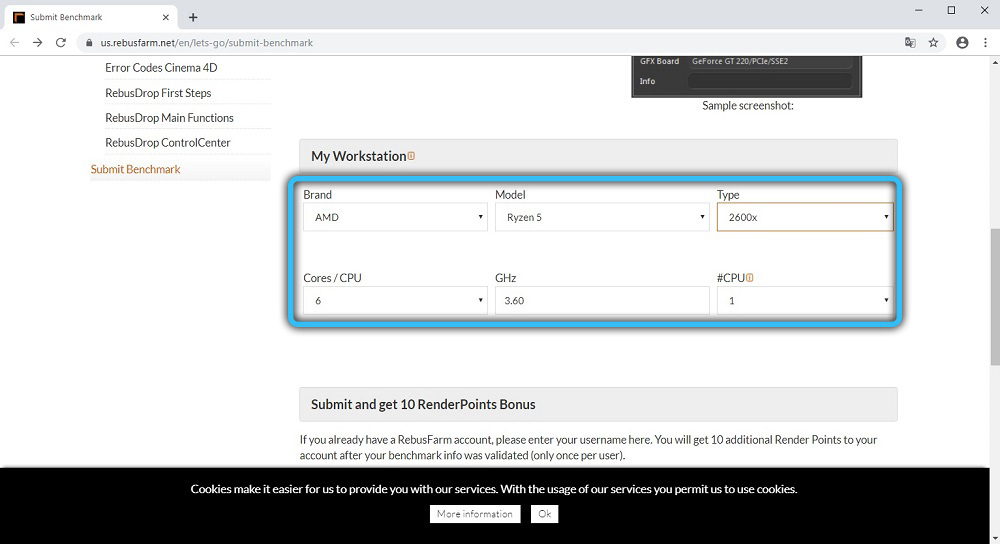
Then you need to specify the model of your CPU by selecting it from the list. If it is not there, specify Other. It remains to send the results by clicking on the Sumbit button. Here you can also see the full table of results generated from the test results of other users to compare the results of Cinebench for your processor with others.
Cinebench command line
Some advanced users prefer the command line to a graphical interface, especially Linux lovers. The Cinebench benchmark allows you to do this, while you have the opportunity to automate the testing process, as well as save the results in a text file.
Let’s consider the main options for running testing on the command line:
- for testing in SingleCore mode, the parameter has the form g_CinebenchCpu1Test = true;
- for testing in multi-core mode, specify g_CinebenchCpuXTest = true;
- testing in both modes is possible with the parameter g_CinebenchAllTests = true;
- the g_CinebenchMinimumTestDuration = <number> parameter specifies that the minimum test duration should be the specified number of seconds.
To run the test, press the Win + R combination, start the command line interpreter by typing cmd in the launch field, and in the terminal itself, type the line
start /b /wait "parentconsole" полный путь к exe-файлуCinebench.exe
adding it with the necessary parameters from the above list.
The options at the beginning of the line are necessary for the correct recording of the benchmark results in the log.
Summary
A seemingly unassuming program demonstrates, perhaps, the most accurate results in its class. Note that the test itself can heavily load the processor, and in order to avoid its possible overheating, it is advisable to control the CPU temperature during testing. If it becomes critical, just stop the test.