Hard drives and solid state drives operate on computers in a partition format, defined by the operating system as drives “C”, “D”, etc. And sometimes the user needs to delete an existing partition to further configure the memory. In modern versions of the OS this can be done using built-in tools. It is also acceptable to use third-party software with appropriate functionality.
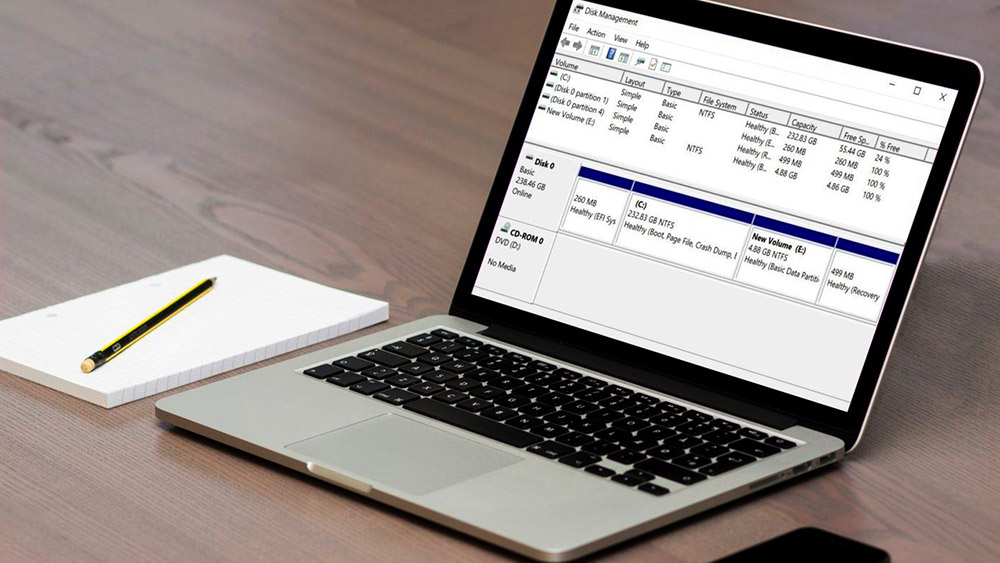
Below we will take a closer look at how to delete a disk partition on a computer running Windows 10, looking at both standard and fairly advanced techniques.
It is worth considering that deleting a disk partition involves formatting it and deleting all user data. Therefore, it is recommended to write down all important information on external drives or flash drives in advance.
Contents
Using system tools
The Windows 10 operating system provides several built-in tools that allow you to delete a hard drive partition. The easiest way is to use a graphical utility, which is software for managing drives. The functionality of this service should be sufficient in most cases.
Procedure:
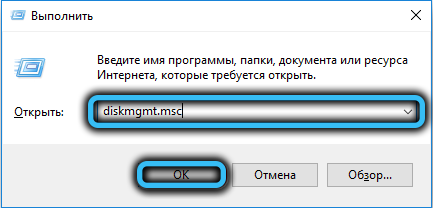
- On your keyboard, press the Win + R keys to launch the Run window.
- Enter the command diskmgmt.msc into the appropriate line, confirming it with the Enter key.
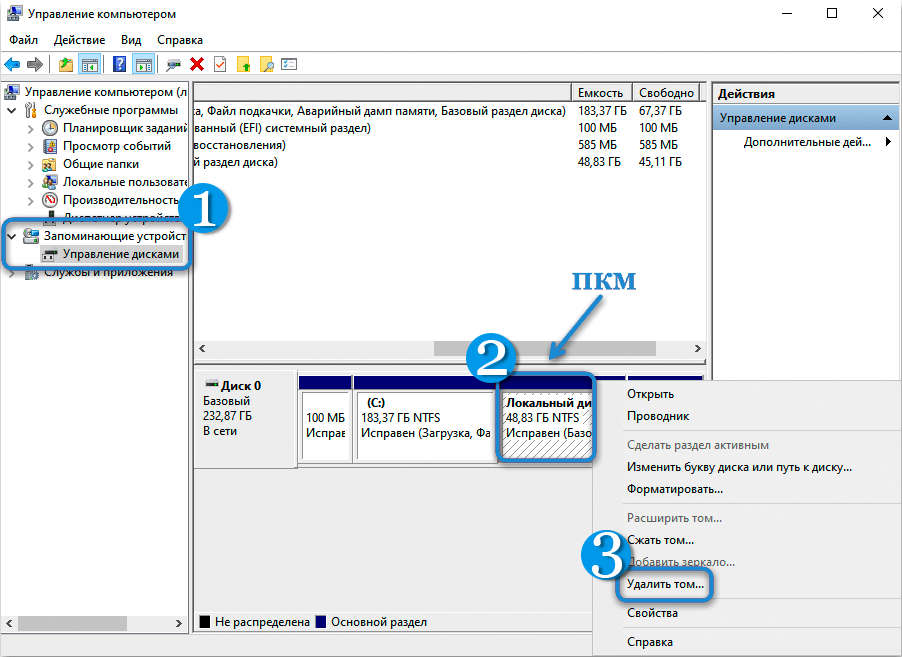
- This command will open the Disk Management utility. It can also be launched through the built-in search of the Start menu.
- In the program that opens, find the partition that you want to delete. You can find it at the top and bottom of the window among the other volumes of the computer.
- Having found the desired section, right-click on it.
- From the context menu, select “Delete volume…”.
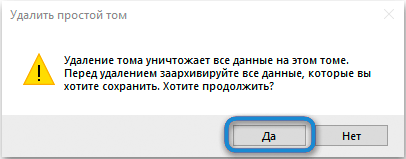
- A window will appear warning you that all data from the selected partition will be deleted without the ability to restore it in the future. Here you need to confirm the action by clicking the “Yes” button.
- Wait for the process to complete, which will result in free unallocated space. To start using it, you will need to create a new section.
Removing a partition via the command line
You can always delete a disk partition using such a universal tool as Command Line. Moreover, this method is equally effective when working with standard hard drives and SSDs. However, when using this method, it is important to be extremely careful, since errors in partition names can lead to the deletion of volumes with important data.
Work algorithm:
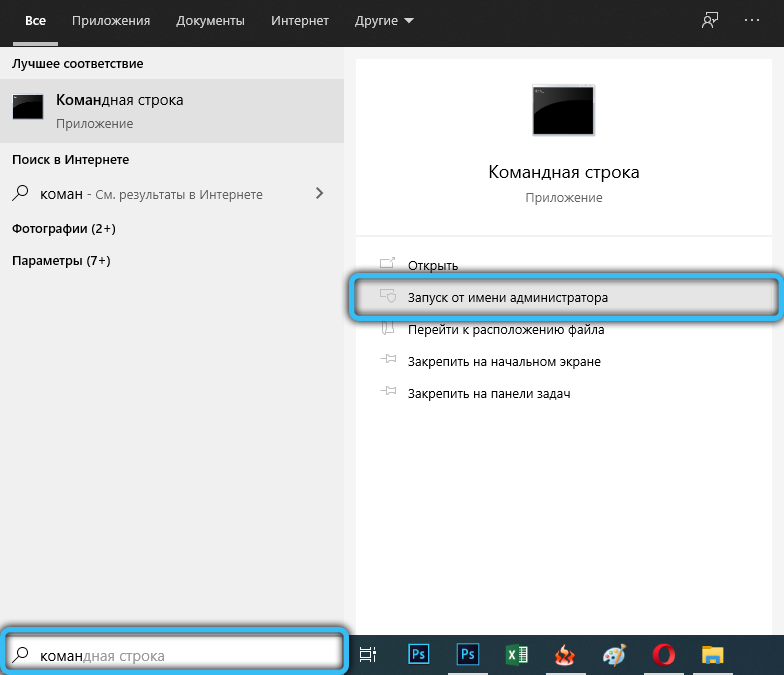
- In the taskbar search, enter “command prompt” and select it from the list of results. You need to right-click on the shortcut and click on “Run as administrator”. In this case, the user will receive the necessary rights for serious interventions in the system.
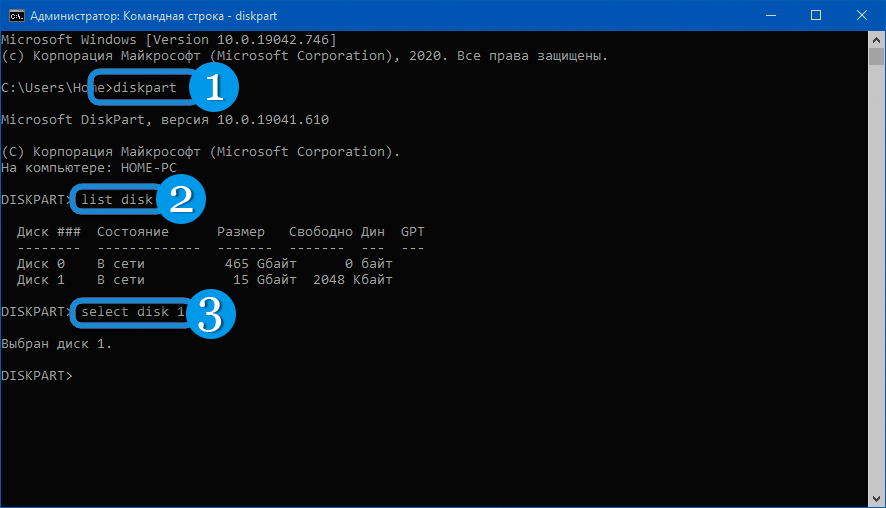
- In the window that opens, enter the DISKPART command and confirm it with the Enter key.
- Enter the following commands sequentially, confirming each of them with the Enter key:
- list disk — displays the numbers of all disks, among which you need to find the one you need (which will be edited);
- select disk N, where N is the number of the desired drive;
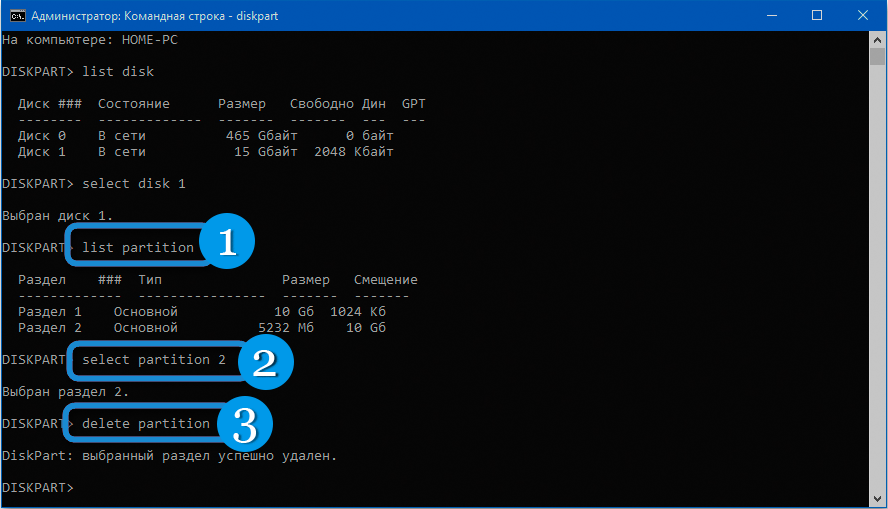
- list partition — displays a list of partitions on the disk in question, indicating their numbers;
- select partition M , where M is the number of the partition to be deleted;
- delete partition — deleting the selected partition;
- exit — exits the Diskpart utility.
If everything is done correctly, the selected partition will be deleted from the volume. An unallocated area of some size will appear on the disk. To start using it, you will need to create a new partition or attach this volume to an existing partition.
Using bootable media
When installing an operating system on a computer, the user is given the opportunity to format existing disk partitions or create new volumes. So it’s quite possible to use the functionality of installation media to edit memory.
The easiest way is to use a bootable USB flash drive with the Windows operating system, which can be easily created using specialized software.
The process of removing Radel using bootable media includes the following steps:
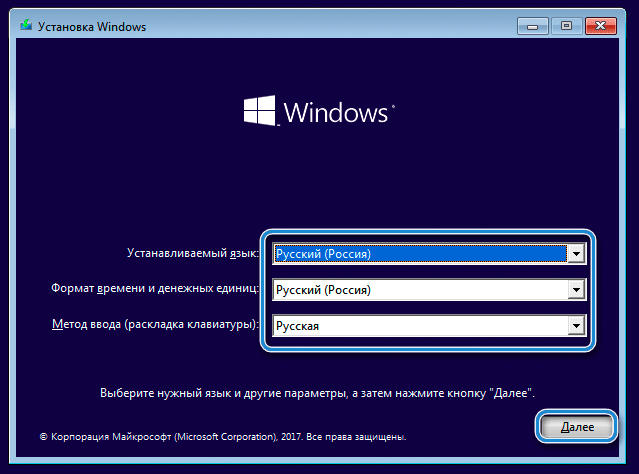
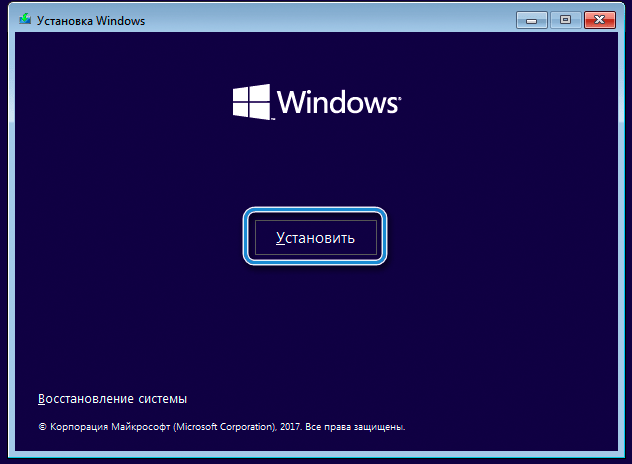
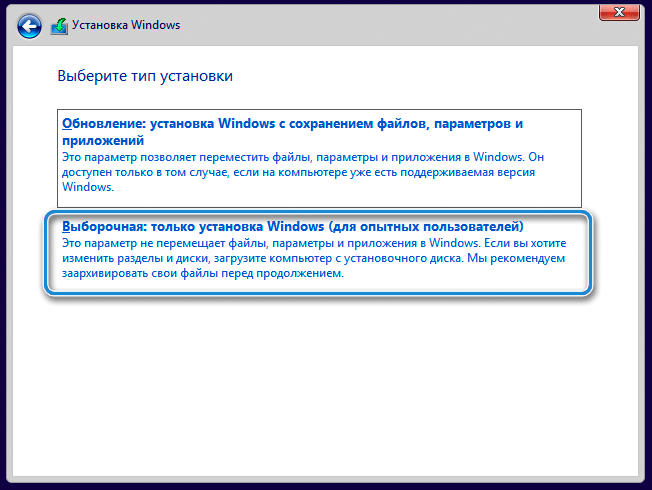
- Insert the USB flash drive into the computer and start installing the OS. Usually, to do this, it is enough to activate the start of the PC from a flash drive through the BIOS.
- As soon as the “Select installation type” window opens, you will need to check the “Custom” option.
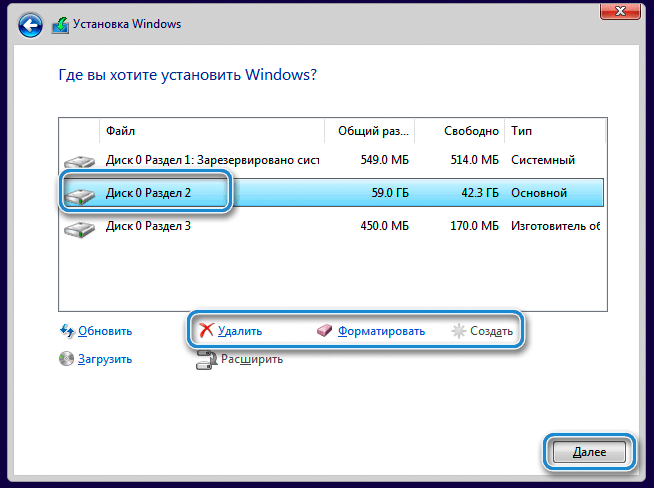
- The window that opens will display a list of all drives and partitions. You need to select the unnecessary section and click on the “Delete” button.
- If no further actions are required from the bootable media, the flash drive must be removed and the computer restarted.
The peculiarity of this method is that it is important for the user to know exactly which partition needs to be deleted. After all, at the operating system installation stage, volume letter names are often not displayed, which can cause certain difficulties. However, the used and free disk space is always displayed, so it makes sense to remember this ratio even before running the installation program.
Third party software
If you do not want to use the utilities or bootable media built into the operating system, you can always use third-party software to remove partitions. Most often, such programs have advanced functionality, and deleting partitions is just one of the available tools.
Macrorit Partition Expert
One of the most popular programs for managing computer storage. It has a very simple interface, which even in the absence of Russification is quite understandable to an inexperienced user.
Operating procedure:
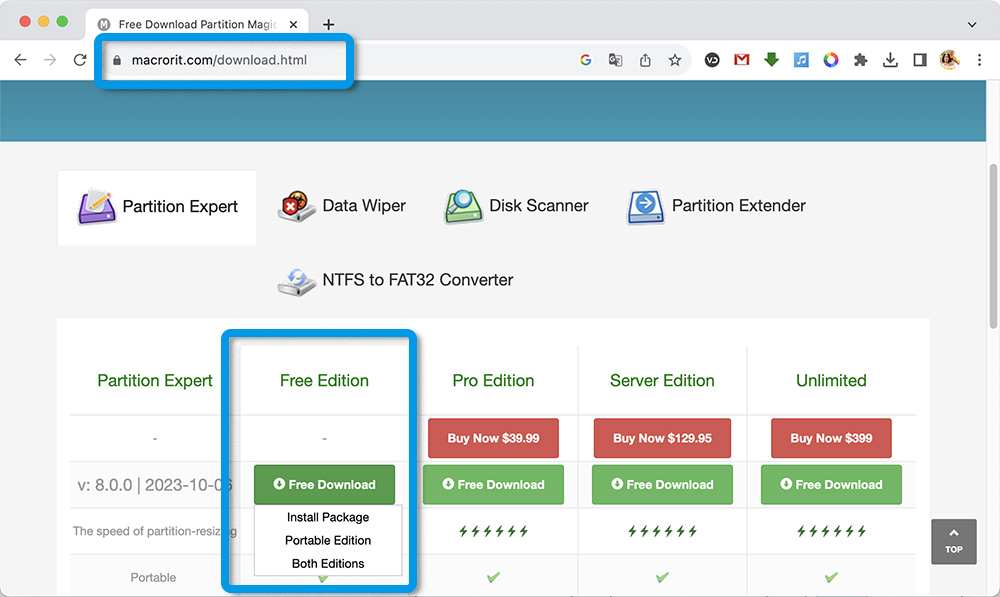
- Download the program from the official resource. The software is free, so there is no point in looking for any workarounds or downloading distributions from suspicious resources.
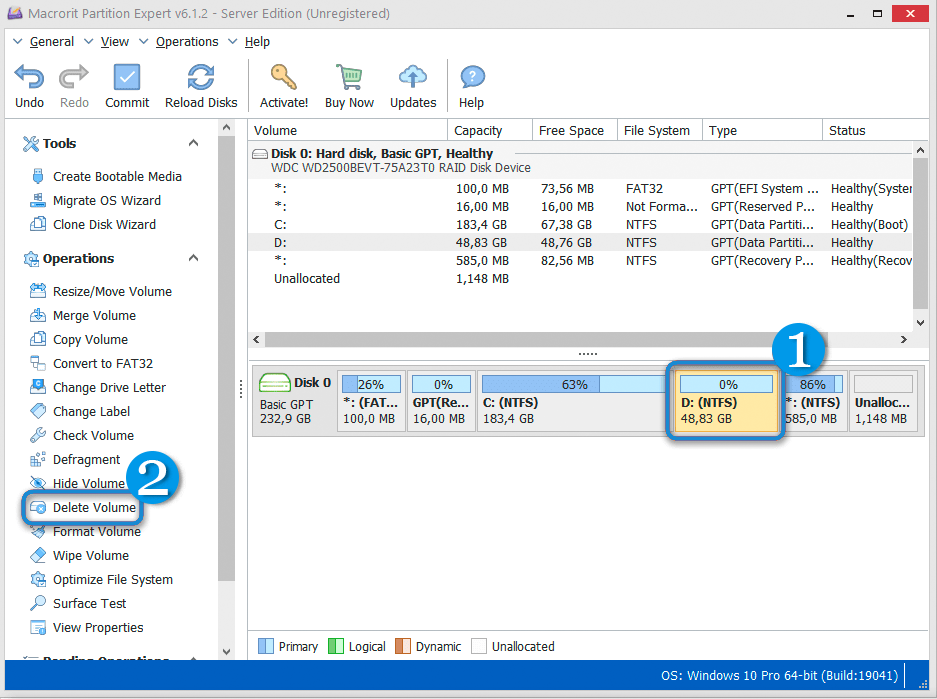
- Launch the application and wait until it collects data about the disks installed on the computer. In the main window, select the partition to be deleted and click on the “Delete Volume” button.
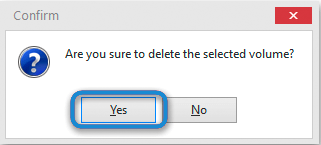
- Confirm action.
This completes the removal process. The free space will be unallocated and can later be used to create a new partition. You can also attach it to existing volumes directly in the program.
AOMEI Partition Assistant
Another popular program for managing hard disk partitions is AOMEI Partition Assistant. This is free software that provides advanced options for setting up volumes.
Sequencing:
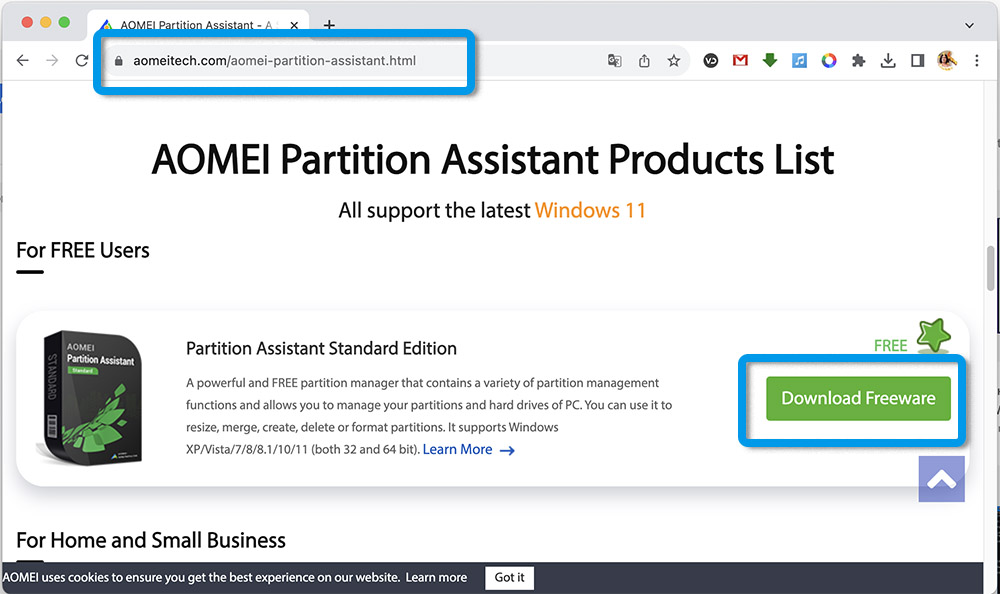
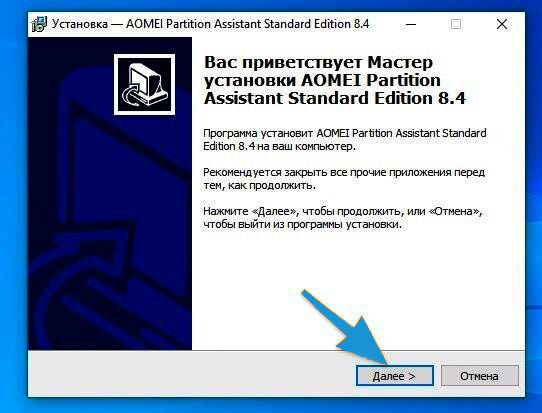
- Download the distribution kit from the official website and install the program on your computer. The software is absolutely free.
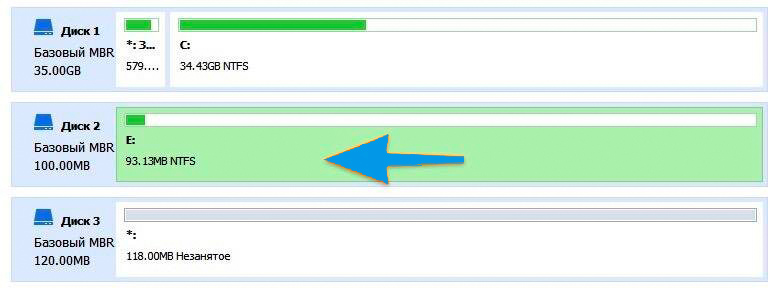
- Launch the program and examine the list of available sections in the main window.
- Select an unnecessary section and left-click on it.
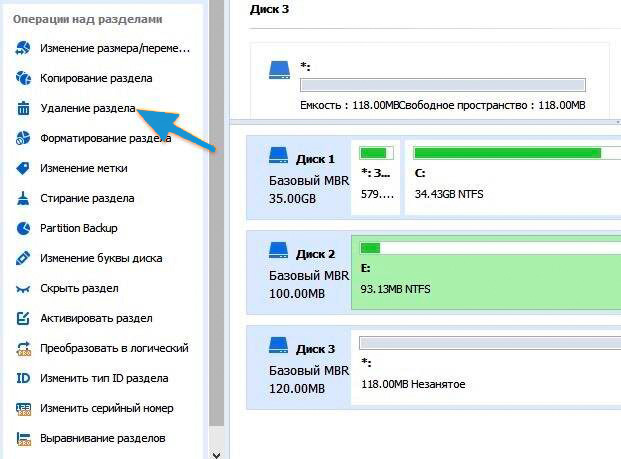
- In the sidebar, select “Delete partition”. You can also launch the operation through the right-click context menu.
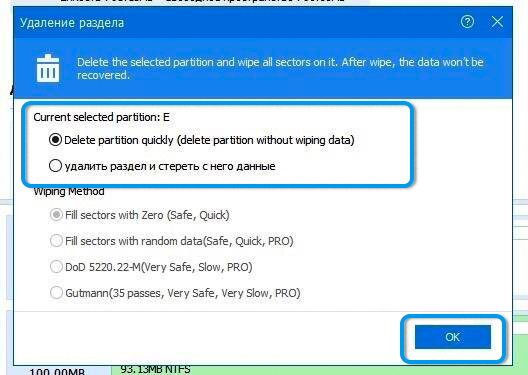
- The utility will offer to delete the partition with saving the data in the system or full formatting. It all depends on the user’s goals.
- Select the appropriate option and confirm the action with the “Ok” button.
- Wait for the operation to complete.
As soon as the process is completed, the section will disappear, and its volume will be identified by the system as an unallocated area.
Removing an extended partition
MBR disks often have extended partitions, which are highlighted with a green border in Disk Management. At the same time, there are additional logical partitions inside them. And if you delete one of these logical partitions, the remaining space cannot be attached to other volumes. After all, it will still be within the extended section.
To delete an extended partition, you must first delete all internal volumes, and then the partition itself using one of the methods presented above.
Some third-party programs provide functionality for turning an extended section into a main one, but most often this toolkit is available only in a paid version.
Removing a hard drive partition is a simple procedure, which, however, requires special attention. After all, if you make a mistake, you can lose important data or lead your computer to a state that requires a complete reinstallation of the operating system. However, if you follow the basic algorithms, no problems should arise.
