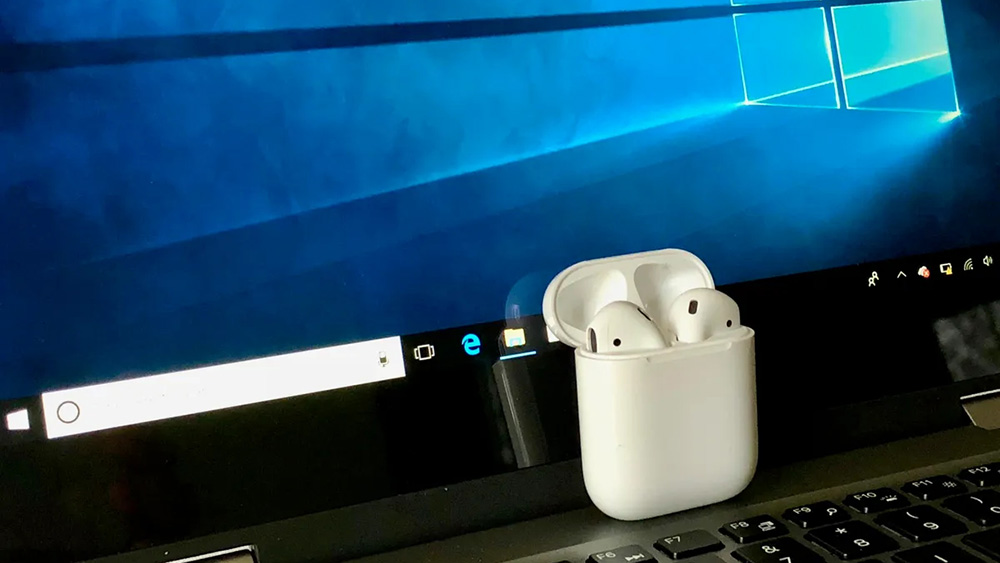
Apple AirPods are a multifunctional compact headset that works best when paired with technology from the same Apple brand. However, very often it is necessary to use headphones with a computer or laptop based on the Windows 10 operating system, which causes some difficulties for users. Indeed, there is a way to synchronize such gadgets, albeit with some restrictions.
Connection algorithm
To connect to the AirPods wireless headset, your computer or laptop must be equipped with a Bluetooth communication module. It is worth checking in advance that this adapter is activated and works stably. Just try connecting some other device to the system.
How to connect AirPods to Windows 10:
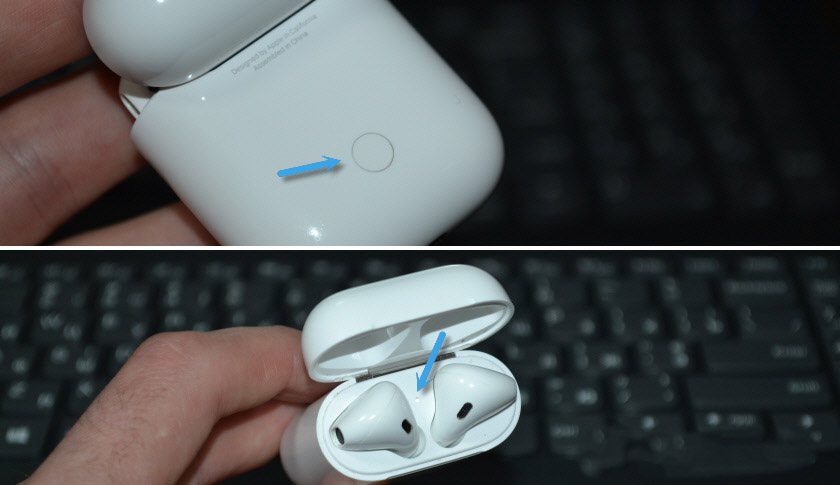
- Place the headphones in the case and then open it. Press the round button on the case body, holding it for some time (until the indicator flashes white). This turns on pairing mode.
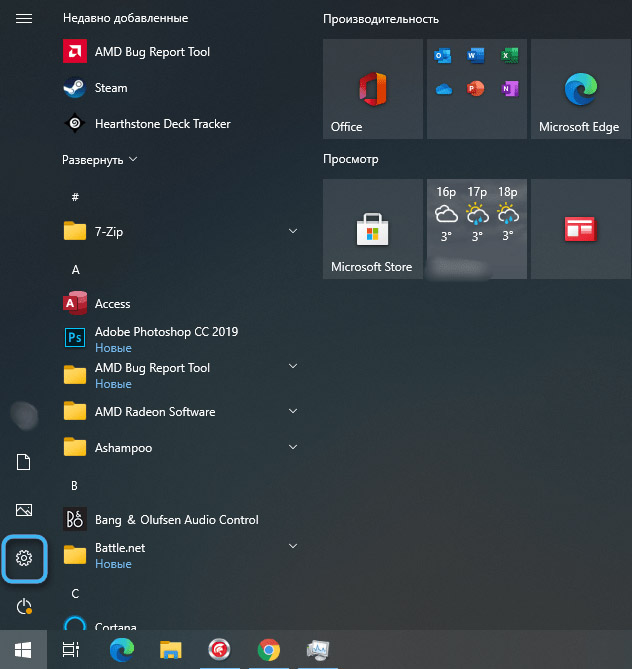
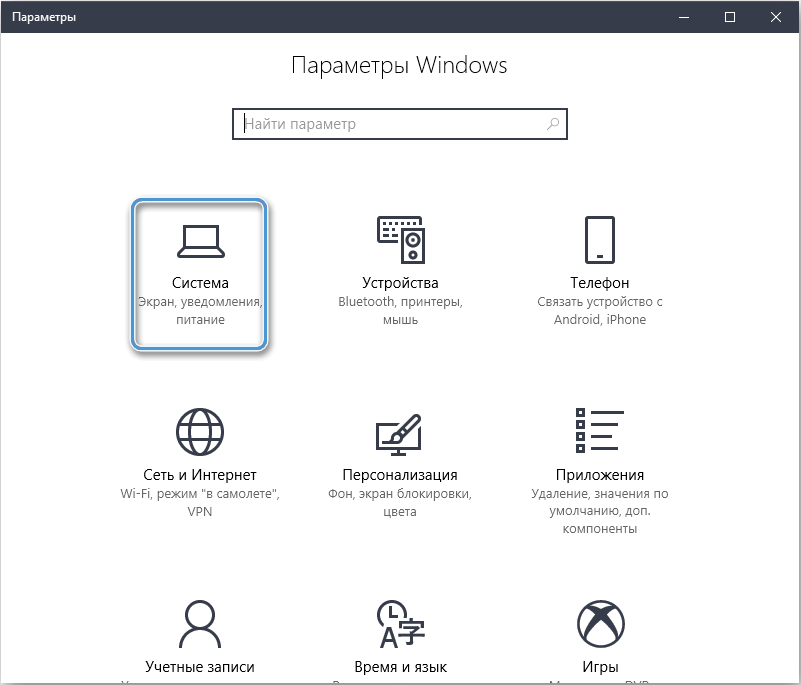
- In Windows 10, open the Settings menu (Win+I or via Start).
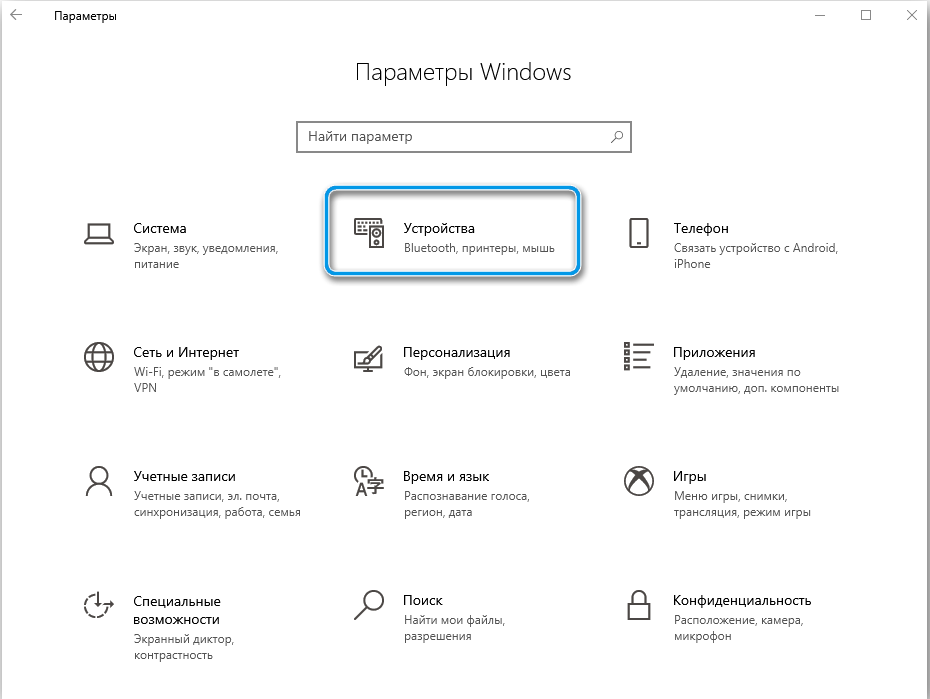
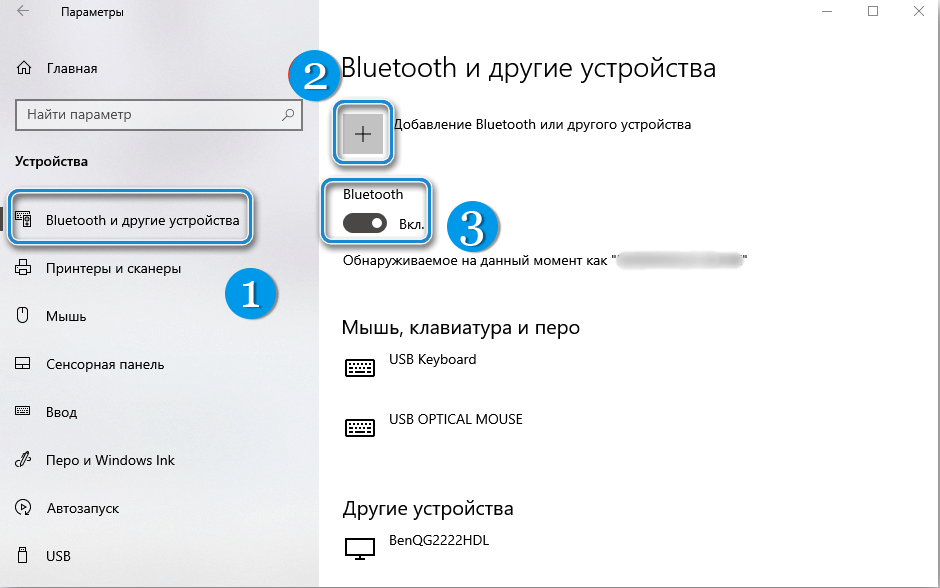
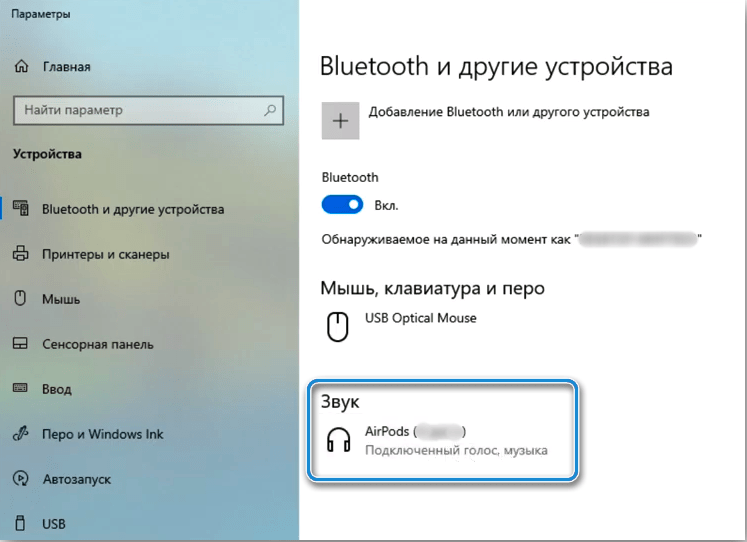
- Click on the “Devices” item, select “Add Bluetooth or other device” and click on the “Bluetooth” button.
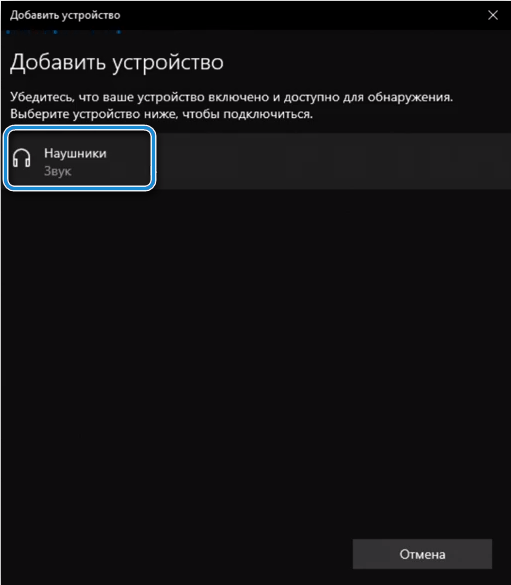
- Wait until AirPods appear in the list of available devices. Click on them to connect.
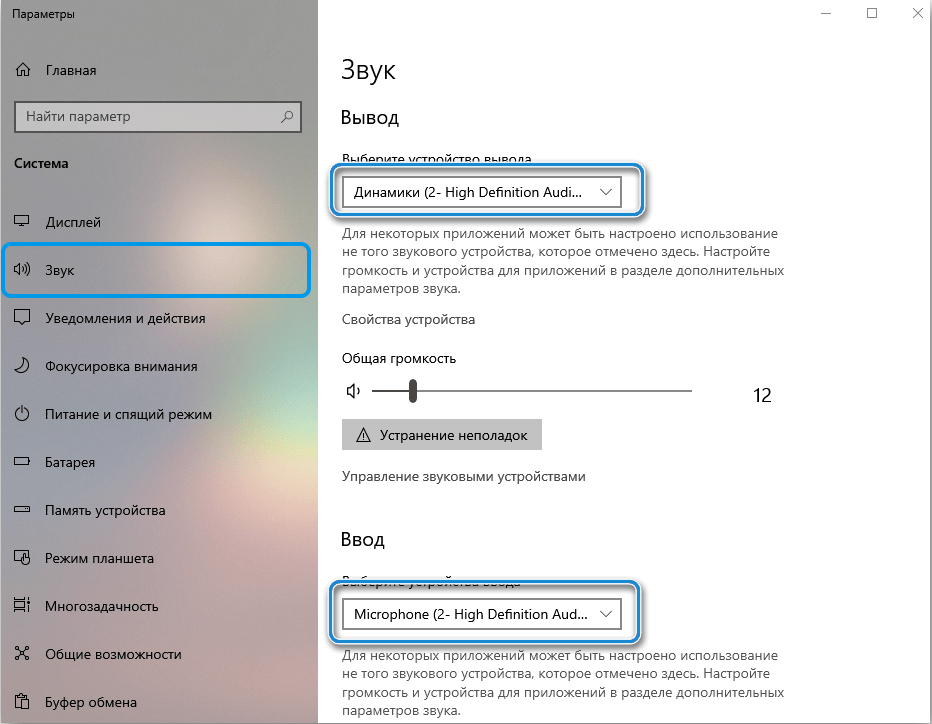
- Go to Settings – System – Sound and check that AirPods is selected as the audio output and input methods. This way you can turn on the microphone on the headphones.
In most cases, this completes the device synchronization procedure. The system will automatically configure the headset for audio output, as well as for recording through the voice recorder using the built-in microphone.
Reconnection in the future is carried out automatically, without the need for pairing according to the algorithm described above. It will be enough to simply remove the headset from the case, similar to mobile phones. However, if the headphones were previously synchronized with the smartphone, you will have to connect again.
Why sometimes I can’t connect
Unfortunately, the procedure for connecting a headset to a computer does not always go smoothly. It is not uncommon to encounter problems with audio output or using the built-in microphone.
The simplest way to solve the problem involves disabling the Bluetooth module on other mobile gadgets with which wireless headphones were previously used. The headset simply cannot be connected to several gadgets at once.
It makes sense to check which device on your computer is selected for audio output. You can do this by clicking on the speaker button on the taskbar. The drop-down list will display all equipment connected to the system. It’s worth checking that the default audio output is not set to wired headphones or speakers.
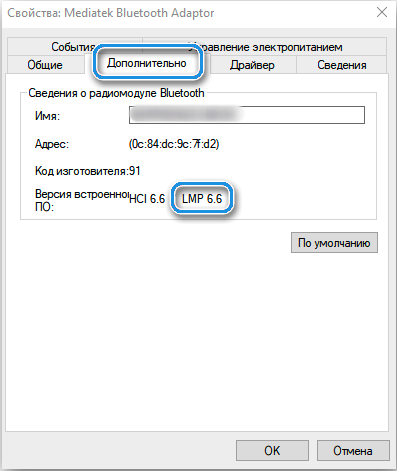
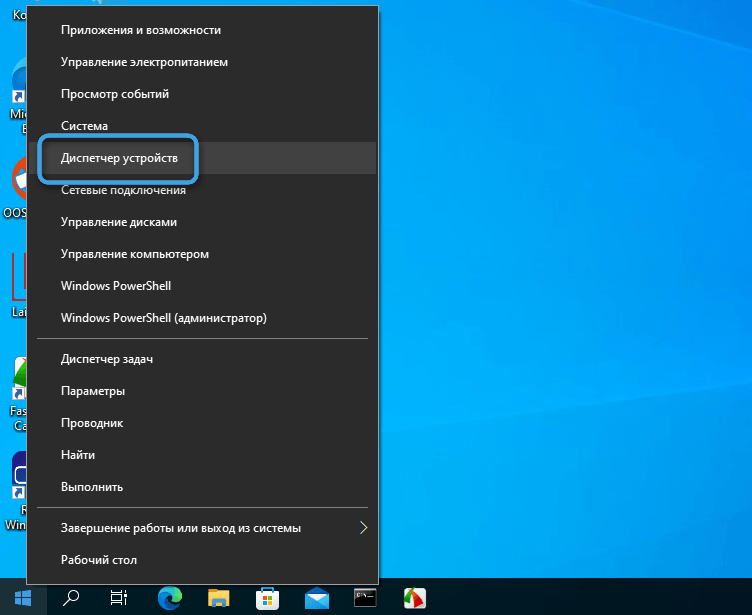
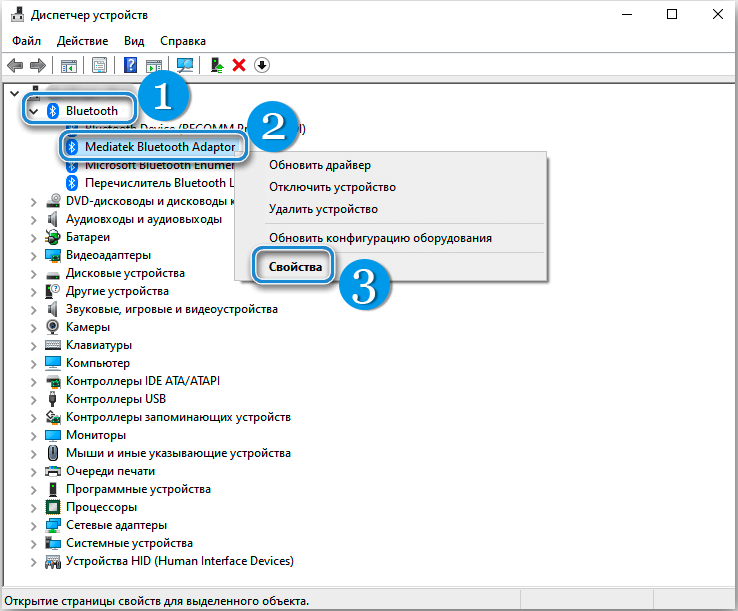
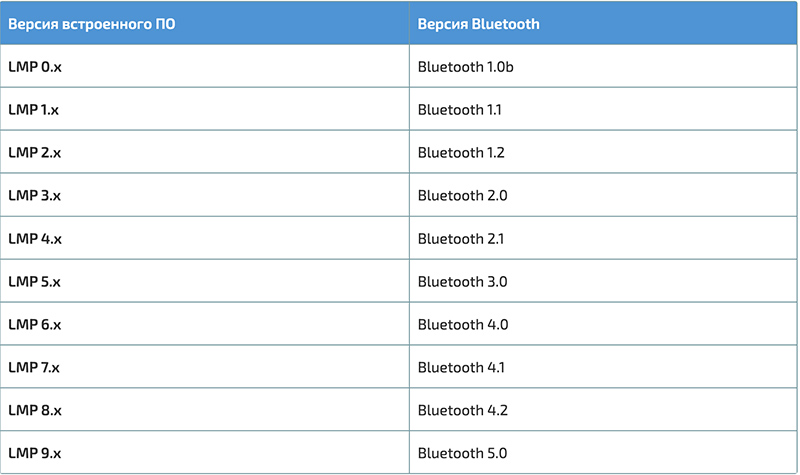
It is recommended to pay special attention to the version of the Bluetooth interface on your computer or laptop. In particular, the modern AirPods Pro 2 headset with the latest version of the 5.3 module will be able to work with the somewhat outdated 5.0 adapter, but some limitations will inevitably appear. And the newest features may simply not function (noise removal, minimal latency, etc.).
The Apple AirPods headset is not initially designed to work with computers and laptops based on the Windows 10 operating system, but it is still possible to use these gadgets in pairs. Some limitations are inevitable, so even the ability to fully synchronize gadgets with audio output and a fully functional microphone can be considered a success.
Did you manage to connect Apple AirPods to Windows 10? Did you encounter any problems while connecting? Share your experience with other readers in the comments so that they can perform this procedure themselves.
