Today Google has released a new version of Android and has released the factory images for its most current Nexus devices for those impatient who do not want to wait for Google to officially release the update via OTA in the next few weeks.
These factory images in addition to allowing us to be the first to enjoy the most recent version of Android on our Nexus also allow us to restore the device to leave it as it came from the factory or as it would come with a certain version, restoring the ROM and the bootloader.
Prerequisites and steps
In order to install an official Google factory image for a Nexus device we need to have the Android SDK installed , have USB debugging enabled in development options and have the bootloader of our Nexus device unlocked and make a backup copy of the data from our device, since installing the factory image will erase everything.
Installing a factory image for a Nexus
Installing a factory image is relatively easy if we have the Android SDK and our Nexus drivers installed correctly. If we manage to unlock the bootloader it is because everything is correct and we can now move on to the next step.
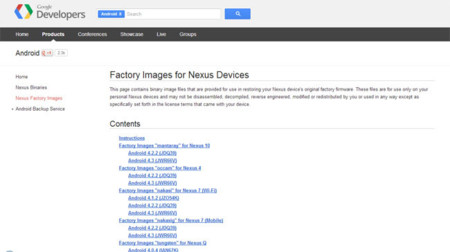
First of all, download the factory image of the Android version that we want for our Nexus device from the Google developer’s website . Here we have to be sure which of all is the model of our Nexus .
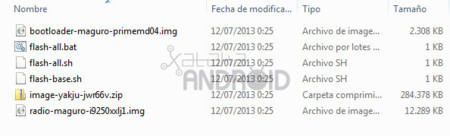
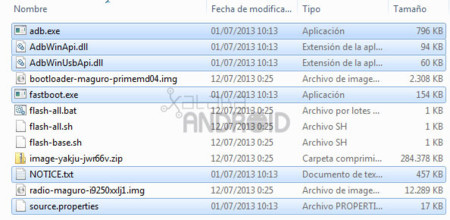
Once the factory image is downloaded, we only have to unzip it where we want and then add to that folder, along with the rest of the files, the Fastboot and the rest of the files so that everything works correctly. These files are in the platform-tools folder of the Android SDK. For security, I recommend copying all files.
- Unzipped folder:
- Unzipped folder with Fastboot and ADB files from the SDK:
Once these steps have been carried out, we just have to enter the bootloader (turn off the device and turn it on by pressing Volume Low + Volume Up + Power), connect it to the computer’s USB and run the flash-all.bat file if we are in Windows or the flash-all.sh file if we are using a Linux distribution. Once executed, we just have to wait for the process to finish, without disconnecting the Nexus from the computer and we already have the mobile as it left the factory with the chosen Android version. I remind you again that this process deletes our data, and that others, once the process is finished we can again block the bootloader of our Nexus.