Checkra1n is an exploit that exploits a vulnerability in the iPhone and iPad hardware in order to jailbreak (something similar to obtaining superuser permissions on Android). The main objective of jailbreaking an iPhone is to install Cydia , an app store or dpkg packages that do not exist in the App Store and allow advanced customization of an iPhone.
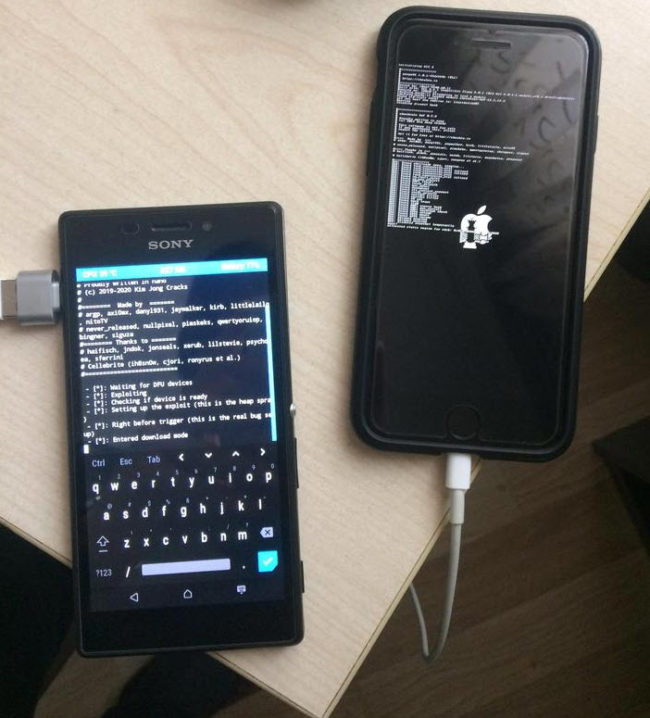
The process is really simple compared to most of the methods that exist to jailbreak an iPhone. Basically you will have to connect the Android cell phone to the iPhone using a USB cable to the appropriate lighting connector, and from the Android enter some commands. The only downside is that you will need a rooted Android device.
This jailbreaking method works from iPhone 5S to iPhone X, which have iOS 12.3 or higher (including current iOS 13). It also works with iPads. And unlike other methods that take advantage of security holes in iOS software, checkra1n attacks a vulnerability in the boot ROM of Apple devices, so in theory, the company should not be able to fix it through an update of system.
How to jailbreak checkra1n
Remember that, like rooting, this procedure is risky. Proceed under your responsibility.
- Download from the official website the checkra1n file corresponding to the architecture of your Android cell phone. You can check this with the Droid Hardware Info app, on the “System” tab, “Instruction Set” line. For example, if your phone is arm64-v8a, then you must download the Download for Linux (CLI, arm64) file .
- Copy the checkra1n file into the / data directory of the Android phone.
- Connect iPhone to Android with a cable compatible with the ports of both computers. In addition to the cable, you probably need an additional adapter, such as an OTG.
- Install and run the terminal application on Android (you will find several here) and enter the command “su” (without quotes, like the rest of the commands in this list) to start working as root.
- Enter the command “lsusb” to verify if the iPhone is recognized. You should see something like “05ac: 12a8” on the USB ID line.
- Put the iPhone in DFU mode (see here).
- Enter the command “lsusb” again to confirm if the iPhone is still recognized. You should now see something like “05ac: 1227” in USB ID.
- Run the checkra1n file with the command “./checkra1n -c”, which should jailbreak the iPhone or iPad.
It doesn’t work for me
- You should repeat the procedure two or three times, depending on who has already done it.
- The problem is likely to be the cable. “Stblr”, the discoverer of the method says that “some Apple USB-C to Lightning cables do not allow putting iDevices in DFU mode due to missing pins.” In his case, with a Sony Xperia XZ1 and an iPhone SE, he used Apple’s USB-A to Lighting cable and additionally an Exsys EX-47990 USB-C to USB-A adapter.
- Apparently you are more likely to succeed if you do it from the TWRP custom recovery command line, obviously as long as there is a version of TWRP for your Android.
- Check out this Reddit thread where various experiences are exposed.
References: XDA-Developers, Reddit, Arstechnica
What is it and how to root an Android cell phone?
2 ways to PASS files between Android and iPhone (better than BLUETOOTH)
3 ways to FIND an iPhone from Android
Receive updates: SUBSCRIBE by email and join 10,000+ readers. Follow this blog on Facebook and Twitter.