The camera of cell phones is far from perfect, but in most cases it is the only thing that is at hand to portray or take photos. If you want to improve the result a little, you better take into account some universal basic tips related to focus, lighting, zoom and other technical aspects mentioned below, which are useful for any cell phone you have in your hands, it is expensive or cheap.
Contents
1. Focus
Focus allows the camera to “detect” the scene and capture it clearly. Prevents a photo from being “shaky”. It is usually something that is done automatically when you open the camera app. You will know that the scene is in focus when the on-screen image is clear and blur-free. In some mobiles an indicator is also usually shown on the screen.
The camera can sometimes take a little while to focus correctly on a scene, especially when there is movement, so you should wait and verify that the image on the screen is clear or well defined before touching the capture button.
In addition to the general focus of the entire scene, cell phones also allow focusing on a specific area and blurring the rest (“bokeh” effect). Just tap on the area or object on the screen that you want to focus on. Wait a fraction of a second until the phone gets the precise focus of that area before capturing.
2. Don’t zoom
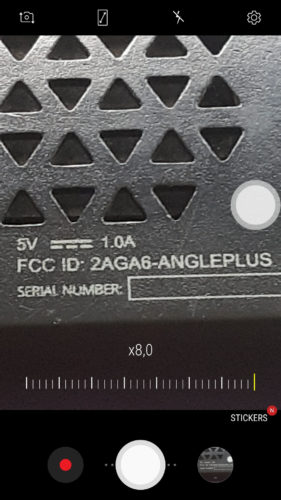
On most cell phones, a photo taken with zoom is just as sharp and clear as a photo without zoom. Both show exactly the same level of detail. The only difference is that the first one is cropped and enlarged, something you can also do with the second one, using any photo editor. This is because the camera zoom of most mobiles is digital . The enlarged image is an “edit.”
If you are interested in a particular scene object, it is best to physically approach it so that it comes out sharp. If your pocket allows it, you can also change to a high-end camera phone with optical zoom . This technology makes a physical movement in the camera lens to get real close-up photos . In these mobiles it is different to take a photo with or without zoom.
3. Don’t use the flash

The insignificant amount of light from the flash and the glare that is generated in the scene always leave something to be desired. To take clear photos, there must be a good and permanent amount of light, as in the day.
Incidentally, avoid taking backlit photos. For example, with the camera facing the sun. The light source should focus on the scene and you as a photographer should turn your back on that source.
If the light conditions do not allow it, use the night mode that many current cell phones already bring.
4. Don’t use the front camera
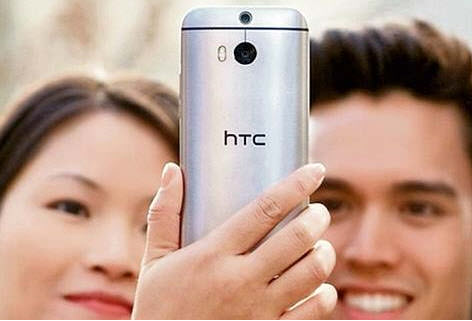
With the front camera it is easier to take selfies because you can see the result on screen, but it is generally at a disadvantage compared to the rear camera in terms of technical specifications, such as resolution or sensor quality.
If you use the rear camera you could easily take two or three times better photos than if you use the front camera. If you are using a tablet, this suits you even more, because these devices usually have much lower cameras than smartphones.
If you are looking for the best possible photo but find it difficult to take selfies with the back camera, ask someone to take your photo.
5. Install another camera app
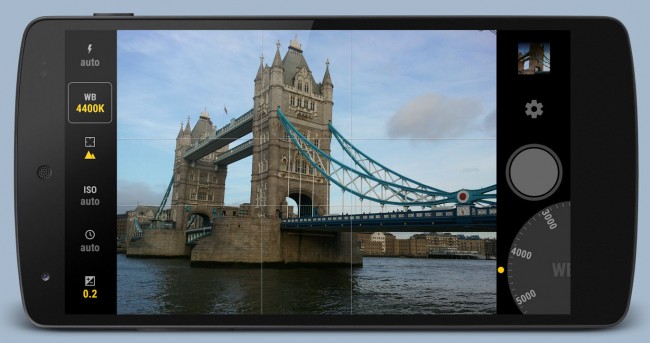
“Camera2api” or “Camera2” is an API introduced in Android 5.0 “Lollipop” that allowed developers to create camera applications with the possibility of manually changing various technical aspects of the sensor, such as exposure control, manual focus or taking photos in RAW format, something that was not possible in older Android versions. For example, long exposure can enhance a photo in low light conditions.
Open Camera is one of the best camera apps if you want to control all those advanced aspects in a photograph.
Another alternative is the Google camera, which comes from the factory Google Pixel devices. Due to its great results, this is the best option for any user, professional or novice. However, its disadvantage is that it cannot be installed on other devices. There are «mods» of this application adapted for other brands, created by third parties. The requirement for them to work is that your device has the Camera2 API activated, something that you can check with an app. If this is not the case, root permissions are required to force the activation of this API from the build.prop file of the Android system, as indicated in XDA-Developers.
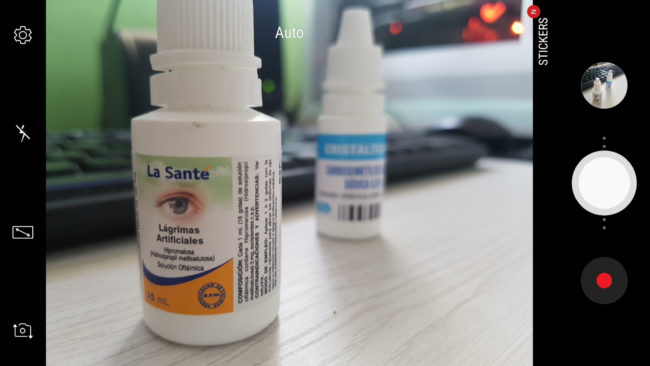
6. Professional touch (Bokeh effect)

Bokeh effect with cell phone
A simple trick to take photos with results that look professional is to get what is called the bokeh effect. Basically, it’s about making the background blur. It’s that simple.
This effect is already offered by many cell phones on the market, through portrait mode . But it can also be achieved with any cell phone and the help of a background screen, as you can see in the image.
Everything consists of putting the screen of a PC or tablet in the background, with a blurred image and in front of it the object that you want to capture. The image of this type can be found in Google images, using the term bokeh background .


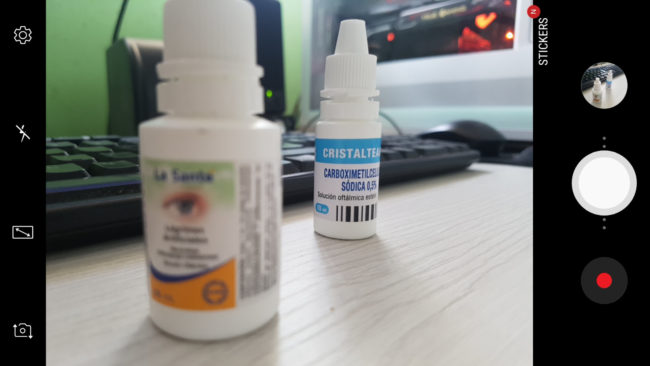
Result obtained with the Bokeh Background, using the camera of an iPhone 5
For a better result I recommend using as a base a surface that reflects the bokeh background established on the screen of the PC or tablet monitor. For example, a shiny plastic.
Another tip is to use even another tablet as a base , with another blurred background set on the screen.
Regarding lighting, I recommend having a diffuse light illuminating the object (not a light directly impacting it).
Others

The phones with the best camera of 2019, according to a “blind test” of the YouTuber MKBHD. Thousands of people voted for a series of photographs, who did not know which cell phone they corresponded to. The names of those devices were later revealed and classified as such.
The tips mentioned can help you take better photos, but they are not miraculous. They can’t get you to take sharp photos if the camera’s technical capabilities are limited. The only alternative in that case is to switch to a mobile of a higher range. In practice, at least in 2019, it seems that Samsung has done well in terms of cameras with its Samsung Galaxy Note 10+ and S10E.
References: Tuexpertomovil
4 reasons why the cell phone camera takes blurred photos
The 3 best APPS to erase imperfections in your photos, body or face
Take passport-size photos with your cell phone
Receive updates: SUBSCRIBE by email and join 10,000+ readers. Follow this blog on Facebook and Twitter.