The Internet is full of a variety of information, among which each user can find and view the data he needs. Now the popularity of sites with high-quality video content has significantly increased, which allows the user to thoroughly and visually familiarize himself with the necessary materials. The creation of high-quality videos today is not only the lot of professionals, but also a worthy opportunity to share their knowledge, skills, interesting facts in video format for ordinary people who know how to work with computer equipment, and this can be done through special utilities presented in a huge assortment. In this article, we will tell you about the Camtasia Studio utility, which is characterized by ease of use against the background of multifunctional and powerful tools, we will consider the possibilities and features of using this software.
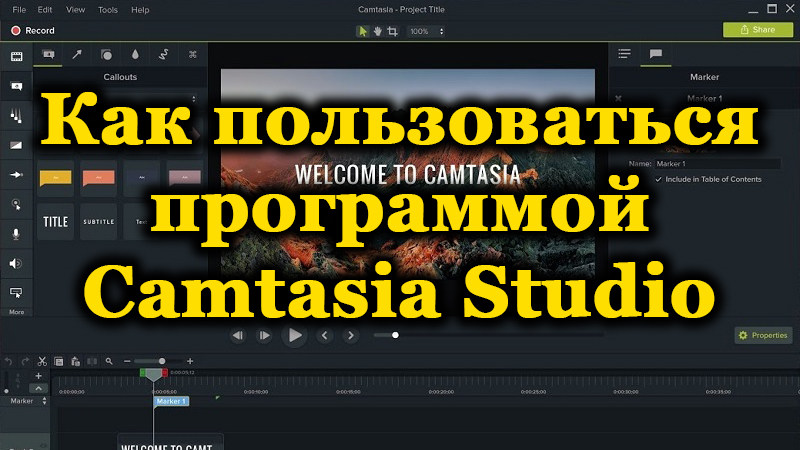
Overview and description of the program
Camtasia Studio is positioned as an excellent video editor. When downloading the program, the user can choose the mode that is relevant for their purposes by downloading the free trial version of the utility, the trial period of which is 1 month, or purchase the licensed version. The utility has a different purpose: it can be used both for editing amateur videos, creating professional digital video recordings, and for editing video tutorials, presentations and much more.
The program is distinguished by the ability to capture all actions and sounds of any type, with the subsequent ability to edit existing video files using the available tools for trimming and merging content of any format, overlaying sound, adding effects, text notes and comments, and improving frames.
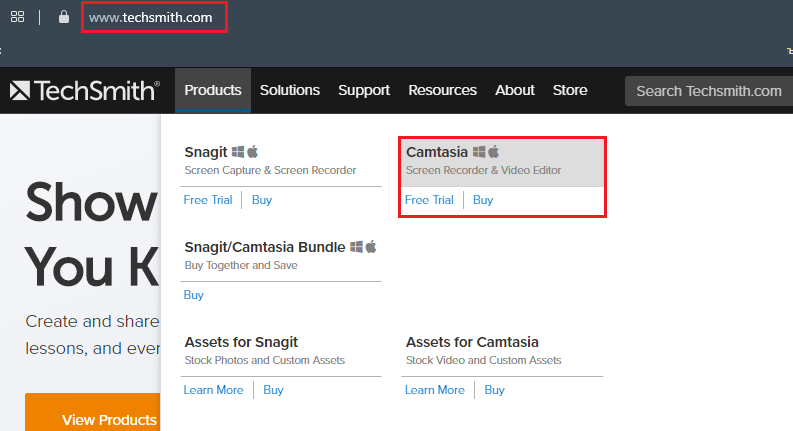
The newest and most current version has a fairly large volume, requires at least 2 gigabytes of RAM to work, which should be taken into account by the consumer when choosing this software. The main language of the utility is English: for older versions, you can find specific Russifiers on the net, and new ones are already Russified.
There are paid video tutorials for the application on the official website on how to work with the software, but if desired, any consumer can independently figure out its operating features, and an abbreviated overview of the Camtasia Studio program, with a consideration of its basic options, will help to learn the features of using the utility:
- After downloading and installing the program, the user, upon opening it, will be able to see a fairly simple interface of the utility: with the main menu, consisting of six tabs located in the upper segment of the window; the control panel below, which includes three command positions that allow you to record or import files, as well as display the finished video files on the screen.

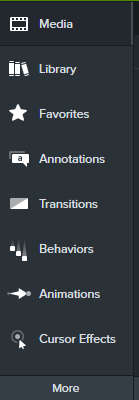
- Under the area where the user will directly work with files, there is another panel, which contains the main tools required for video editing, as well as the More button, which hides additional functions that do not fit on the screen.
- In the lower area of the window there is a timeline where the work with the video will be performed directly.

- On the right side of the screen there is a window with a preview of the edited file, using the options of which the performer can evaluate the quality of his work.
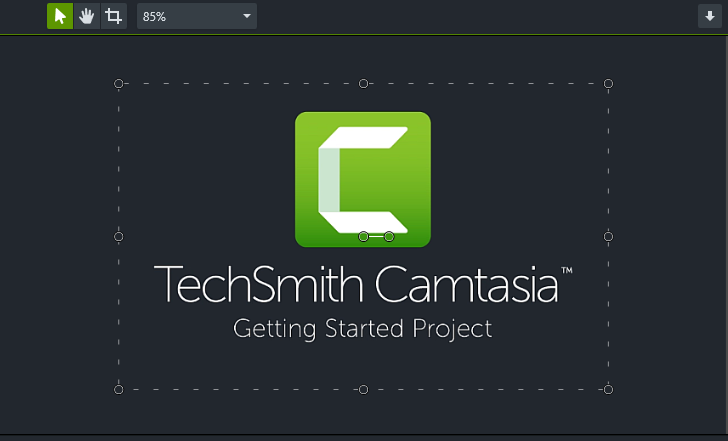
The video editor functions according to the following principle of operation: after recording a video using the built-in Recorder program, the utility automatically directs it to the Timeline track, where the user performs video editing according to his needs using the available tools. The completed product is displayed in a video file by pressing the Product and share button, after the contractor evaluates his work in the preview window.
Features of using the program
Despite the simplicity and accessibility of the Camtasia Studio interface, the question of how to use the software is common among consumers of software products. Find the answer to this question will help the guide to the program provided by the developers when purchasing the paid version of the utility.
The instruction on how to create, process and save a video in Camtasia Studio begins with studying the recording of the actions necessary for playback. He will consider the features of the process using the example of Camtasia Studio 8, for other versions the processes are practically the same. To do this, on the top taskbar of Kamtaziya Studio, you will need to select the built-in Record the screen application, where the user can set a full-screen Full screen or a limited Custom recording mode. When choosing the second option, the user can use the cursor to select the recording location of the screen, and you can change the picture parameters using the Dimensions option. After selecting the Custom mode, the user will see a drop-down list in which they will be given a choice of the extension of the recorded file. You can change the settings by canceling the specified options with the Esc button.
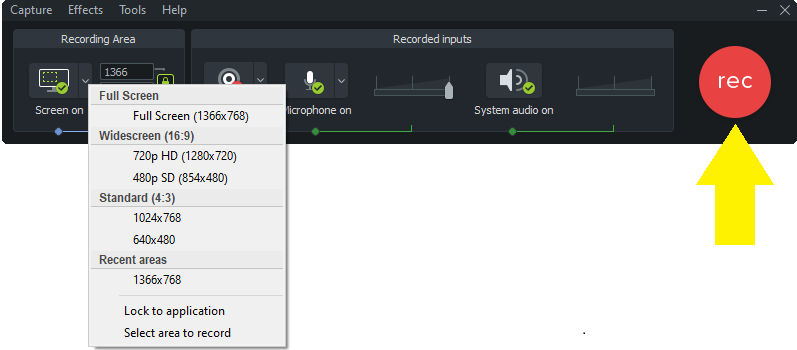
Having determined the preferred standards of the created file in Camtasia Studio, to start recording, you just need to press the Rec button, and to pause and completely stop the video recording, use the Pause or F9 and F10 commands, respectively. The Delete command is used to delete a record, and when you press the Stop button at the end of the procedure, the program automatically transfers the video to the preview window, where you can visually evaluate the result of the work.
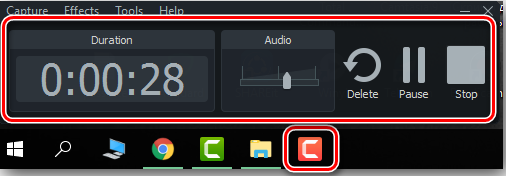
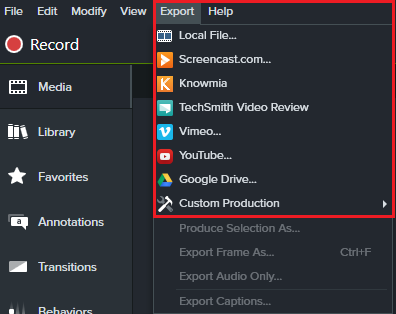
Often the result obtained requires editing, so then you need to select the Save and Edit command, after which the Camtasia Studio program will offer to save the file in its original form. Next, you will need to deal with direct video editing, making changes, correcting data, in order to obtain a result that satisfies the user’s needs. At this stage of work, the question often arises of how to save the video in Camtasia Studio, resulting in a video file of excellent quality and compact size, which will be discussed further. To begin with, the video displayed on the track will need to be edited by viewing the resulting file in the browse window, and, having achieved the desired result, proceed to the stage of saving it in the program by selecting the Produce and Share command in the library menu, which in translation sounds like “Create and publish “.
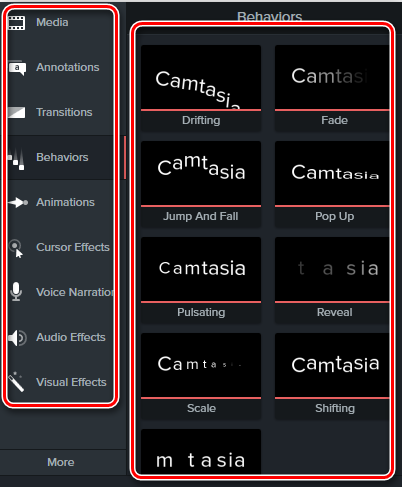
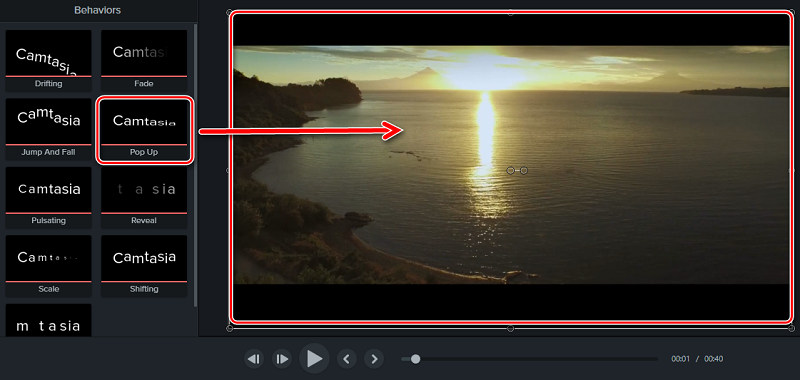
Next, you need to select the Custom production setting in the drop-down list, and then select the Mp4 format from those offered by the program. Then the Production Wizard window will open, where the necessary video parameters are set, the standards and characteristics of manual saving are set. Following the instructions of the Production Wizard step by step, you can not only save the video, but also transport it to the Internet.
Summarizing
Camtasia Studio is characterized as a versatile multifunctional product, suitable for creating amateur videos, professional videos and projects at the same time. Basically, using the program is not difficult, with the exception of some points, after reading which in this article, even a beginner can create a decent video. As for the features of editing, the use of special effects, and other nuances that enhance the impression of the final video file, in this aspect, the main assistant is personal imagination and experience with the elements, gained through trial, error and the desire to achieve success.