The computer processor is one of its most important parts. It is this microcircuit that makes all the calculations, and it controls the execution of all programs and controls almost all devices of the system unit. Without a processor, a computer is simply dead iron. After all, if without a hard drive or even a video card it can still work and perform some functions, then without its main computing part it will not even turn on.
Contents
When replacement is required
A new computer usually fully satisfies all the needs of the user, since all programs correspond to its characteristics. Unless for more comfort or for games, you may need to increase the amount of RAM or install a more powerful video card. But after a few years, it may be necessary to replace the processor on the computer with a more powerful one. Programs become more and more complex, operating systems also become more complex and overgrown with background services, and processing power begins to be lacking. This becomes especially noticeable with games – modern ones work with great difficulty or do not start at all. And working with new versions of programs that require a large amount of computation, for example, 3D Max or video editors, becomes problematic.
Before deciding on this step, you need to be sure that the processor is the weakest element of the system. After all, replacing it with a more productive one when using an old slow hard drive and slow, outdated memory on an outdated motherboard will not give any benefit. Moreover, if you change it to a microcircuit, which can only be found during disassembly. Then it is easier to change the entire system unit at once. But if the motherboard supports high-performance processor models that are not yet outdated and are still sold in a new form in stores, uses a modern type of memory and can be expanded, then the replacement makes sense. This is a more budget option than buying a new system unit, and will extend the life of your computer for several more years.
How to know which processor to buy
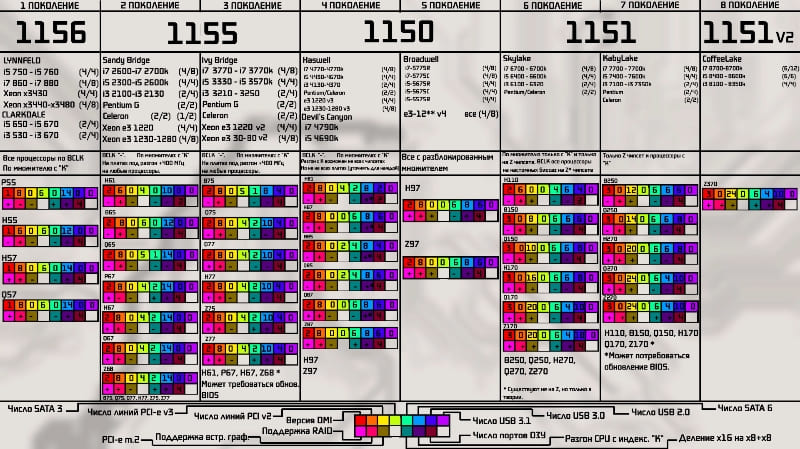
Before you change the processor on your computer, you need to find out which one is better to buy for a replacement. And for this you need to determine the type of its socket. This can be done by studying the documentation for the motherboard – the book from it should be included with the computer, and if it is not there, you can read its characteristics on the Internet. From the documentation, you can find out which processors are supported by the motherboard and are recommended for it. The AIDA64 program turns out to be very useful, which shows a lot of technical information, including the name of the motherboard and the type of socket supported. Then the Internet can again come to the rescue – you need to see what processors are sold for the right socket. You can immediately navigate the desired characteristics and cost. When choosing, we advise you to pay attention to the following parameters:
- Core frequency and number of cores. Many people think that the more cores, the more productive the computer is and generally the “cooler”. In fact, this is not entirely true. Few applications, let alone games, can work with 4 or more cores, and their frequency is noticeably lower. Therefore, a processor with two cores at 4 GHz can be much more productive than a 6-core processor with a frequency of 1.4 GHz per core. But the choice depends on the tasks – for a programmer or 3D visualizer, the number of cores is important, and for a player – the frequency, and 2-4 cores are enough.
- Bit depth – modern systems and programs are almost all designed for 64-bit architecture, and you need to choose the appropriate processor. There is no point in using 32-bit, besides, they cannot fully use even 4 GB of RAM.
- RAM frequency – you need to take into account what the new processor supports. If it is less than that of the installed RAM, then its frequency will be limited, and the performance gain will be noticeably lower.
- Built-in video core – if it is available in the old processor and is used, then if you choose the option without it, you will also have to buy a video card. Or buy a new processor with a video core.
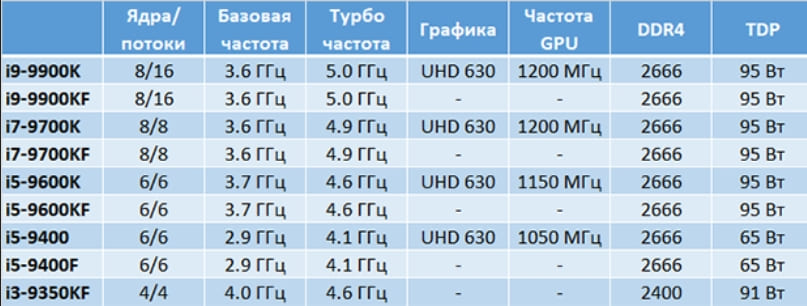
As you can see, the choice of this important element must be approached responsibly, taking into account different points, and not only the cost and the number of cores.
Preparing to replace the processor
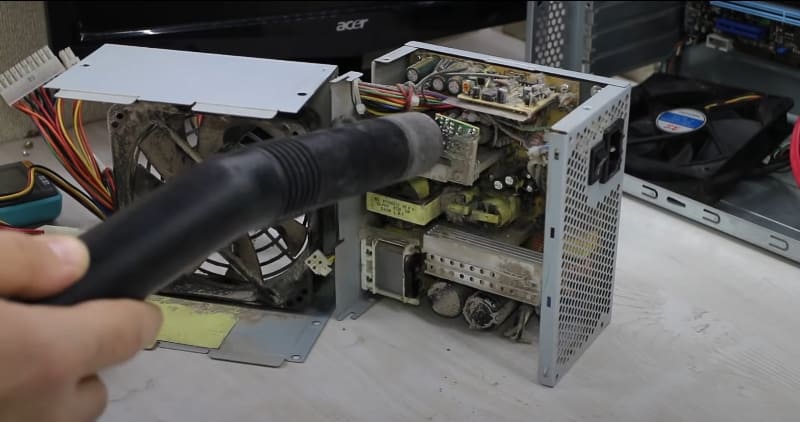
To change the PC processor, you first need to purchase a new one, as well as buy thermal paste. It may be necessary, and even desirable, to purchase a new radiator and cooler, especially if the old ones may not cope with cooling a more powerful microcircuit. After that, you need to disconnect the system unit from the power supply and carefully remove dust and various accumulated debris from it. You can use a vacuum cleaner. You may need to remove the video card if it gets in the way. That’s all, this is where the preparation ends, it remains only to correctly replace the processor on the computer.
Removing the cooler and replacing the CPU
Before you change the processor on your computer, you need to remove the cooler and radiator that are installed on it. They can be fastened in different ways. Sometimes the entire unit is fixed with swivel clamps, and sometimes only the radiator is attached this way, and the cooler is bolted to it. Disconnect the cooler power cable and carefully remove this entire unit. The clamps are usually released by twisting. It is necessary to remove the radiator carefully, without applying great force – sometimes the old thermal paste is of poor quality, hardens and firmly holds it on the microcircuit. Wipe off old thermal grease from the heatsink.
After that, it is not difficult to replace the CPU on the computer yourself:
- Move the lever, release the old processor in the socket and remove it.
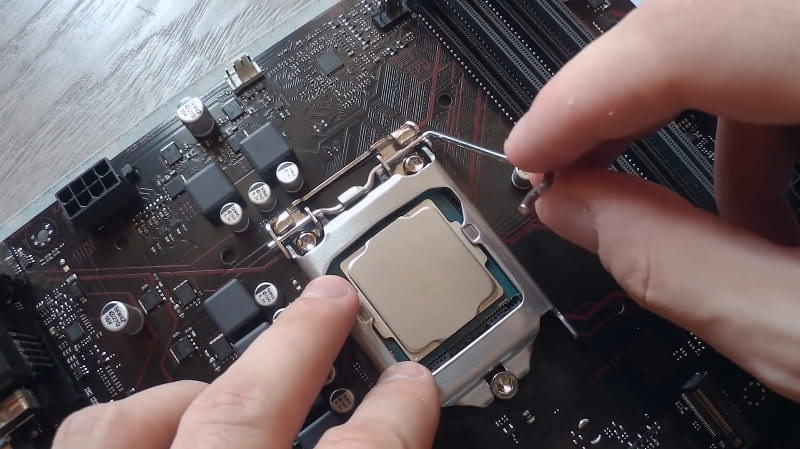
- Clean the connector with a soft brush or blower.
- Take a new processor and install it in the socket. In this case, you do not need to take his legs with your hands. Pay attention – on one of the corners of the microcircuit there is a mark in the form of a triangle, and the same is on the connector. These marks need to be aligned so that everything falls into place. Incorrect installation, mismatch of contacts and pushing the microcircuit by force are a common cause of breakage of its legs. Everything must be done carefully and slowly, and there will be no problems.
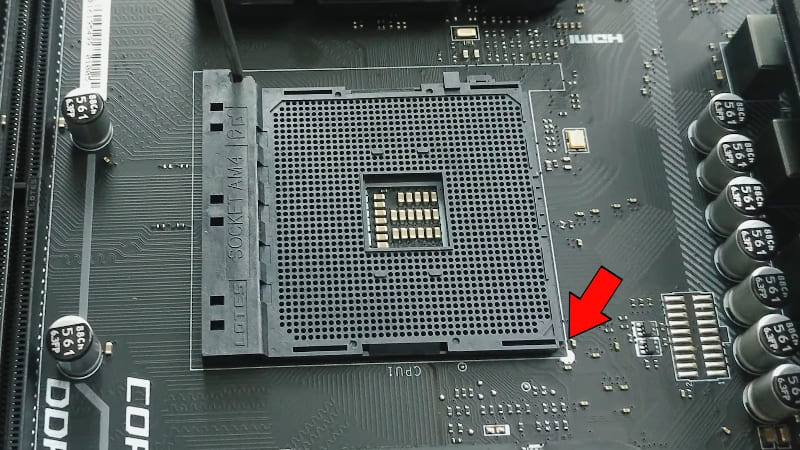
- Lower the lever again or press the processor with a special bar so that it locks in place.
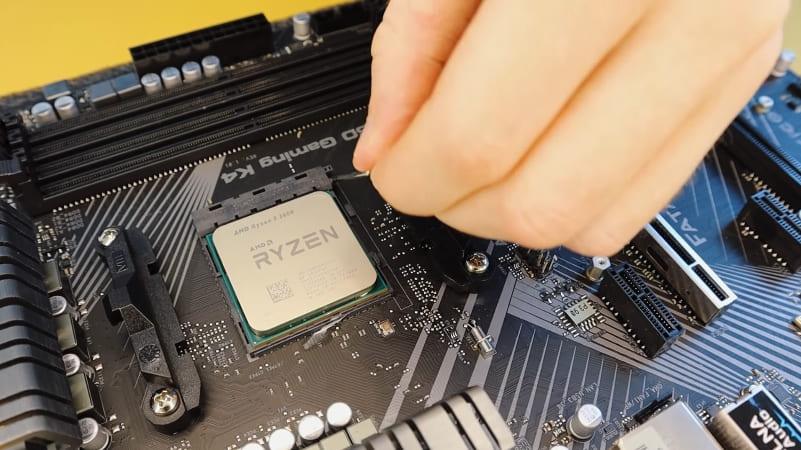
Next comes the process of installing the radiator and cooler in place. A new layer of thermal paste must be applied to the radiator in the center, where it will be in contact with the microcircuit. This layer should be thin, but even – it is not necessary to smear thicker, like butter on bread, this is a common mistake. Install the heatsink and secure it, then put the cooler back in place and connect its connector on the board. If you removed the video card or some other parts, also put them back in place.
BIOS Setup
Usually, you do not need to make any adjustments in the BIOS after replacing the processor. It is enough to reset all the settings and the configuration will be redefined when turned on. You can do a reset in different ways:
- Move the special jumper on the connector to the “Clear CMOS” position for a few seconds. This jumper is usually found next to the battery. Then return it to its place.
- Sometimes, instead of a jumper, there are just contacts on the board with the same designation – they can also be closed for a few seconds with a screwdriver.
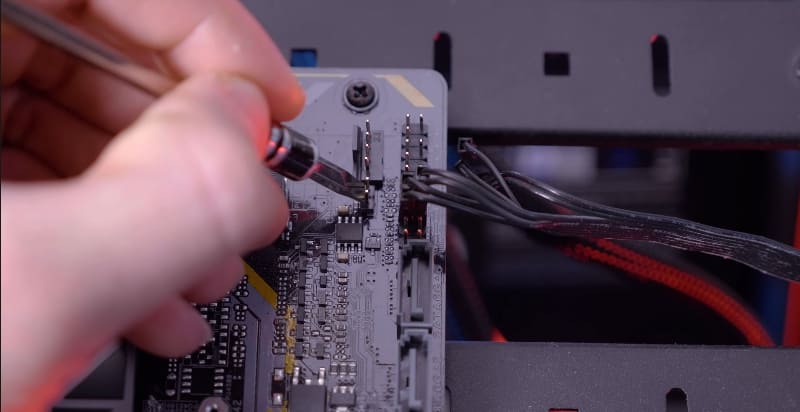
- You can pull out the battery and close its contacts with a screwdriver. The BIOS memory, where the settings are stored, will also be cleared without power. Then put the battery back in place.
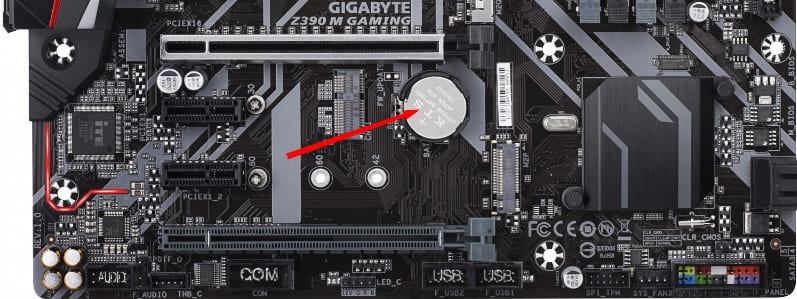
When you turn on the computer, the BIOS will boot with default settings. You may need to go into them and set the time, date, boot sequence from different devices.
Windows setup
There is usually no need to tune the system after replacing the processor – it will simply display a message that new hardware has been detected and install new drivers for it. After that, it’s best to restart your computer. But sometimes, although in rare cases, a blue screen may appear instead of normal loading of Windows. Then you can try to boot the system in safe mode – press F8 at the beginning of the boot and select the appropriate item. Then, if the system boots, go to the list of devices, find the processor there and remove the drivers from it. After a restart, Windows usually correctly detects the new processor and installs the appropriate drivers for it.
If all this does not help, and the system does not boot, you should try booting from a USB flash drive or from a disk. If the computer works fine with them, then you will have to reinstall the old system. This rarely happens, usually drivers are the source of the problem, and installing new ones rarely causes problems, since they are already in the system for most processors.