Information technology is developing rapidly, presenting many unexpected ideas, which, unfortunately, for many, due to such an excessive number, remain unfamiliar and unused.
Quite often, after installing new games or software on a PC, a virtual disk is detected. Of course, an inexperienced user is completely unable to explain where he came from, and even more so he does not understand how to delete a virtual disk in Windows.
Contents
Removing using DVD drive emulators
A virtual disk for Windows is needed in order to create an image of any disk or read an existing image. Quite often, real gamers who are completely immersed in the game world face such a need. Some games do not start without additional binding to the image through a virtual disk.
Programs specially created for this purpose help to open a “non-existent” disk. These are DVD drive emulators. They also help to remove virtual disks that a person simply does not need anymore.
Application of Alcohol 120%
To use useful utilities that allow you to delete a virtual disk, it is useful to “revise” previously installed software in Windows. This will allow you to understand whether you can immediately use the necessary utilities or you will have to download them first, install them, and only after that proceed to eliminate the problems that have arisen.
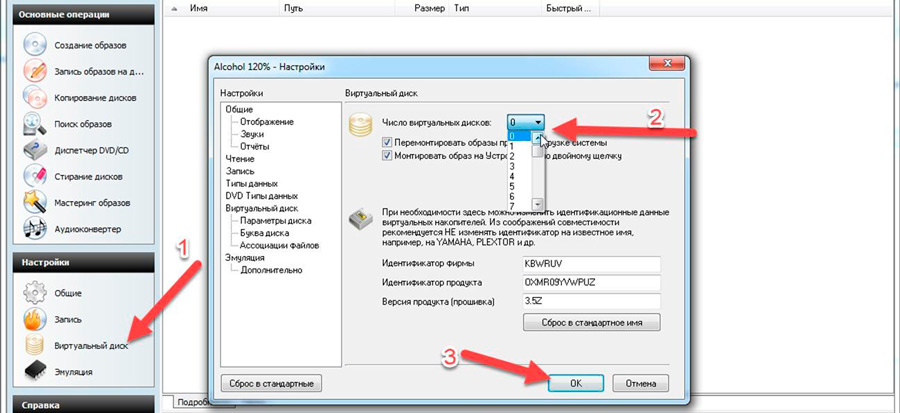
An interesting utility is Alcohol 120%, which will allow you to easily remove a virtual drive. Having launched Alcohol 120%, you need to go to “Settings”, then on the left side of the open context menu you need to find the “Virtual Disk” sub-item. Clicking on it will open a dialog box that will offer you to adjust the number of such disks yourself. To delete the one that is open unnecessarily, just select a position equal to zero.
It remains only to agree with the changes that were made according to the instructions by clicking “OK”. As a result of such actions, the virtual disk will disappear and will not “annoy” the user the next time Windows starts.
Application of DAEMON Tools Lite
DAEMON Tools Lite is a fairly popular utility that is easy to use, and therefore everyone uses it, regardless of the level of PC proficiency.
If it is already installed, you should click on the shortcut to launch it. In the window that opens, you need to right-click on the bottom field, calling the context menu. In the menu that opens, the program will offer several actions, among which there is the ability to either add or remove a conditional drive.
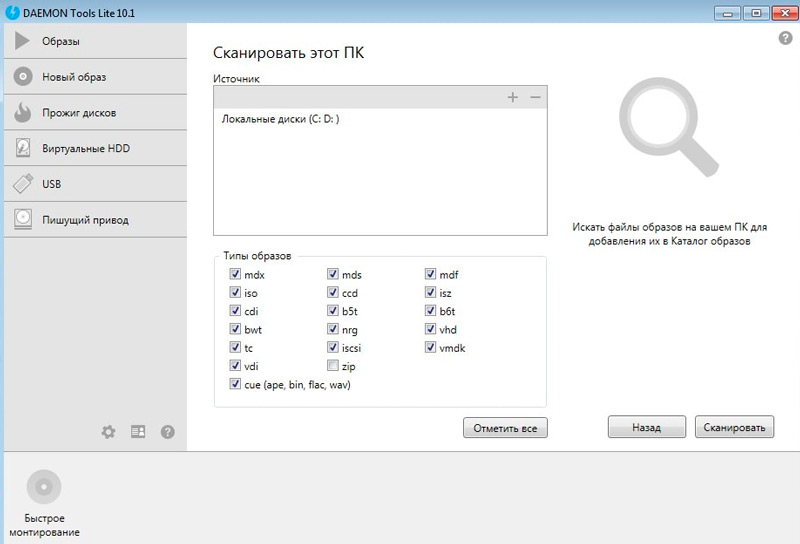
In cases where the user does not need any conditional drive, select the item “Delete all”. This will allow you to simultaneously say goodbye to all conditional disks installed earlier in Windows. Practice shows that, due to inexperience, several such drives can be opened at once.
Application of UltraISO
The principle of working with the UltraISO utility is very similar to Alcohol 120%. After starting the software, you need to go to the “Settings” section.
In the horizontal menu located at the top, the “Virtual drive” submenu is selected, after clicking on which a new window will open. In it, the user can specify the number of disks that he needs.
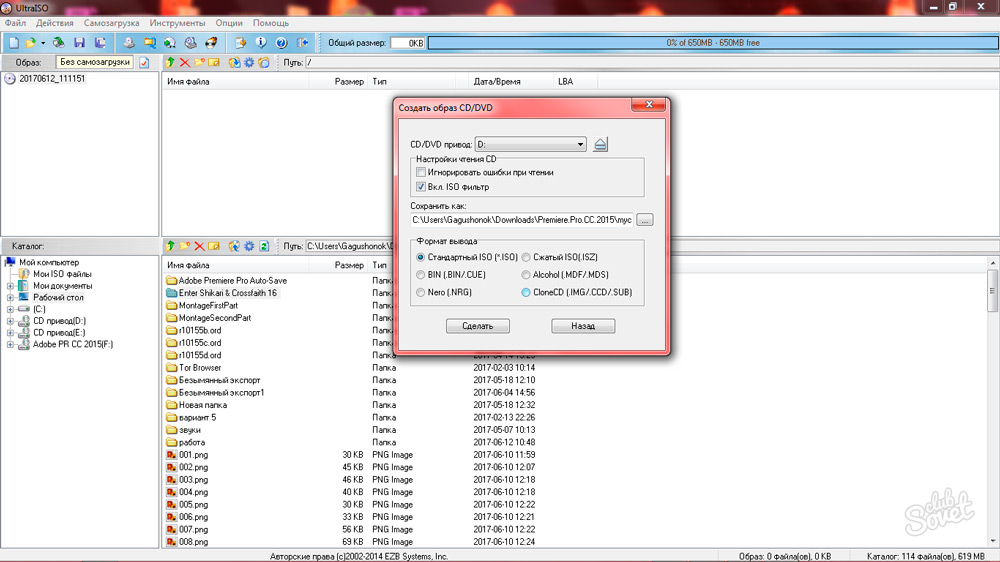
By stopping the selection on the “No” position, all open drives in Windows will immediately disappear, it remains also to confirm the correctness of the actions by clicking “OK”, and the problem will be solved.
If the PC owner absolutely does not need the above software, which often acts as the culprit for installing “non-existent” drives in Windows, it is enough to uninstall this software. Upon completion, all unnecessary programs will disappear from Windows, and with them all drives opened by them.
Deletion using service commands
In some cases, drives can be opened not at the time of installing DVD drive emulators, but during the execution of some Windows commands. As a result, it is possible to remove them in the same way, using the same service commands.
Using the “Subst” Command
Using the “Subst” command is not accompanied by any problems. The whole process is quite clear, easy to do for every PC owner.
To call the command, you must click “Start”, write “Subst” in the search bar and press “Enter”. When the command task completes, the disk disappears.
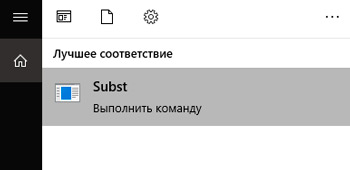
However, it also happens that after the next start of Windows, suddenly the “unreal” disk is again open. This “illogical behavior” can be explained. Separate Windows builds contain certain startup files that automatically open such a disk after the next start of the operating system.
To solve this problem as well, it is important to run one more service command shell:startup. The command will open a dialog box, which will indicate the directory where the startup file is located.
Clicking on a batch file will open a message in text format, which will indicate the path to the file from the startup directory. Following the specified path, it remains only to delete the file present there. Now the disk will not appear even after a reboot.
So, there are a sufficient number of ways to remove virtual drives. Everyone can choose the one that is absolutely clear to him and will be accompanied by less difficulty. It is really necessary to get rid of an unnecessary virtual drive, this will ensure not only comfortable work at the computer, but also facilitate the work of the operating system.