The growth in the number of network threats is a natural phenomenon, dictated by the general increase in network traffic. But it is one thing – viruses and Trojans that infect computers with deliberately unseemly purposes, and quite another – stealing files, regardless of whether they contain confidential data or not. In the first case, the highest qualifications, thorough knowledge of the nuances of programming are required. In the second, social engineering skills are often enough to steal a badly lying file.
For this reason, using built-in Windows security and antivirus software is not enough, and you have to resort to additional methods of protecting your data. One of them is blocking access to a file or its contents at the password level. Such tools are provided in a variety of software products, including those that are very popular. An example is the Excel spreadsheet included with Microsoft Office.
Contents
What is the PassFab for Excel utility for?
It is good practice to habituate yourself to safe ways of working. Let’s say you created a table that contains information about your financial spending, which you keep up-to-date by analyzing data for the week, month or year. Of course, you would not want this information to become public, so you protect the file with a password. If lines are entered regularly, you are unlikely to forget it. But there are situations when the table is rarely used, and after a certain period of time it is not surprising that you simply cannot remember the password after trying all the more or less used combinations.
Should I put a bold cross on a file that is important to you? Not at all. You can remove protection from an Excel sheet using the PassFab for Excel utility, and this is the only purpose of this program.
How to use PassFab for Excel
So, we have a file with the extension .xls, when you try to open which Excel asks for a password. We forgot it or did not know it at first, but the table needs to be seen desperately. This is where this utility comes in handy.
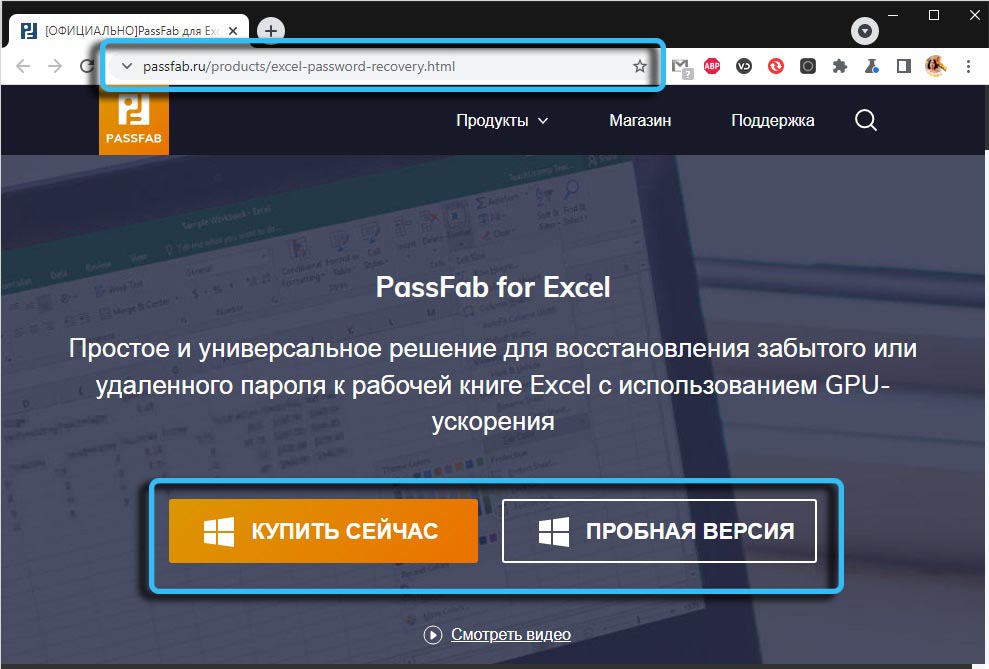
But first you need to download it, it is highly desirable – from the official site , so you are guaranteed not to receive a file infected with a virus. The trial version is fully functional, but has a limited duration.
On system requirements: the utility works in all versions of Windows, starting from XP. There are no special requirements for hardware, but it must be borne in mind that the more powerful the computer, the less time will be spent on guessing the password in difficult cases.
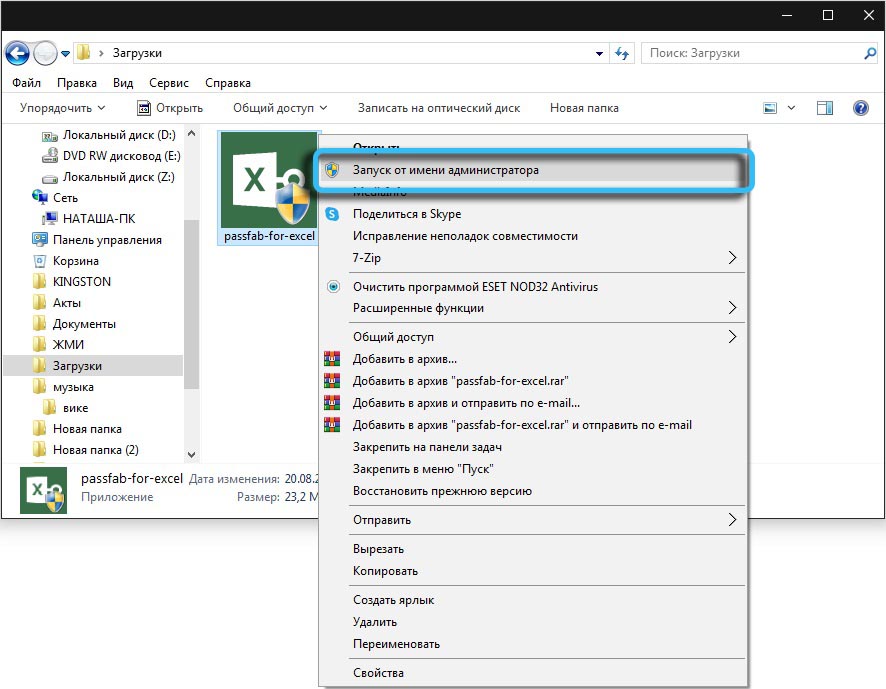
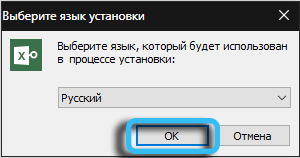
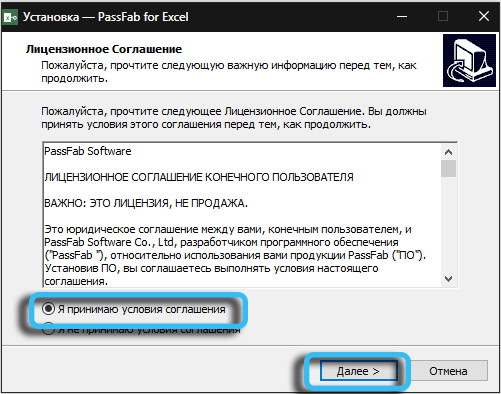
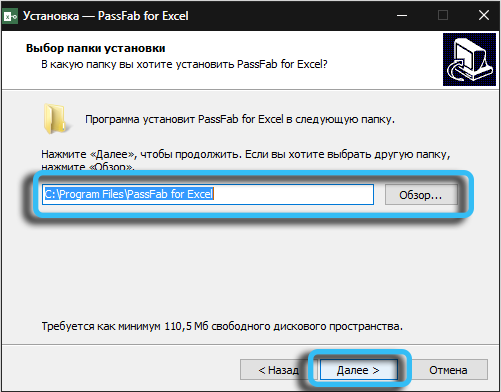
After downloading the installation file, run it. The installation procedure is standard and does not imply any difficulties with the installation.
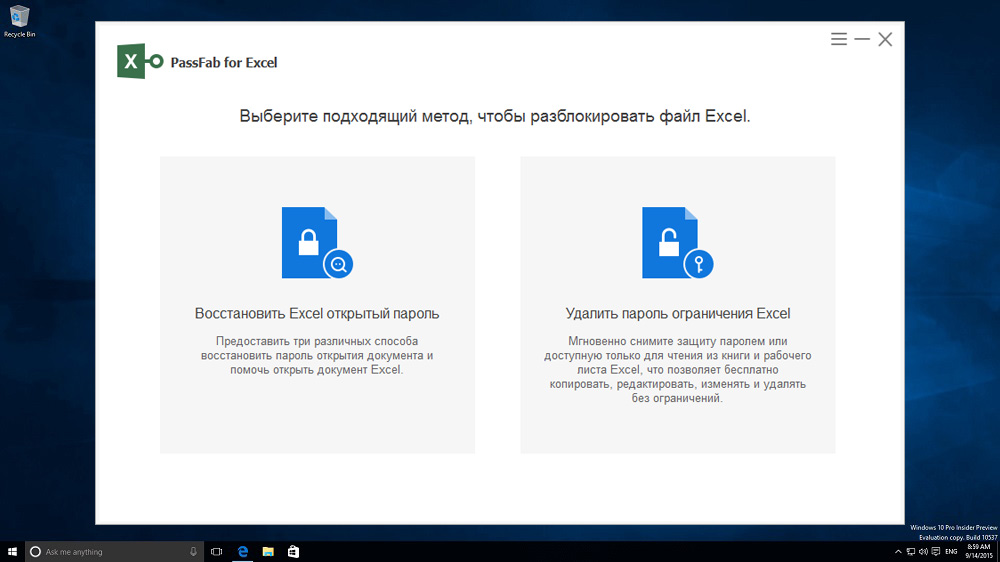
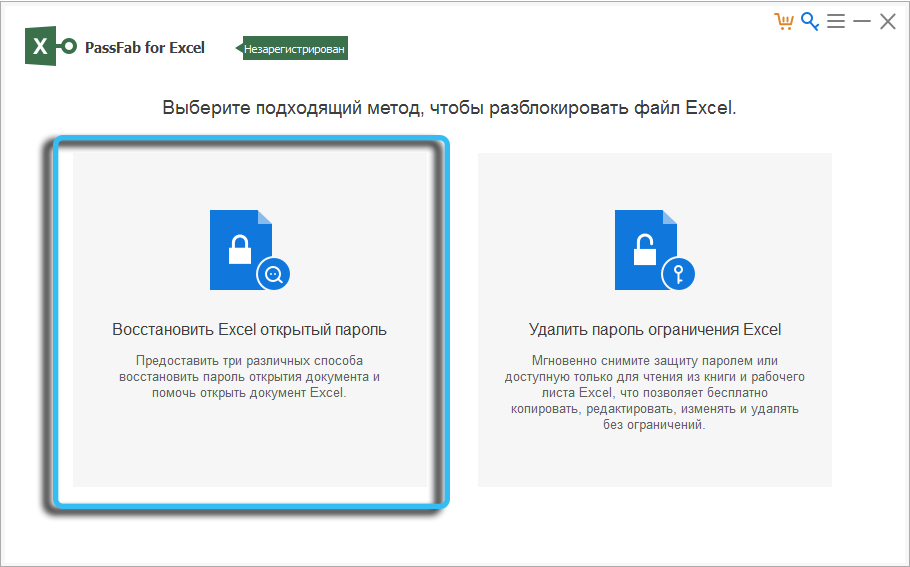
The main window of the utility has two modes:
- recovering a lost password;
- deleting a password.
Both modes have their own characteristics that determine the scope of applicability.
Password recovery
This function works in cases when the entire document is protected with a password, that is, when you open it, a window appears asking you to enter the password. Let’s consider a step-by-step algorithm on how to remove protection from an Excel sheet without knowing the password.
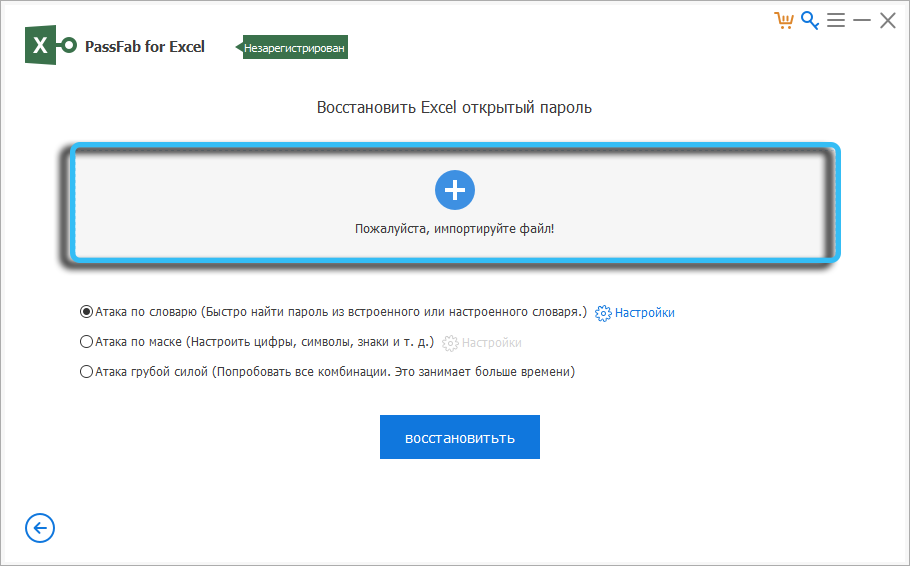
- Click on the left button (“Recover Excel password”):
- Press the plus button to open the file you want to unlock;
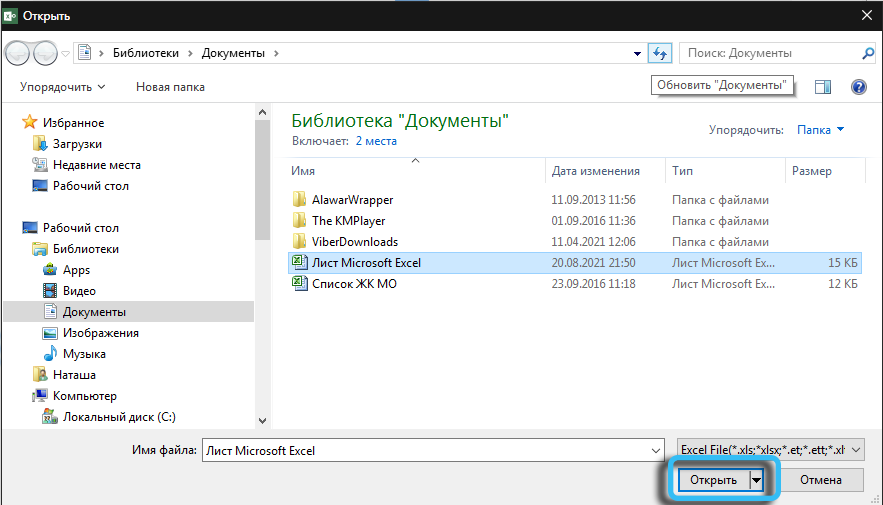
- We now have three possible options for further action:
- dictionary attack;
- mask attack;
- brute force attack.
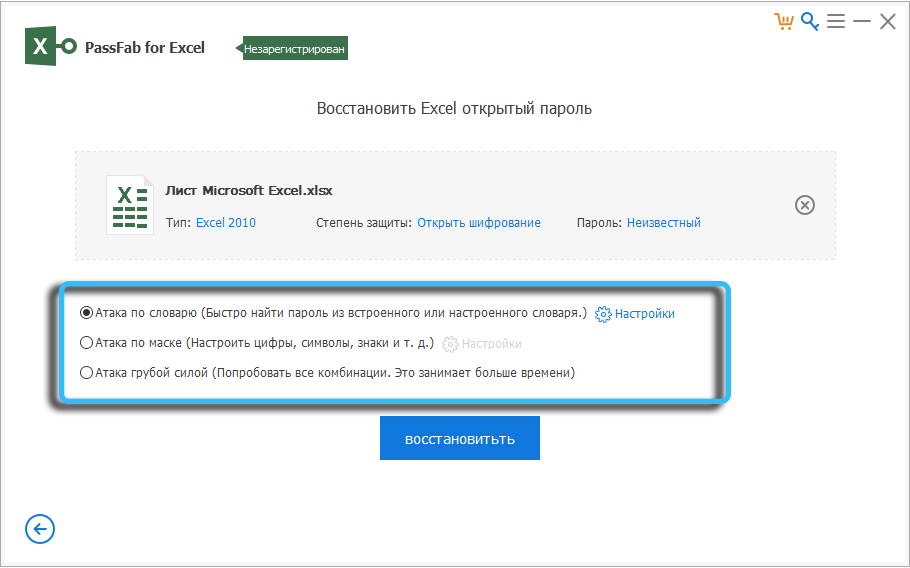
Let’s take a closer look at each of the functions.
Dictionary attack
The fastest way, but also the least efficient. The program comes with a ready-made database of the most common passwords. This is about 10 million records. The principle of forming the dictionary is as follows: the most common words used by people as passwords are taken, and their variations are compiled with various prefixes and suffixes. For example, anna, 123anna, anna1980, etc. The attack against the built-in dictionary, which is an 80 MB file, takes several seconds. The chances that the password will be recovered are not very high. If only because the dictionary is compiled with the expectation of an English-speaking user.
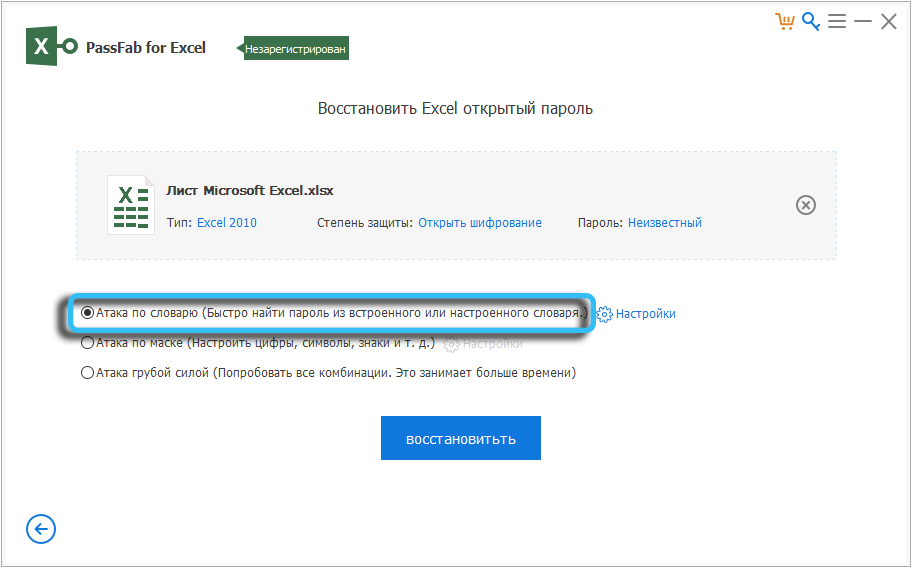
But there is one caveat: the dictionary can be replenished, and if you manage to find a file with passwords targeted at domestic users, you can add it. To do this, click the “Settings” icon opposite the first mode (“Dictionary attack”).
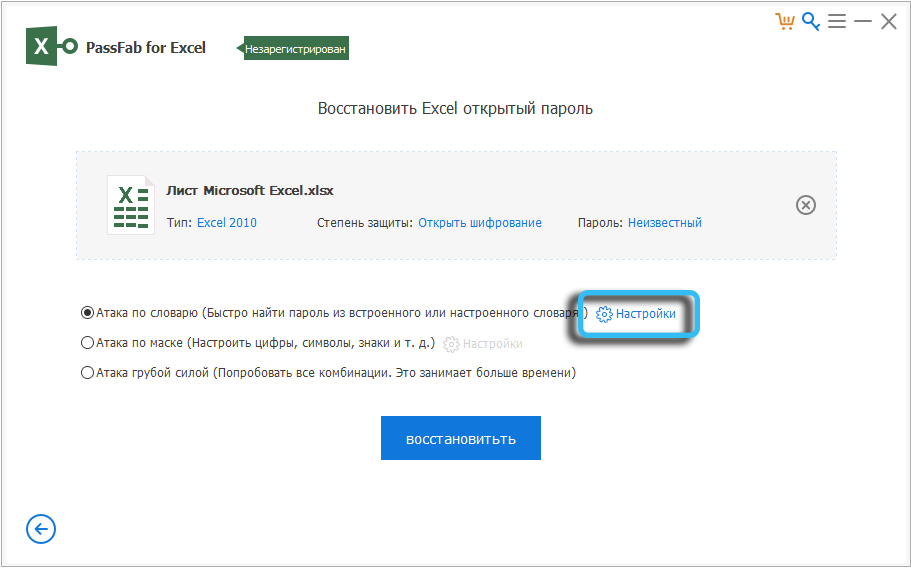
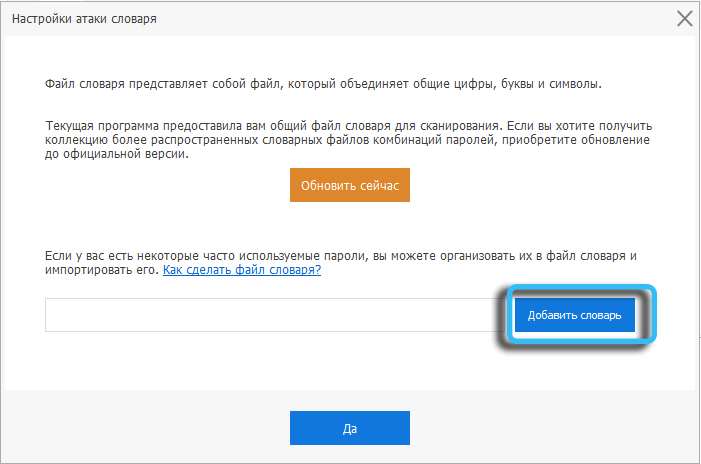
A new window will open in which you need to click the “Add Dictionary” button and select a file with passwords. Here it is worth noting the following nuance: increasing the size of the dictionary affects the search time linearly: if it is twice as large, then it will take twice as much time.
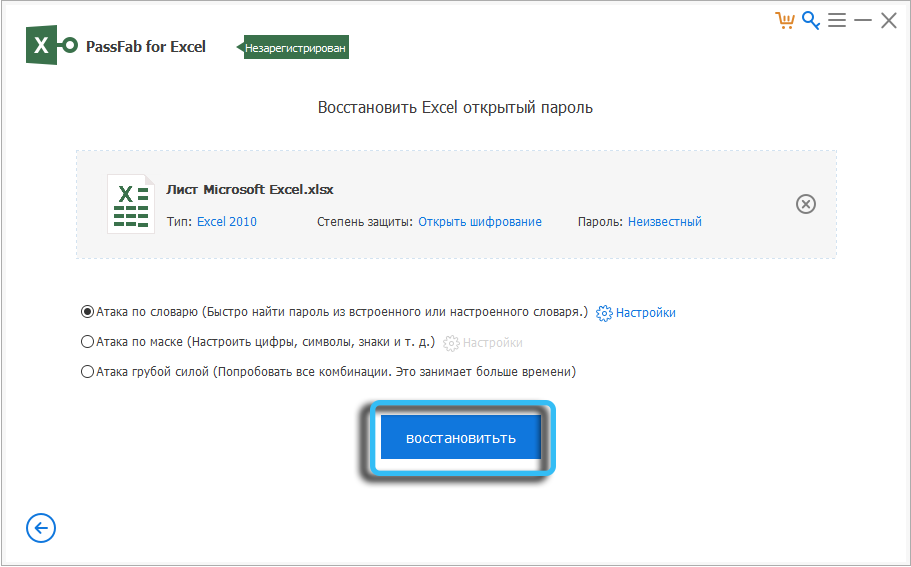
So, we figured out the dictionary. To remove the protection of the Excel sheet, put a tick on the “Dictionary attack” and press the “Restore” button.
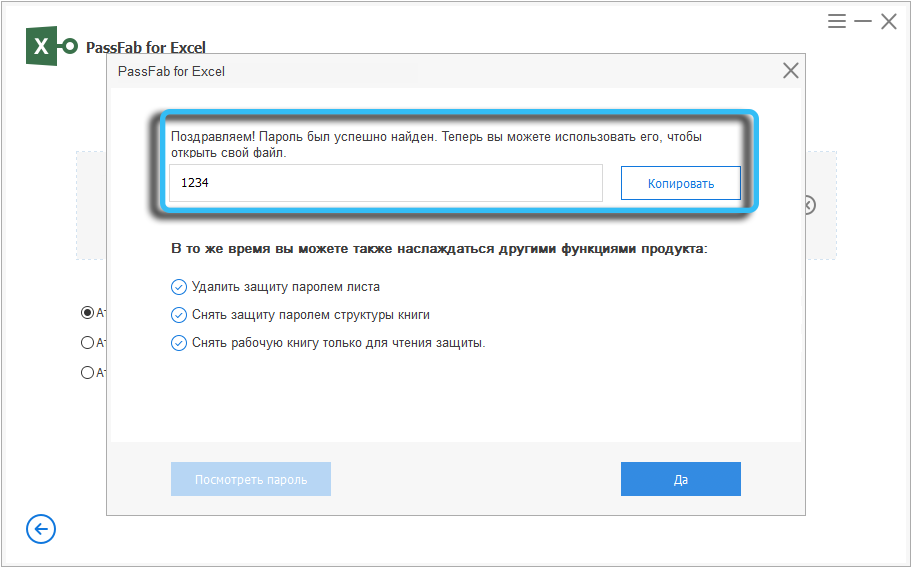
A window will appear with a standard warning that this function works only if you need to enter a password when opening a file. We agree by clicking the “Continue” button and watching the search progress. If the attack is unsuccessful, you will be prompted to perform the “Mask Attack” operation, otherwise the password will be displayed, which will be the required one.
Mask attack
This is the most effective way to crack a password – it is somewhere between a dictionary attack and an enumeration of all possible options. But to use it, an important condition must be met – you must know at least part of the password, and the larger the part, the better. In principle, many users form passwords in a similar way – they take some easy-to-remember word and add prefixes or suffixes to it. A mask attack uses a similar principle: it takes a mask and begins brute-force with the addition of other characters. True, the dependence on the length of the password fragment you know here will not be linear at all and obey the rules from combinatorics, that is, grow or decrease exponentially. So, to find one missing character, you will need to sort out about 40 options, and if there are two missing characters, then you will need about 40!options (forty in the factorial).
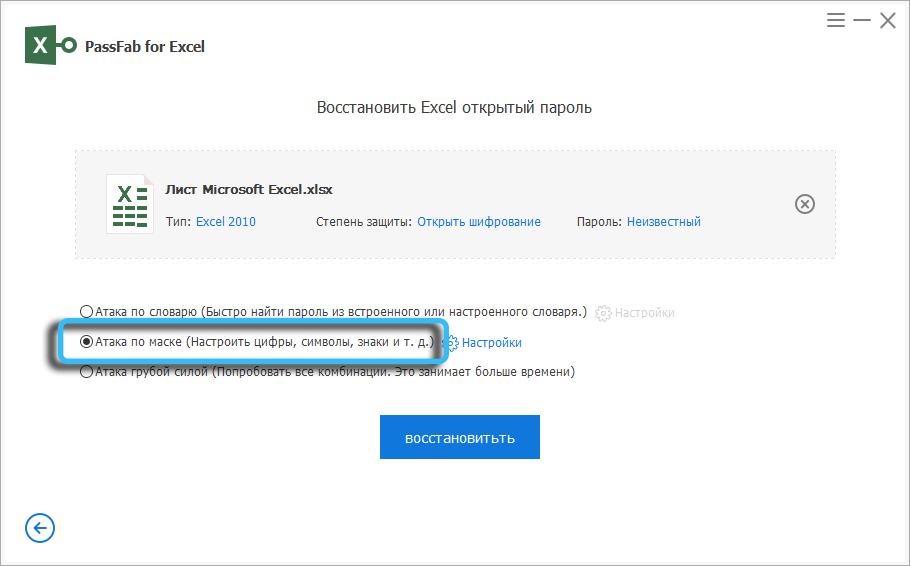
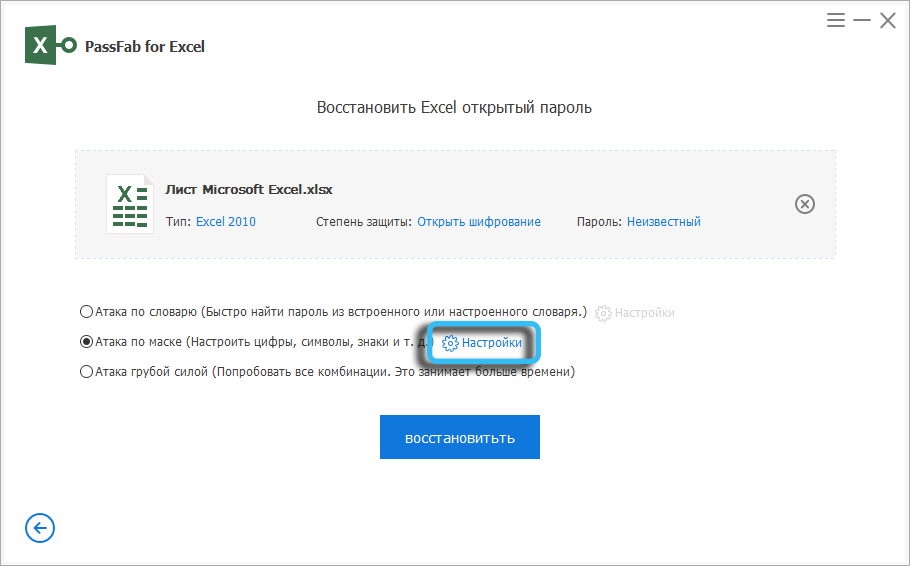
If the first mode (“Dictionary attack”), in principle, does not require the use of settings, then they are required here, so before removing protection from the Excel sheet, put the checkbox in the second mode and click on the “Settings” button.
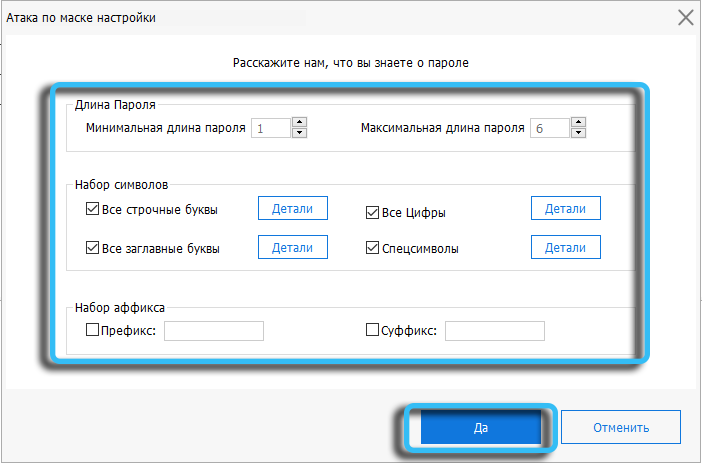
The length of the password is a very important indicator; the search time depends on it. The default number 6 is optimal in terms of the duration of the calculations, each increase by one significantly complicates the attack.
If you are sure that the password does not contain special characters, numbers or uppercase characters, you can exclude them by clicking the corresponding “Details” button, this will also help speed up the “brute force” (as the brute force method is called in jargon). You can also exclude some of the lowercase letters if you are sure you are not using them when generating your password.
And finally, the most important thing in the settings is a set of an affix, that is, a fragment of a password you know. If you know that it is at the beginning, that is, the password begins with the word “nik”, for example, then enter this fragment in the “Prefix” field, if you are used to adding characters in front, then write “nik” in the “Suffix” field. If a fragment you know is in the middle of the password, then you need to enter it in both fields.
Now you can confirm your settings by clicking the “Yes” button, and then start cracking by clicking on the “Restore” button.
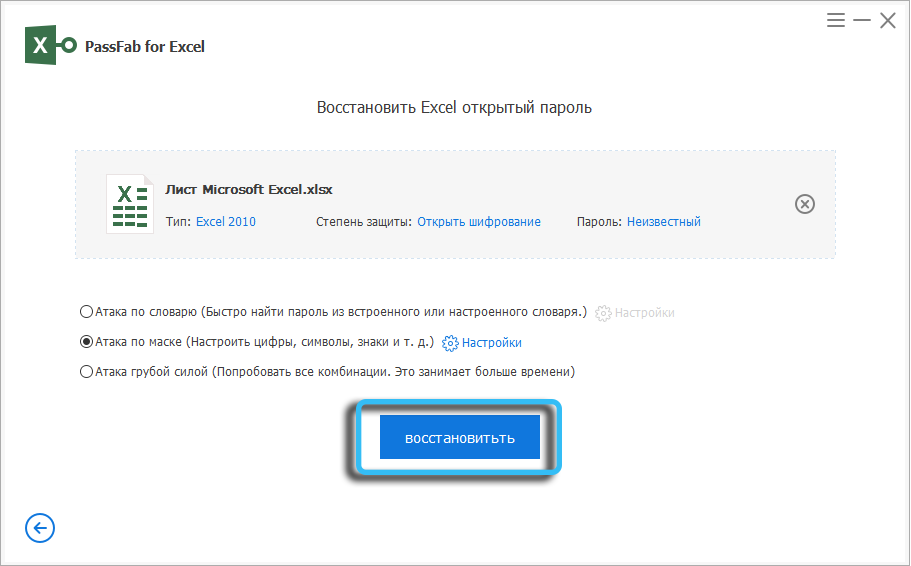
The brute force time will depend entirely on the settings you made, but in any case it will be less than a brute force attack. At least in theory.
Brute force attack
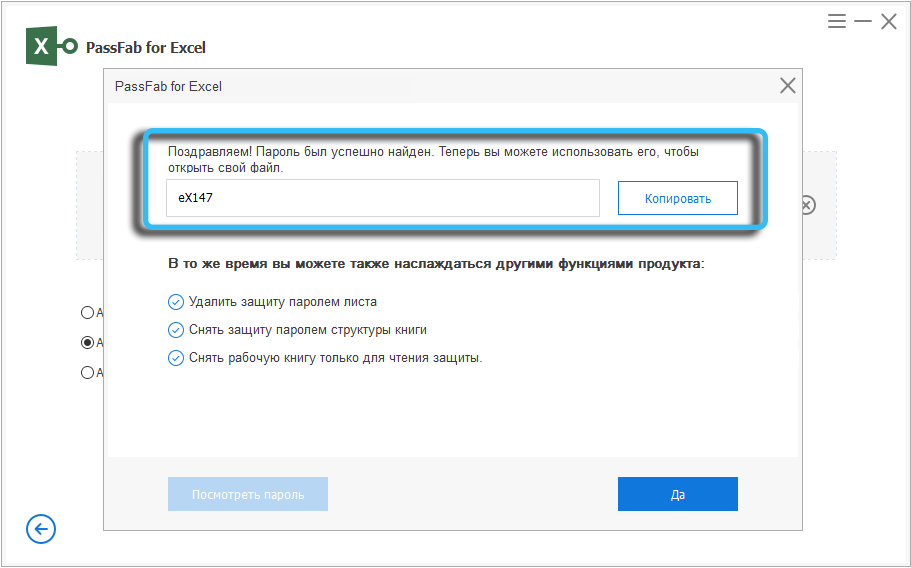
If the first method, that is, an attack with a dictionary, did not help, and you do not know anything about the password, the only option remains – a brute force attack, that is, enumerating all possible options, starting with four characters and gradually increasing their number by one.
So, in order to remove protection from the Excel sheet without knowing the password, put a tick in front of the “Brute force attack” item and press the “Restore” button. A window will open in which the progress of the attack will be displayed: which combination is being checked, how many passwords have already been verified, the speed of the search, the time spent.
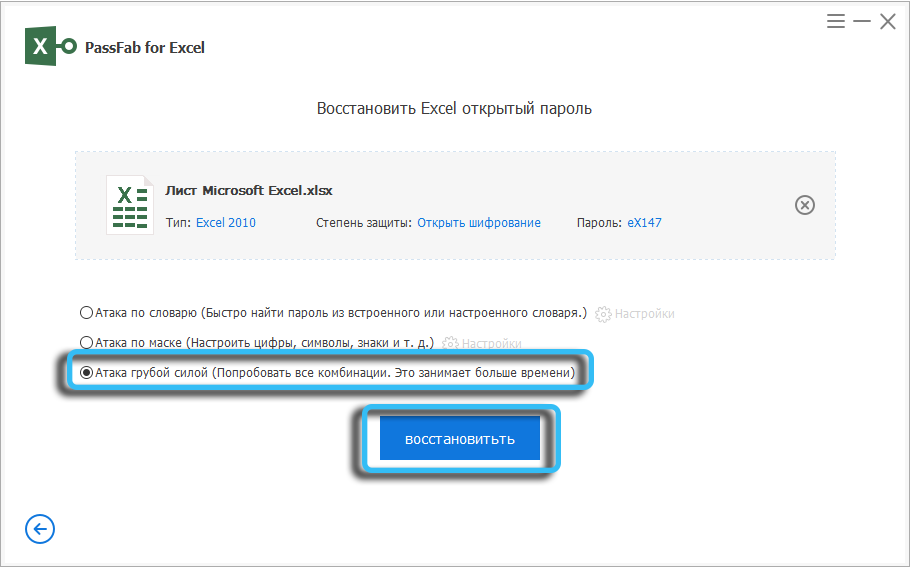
If the password is complex (the concept of complexity for this method depends solely on the length of the password), then the selection can take a long time, from a day or more. Much also depends on the processing power of your PC’s processor. If you really need a password, and time is not constraining you – just wait, perhaps luck will smile on you. Otherwise, press the “Stop” icon (a square in a circle) to interrupt the search.
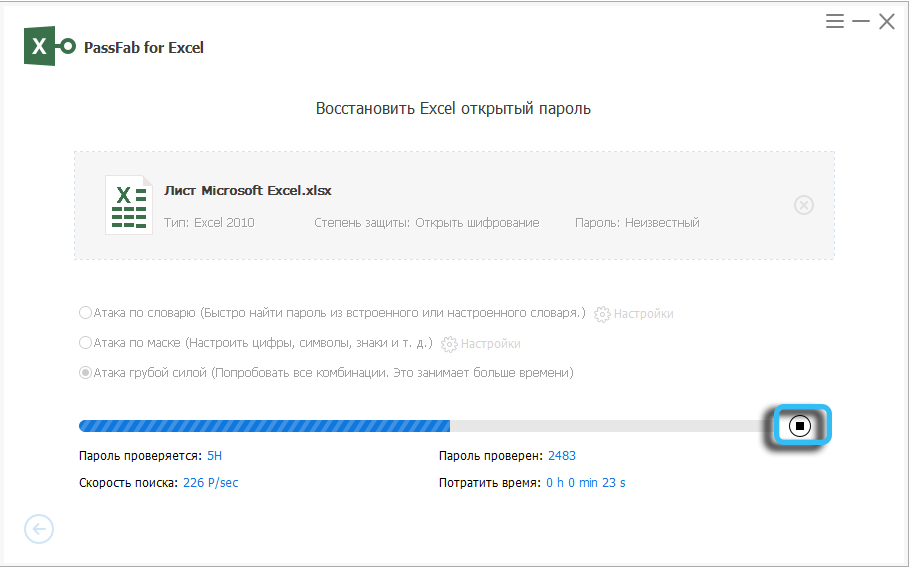
PS Even without knowing anything about the password, you should first try a mask attack, limiting the length to 6 or 7 characters and removing special characters, numbers and uppercase letters. If it doesn’t work, add numbers and try again, then you can remove the numbers and add uppercase letters. In any case, such an attack will be performed much faster than a brute-force attack.
Remove restriction password
Often, not the entire file is protected with a password, but its components – individual sheets or books. This is done so that the document can be viewed, but without the possibility of making any changes to it. This approach is practiced in offices where the ability to edit data is assigned to responsible employees, but all interested parties can use the data.
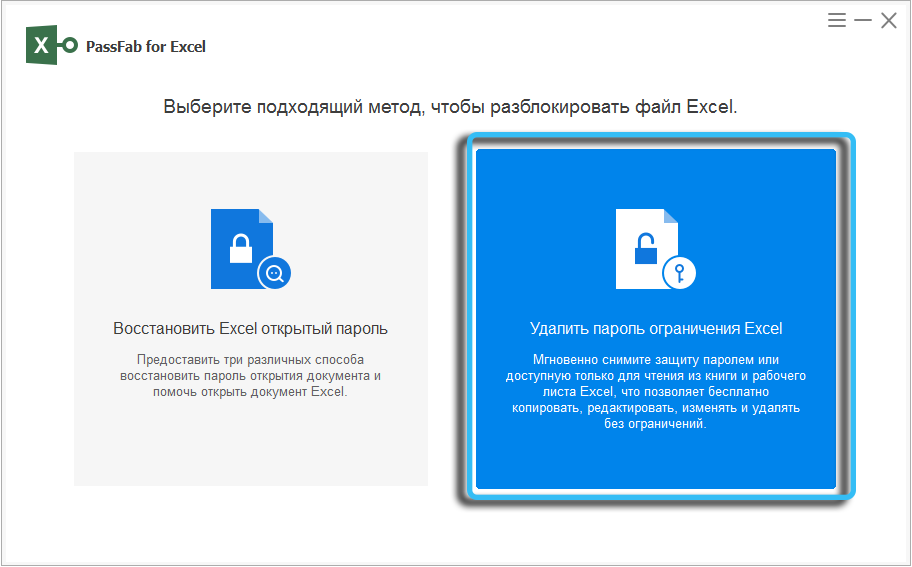
If you come across just such a file, that is, when you open it, a window appears asking you to enter a password or select the “Read-only” mode, then you can unblock access to its contents using the PassFab for Excel utility.
Before removing protection from a password-protected Excel sheet, make sure that the above requirement is met, otherwise the program will generate an error or freeze.
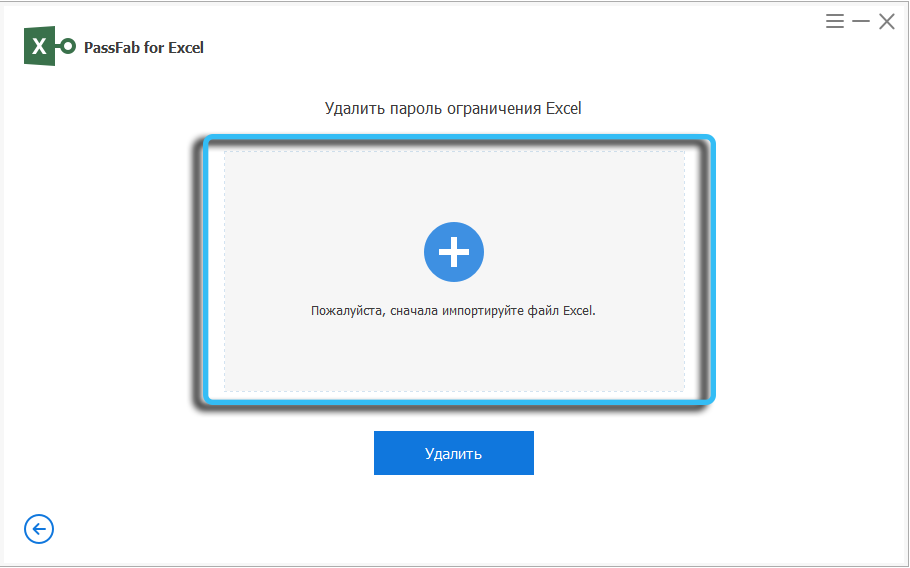
The procedure itself is quite simple: run the utility, select the right-hand window (“Delete Excel restriction password”), then add the file itself and press the “Delete” button.
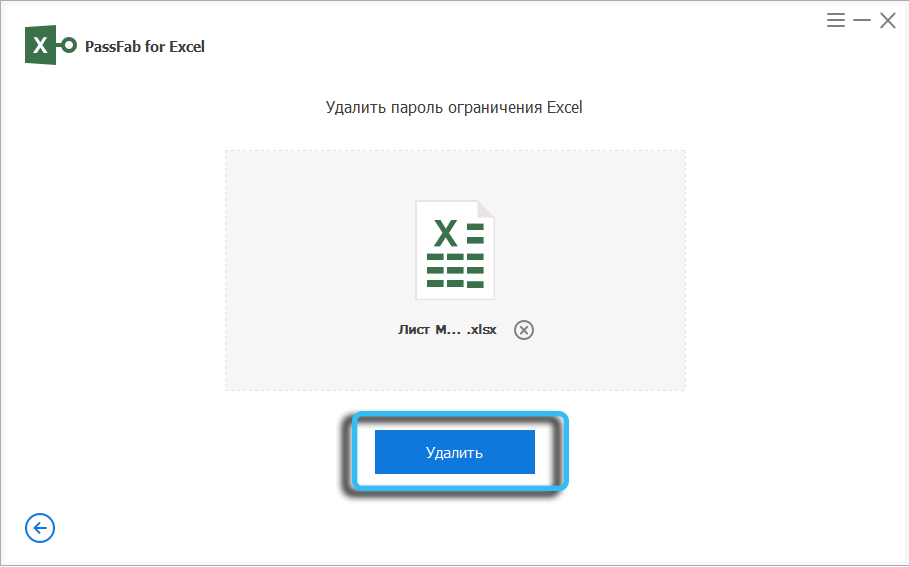
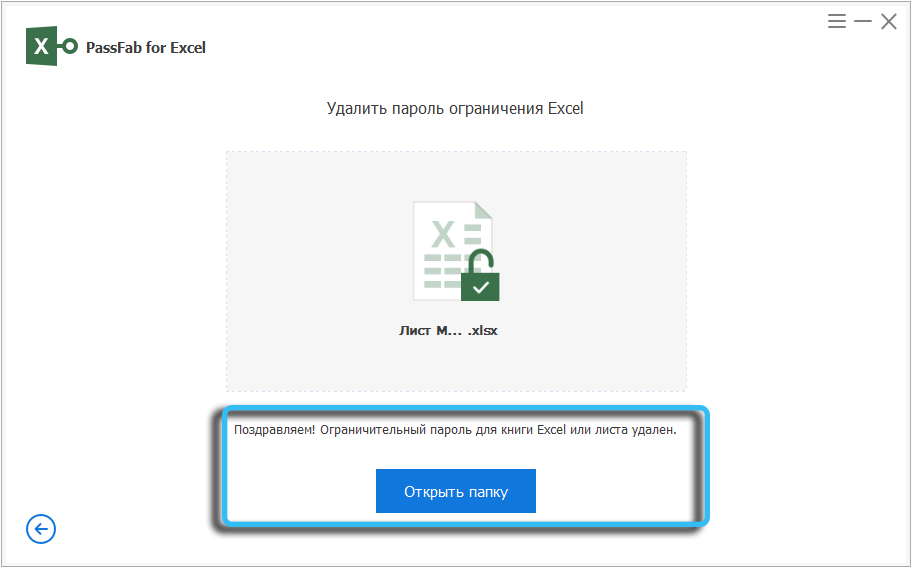
As a result, after a few seconds, a window will appear with the inscription that the lock password, which restricts the possibility of making changes to the document, has been removed.
Note that for security purposes, the original file will remain protected in the same folder from which we opened it, and the cracked file will be saved in the utility’s installation folder (usually the passfab_for_excel folder on the same disk where the original file was located).
You ask how the utility was able to guess the password and remove it so quickly? The answer is quite simple: a macro allows you to remove protection from an Excel sheet, which does not need to guess a password; it can unlock access to the contents of a document without knowing the correct combination of characters.
But if the entire file is password-protected, the macro will not work here. Simply because you cannot start it until you enter the correct password.
So, we examined how the PassFab for Excel utility works, which can be downloaded from the official site of a developer specializing in password cracking.