Wondering how to take a screenshot in Windows 10? Shortcuts, capture tool, keyboard key … We offer in this quick tutorial several methods to perform the operation in a flash.
Since last year, Windows 10 has been equipped with an intuitive and rather complete screen capture tool called Screen Capture and Sketch . Aside from this new feature, there are other methods of capturing what appears on your screen on the latest Microsoft operating system.SUMMARY
Take a screenshot using the keyboard shortcut
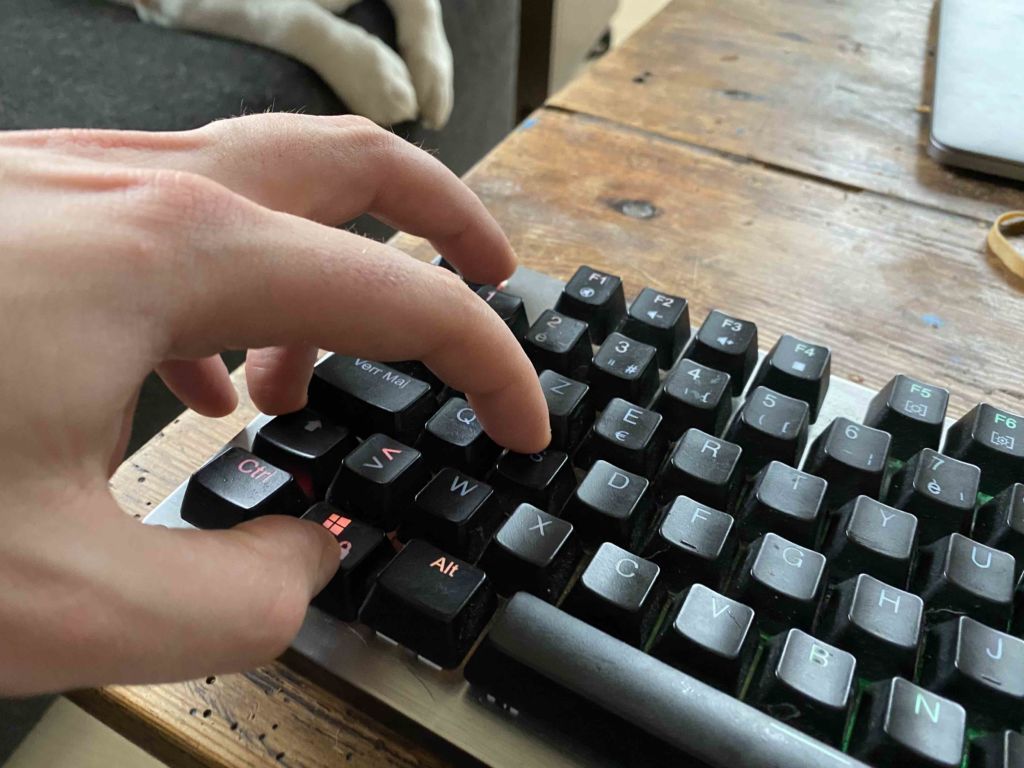
On Windows 10, you can quickly use the Screen Capture and Sketch tool via a keyboard shortcut.
- Press Win + Shift + S simultaneously
- Select the area to capture with the cursor
- Quickly click on the pop-up window at the bottom right to edit and save your image
Take a screenshot using Screen Capture and Sketch
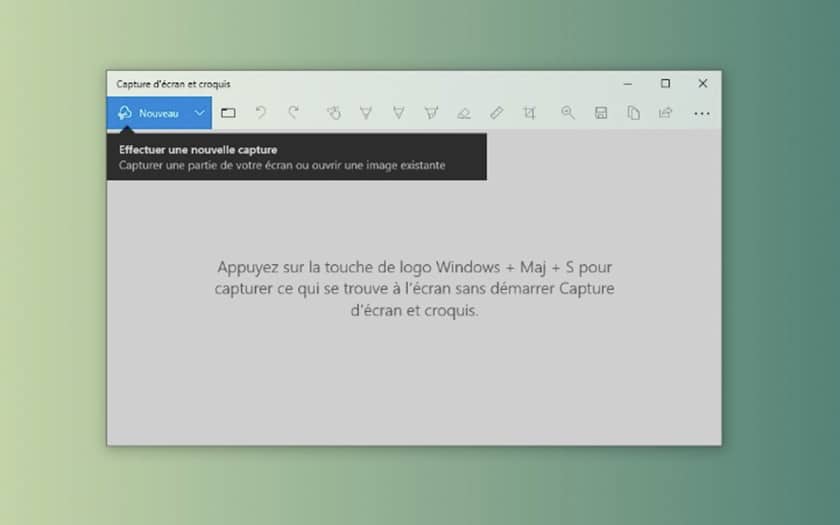
Microsoft’s new tool is still the best way to take screenshots on Windows 10. Here’s how to use it effectively:
- Go to the Start menu > Programs> Screenshot and Sketch
- Click New at the top left and select the area to capture
- Tap the Disk icon to save your capture
Take a screenshot using the Print Screen key
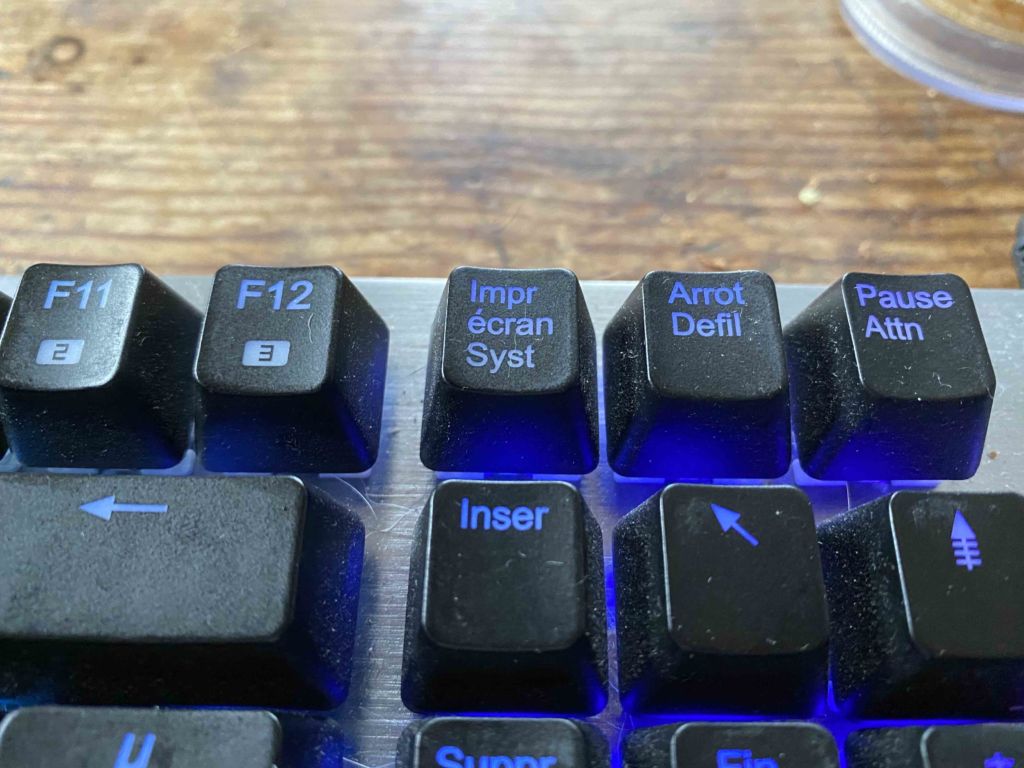
If you are resistant to the keyboard shortcut of the first method, it is also possible to configure the Print Screen key. As soon as you press the key, the Screen Capture and Sketch tool will launch automatically.
- Open the Screen Capture and Sketch application
- Click on the three small dots, then Settings
- Then go to Use the Print button. screen to open the screenshot
- A window will appear and ask you if you want to change the application – click Yes to continue
- Go to Windows Settings> Keyboard> Screen Printing Shortcut
- Activate the functionality by clicking on the button of the same name
- Restart your computer to save the changes
Here, you will now only have to press the Print key. screen to automatically capture. Be careful, don’t forget to click on the pop-up window at the bottom right to save your image.