
With a root you become the “master” of your android – with all the rights of an admin. You don’t have to be a technology expert to root a smartphone or tablet. There are various tools that can help you do this. And we will show you how in the workshop.
EnlargeWe show you how to rootet Android and unlock additional features.© Google Inc.
Especially owners of older smartphones are familiar with the problem: After Android 5, the manufacturer has discontinued support – but you would like to use the new functions of Android 6 or 7. Since the hardware is still in good condition, a new purchase is out of the question for you. Using a custom ROM is therefore a welcome alternative. A central prerequisite for this is an end device in the root state. If you don’t want to deal too deeply with the “Android Debugging Bridge” (ADB) and the command line, we have found the right alternative for you.
Root tools for Windows
There are currently root programs for various older end devices, which take over all steps from unlocking the boot loader to installing a recovery solution. In this workshop we will present three solutions: The “ Nexus Root Toolkit “Was created especially for the Google Nexus devices and supports in its current version all current devices except the two new pixel smartphones. We will also show you how the “ Windroid Toolkit “, Which supports around 175 devices in its current version. If you have a Samsung smartphone or tablet, the third toolkit in the group is the ” Unified Android Toolkit “.
Contents
That means “root”
Samsung Galaxy S6 32GB Black Sapphire

Pricedevelopment for the productMore offers in price comparison
The administrator of an Android smartphone who has all rights is referred to as root or superuser. The rights of the user account are comparable to those of an administrator under Windows . As a super user, you gain permissions that you do not have as a normal user.
This is possible with a root
With the authorizations you have obtained, you can install and use special apps such as backup tools or cleaners to their full extent, install new Android versions that are still partially in the test phase at an early stage or set up so-called custom ROMs that improve your Android system optically and functionally.
Root risks
The manufacturer’s warranty on the smartphone usually expires with the root. However, the process can often be reversed.
Rooting a device has many advantages, but you should also think about possible restrictions and risks in advance. The biggest risk is the total loss of a device while rooting. The tools presented here work quite reliably, but they are not 100 percent error-free. In the end, instead of an outdated, functioning smartphone, you could hold a worthless piece of electronics in your hand. The second risk is checking certain apps for root access. Apps from the streaming area in particular check in the first step whether you are working with a rooted device. If such access is discovered, the app refuses to work.
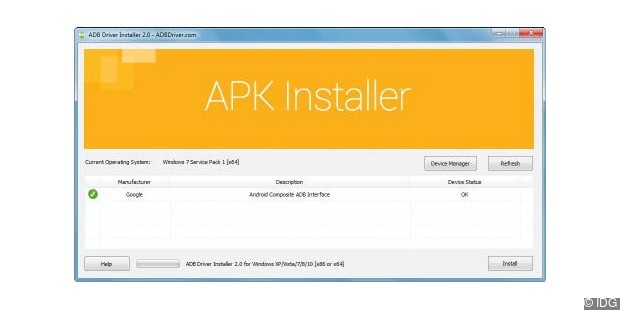
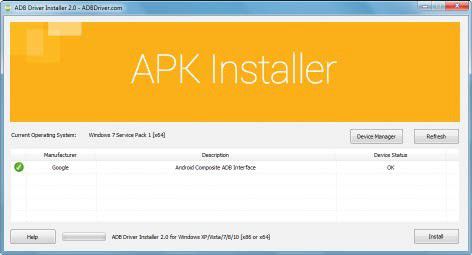
EnlargeYou need the ADB drivers to run the toolkits and to communicate between your computer and smartphone. Download them via the APK installer.
However, if you use rooting as an intermediate step to your new custom ROM, at least the last two points are usually not an issue. Most Custom ROM representatives offer a parameter with which you can switch root access on and off if necessary. This not only makes your smartphone safe, it also works for all apps that require an unrooted state.
Note: During the root process, errors can occur that, in the worst case, shut down the smartphone – what is known as “bricking”. Rooting is at your own risk. Neither the manufacturer nor we are responsible for any damage that could be caused by a root.
Create backup: You should make a backup of your smartphone. This is possible, for example, with the My Phone Explorer desktop application . Or you can use the software provided by the manufacturer, provided that it has a backup function.
Necessary preparations
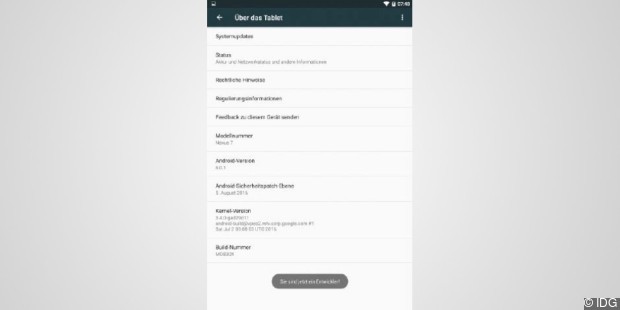
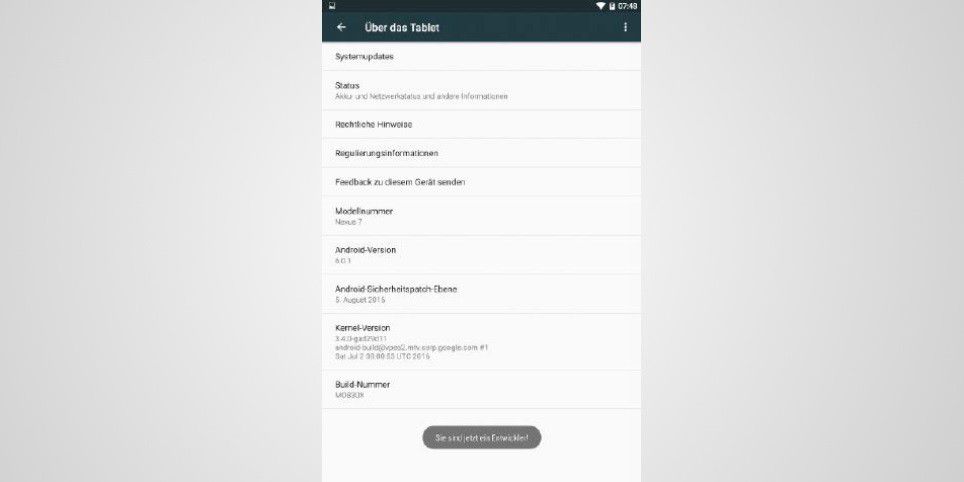
EnlargeTechnical communication is only possible with activated USB debugging. To do this, activate the developer functions and then debugging.
So that the execution of the presented programs also works, some preparations are necessary both under Windows and on your smartphone or tablet. The “Android Debugging Bridge” (ADB) is used for communication between your Windows computer and the Android device. This is not available in the standard and must therefore be installed later. There is a suitable package for this on the “ADB Driver Installer” website extracted from the Android development tools. Download the automated installation drivers, extract the zip file, and then run the EXE file.
In order for communication with your smartphone or tablet to be successful, you must first activate USB debugging in the developer options. If these are not visible in the settings, display them by clicking the “Build number” several times within the phone status.
Nexus Root Toolkit

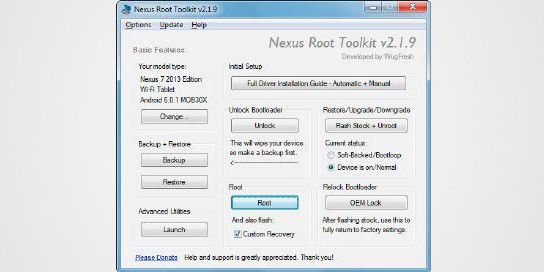
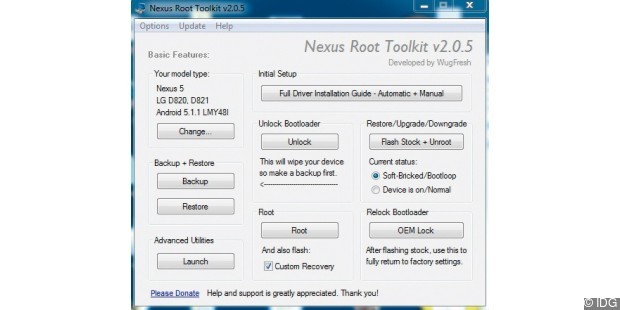
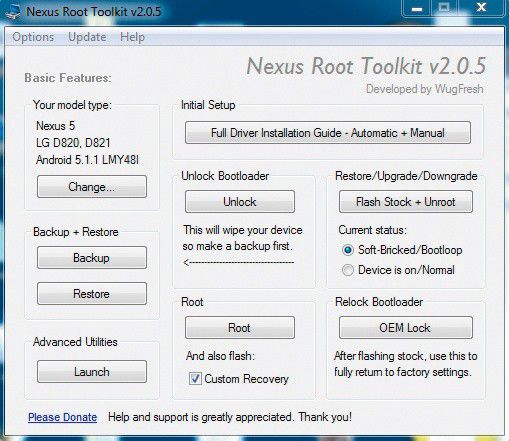
EnlargeWith the “Nexus Root Toolkit” you can secure your device, unlock the boot loader, root the device and install a recovery solution.
When all the previous steps are complete, your smartphone or tablet is ready and you can get to work on rooting your device. First of all, we will show you how to do this with the “Nexus Root Toolkit” (NRT) from Wug-Fresh. You can find a complete list of supported devices and the download link here . Download the current version 2.1.9 and install it on your computer.
When it is started for the first time, the software checks whether all components are up to date.
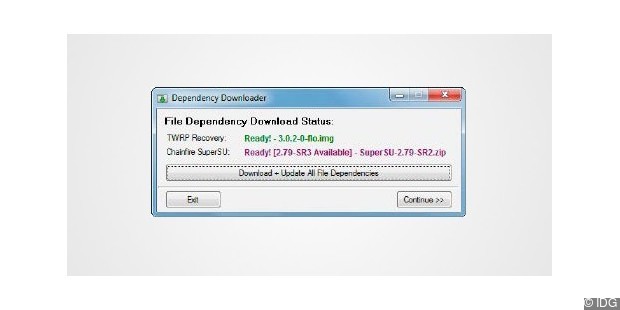
EnlargeWhen you start checking NRT if all files to-date as is.
To ensure that the tool also uses the correct firmware to update your end device, you must first store the smartphone or tablet used under “Your model type”. To do this, use the “Change” button to select the appropriate end device and also specify which build number is currently being used on your device. With some Nexus devices, the “Auto Detect” function works and the NRT automatically detects the number. Otherwise you can either determine this manually on your smartphone or tablet via “Properties -> Via phone” or “Via tablet”. However, it also works fine if you select the last entry in the “Any Build” list.
Carry out a data backup
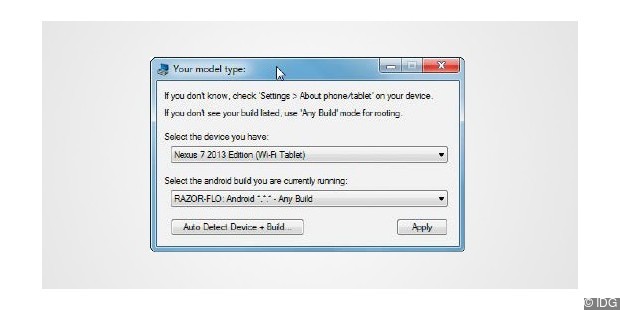
EnlargeSo that the correct files are loaded, specify the end device and, if possible, the installed build.
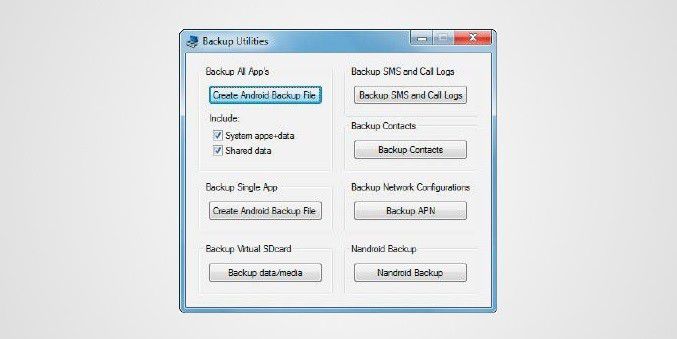
To secure your installation, NRT offers you the option of backing up your installation using the backup function. You will see numerous options in the window for backing up individual data or apps. For easy recovery including the apps and their settings, it is best to use the “Create Android Backup File” function and select both the “System Apps” and the “Shared Data”.
Your device then reboots. Follow the instructions within NRT. You can track which actions are being carried out at any time in the “Live Log” window on your computer. At the end you will receive a summary and see in which directory NRT has saved the backup files.
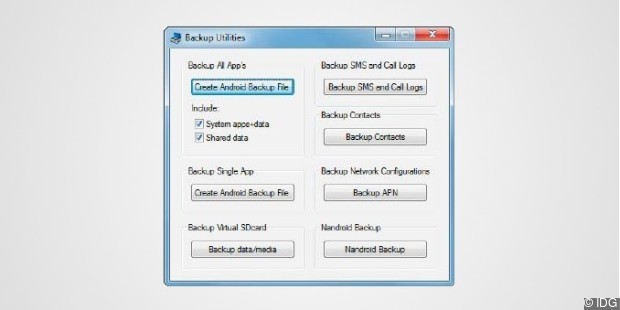
EnlargeWith the backup utilities you can optionally backup your end device.
Unlock and root your device
To be able to root your end device, the boot loader must first be unlocked. This also leads to a complete deletion of your data. If you have not previously backed up your data and you still need parts of your smartphone data in the future, do this step first. Otherwise the content is irrevocably lost.
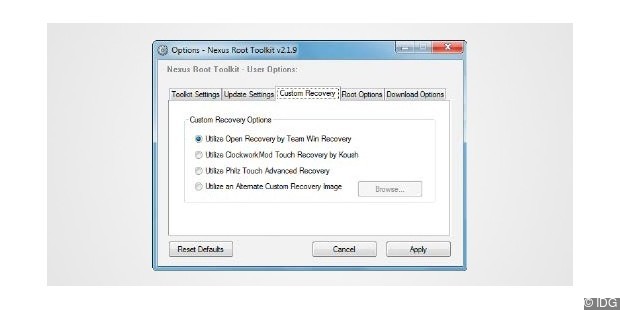
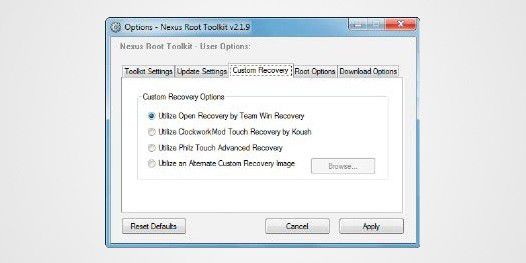
EnlargeNRT offers you a selection of different recovery solutions.
Use the “Unlock” function to unlock the boot loader. Your end device will be restarted and put into bootloader mode. The boot loader is unlocked and your device is restarted. You have now laid the foundation for rooting your device. It makes sense to combine this step with the installation of a “recovery solution”. NRT uses the “TWRP” standard. If you prefer a different solution, you can adjust this under “Options, -> Options -> Custom Recovery”.
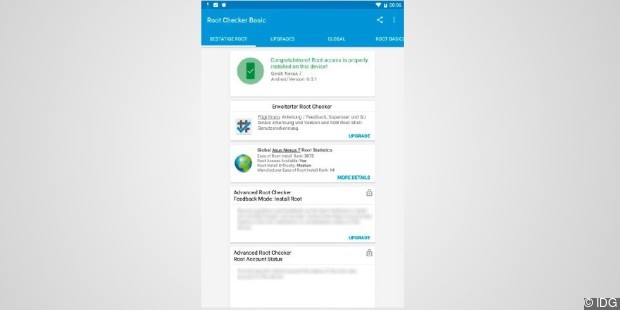
EnlargeCheck if these were successful completion of the actions with the “Root Checker”.
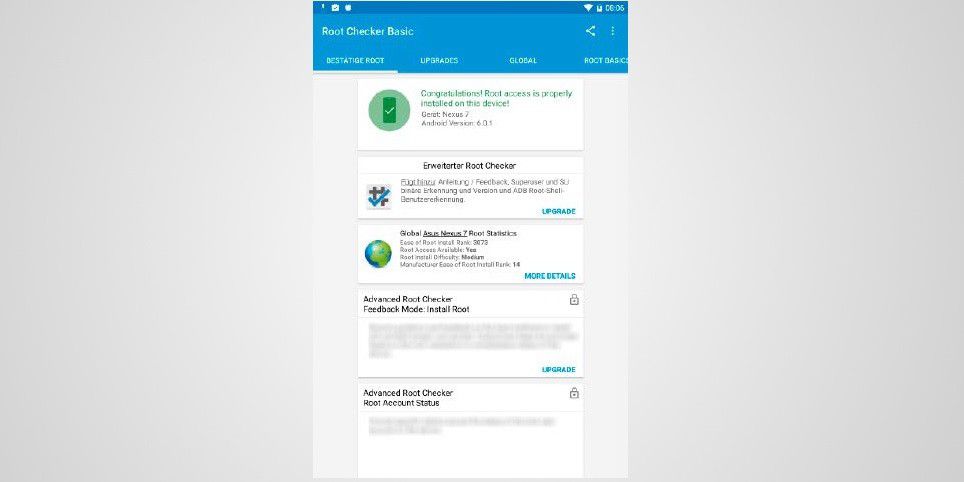
Your device restarts in bootloader mode and flashes the recovery partition with “TWRP” or your favorite recovery system. The root files are then copied to your end device and installed. At the end of this action, NRT will start again with your installed Android version. The “SuperSU” app has been added and your device is rooted. The easiest way to determine whether the campaign was really successful is to use the ” Root Checker ” app . You are now the owner of a rooted Nexus device.
See also: The best system tools for Android
Remove root completely
EnlargeBack to the origin: NRT also allows easy installation of the current factory image.
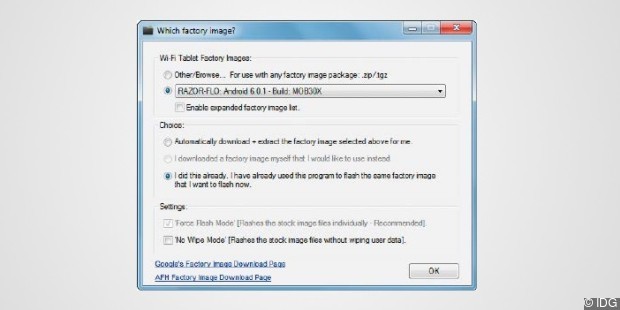
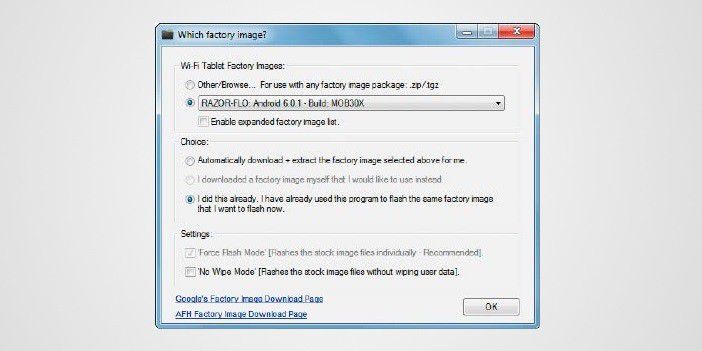
If you ever want to return to your starting point and want to turn your device back to its original state, NRT will help you again. The “Flash Stock + Unroot” function is available for this. Please note that this action also completely deletes all apps and all data and resets your Android device to the delivery state.
In the following window, select the version with which you want to work in the unrooted state in the future. If it is already on your computer, select the “I did this already” option in the “Choice” section, otherwise download the version with the “Automatic download” option.
NRT carries out the desired actions and puts your device back in the unrooted state. Finally, use the “OEM Lock” function to lock the boot loader. You have now returned to the original delivery state.
The best smartphones under 250 euros(Picture 3 of 6)

Wiko View 2 Plusprice ( as of 02/18/2019 ): from 179 euros in the PC-WELT price comparison
data: The Wiko View 2 Plus impresses with a 5.93 inch 19: 9 display and its design “Supernova” with color gradient . But there is also black and gold to choose from. An octa-core processor with 1.8 GHz and 4 GB RAM is installed under the hood. The 64 GB memory is expandable. In addition, the 4000 mAh battery ensures a long battery life.View Wiko View 3 Pro at Media Markt© Wikotoenlargethe picture gallery
Windroid toolkit
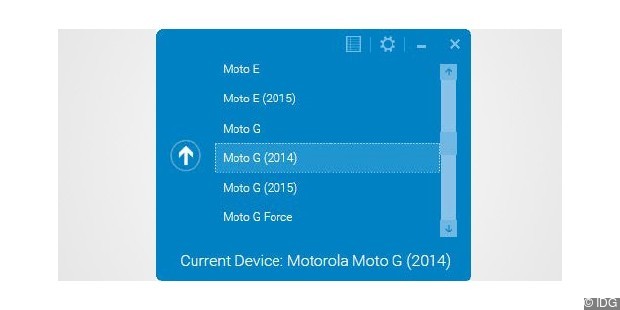
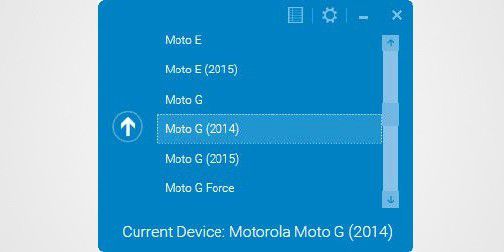
EnlargeThe “Windroid Toolkit” select the device first thing that you want rooten.
One of the most extensive toolkits for rooting smartphones and tablets is the “Windroid Toolkit”, which is home to the XDA Developer Forum . The software has existed for several years and currently includes the rooting of around 175 end devices, from Alcatel One Touch to Yureka from Yu. The developers provide the complete list of supported devices in the form of a Google Docs spreadsheet updated available. You will also find a direct link to the corresponding support forum at XDA Developer in this table for many devices. In this workshop we will show you how to root a Moto G2 from Motorola with this tool. Download the approximately 5.5 MB file and run it on your computer. Immediately after execution, select the manufacturer and the model you own and want to root with the toolkit.
“Windroid” then downloads all the necessary program data in the background and reports at the end of the installation with the ready-to-use interface.
Moto G2: Unlock bootloader
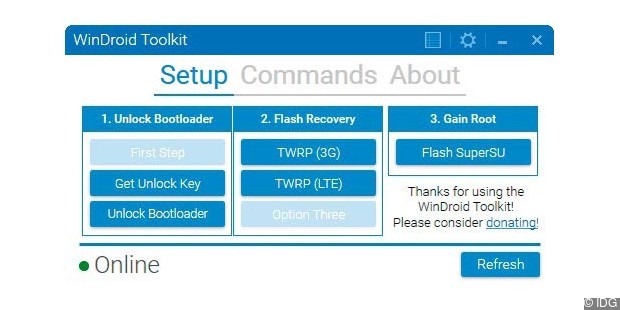
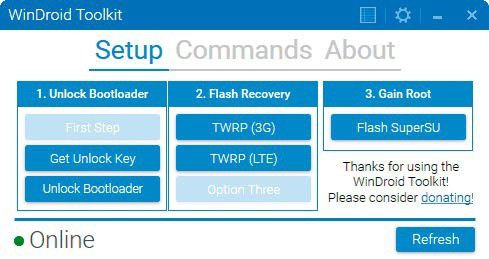
EnlargeUnlock first before you install the boot loader the recovery solution “TWRP”.
Unlocking the boot loader is a multi-stage process for Motorola devices. For the first step you need a unique key assigned to the device to unlock the boot loader. You can request this directly from Motorola using the tool and the “Get Unlock Key” function. The device is started by “Windroid” in bootloader mode and the key is requested from Motorola. In our test, this step did not work reliably, which is why we switched to the Motorola web platform and unlocked the device. Unlike the Nexus devices, this setting cannot be reversed at Motorola. When you activate the boot loader, you lose all warranty claims.
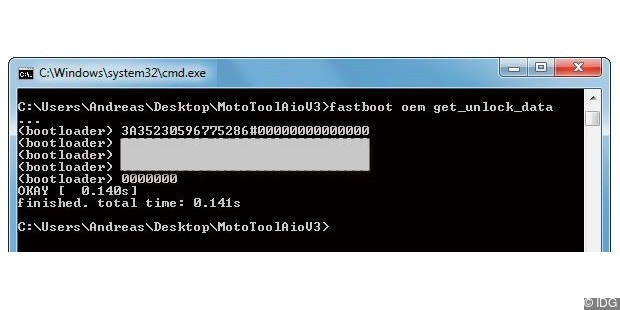
EnlargeTo unlock the bootloader, Motorola needs a unique key.
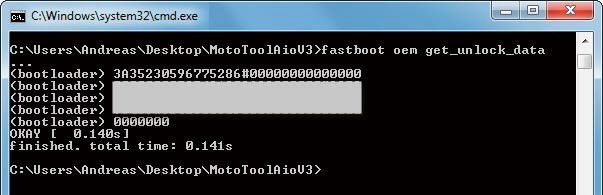
First, open the Motorola website , where you can unlock your device. Next, connect your Motorola smartphone to the PC and start it in the boot loader using the key combination “Power + Quiet”. In Windows, open a command prompt window and navigate to the directory where you installed the ADB package. From there, call the “fastboot” function with the following command:
fastboot oem get_unlock_data As a result you will receive a key, which you enter in step 6 on the website and which you can use to check whether your device can be unlocked. Before you get the unlock key, you have to agree to a statement informing you of the consequences of your actions. You need a Motorola user account to unlock it. You can either create a new one or use your Google account. Finally, you will receive the key to unlock the bootloader at the registered email address. Send this again to your device via the command prompt:
fastboot oem unlock IHR_SCHLUESSEL This unlocks the boot loader on your end device. Then reboot the device.
In an emergency: Remove the custom ROM again – here’s how
Install recovery solution and root
In contrast to NRT, with “Windroid” only “TWRP” is available as a recovery solution. Since there are two models of the Moto G2, the rooting tool still needs information from you in the second step which device it is.
“Windroid” starts your device again in the boot loader and plays the recovery solution. After the successful campaign, you will receive appropriate feedback and can restart your smartphone. In the third step, the necessary files for root access are loaded, transferred to your smartphone and installed. Important in this step: To start the action, the screen must not be locked. This completes Windroid’s actions and you will have a rooted smartphone the next time you start it.
Unified Android Toolkit
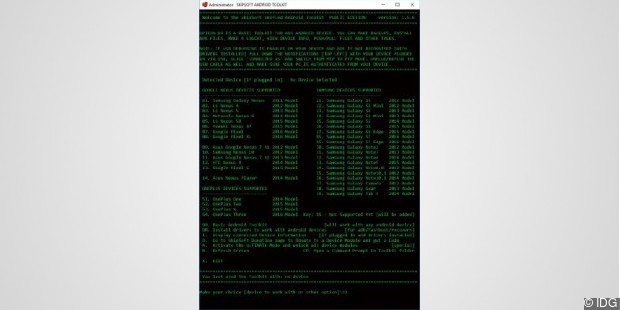
EnlargeUAT supports a variety of Samsung devices, the Galaxy S2 to S6 Edge.
Although “Windroid” offers a very large base of supported devices, there is no support for Samsung smartphones and tablets. At this point, however, the ” Unified Android Toolkit ” (UAT) from Skipsoft shows its special features and its strengths. A complete list of supported devices can be found on the provider’s website . There is also a corresponding announcement that the current models Galaxy S7 and S7 Edge will soon be supported.
First, download the latest version 1.5.6 of the software and install it on your computer.
Create conditions
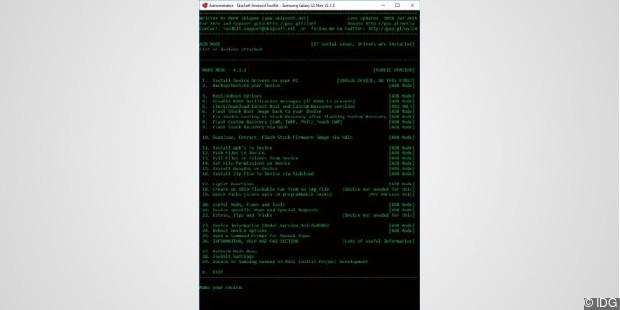
After you have installed the software, select the desired device in the first step using the input mask.
The UAT then loads the required files in the background and keeps you up to date on the surface. In the next step, you specify which model you are currently using. If you are not sure, you can look up the information on your smartphone at any time in the “Settings -> Via phone”.
UAT still needs the Android version that is installed on your device and then downloads the data packets that are necessary for the installation.
Install and root drivers
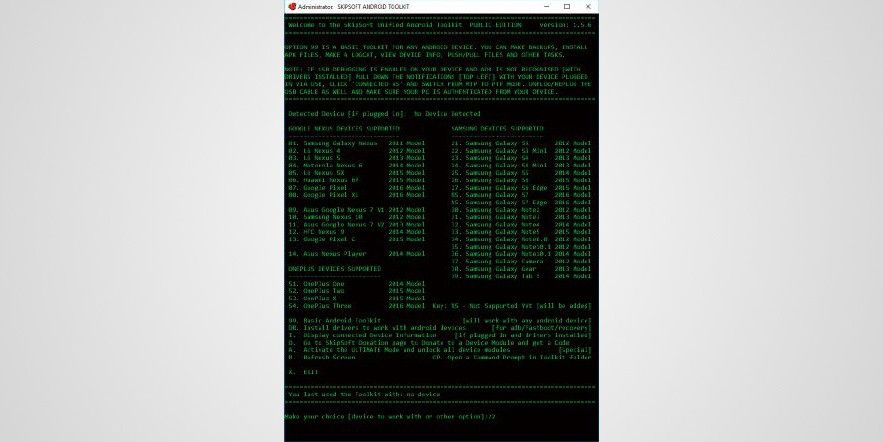
EnlargeAfter you have loaded the complete software on your computer, you can start rooting your device.
If you have the software you need, you can start rooting. As with all other devices, the basis for the successful installation of root access are the existing drivers for access under Windows. Install this via the first selection step. Then work through the list of menu items from top to bottom. Before starting the actual adjustments, the UAT also offers you the backup of your data in a second step. Then UAT roots your smartphone before it takes care of Samsung’s security solution KNOX and at the end installs the recovery ROM.
Three more examples:
Step-by-step root guide for three popular Android smartphones
In addition to introducing the three tools, we also offer detailed instructions on how the root process works for the smartphones Samsung S6, HTC One M9 and the Google Nexus
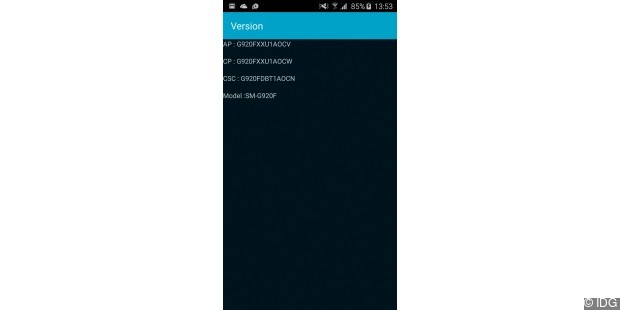
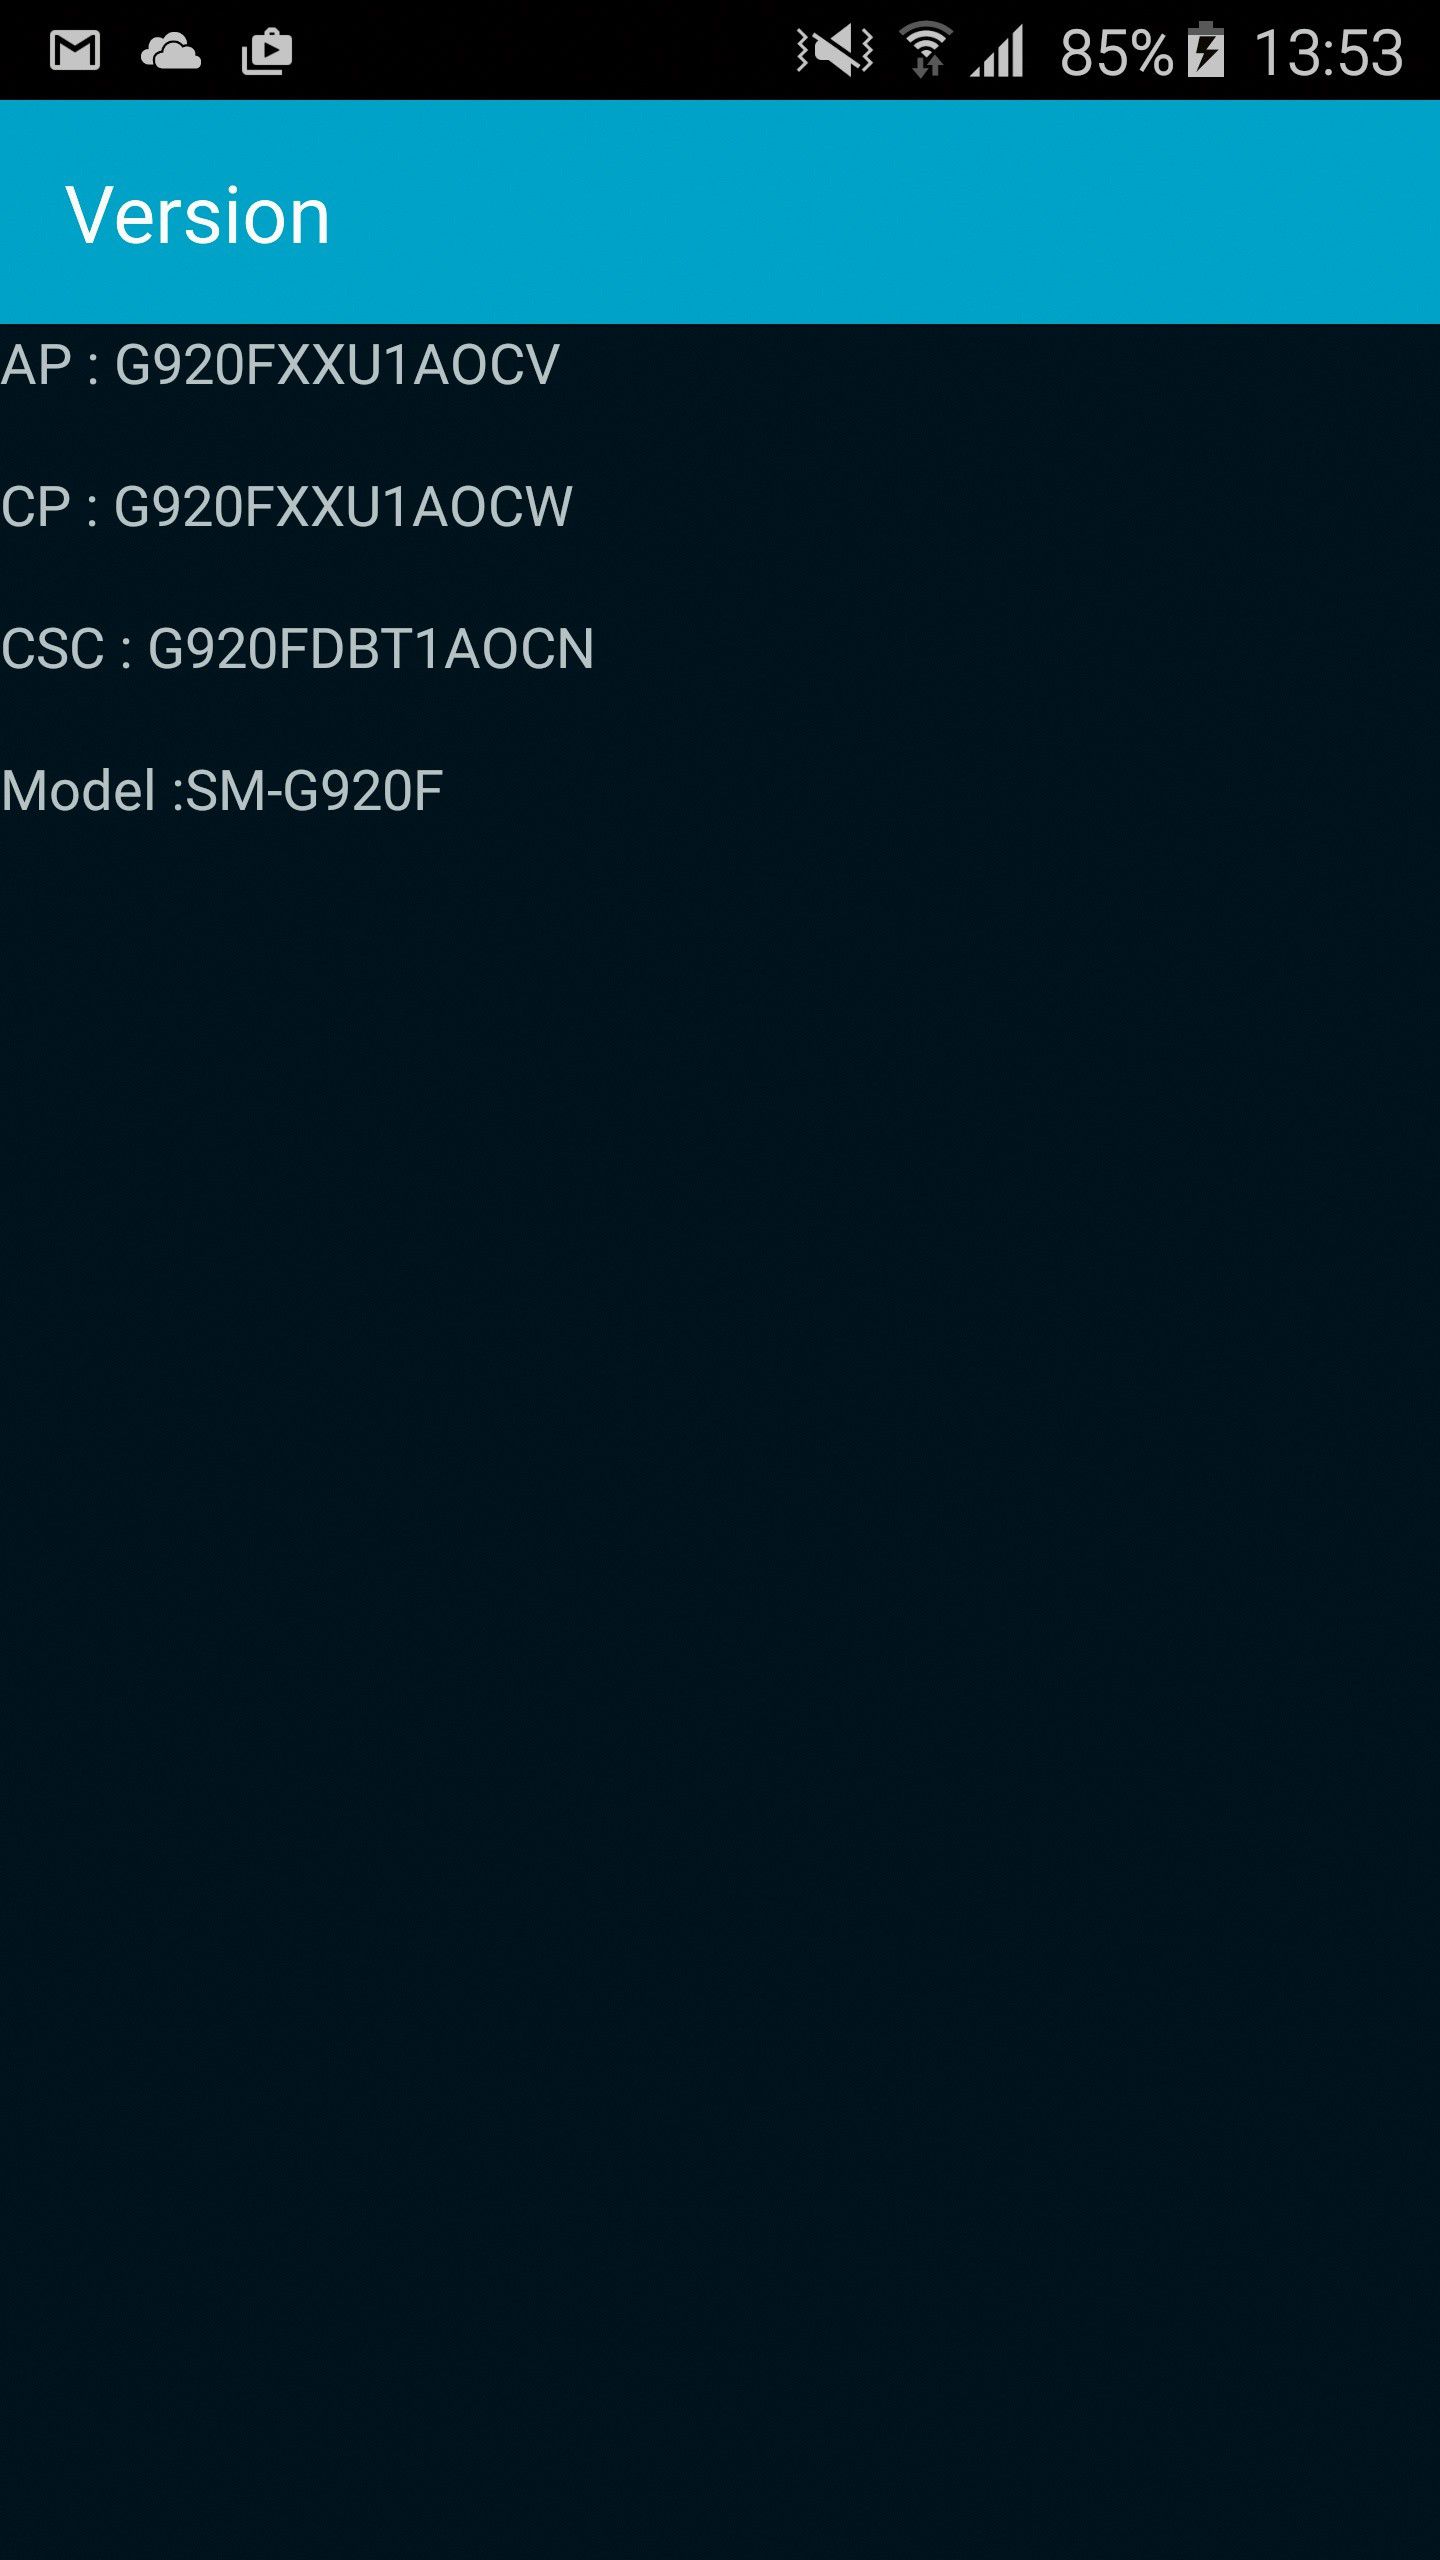
EnlargeCheck if your S6 version is actually supported. To do this, simply enter * # 1234 # in the phone app.
Root Samsung Galaxy S6
Rooting your Galaxy smartphone has rarely been as easy as it is now – all you have to do is install an APK file, and the rest is done by the Pingpong program. You can root your Samsung Galaxy S6 GT-I9600 using the following instructions .
What you need: Samsung Galaxy S6 with at least 50 percent battery charge and an APK file. Depending on the approach, you still need a PC and a USB cable.
Preparation: Check on the PingPong-XDA website under “Supported devices -> Cick to show content” whether your ROM version is supported by the rooting tool. To find out the ROM version of your Galaxy S6, enter * # 1234 # in the phone application – the version number is behind “AP”. The ROM version can also be found in the device information.
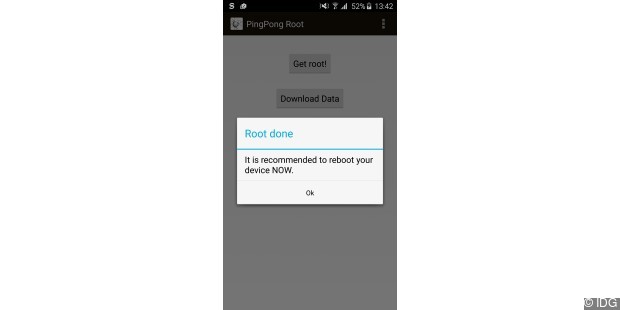
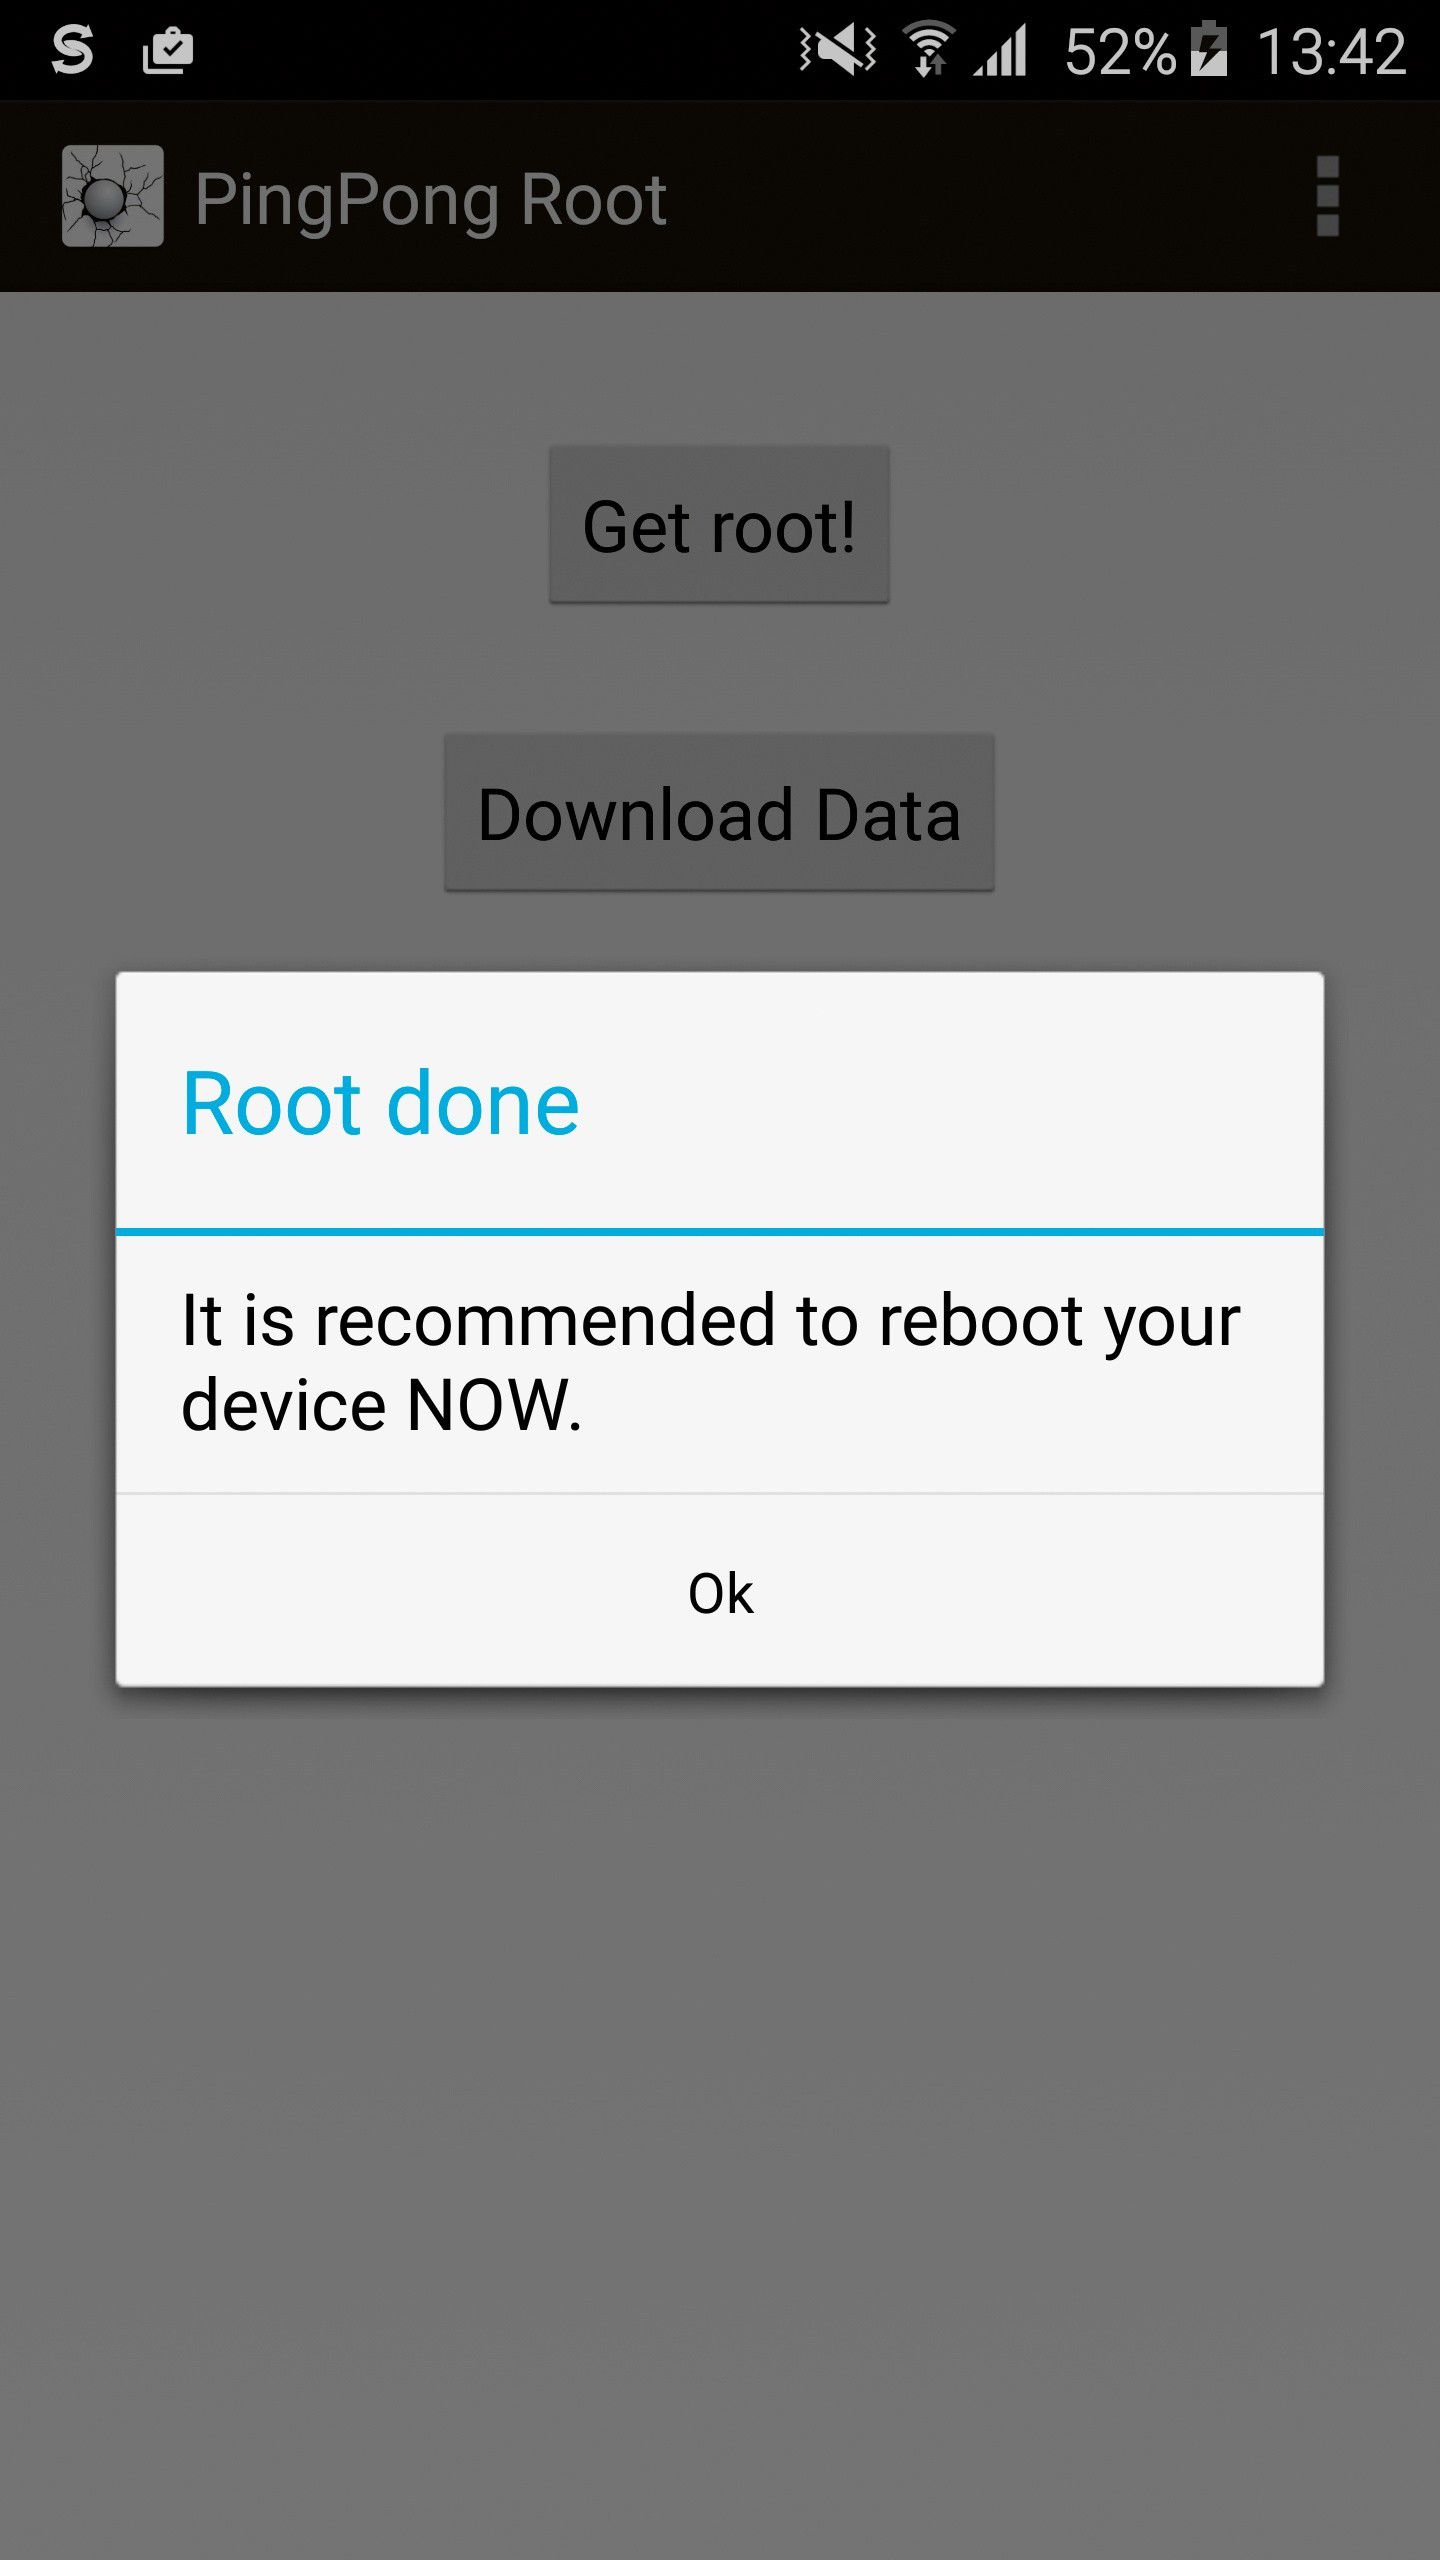
EnlargeInstall the ping-pong root APK on the Galaxy S6, and tap “Get root!” – done! The S6 is already rooted.
If your device is supported, download the “pingpongroot_ <Version> .apk” file. Either start the download on the PC and then copy the file via USB to the smartphone (top storage level), or call up the page directly in the mobile phone browser and download the APK directly to the S6. Then navigate in the settings to the item “Device security” and activate “Unknown sources”. Now you can start.
Delete unnecessary bloatware from the smartphone
Step 1: If you have transferred the APK file from the PC to the cell phone, go to the app menu, open the “Tools” folder and start “My files”. Tap Device Storage and navigate to the bottom of the list for the APK file. If you started the download directly from the S6, simply pull down the notification bar and tap the download. Otherwise, you will find the file in the Own files in the “Download history” folder.
Step 2: Tap on “Install”; after a few seconds the app is on your phone. Now open the application. Then install “SuperSU”; the file is offered automatically. Then tap “Done”. You will be taken back to Pingpong Root. The SuperSU file may need to be updated; you only have to confirm this.
Step 3: If you are connected to the internet, tap “Download Data” to update device data – if there are updates
Step 4: Tap on “Get root!”. The process takes only a few seconds – you confirm SuperSU permissions. Then restart your cell phone. Congratulations! Your Galaxy S6 is now fully rooted!
Step 5: Download the ” Root Checker ” app . In the app, tap “Confirm root”, grant SuperSU access and check whether the rooting was actually successful.
EnlargeThe All-In-One Toolkit takes When rooting by the hand and leads the process by semi-automatic.
Root HTC One M9 with Toolkit
Rooting an HTC device has always been tricky. HTC has been allowing the bootloader to be unlocked and rooted itself since the end of 2011 – and has set up a bootloader area on its developer website with instructions on how to unlock and flash the software. Via the website www.htcdev.com/bootloader takes you to the developer area. On the right side under “Supported Devices” you will find all supported mobile phones. Devices that are not listed but that came on the market after September 2011 are also likely to be supported. HTC explains step by step how to do it – but in English.
Root HTC One: For special models, there are separate toolkits that are programmed by free developers such as Squabbi, with which rooting is extremely simple. The HTC One M9 Toolkit (in this guide) will guide you through the entire process. The boot loader is unlocked, the recovery mode is flashed and the device is finally rooted.
You need: An HTC One M9 with at least 50 percent battery charge and the corresponding toolkit from the Internet. You also need a Windows PC and a USB cable.
Preparation: Download the HTC One M9 Toolkit from Squabbi . With the toolkit, rooting and bootloader unlock are semi-automatic. The toolkit does the driver download for the HTC One M9 for you. In our instructions we work with version 1.4 of Squabbi’s Toolkit. In addition, download the Android SDK down.

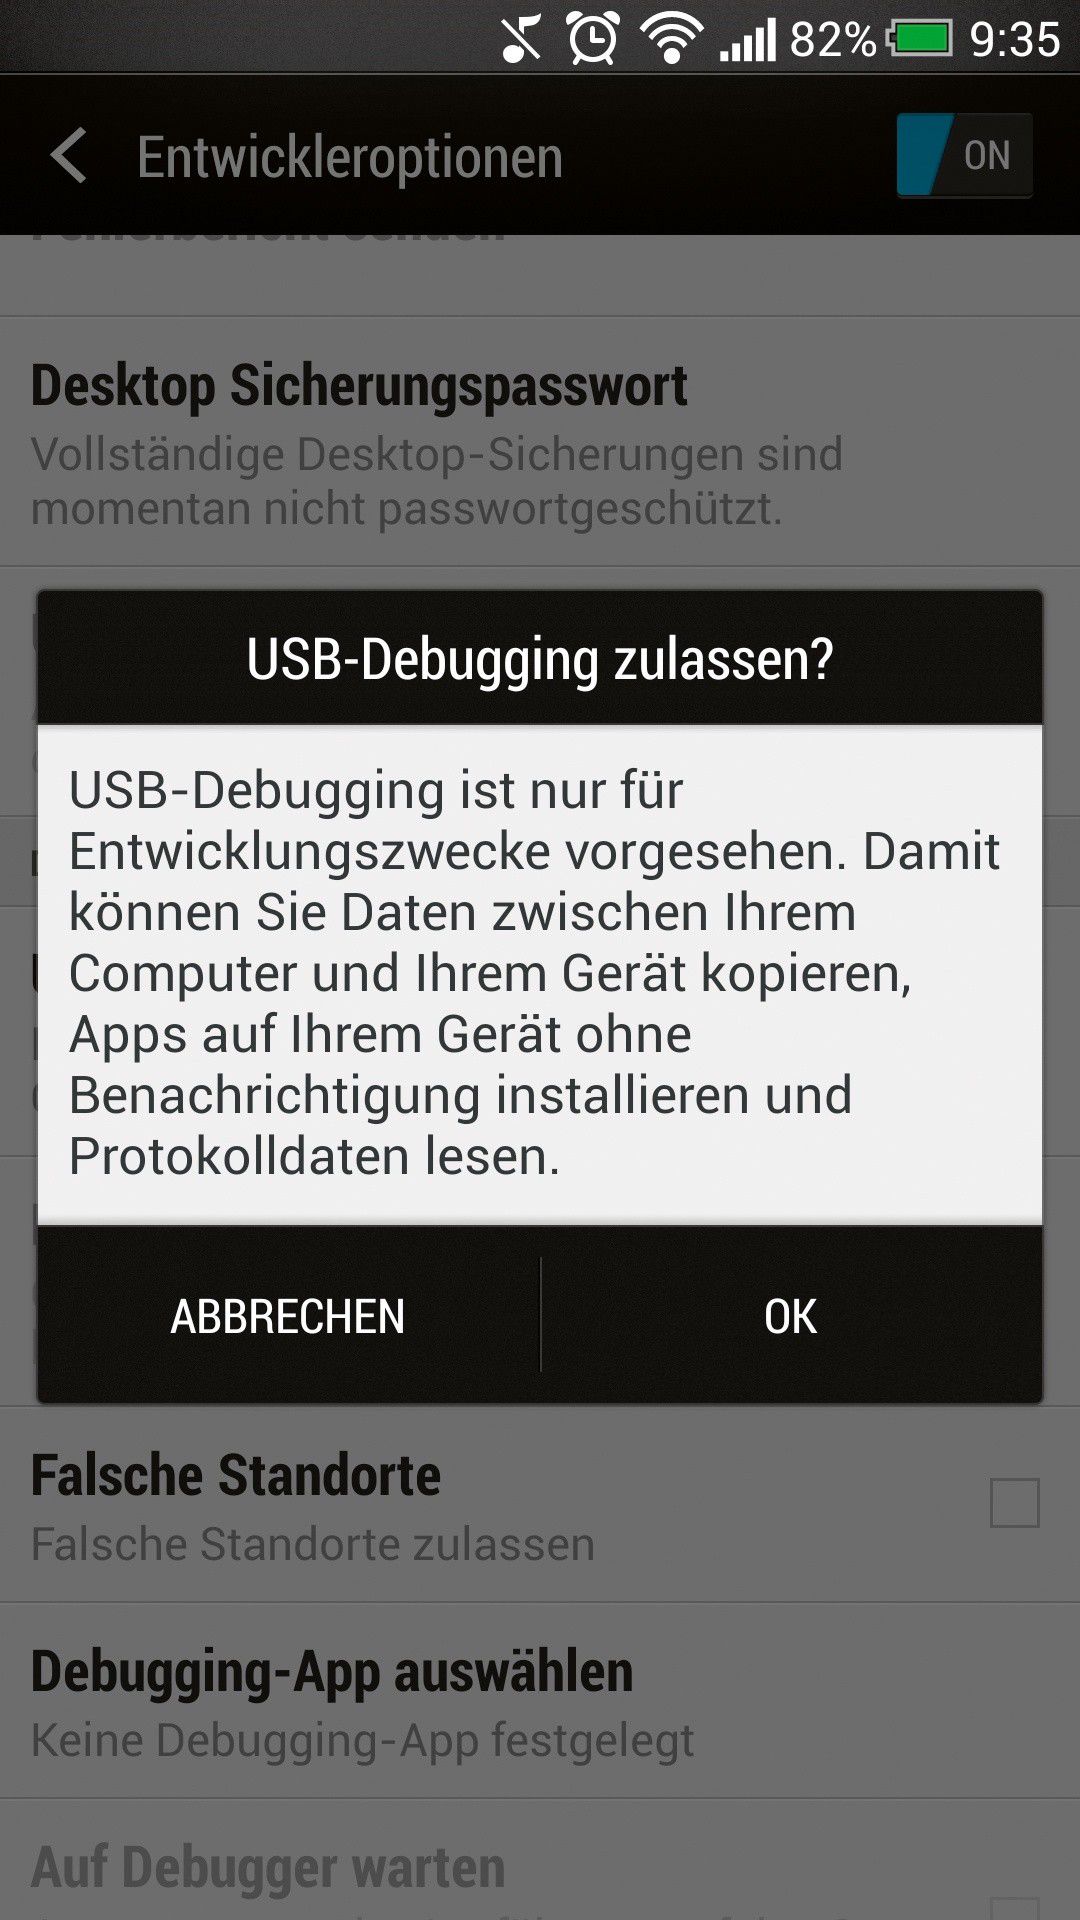
EnlargeUSB debugging, you must always have activated in the PC connection during the root process, otherwise the root does not work.
USB debugging: Before you really get started, activate USB debugging on your One M9. To do this, activate the developer options under “Settings -> Info -> Software information -> More”. To do this, tap the “Build number” seven times. In the main settings you will now find the developer options, in which you tick the box for USB debugging.
Step 1: Start the exe file of the HTC One M9 Toolkit as an administrator. Connect your M9 to the PC using a USB cable and, if necessary, confirm USB debugging on the smartphone. To install the full device drivers, you should install HTC Sync (in smartphone storage). Always confirm USB debugging on the phone. After completing the installation, disconnect the USB connection and reconnect the device.
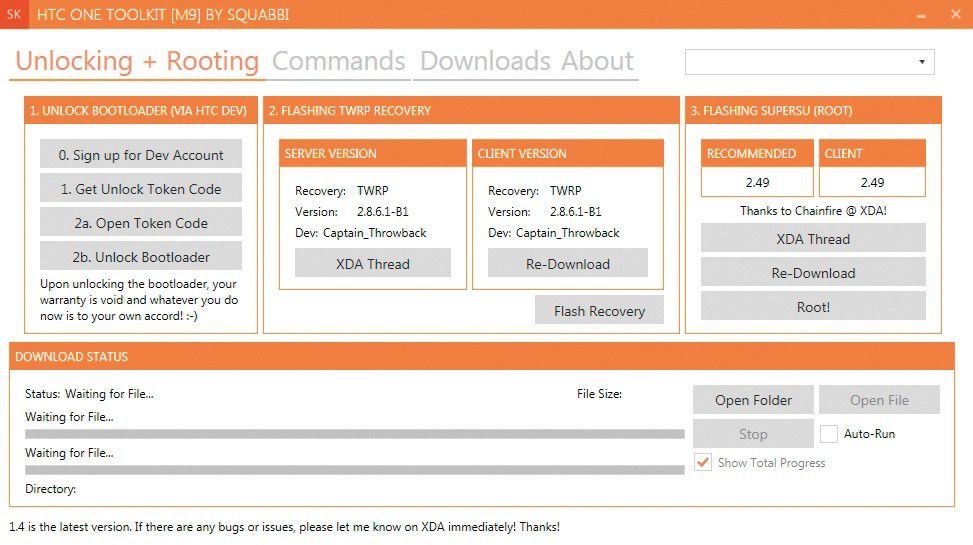
Step 2: In the toolkit, click under “1. Unlock Bootloader ”to“ 0. Sign up for Dev Account “. On the official website www.htcdev.com from HTC, you must register with a valid email address and log in after activation. Leave the website open in the background. If you already have an account there, log in and continue with the next step.

Enlargeunlock the bootloader of the One M9 to take to the rooting process.
Step 3: Now click on “1. Get Unlock Token Code ”to open the boot loader. At this point in our test, the toolkit crashed with every attempt. Therefore, we advise you to unlock the boot loader manually. If the tool works for you, work the points up to “2b. Unlock Bootloader ”. Then continue with step 9 of these instructions.
Step 3 a: Disconnect the USB connection to the PC and open the page www.htcdev.com/bootloader . Select your smartphone model from the drop-down menu on the right, in this case the HTC One M9, and click on “Begin Unlock Bootloader”.
Step 4: turn off your One M9. Press and hold the volume down and power buttons simultaneously until the phone starts in the boot loader. On the cell phone, use the volume buttons to navigate to the “Reboot to Download Mode” item and confirm with Power. You can skip “Step 1” and “2” on the website because they are not precisely explained. Reconnect your smartphone to the PC.
Step 5: Download the Fastboot file for your PC system from “Step 4” and unzip the file to a specific location like “C: \ Android” – you have to create this folder beforehand. Click on “Proceed to Step 5”.
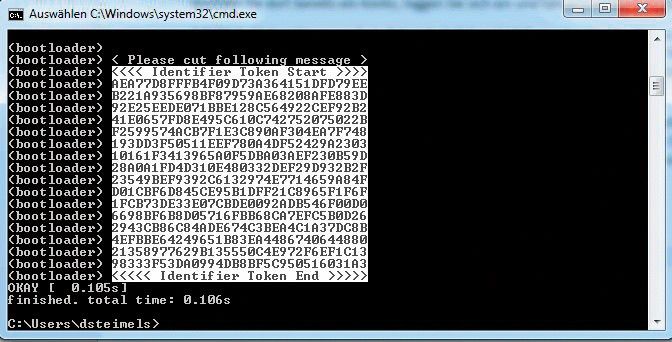
Step 6: Start the command prompt (cmd.exe) under Windows. First type “cd \ Android”, then the following command: fastboot oem get_identifier_token. The token identifier then appears. Copy the entire text from “<<<< Identifier Token Start >>>>” to the end of “<<<<< Identifier Token End >>>>>”. In the command prompt, copy by clicking the right mouse button, “Mark” and then select the desired area from start to finish. Then click the right mouse button again.
Step 7: Scroll on the developer page to the end of the website, insert the corresponding token in the free text field under “My Device Identifier Token”. Then click on “Submit”.
The 25 best Android tips and tricks
Step 8: You will now receive an email with the file “Unlock_code.bin”. Save them in the same folder as the Fastboot file. At the command prompt, paste the following command: fastboot flash unlocktoken Unlock_code.bin. Confirm the unlocking of the bootloader on the smartphone with “Yes” via the power button. Warning: After this step, a reset is carried out, which deletes all data on the device. A backup is therefore necessary, as mentioned at the beginning! In addition, the smartphone now restarts, which can take longer than usual.
EnlargeWith the Nexus Root Toolkit rooting your Nexus device in less than ten minutes – the steps are very simple.
Step 9: After restarting the smartphone, activate USB debugging and start the toolkit. Under “2. Flashing TWRP Recovery ”to“ Flash Recovery ”.
Step 10: Once the process is complete and the smartphone is restarted, wait until the toolkit has recognized the smartphone. Then click under “3. Flashing SuperSU (ROOT) ”on“ ROOT! ”. The superuser file is pushed onto the cell phone, through which you obtain all rights and grant other apps root rights – done!
Root current Nexus devices
As for selected HTC smartphones, there is also a toolkit for current Nexus devices such as the Nexus 7 (2013), Nexus 10 and the smartphones Nexus 5 and Nexus 6, which you can use to root the corresponding devices. Our instructions refer to the Google Nexus 5, but the process is largely the same for all devices – only the versions and the necessary files differ from each other.
You need: This tutorial requires a Windows PC, a USB cable, the Google Nexus 5 with at least 50 percent battery charge and the “Nexus Root Tool”.
Preparation: Download the rooting program from the developer Wugfresh under “Download”, which you then install. Rooting is semi-automatic with the tool, you get all files via the program, you just have to confirm the commands.
USB debugging: First activate USB debugging on your Nexus 5. To do this, activate the developer options under “Settings -> Info -> Software information -> More”. To do this, tap the “Build number” seven times. In the main settings you will now find the developer options, in which you tick the box for USB debugging.
Step 1: First select your smartphone model. To do this, click on “Auto Detect Device + Build …”. Or you can set it up manually and proceed as follows: Select your smartphone from the dropdown menu. Then enter the Android version or build number running on the Nexus 5. You can find out which version you have under “Settings -> About the phone -> Build number”. In our case it is Android 5.1.1 – Build: LMY48I.
Step 2: If the program updates the necessary files or wants to download new files, confirm the corresponding requests. If a download does not work, restart the tool and try again.
Step 3: Now connect the Nexus 5 to the PC with activated USB debugging. Confirms the connection on the smartphone.
Step 4: Install the necessary drivers if they are not yet completely available. To do this, click on the “Full Driver Installation Guide” in the toolkit and start the “Universal Drivers” command under “Step 3”. Then click on “Launch Device Manager” under “Step 1”. Double-click the corresponding cell phone entry and select “Update driver” in the window that opens. Confirm USB debugging on the phone again.
Step 5: Click on the “Unlock” command of the toolkit. Confirm the popping up notices, the smartphone starts in the boot loader. On the Nexus 5, you can enter the mode using the volume button (“up”) and power. A restart follows shortly afterwards.
Step 6: Now trigger the command to root the Nexus 5. Before doing so, check the “Custom Recovery” box to make it easier to load a custom ROM later. The program takes all the necessary steps. Wait for the Nexus 5 to start up and leave the connection between your phone and PC open because files are still being transferred.
Step 7: Start the “Busybox” app installed on the smartphone, confirm the superuser request. The app then installs some files. When the process is complete, select “/ system / xbin” from the drop-down menu and then tap “Install -> Smart Install”. This completes the root process.
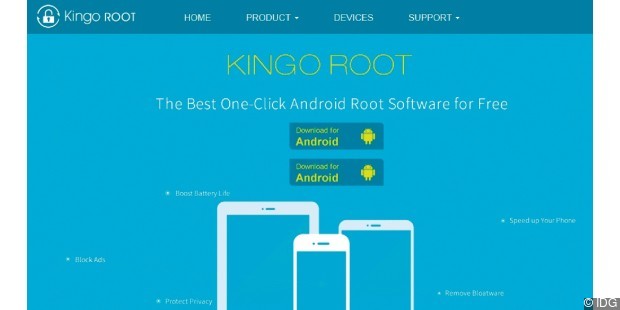
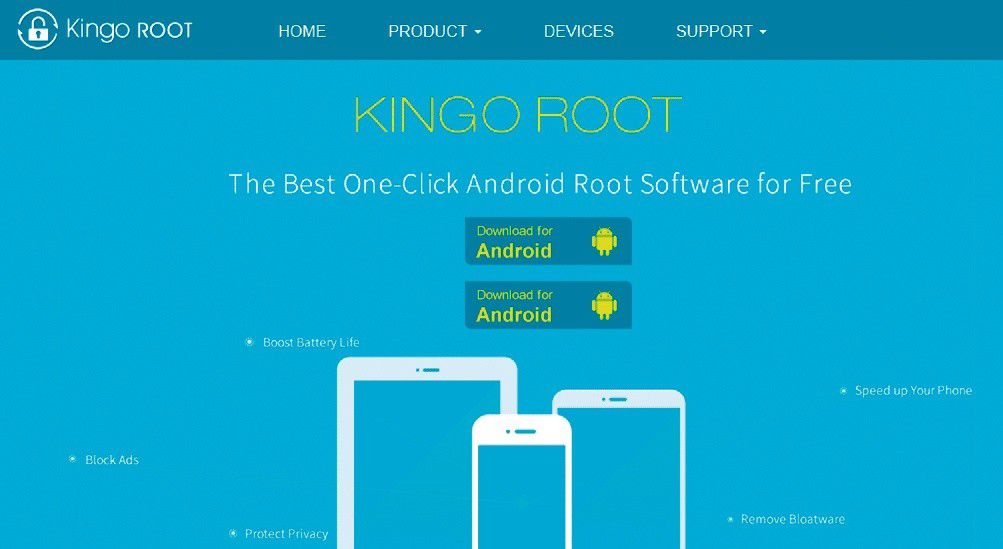
EnlargeWith the one-click solution King Root They are available on many Android devices for Super User, including the Samsung Galaxy Note 3 and Sony Xperia ZL.
Conclusion
You can now find a lot of tools on the market to root your smartphone or tablet and install a recovery solution. In our tests, NRT was particularly convincing with its stability. With the other tools, manual rework was necessary at one point or another, such as when unlocking the boot loader. Before you start rooting, read the help forums at XDA Developer. This means that you already know in advance how stable the solution is with your device and what problems are to be expected.