Each new version of Windows requires a considerable amount of time for users to get used to the changed interface and master new features. With the latter, Windows 11 somehow did not work out – by and large, its functionality remained almost the same. But with the interface, the developers are clearly smart. And the point here is not only that even those who have switched from the “top ten” do not like the new location of the taskbar in most cases. Microsoft decided to minimize the ability to change many settings, which is perhaps the most negative feedback. In particular, we are talking about the impossibility of canceling the grouping of icons, which in Windows 10 could be done using standard tools.
Contents
What is the grouping of icons for?
This functionality appeared in Vista, roaming in each subsequent version. The purpose of the option is quite clear – to optimize the use of space on the taskbar, which is very limited even when using monitors with a large diagonal. Indeed, if you have a dozen Word documents open along with other programs, their icons will shrink in width, ceasing to be informative. Grouping eliminates this inconvenience, although it creates a new one – now, in order to open the desired document, you need to put the cursor on a common icon and only then select the desired element.
Accordingly, there are both supporters of the group and ardent opponents who are not at all satisfied with this state of affairs. And they had the ability to disable this feature or fine-tune it.
Alas, in Windows 11 it will not be possible to deactivate the grouping of icons on the taskbar – regular tools for this are disabled. Moreover, the grouped icons were left without labels, which makes them even more difficult to quickly identify, and nothing can be done about this either. You will not even be able to determine by appearance what type a particular icon belongs to, single or group. To find out, you have to hover over it with the mouse, and this takes time and causes irritation.
In the first release of Windows 11, it was still possible to achieve what you wanted with the help of tricky manipulations – for example, editing the system registry, and for owners of the corporate and Pro versions – use the Group Policy Editor for these purposes. Later, the developers “patched” these loopholes, inherited from the “tens”.
Ways to disable window grouping on the Windows 11 taskbar
In the tenth version of Windows, grouping could be enabled / disabled through the “Taskbar Settings”.
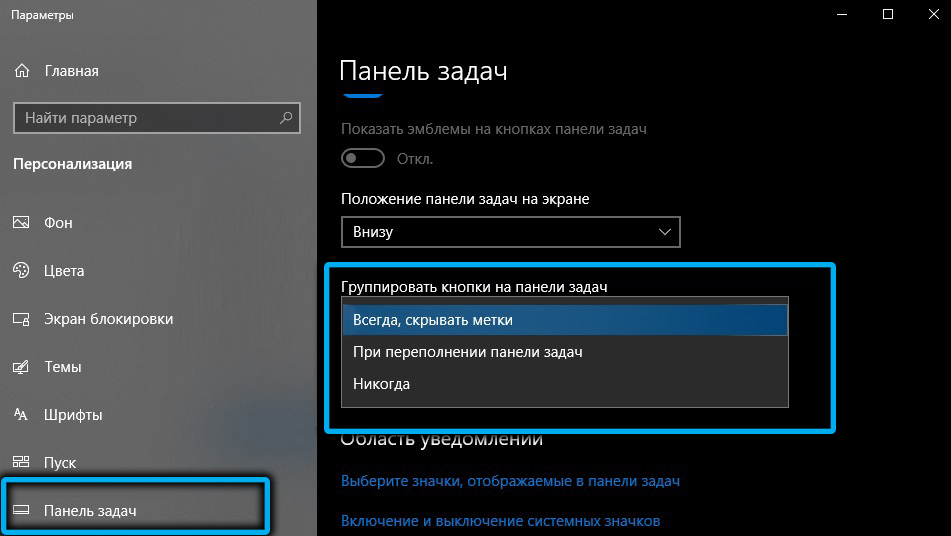
For this, a separate option “Combine taskbar buttons” was provided, where you could choose one of three grouping options:
- Always hide labels (always group);
- When taskbar is full (group if the taskbar is full);
- Never (do not group icons under any circumstances).
Alas, in Windows 11, there is no such option in the parameters at all.
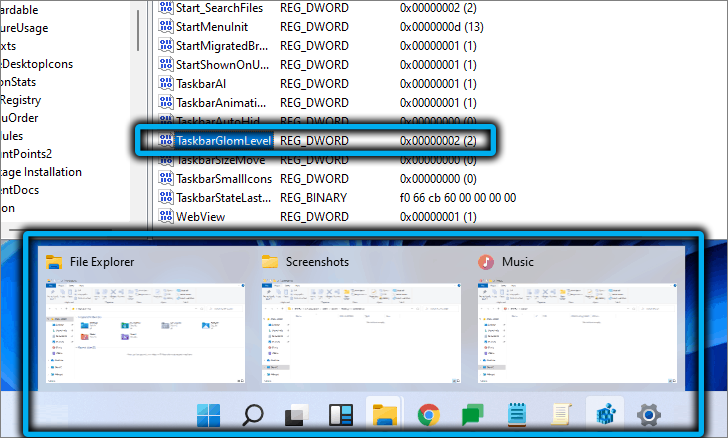
Editing the registry worked only in the first release of the new OS, then this feature was covered. Or rather, you can still find the HKEY_CURRENT_USERSoftwareMicrosoftWindowsCurrentVersionExplorerAdvanced branch in the registry and change the value of the TaskbarGlomLevel parameter to 2, but the window grouping will not disappear as a result of such actions. It is possible that in the future this option will be returned, but then it would be logical to allow changing this parameter in a simpler way, through the taskbar settings.
It was also possible to block grouping through the group policy editor (launched by the gpedit.msc command) – you had to find a policy with the name “Prohibit grouping of taskbar items” and activate it. Windows 11 also has such a policy, and even with a switch, only it does not work.
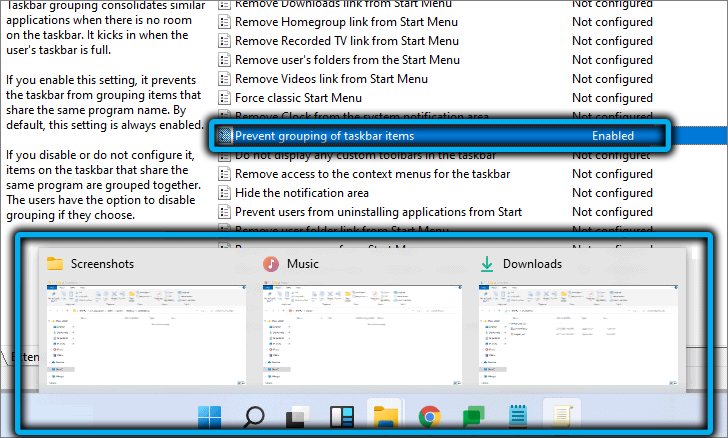
So, it won’t be possible to change this state of affairs until Microsoft comes to their senses and returns this opportunity? Fortunately, the situation is not hopeless, but you will have to use software from third-party developers. For a considerable part of users, this method is not acceptable for ideological reasons. Others will definitely like it.
Using the StarAllBlack Utility
With this program, you can return the functionality of the taskbar, as in Windows 10 or G8. And this means that you will automatically get the option to disable window grouping in the taskbar. All other settings blocked in the new version of the operating system will also become available.
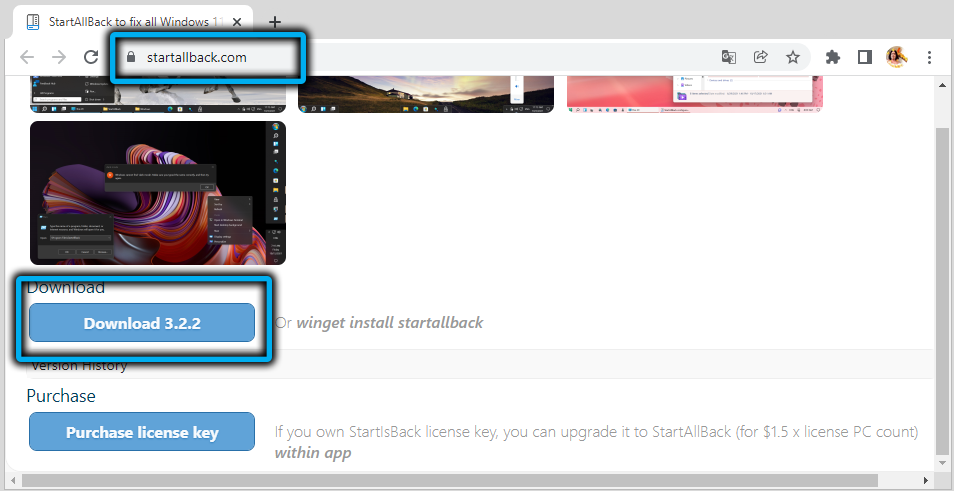
Download the utility from the official site , install, run. To ungroup the icons, select the “Combine Buttons…” option and set it to “Never”.
The utility allows you to configure other options, for example, increase / decrease the size of the icons on the panel, using a switch that has four values u200bu200b(S / M / L / XL). Or change the size of the taskbar itself and its location.
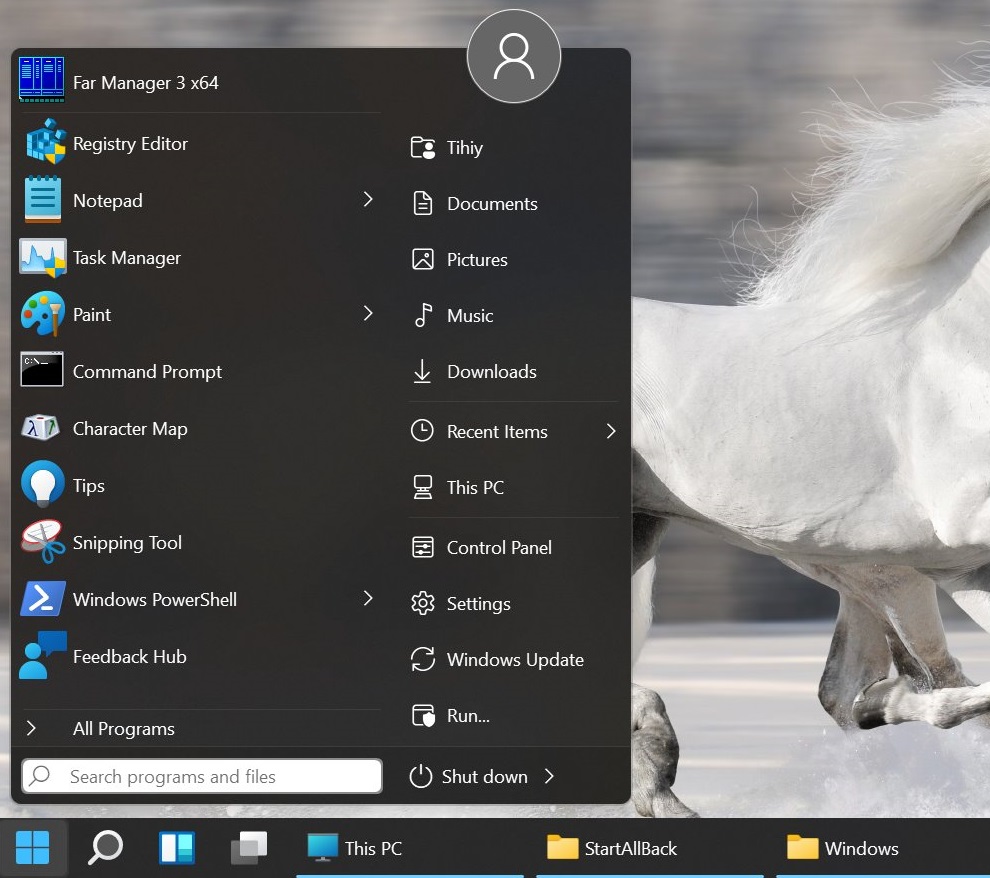
In order for the changes made to work, you will have to restart the explorer.
Bringing the Windows 11 taskbar to a classic look with the Winaero Tweaker utility
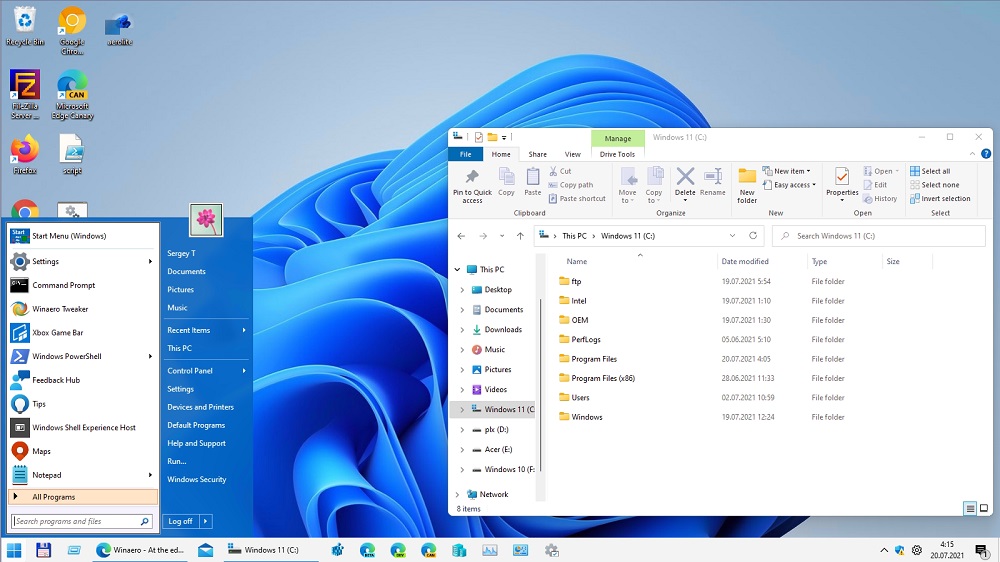
Of course, the easiest way to do what is planned is with the StarAllBlack program, but it is paid. This means that many of our compatriots will opt for the second option, Winaero Tweaker. This is a classic tweaker, that is, a program designed to change system settings related to the graphical shell of the operating system. Quite quickly after the official presentation of Windows 11, Winaero Tweaker introduced features that allow you to return the classic look of the taskbar, although the performance of some functions will suffer.
So, download the program from the official site , unpack, install.
Select the “Windows 11” section in the left block, click on the “Classic Taskbar” line, in the right block put a checkmark next to the “Enable Classic Taskbar” parameter.
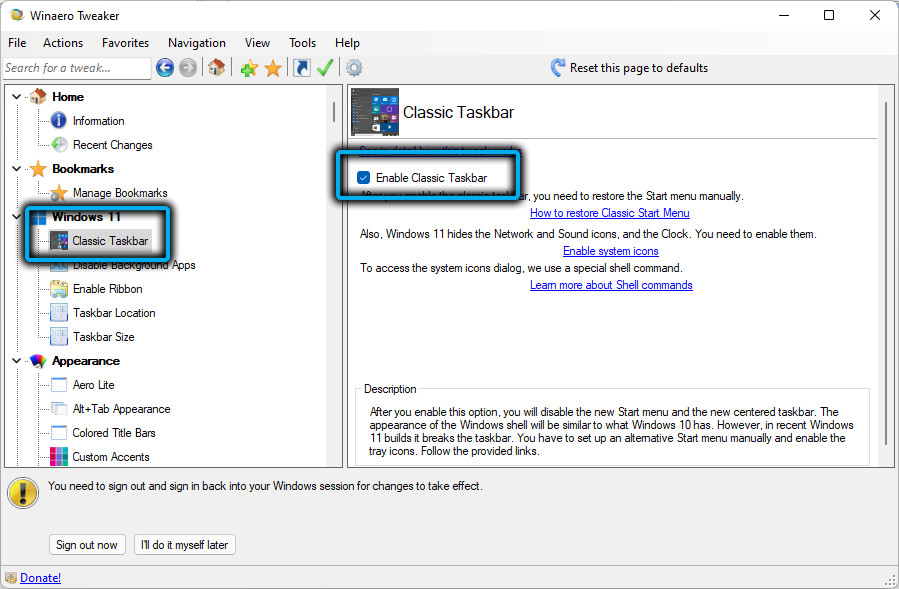
You must restart your computer (or log out and log back in) for the changes to take effect. You can also restart the explorer – this is the fastest way. To do this, perform the following steps:
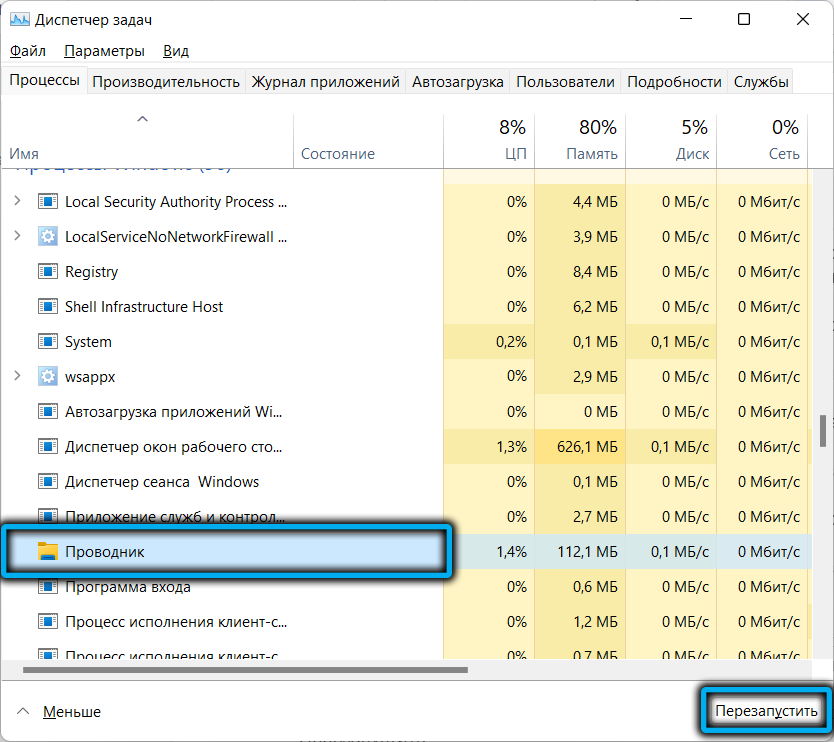
- launch the “Task Manager” with the combination Ctrl + Shift + Esc (you can simply select the system utility in the “Start” menu);
- find the explorer icon in the list of programs, place the cursor on this line and click on the “Restart” button in the lower right corner.
After the explorer is unloaded from memory, the taskbar will be cleared of icons, but after 15 seconds they will reappear, while the icons present in the tray area will not be restored. The Start button will also lose its functionality: when you press it, the menu will not appear.
To return the icons near the tray, run Winaero Tweaker again, go to the same section and click on the “Enable system icons” parameter. In the new window, next to all the icons related to the tray, set the checkboxes to the “On” position.
And although we have already achieved our goal – we removed the grouping of application buttons on the taskbar, we cannot do without a working Start menu either.
You can restore the functionality of the main button in Windows 11 using the Open Shell utility, which can be downloaded from the GitHub repository .
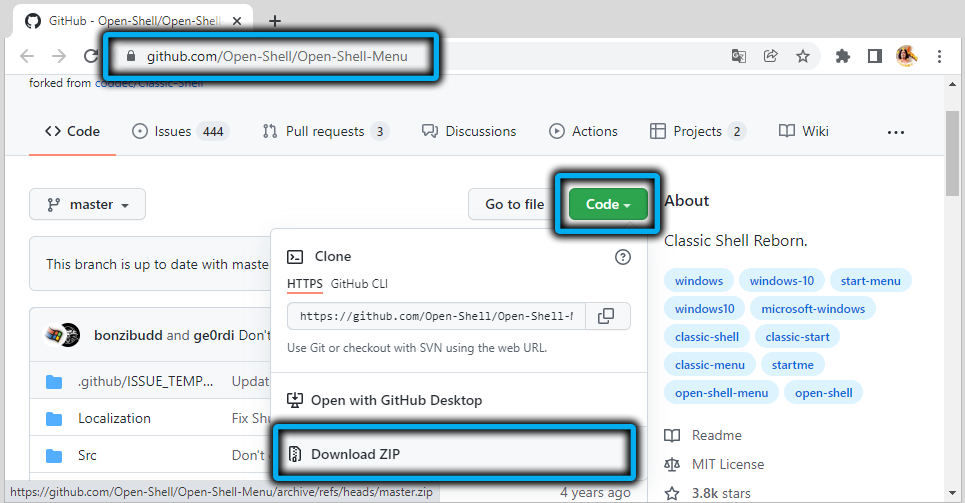
Immediately after installing the program, it will return the Start menu to work by intercepting all clicks on this button and monitoring the pressing of the Win key.
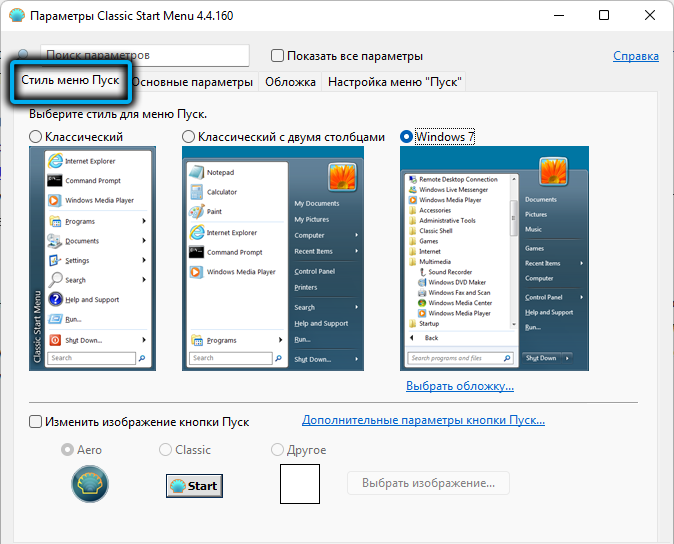
For most users, this will be enough, and gourmets will be able to use the utility to fine-tune the Start, for example, change the style of the menu bar or the Start icon itself.
Conclusion
The inconveniences of the new Windows 11 GUI are fixable in most cases. For example, you already know how to ungroup icons on the taskbar, albeit in not quite trivial ways. It remains to be hoped that Microsoft will still take into account the criticism and return the settings that were in the previous version of the operating system.


