Over time, dust accumulates in the computer system unit, which interferes with the normal operation of the cooling system, leading to overheating of the processor and video card, freezes, device shutdowns and other manifestations of incorrect functioning of components.
In addition, the accumulation of dust particles causes static electricity, which contributes to damage to microcircuits, and due to its hygroscopicity in humid rooms, dust also attracts moisture, which has a detrimental effect on contacts.
Despite maintaining a clean house, and even in the absence of animals, whose fur can also get into the case, the computer requires periodic cleaning. This can be done either with the help of service specialists or independently, but you must adhere to certain rules. We’ll tell you what not to do and how to properly clean your PC to avoid unpleasant consequences resulting from contamination.
Contents
How often should you clean your computer from dust?
There are no strictly designated periods when you should definitely clean your device. The frequency of cleaning directly depends on the conditions under which the PC is used. In different cases, it is advisable to clean the device from dirt once every six months or a year. By removing the side cover, you can judge whether cleaning is required or if you can wait. You should immediately clean the inside of your computer if it makes noise, freezes, or overheats.
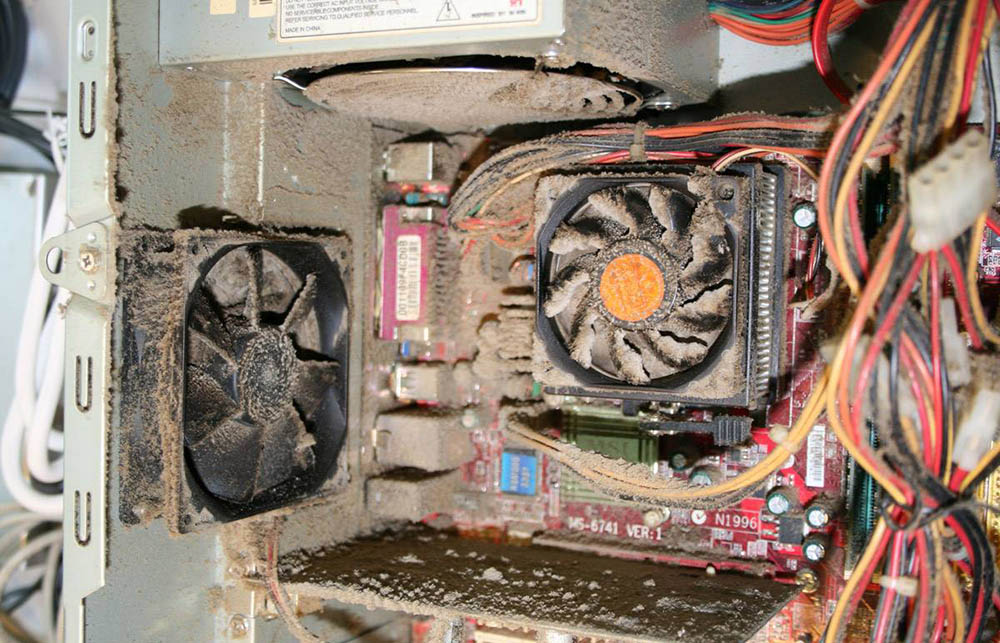
Typically, a rise in temperature and an increase in noise indicate that a computer is dusty. You can monitor the temperature indicators of the video card and processor using special software. Freezes, loss of performance, sudden shutdowns or reboots may also indicate severe contamination.
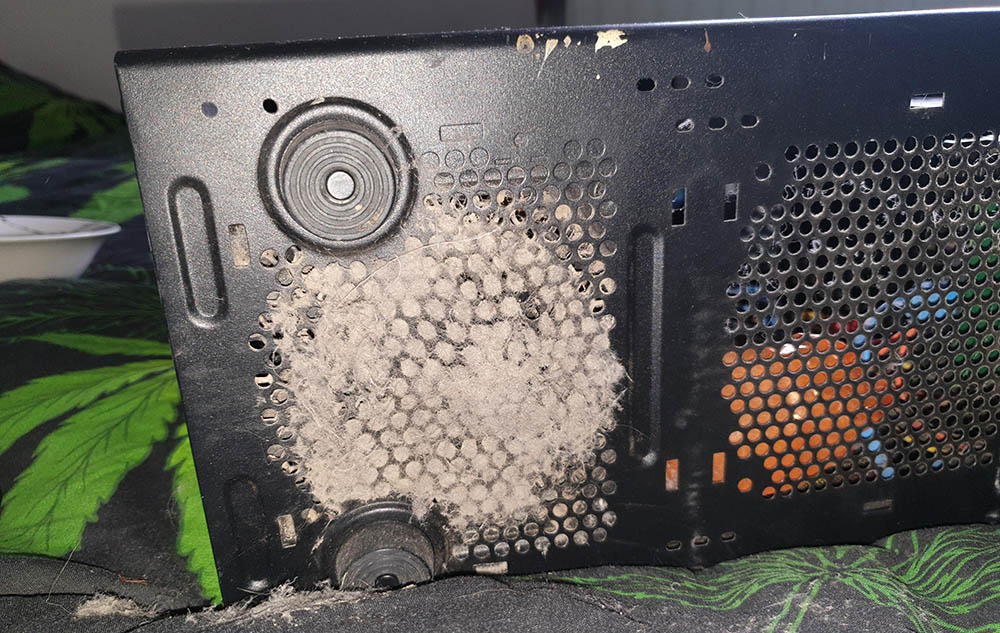
Modern computer cases are equipped with dust filters, which become covered with dust within a month, which can be observed without opening the lid. By regularly cleaning the filters, you will delay the need for large-scale cleaning inside the system unit.
What not to do
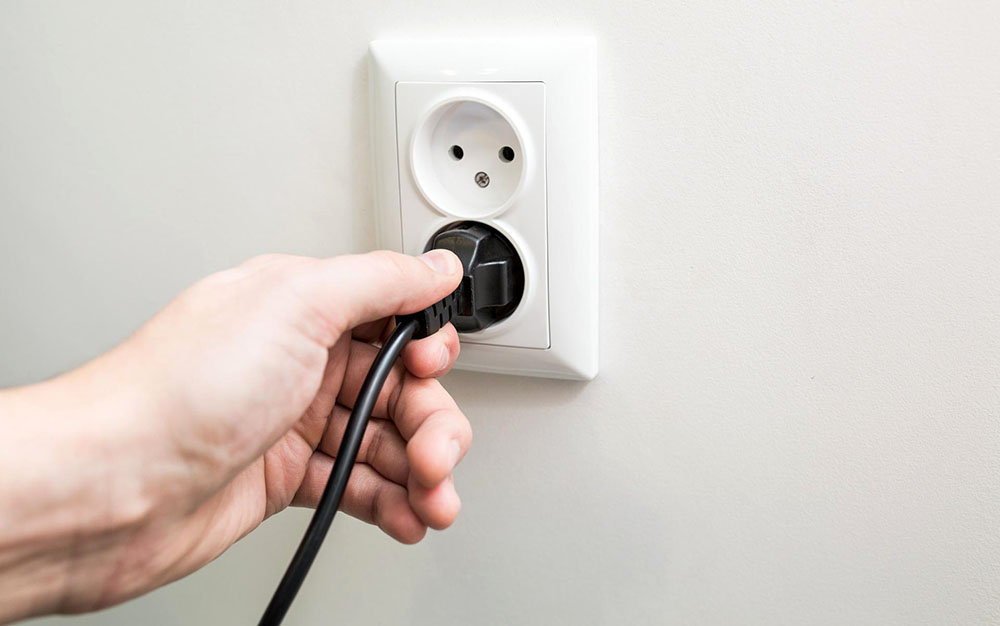
An important point when preparing for cleaning work is turning off the power.
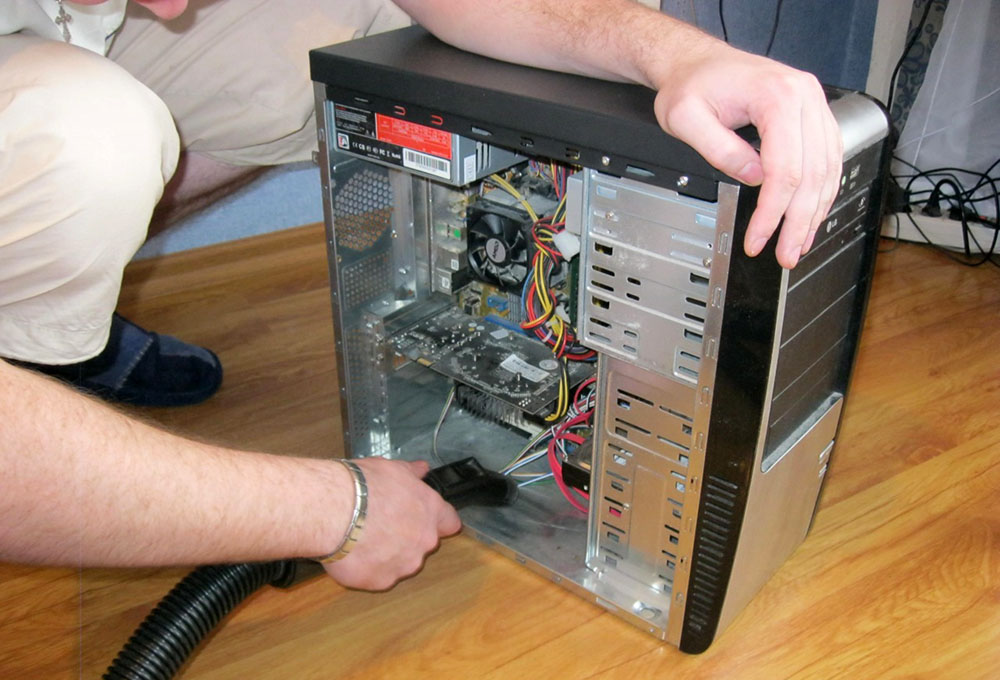
To an inexperienced user, it may also seem like a good idea to clean the system unit with a regular vacuum cleaner (without the air blowing function), which is the main dust fighter in the house. You should not give in to temptation, since this option can lead to serious consequences in the form of malfunction of the motherboard or other components due to static.
The only places where it is allowed to clean with a vacuum cleaner are the removed walls of the case, dust filters (if the wall is removed) or use the device as an additional means for collecting dust extracted from the system unit.
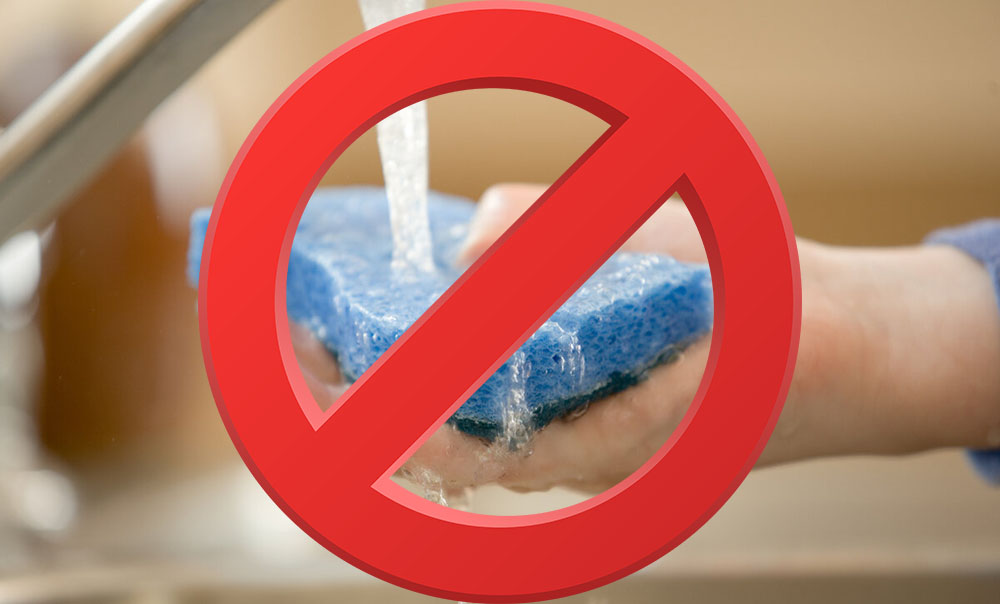
Another taboo is the use of wet sponges or rags. You can clean the computer case from dust with damp cloths or napkins only if we are talking about its walls. Moisture has a detrimental effect on components, so water procedures for the contents of the system unit should not be carried out under any circumstances.
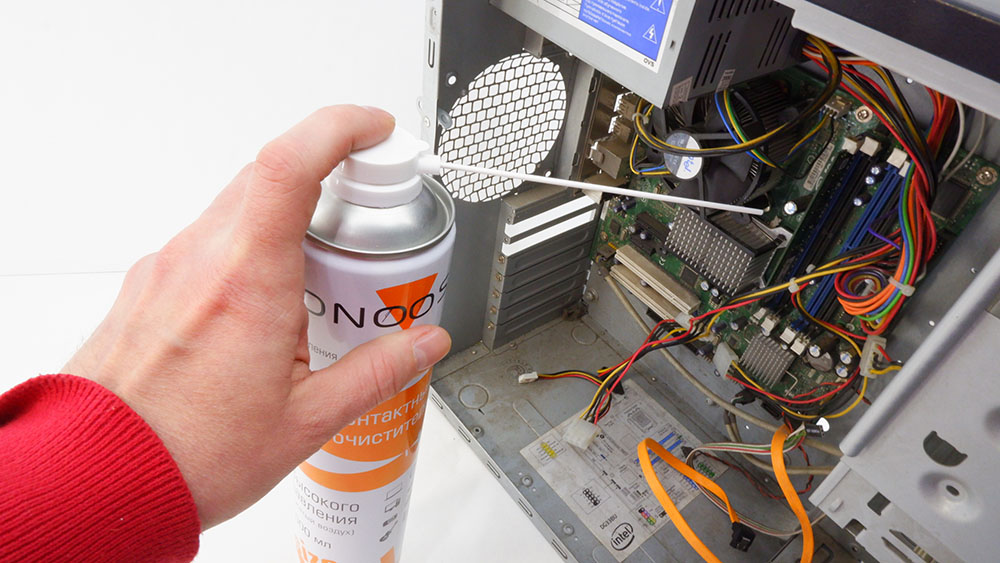
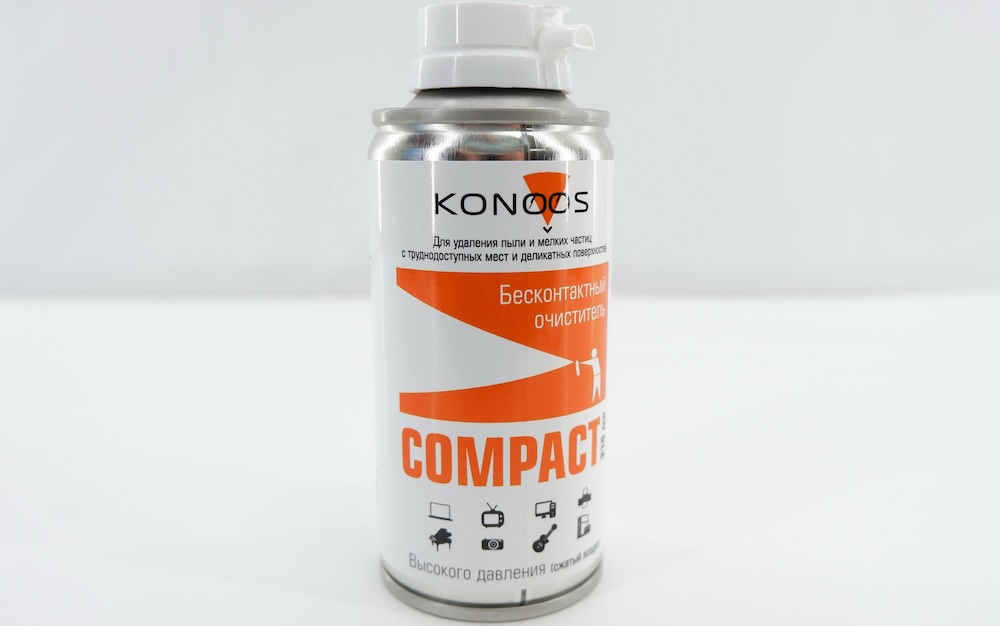
Compressed air can effectively clean dust-clogged fan blades and radiators, but you should use moderation and not use powerful compressors. High pressure can damage sensitive parts, and compressor receivers often contain condensation that travels with the air onto components for which moisture is unacceptable.
How to clean your PC
Let’s look at how you can clean your computer safely and effectively. Before performing the procedure, you need to prepare the following tools:
- Phillips screwdriver for dismantling components;
- soft brush for removing dust;
- a can of compressed air (pneumatic cleaner), which allows you to quickly clean your PC with a directed flow of air masses, or a rubber bulb, which can also be used for blowing.
How to properly clean your computer
Now let’s move on to step-by-step instructions for cleaning the computer unit from dust. We will also tell you which components require cleaning.
Armed with everything we need, we proceed to sequential actions:
- The first thing you should do before you start cleaning is to turn off and unplug your computer. We complete the work correctly, disconnect the device from the network or uninterruptible power supply, and remove all external wires.
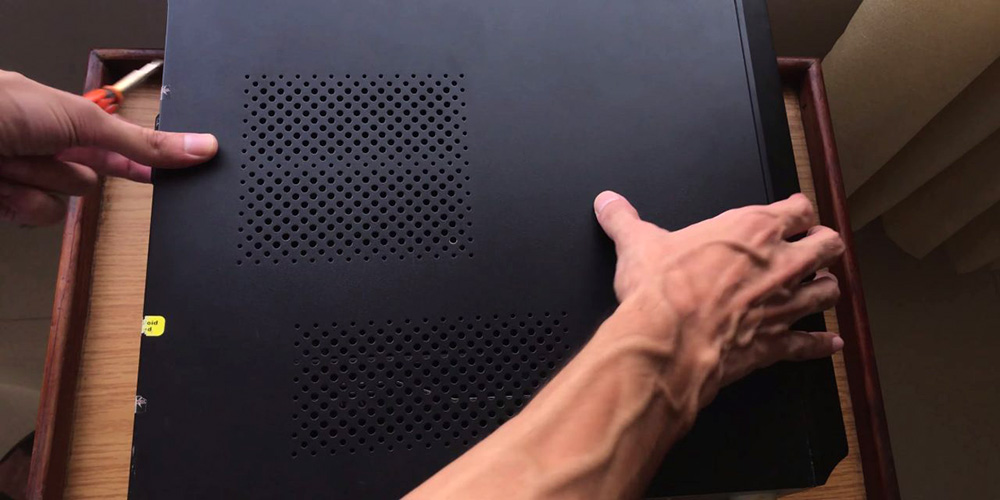
- Unscrew the screws holding the case walls and carefully remove the panels. Dust filters (if any) are cleaned with a brush, blown or washed with water, and then dried thoroughly. ADVICE. It is better to clean a very dusty system unit in open spaces.
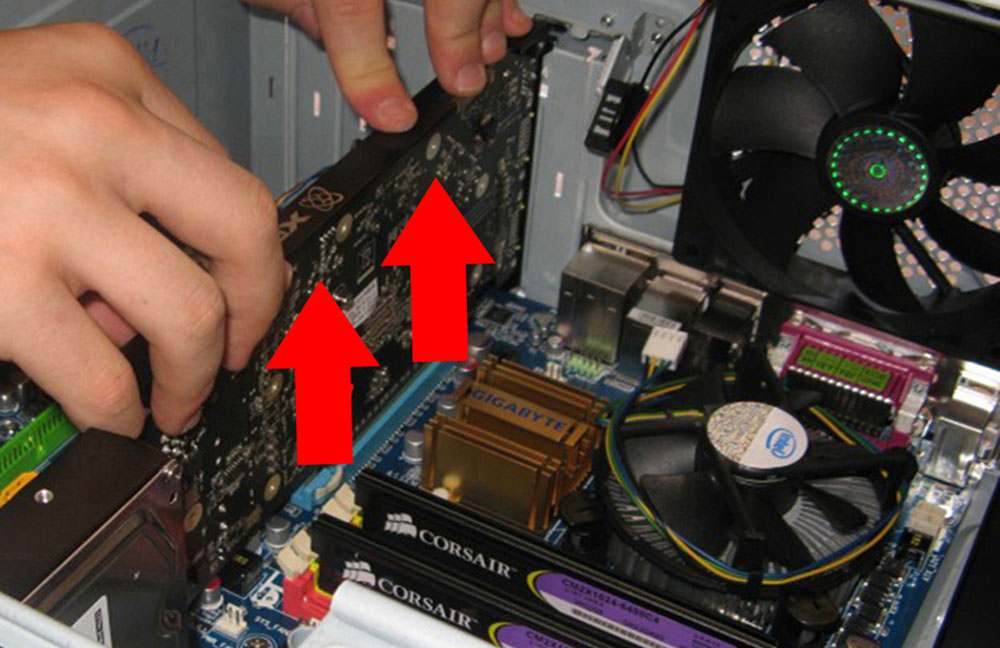
- If the contamination is not too extensive, you can clean the video card without removing it from the motherboard. When removing, you need to be very careful, since there is a danger of damage to fragile elements, including static. If necessary, remove the graphics adapter by unscrewing the screws at the rear panel of the device and bending the slot retaining latch. We remove the video card carefully and evenly, without twisting it to the sides. IMPORTANT. If there are adapter power cords, disconnect them before removing them.
- We clean the fan and radiator with a brush, blowing with air (use a can or rubber bulb).
ADVICE. When removing parts, it is better to photograph their location to facilitate assembly at the end of the work.
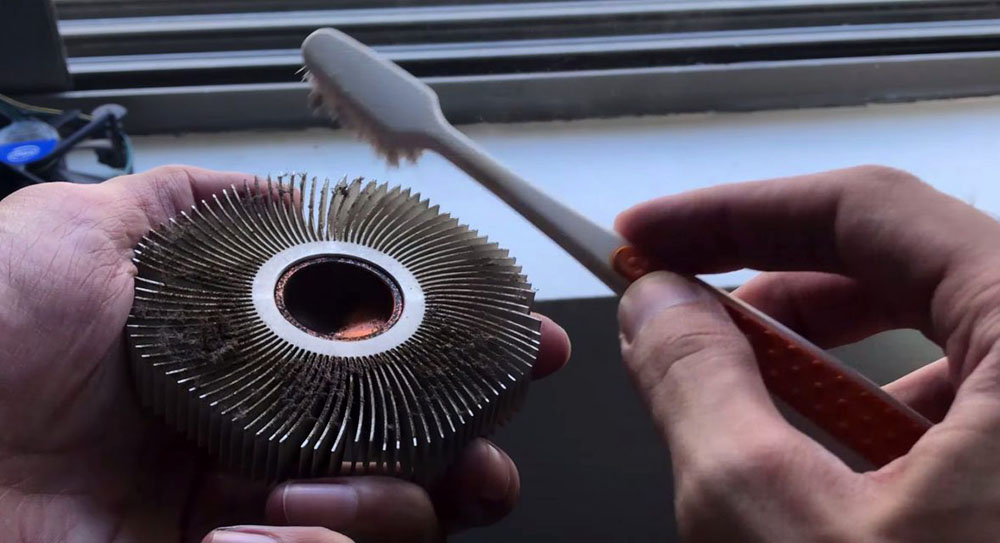
- The processor cooling system (radiator and fan) can also be cleaned without removing it, but if global cleaning and thermal paste replacement is necessary, the cooler will need to be disconnected from the motherboard. To do this, turn off the power by removing the connector on the board, unscrew the retaining screws or snap off the latches. Using a brush, clean the cooler from dust and blow it with air, while holding the fan blades.
- To thoroughly clean the computer’s power supply, it is also removed. We disconnect the power supply cables from the motherboard, unscrew the four retaining screws and carefully remove the part, unscrew the mount on the power supply, pry up the cover and remove it. We remove dust inside and on the fan, holding the blades.
In case of minor blockages, you can clean the power supply unit without removing it.
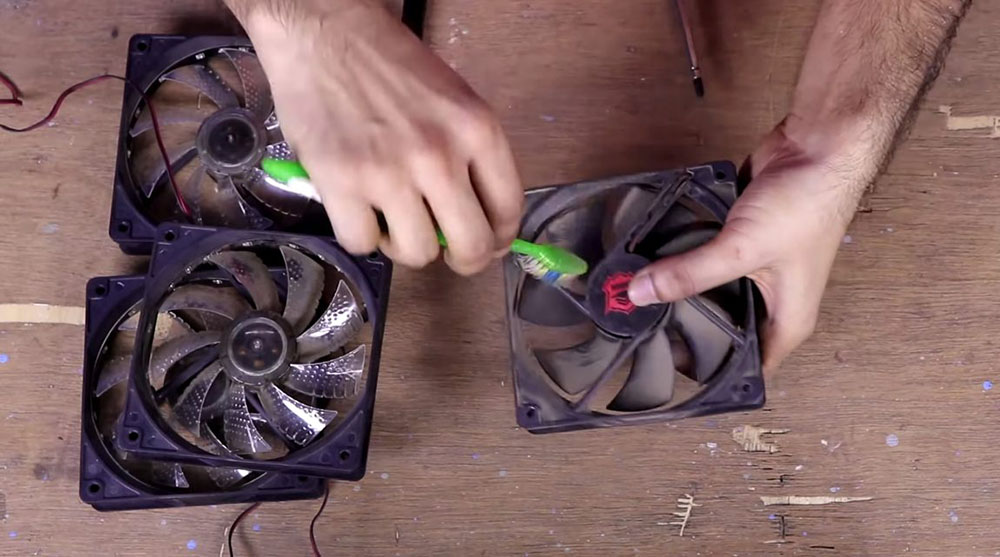
- We also clean the case fans located on the walls of the case with a brush, blowing out dust with air. They can be removed by unscrewing the fasteners or cleaned without removing them.
- We clean storage devices, drives, and memory sticks inside the system unit.
- We return to their place all parts removed during the work. If you took photos before removing the components, assembly will be much easier. We check the reliability of the connection of the elements inside and install the walls of the system unit, connect the network and other cables.
What to do if you cleaned your computer of dust and it stopped turning on?
There are times when a user, after carrying out general cleaning inside the system unit, is faced with a new problem. I had just cleaned the computer from dust when it stopped turning on. What is not so clear is not always clear, and the reasons can be different, easily eliminated on your own or requiring the help of a specialist and additional costs in resolving the issue.
If the system unit has been cleaned of dust and the PC now does not turn on, the following factors could be the source of the problem:
- Poor connection as a result of dust on connectors, connectors after cleaning, or loose connections. We check the reliability of the connections, including additional power supply to the processor. We clean all contacts and connectors again.
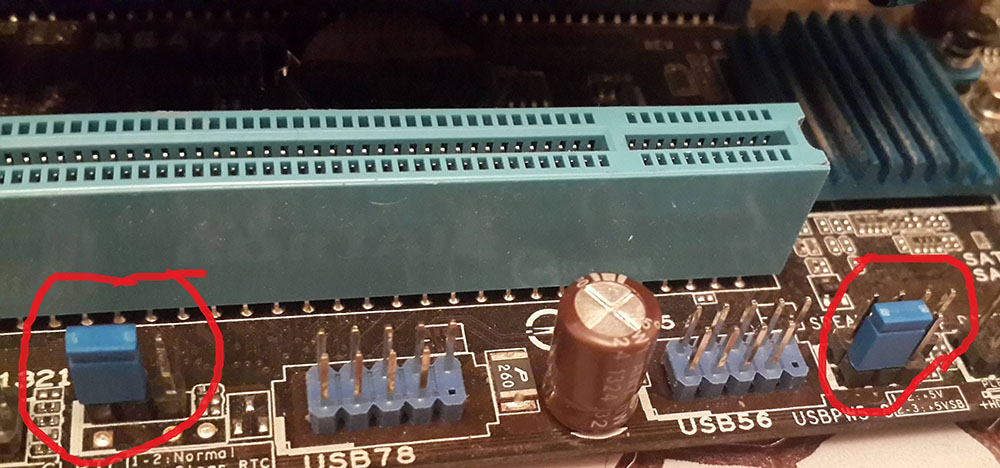
- Motherboard jumpers. These are jumpers that can be used to close contacts for certain adjustments of motherboard components. If they are accidentally removed during cleaning, the computer may not turn on.
- BIOS crash due to reconnection. By resetting the BIOS settings to factory settings, you can restore system functionality. Resetting in this case is performed using a jumper on the motherboard or by removing the coin cell battery.
- The destructive power of static. If you did the wrong thing in the process of cleaning the system unit, for example, you did not turn off the power, you cleaned it with a regular vacuum cleaner, which led to the problem. In this case, the motherboard may be damaged or the BIOS firmware may have crashed, which is much better than the first scenario.
- Mechanical damage at various stages of work, for example when removing elements, connecting contacts, etc. In such cases, it is better to seek help from professionals.
The task of cleaning your computer from dust should be taken very seriously, since incorrect actions can not only cause a lot of inconvenience, but also lead to loss of functionality of the device and unnecessary expenses. If you are not confident in your abilities, it is better to entrust the matter to professionals.
