Few of ordinary PC users know about the presence of hidden partitions on the system disk, which can take up a lot of disk space, up to 15 GB. But most people know that when problems with the performance of the operating system appear, it is possible to restore it. For these purposes, Windows has a corresponding section containing the files required to perform such a procedure. Today we will consider what this section is, how much it is needed and how to delete or create it – the need for these operations may arise in relation to any of these options.
Contents
What is the recovery partition for?
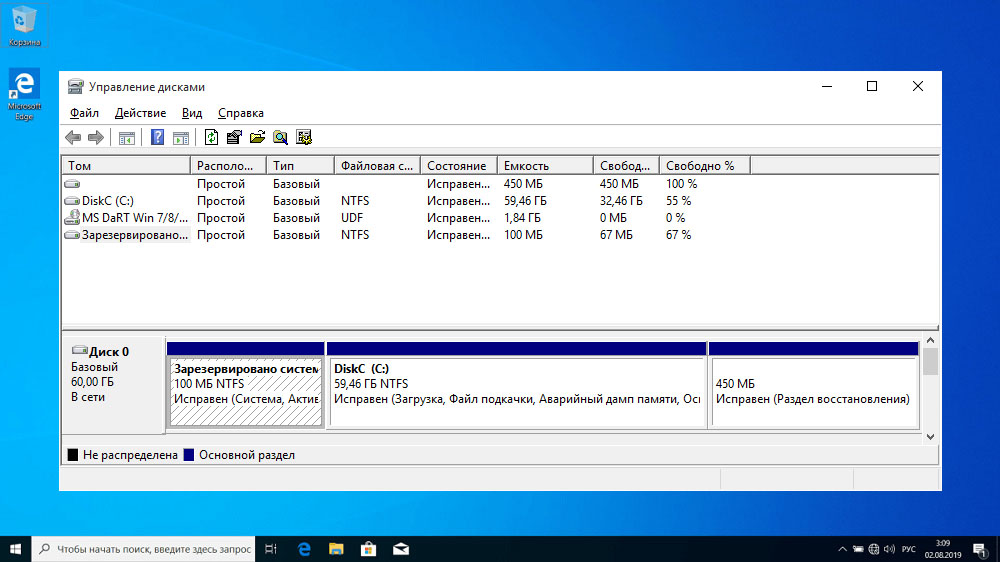
In the top ten, the volume of this section located on the system disk is about 500 MB. It is located in the Recovery directory, and the recovery image itself is a file named Winre.wim located in one of the subdirectories. For security reasons, the section has a hidden status so that it will not be accidentally deleted. In addition to the recovery partition, there are 2 more hidden partitions on the system disk, which occupy about 250 MB more.
The Recovery directory is intended for those cases when the operating system malfunctions or does not load at all, and the user does not have the ability to use the installation disk / flash drive. This is the easiest and fastest way to solve the arisen problems.
But if the installation media is available, then the question “Why do I need a recovery partition?” can no longer be interpreted unambiguously, especially if there is a need to free up the space it occupies. In other words, it can be painlessly removed or simply hidden, but in any case, you need to understand that you will carry out such actions at your own peril and risk.
How to hide the recovery partition
As we already know, the Recovery directory is hidden by default. In some cases, this rule may be violated, most often – when you move the operating system to another disk or after the next update of Windows 10. In such cases, a new disk may appear in Explorer, called “Recovery” (sometimes – without a name, just “Local disk “). Its size should serve as a guideline, about 580 MB. If you have only one system disk, then you do not need to delete the recovery partition, but it is highly recommended to hide it from prying eyes.
Step by step algorithm:
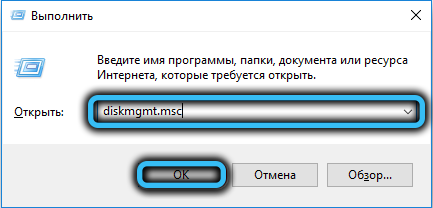
- press the key combination Win + R, type the command diskmgmt.msc in the Run panel;
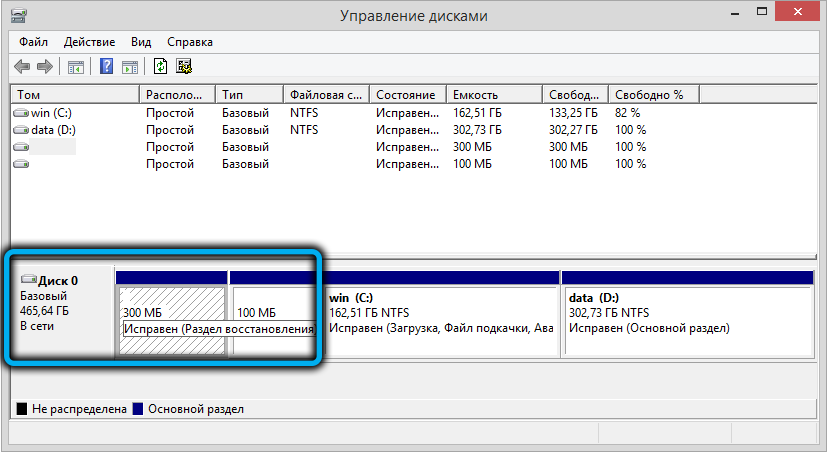
- the system disk management utility starts. In the lower block, we look at which disk this recovery partition is located on (meaning the serial number of the disk, usually 0). Again, we focus on its size;
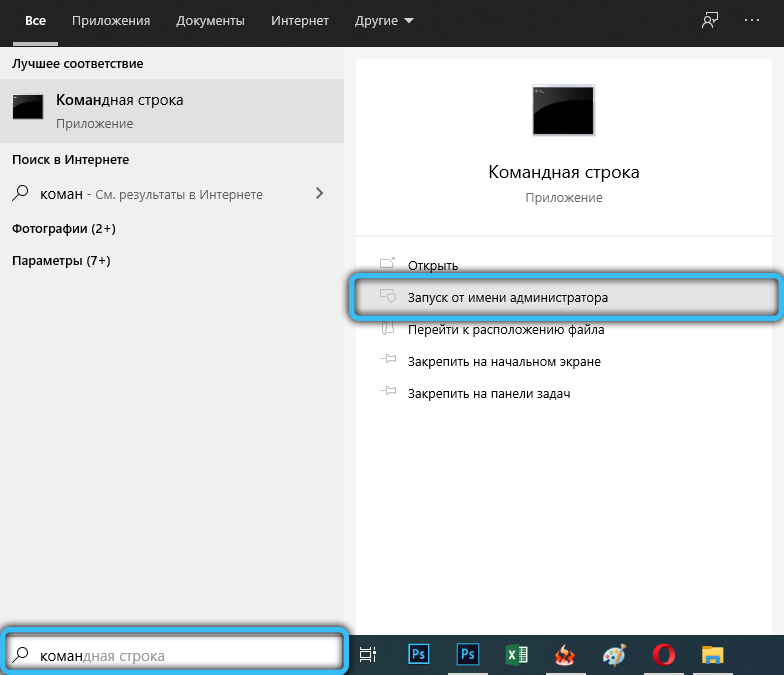
- now we run the command line, always with administrator rights;
- we enter the sequence of the following commands, ending each by pressing Enter:
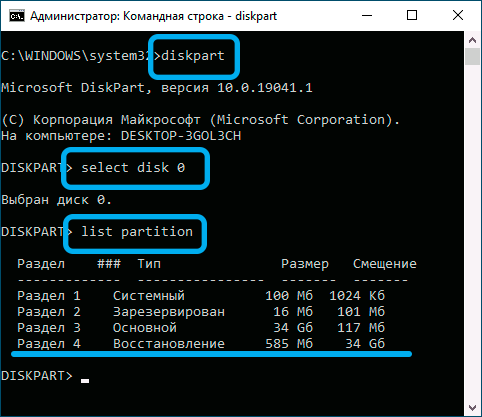
- diskpart
- select disk X (here instead of X we substitute the number of the disk with the recovery partition)
- list partition (a list of all partitions on this disk will be displayed, remember the number of the one whose size is about 580 MB)
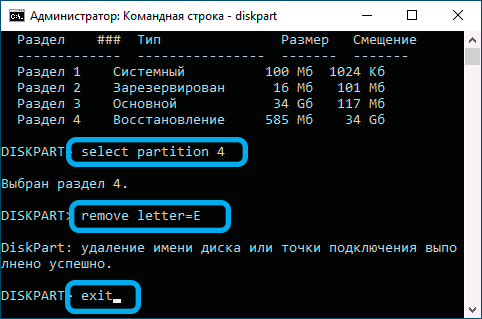
- select partition X (here X is the number from the previous paragraph)
- remove letter = Z (here Z is the letter of the partition that we determined from the disk management utility).
Removing Windows 10/8/7 Recovery Partition
The most “correct”, effective, but requiring special care method is the use of the command line, which must be run with administrator rights.
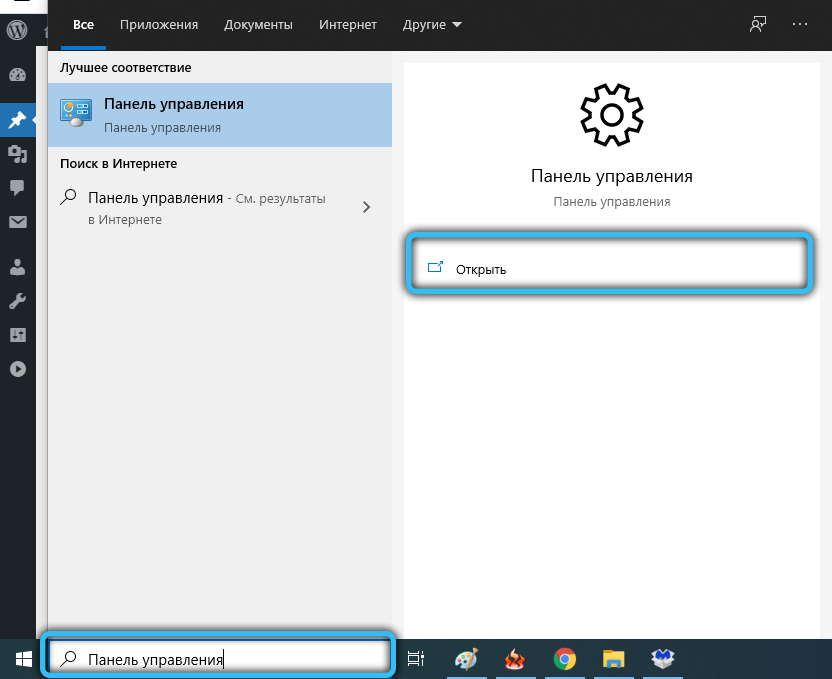
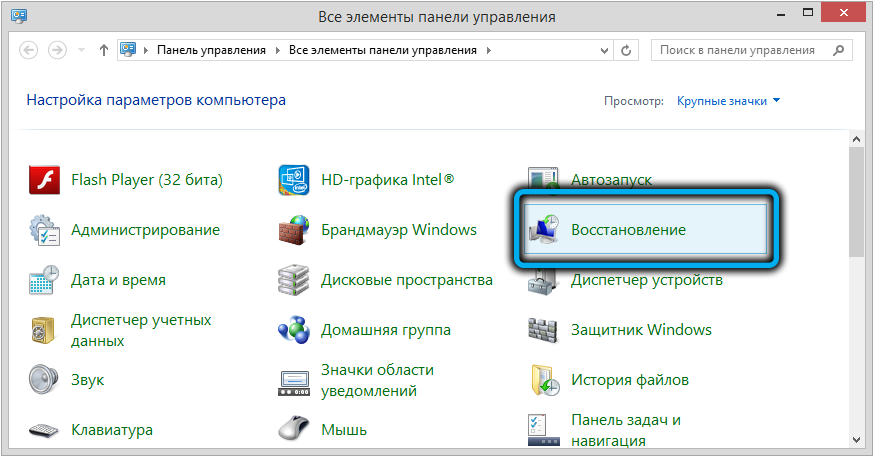
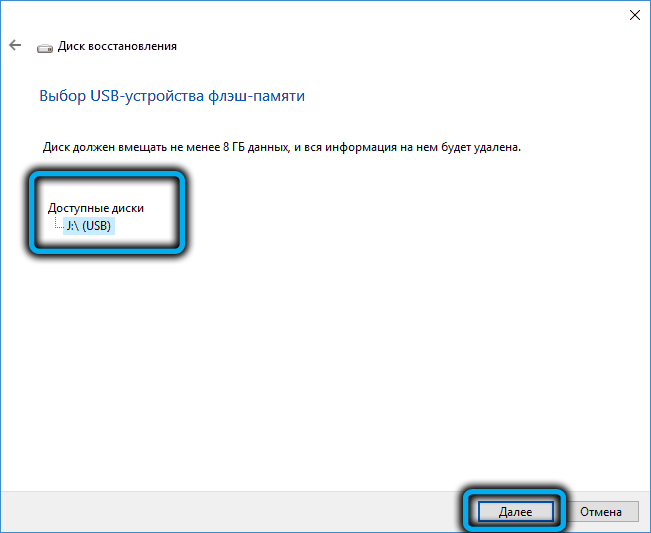
But before deleting the recovery partition on your hard drive, you need to take care of creating a recovery drive on an external media, USB flash drive or DVD. This can be done with built-in Windows tools, for example, through the “Control Panel” using the “Recovery” tool and the “Create a recovery drive” tab.
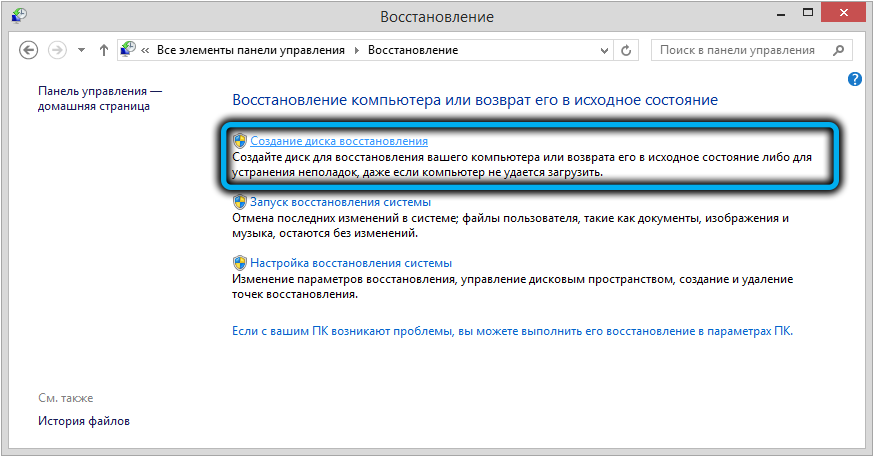
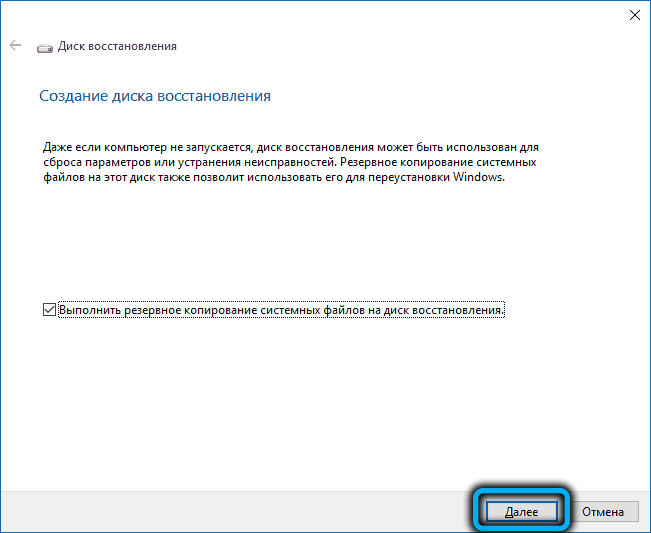
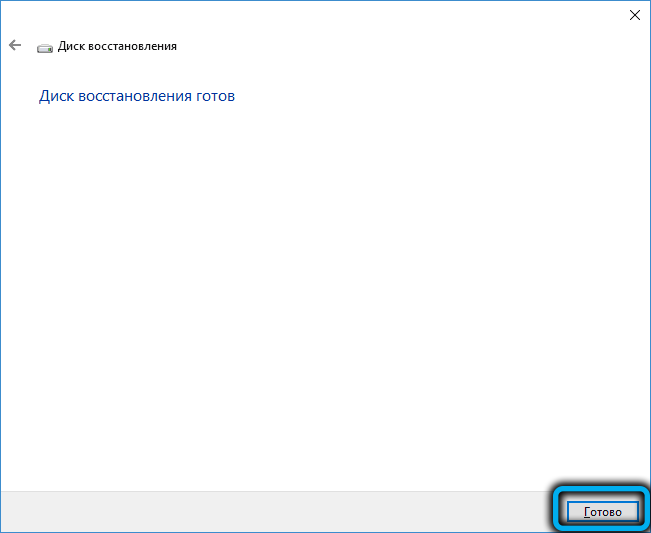
Now you will be able to solve problems with the functioning of Windows using this media, having previously changed the boot order in the BIOS.
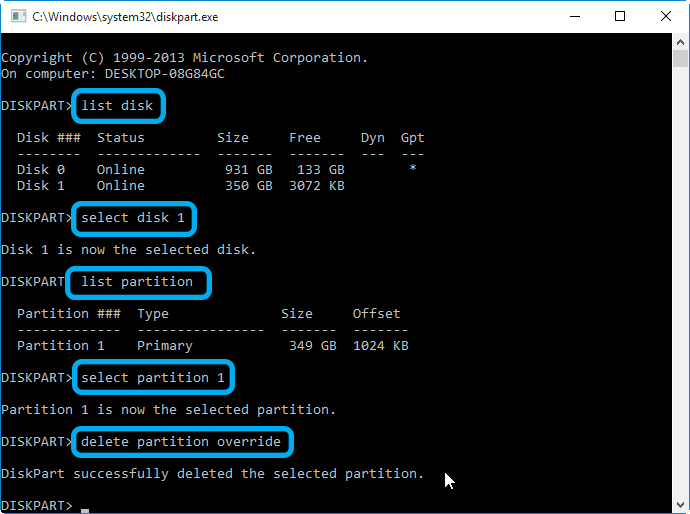
And now let’s look at how to remove the recovery partition through the command line, for which we type cmd in the search console, right-click on the line with the search result and select run as administrator. We type a sequence of commands, each of which ends by pressing Enter:
- diskpart
- list disk
- select disk 0 (select the system disk)
- list partition
- select partition X (here X is the number of the recovery partition, about 580 MB in size);
- del partition override
If the deletion is performed in order to free the occupied space, the easiest way to do this is using the AOMEI utility, and the process itself will be described below.
In Windows 10/8, this process is much easier. When we click on the “Create a recovery disc” tab, you need to check the box at the bottom of the window to load system files to the USB flash drive, but in this case the volume of the media must be large (at least 64 GB), and the time required to create the disc , will increase significantly.
But at the end, the utility will automatically offer to delete the recovery partition and will free up the space it occupies.
Attaching the vacated space to the C drive
Recall, this procedure must be performed if you have Windows 7 or you have not checked the box next to the “Back up system files …” option.
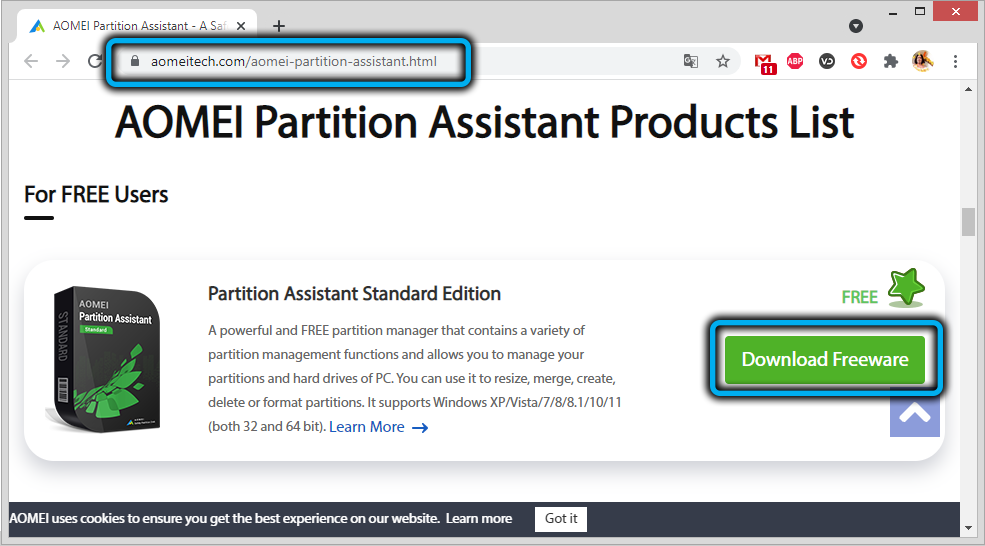
Download the AOMEI Partition Assistant utility from the official website, run it. In the main window, select the disk to which you want to attach the free space.
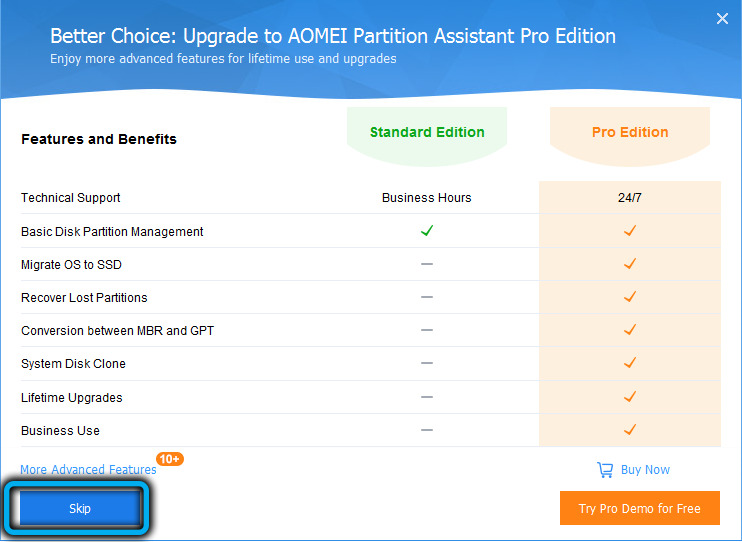
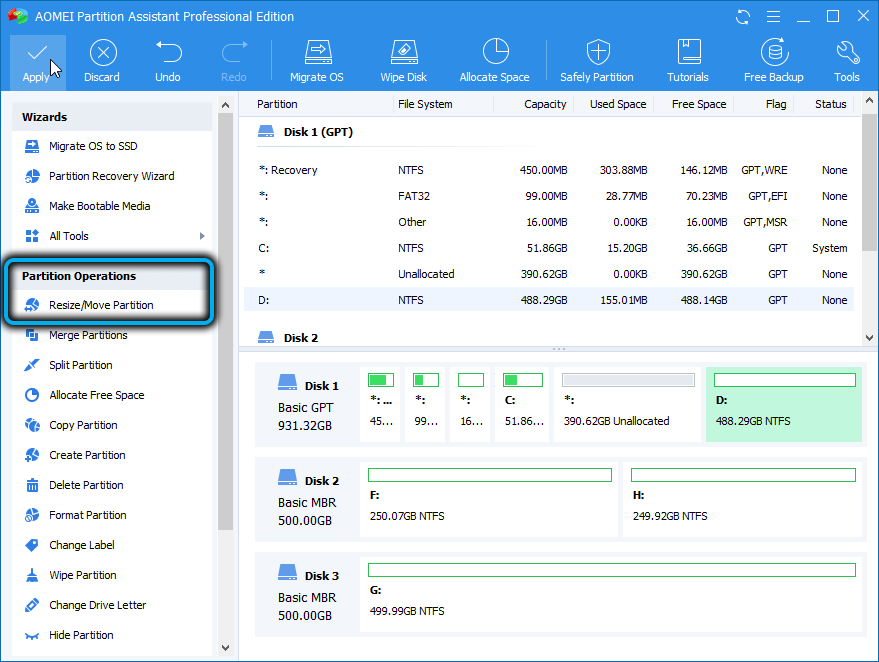
In the left menu (“Section operations”) select the “Section change” item. A new window will open, in which we put a checkmark in front of the line “I need to move this partition” (“I need to move this partition”) and drag the slider to the right until it stops. In this case, the “Unallocated space before” parameter should be reset to zero.
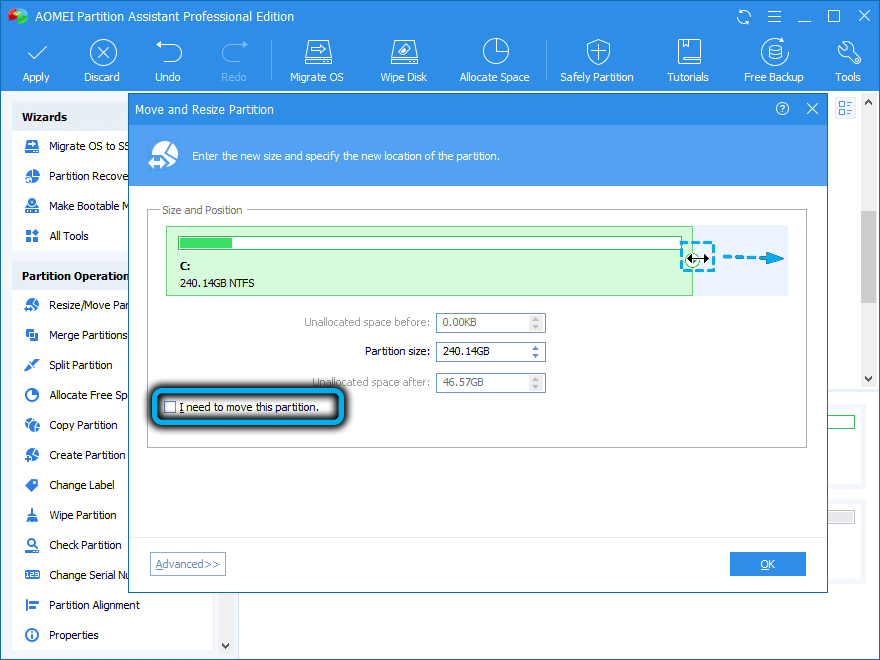
It remains to confirm the movement of the recovery partition twice, after which a new window will appear. We click on the “Go” button, confirm and wait for the end of the process.
How to create a recovery partition
Deleting the Recovery directory is undesirable for a number of reasons. Mainly because a recovery disc is not very reliable media. Modern PCs are manufactured without an optical drive. This means that a flash drive will be used as such a drive, the contents of which can be accidentally deleted. In this case, problems with Windows performance can be solved only with the use of the operating system distribution kit, which also contains the Recovery directory.

If you are not satisfied with this scenario, and the recovery partition on the system disk has been deleted, this is fixable.
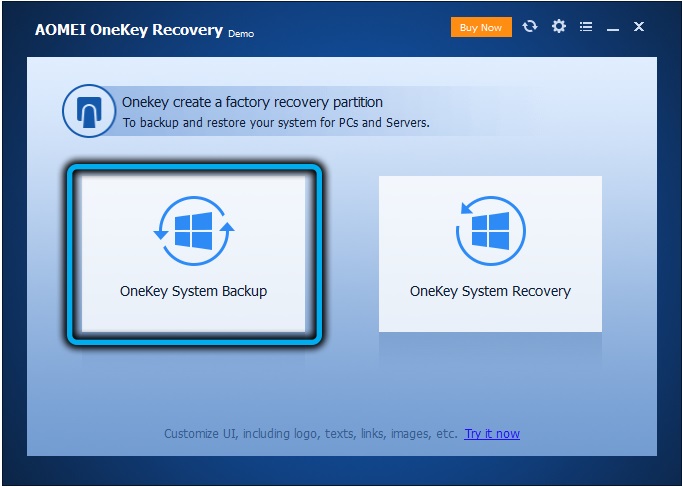
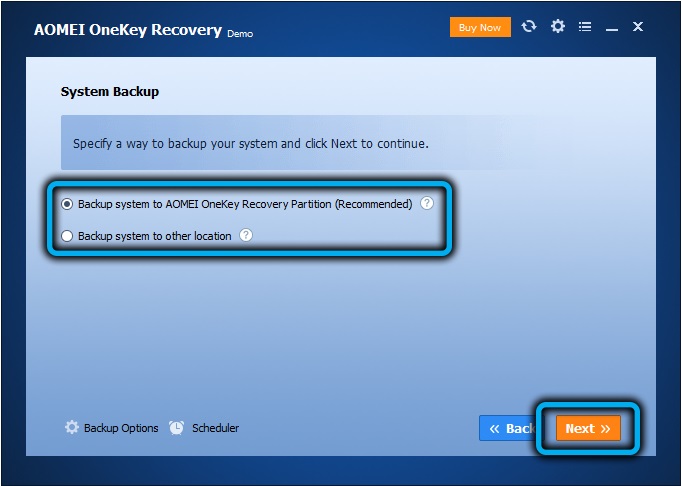
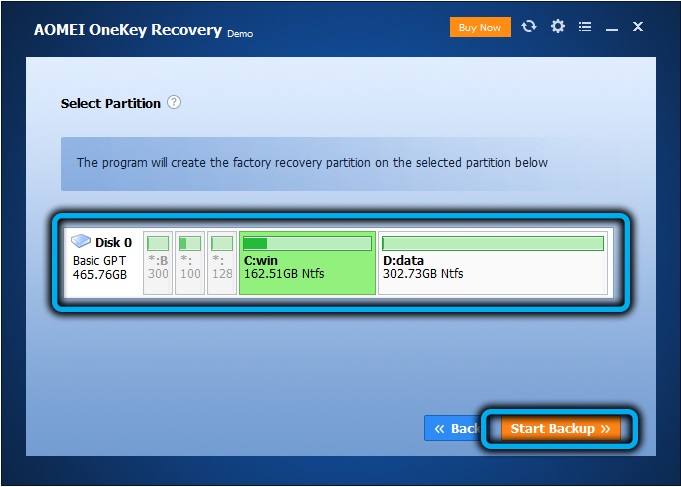
And again, the easiest way to do this is using software from a third-party manufacturer, for example, the AOMEI OneKey Recovery utility (link to the download page from the official website – https://www.aomeitech.com/onekey-recovery.html).
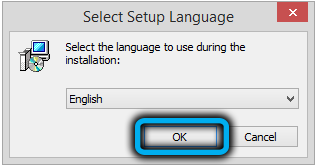
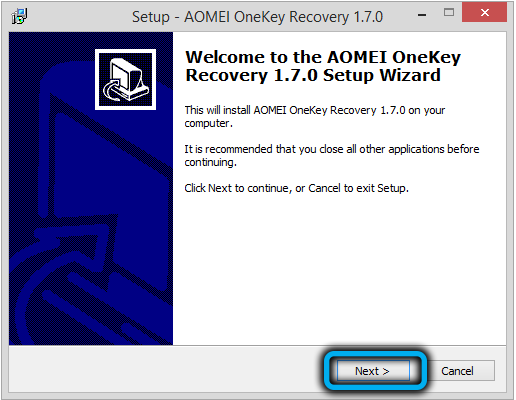
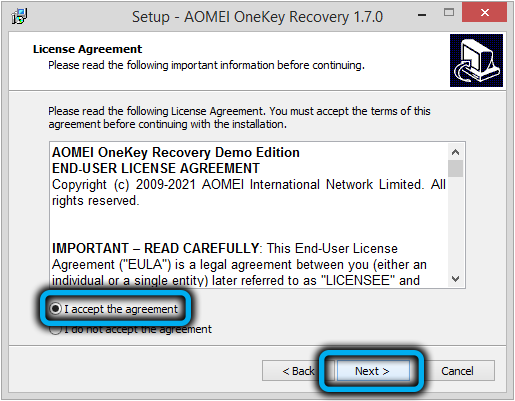
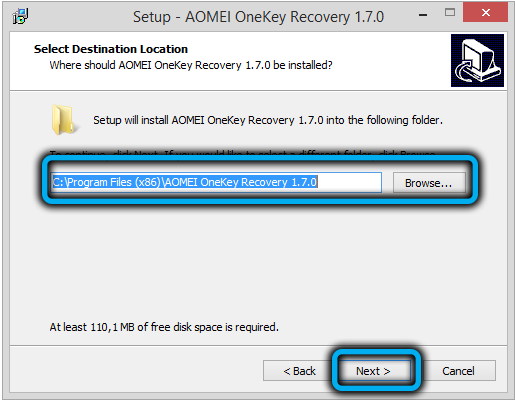
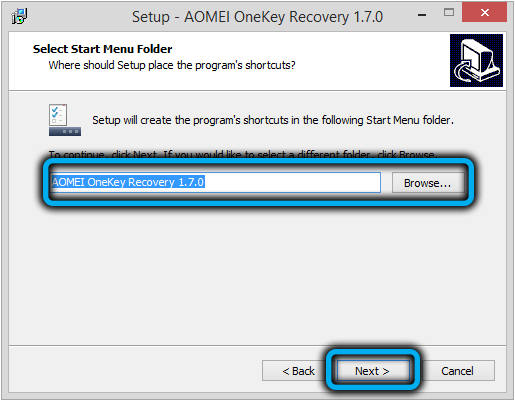
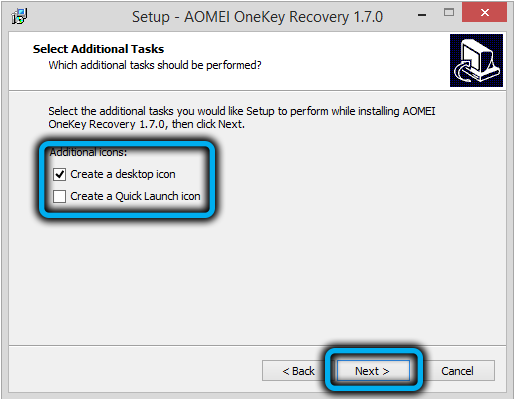
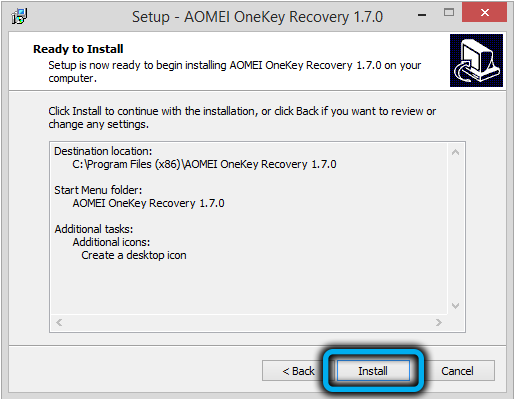
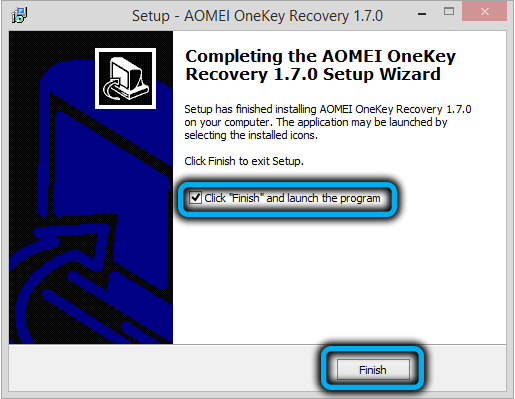
The procedure itself is very simple: run the utility, click the “Create recovery partition” button. Note that the disk must have at least as much free space as is currently occupied by the system. The utility will start creating a system backup and mark the partition as hidden at the end of the process.
As a result, in the Windows boot menu, you will see a new item – AOMEI OneKey Recovery, which you should use if you encounter problems with the operating system.
Now you know how to create or delete a recovery partition on a disk in Windows 10. And if you have already performed these operations on your computer, then please share your experience in the comments.