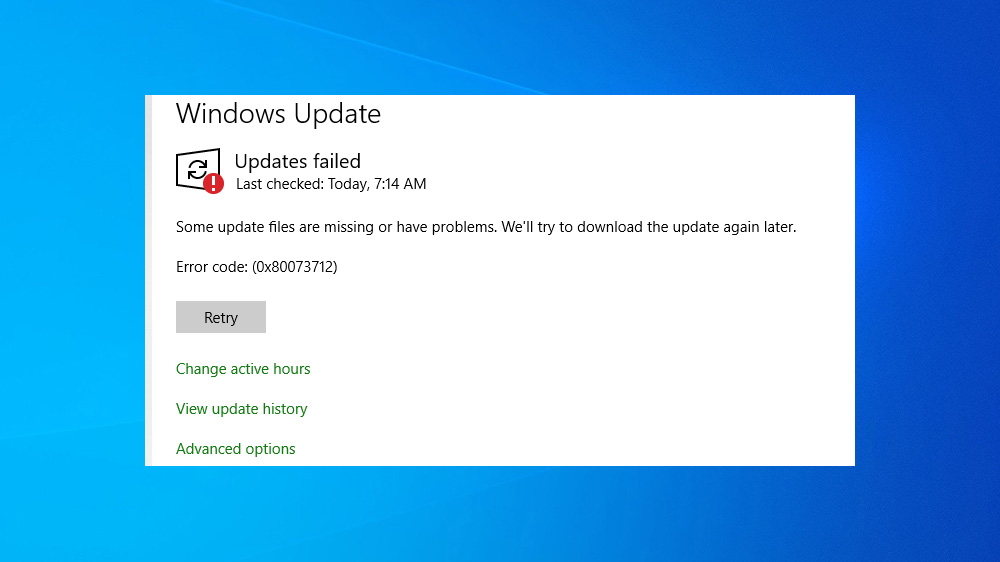
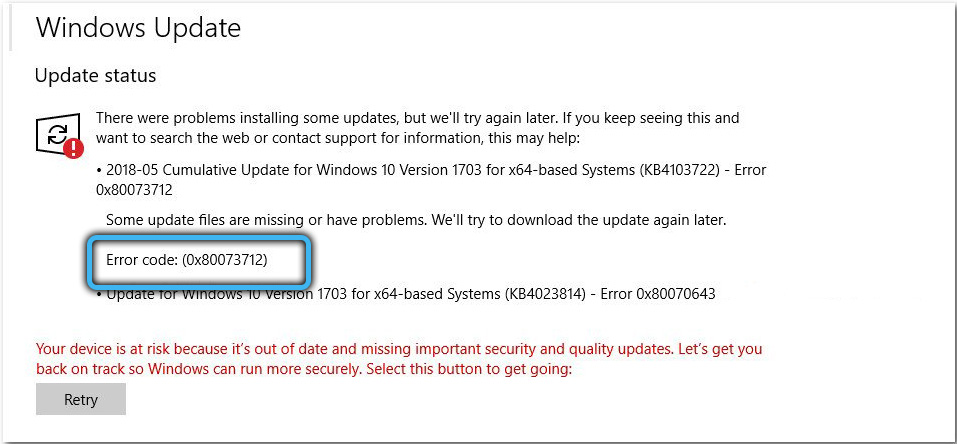
When trying to update system components, for various reasons, failures may occur that prevent the procedure from completing. Often, error 0x80073712 becomes an obstacle, reporting a problem with installing packages, missing or corrupted update data. You can run into trouble in different versions of Windows, the error is not new and Microsoft is aware of it, while the failure does not pose a serious threat, and it is easy to fix it yourself without seeking help from a specialist. There are options for solving the problem that will be effective depending on the source of the problem.
Contents
Cause of error 80073712
The update error code 0x80073712 that occurs in Windows reports that it is impossible to access certain data due to its absence or integrity violation, which is the main reason. The factors that led to the inoperability of the update component storage can be different, for example, errors are often caused by incorrect shutdown of the device during tasks such as updating or installing software. The reason may also lie in the failures of the Windows Update, to return to working capacity the software requires a restart.
In some cases, the failure is caused by excessive vigilance of the security software, which identified the downloaded updates as elements of malware and blocked their download, as a result of which the data cannot be received by the service.
Solutions and troubleshooting 80073712
If an error occurs during the installation of the cumulative update KB4598242, KB4598229, or another major update, and the package will not install, you can resolve the failure by following the necessary steps. Random system errors may disappear after a normal reboot, but in most cases, a series of actions will be required from the user to solve the problem.
In earlier versions of the OS, the issue was resolved by applying a special system checker to the CheckSUR update, which eliminates, among other things, problems with the component store. In the case of Windows 10, a solution can be found using standard tools.
Let’s figure out how to fix error 0x80073712 using the available methods that are effective depending on the source of the problem.
Not enough disk space
Any processes running in the system require disk space, and if the system partition is heavily loaded (90% or more), this can lead to performance loss and various kinds of errors. To avoid such problems, you should clean the disk of software junk and applications that are not in use. To view the occupied space and clear the disk, follow these steps:
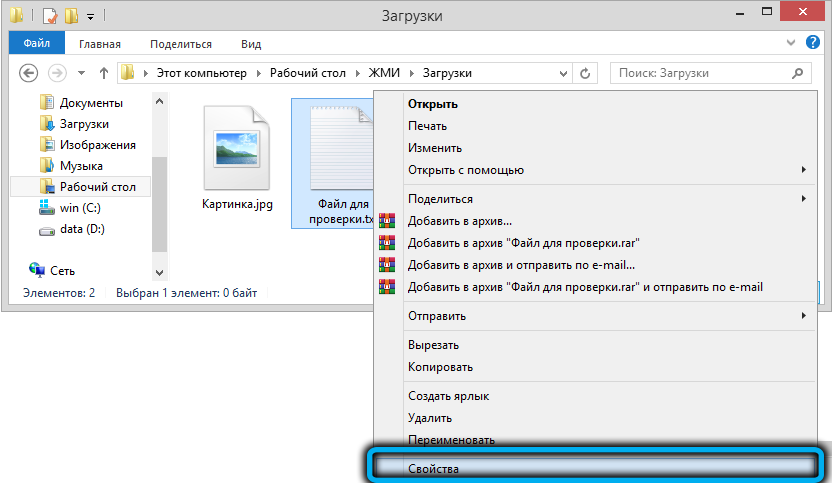
- go to Explorer, right-click on the desired section and go to the properties;
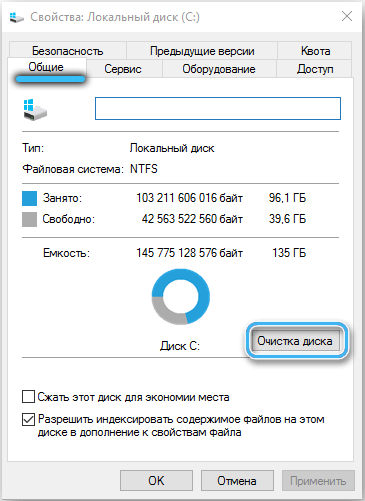
- on the “General” tab, the hard disk is cleared of temporary files, for which you should click the corresponding button;
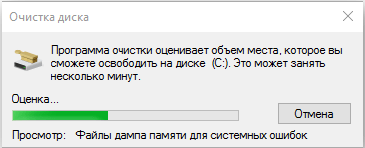
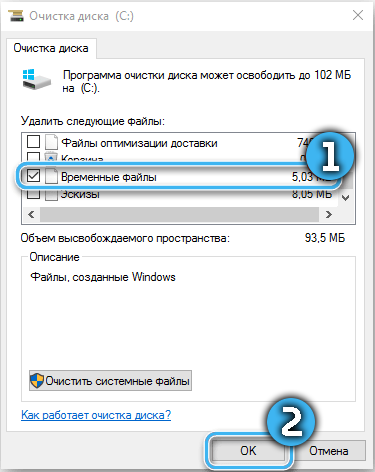
- after analysis, in a new window, we mark from the list “Temporary files” and “Temporary Windows installation files”;
- Click “Clean up system files”, at the end of the procedure, reboot the device.
Work of viruses or antiviruses
Malware can interfere with the execution of system processes. Standard preventive measures are taken: scanning with installed security software and special utilities.
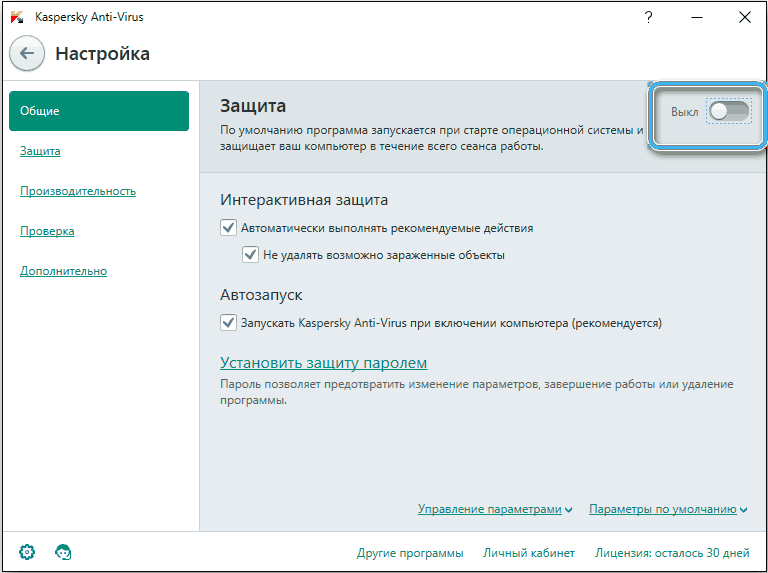
But not only malware, but also security software can interfere with system processes, mistaking files for malicious software. In this case, the problem is solved by disabling the antivirus for the duration of the system update.
Update repository corruption
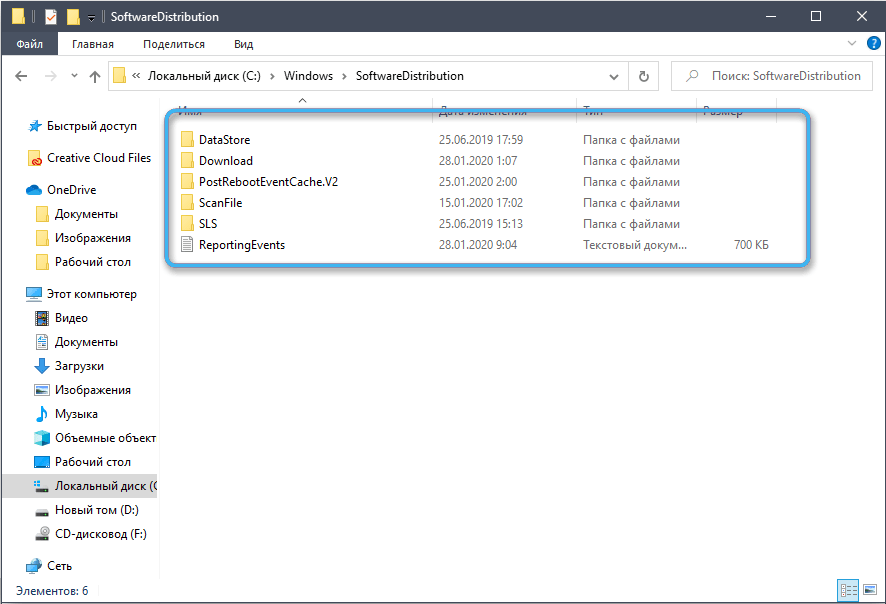
Since the code 0x80073712 often reports that the component store is corrupted, this scenario should also be considered. Temporary update data is contained in the SoftwareDistribution directory, and if it is a violation of its integrity, the OS gives an error. In the absence of a storage, Windows creates a new one automatically, so it is advisable to simulate the disappearance of a directory by renaming an object. The task can be completed in different ways.
With Explorer:
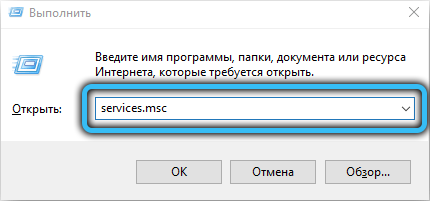
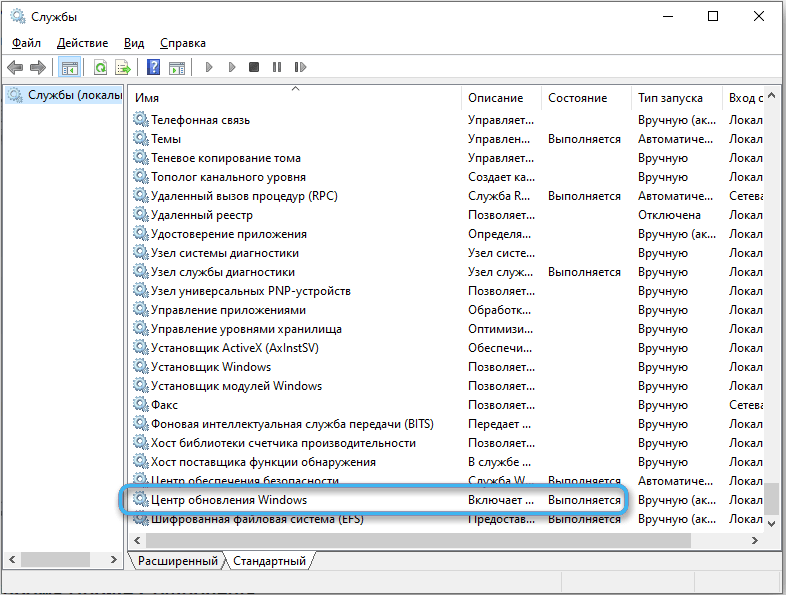
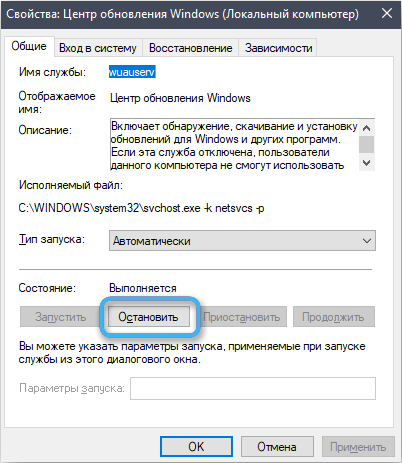
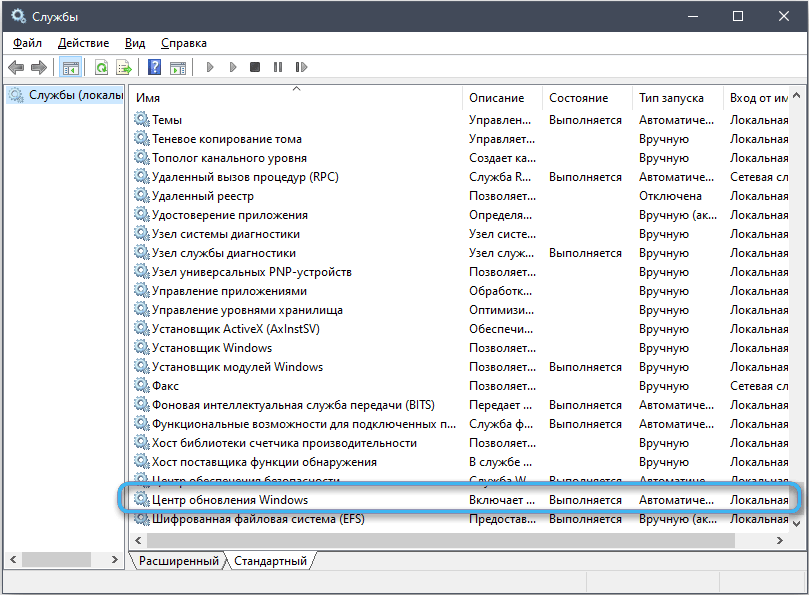
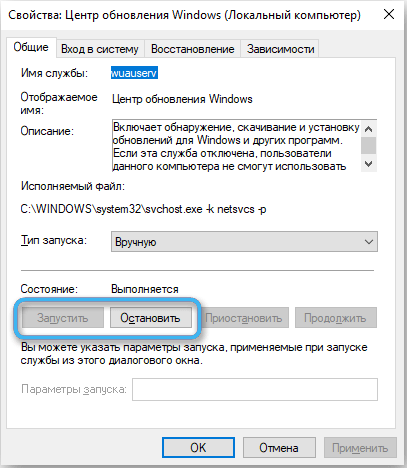
- disable related services: in the “Run” console (Win + R), write services.msc in the line, find Windows Update in the window, right-click open the available actions and select the “Stop” option;
- similarly stop the operation of the Background Intelligent Transfer Service (BITS);
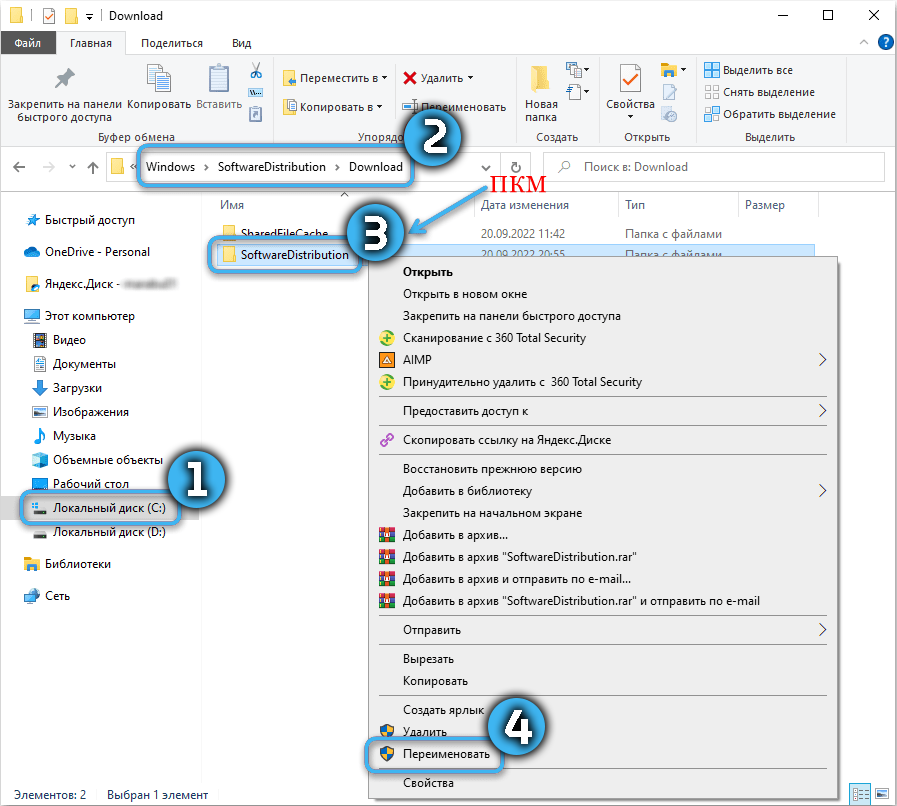
- on the system partition (usually C), open the Windows directory and rename “SoftwareDistribution” in it (RMB – “Rename”), for example, assign a new name “SoftwareDistribution_old”;
- we return to the services window and launch the previously disabled tools, after which we reboot the device.
Through the Command Line:
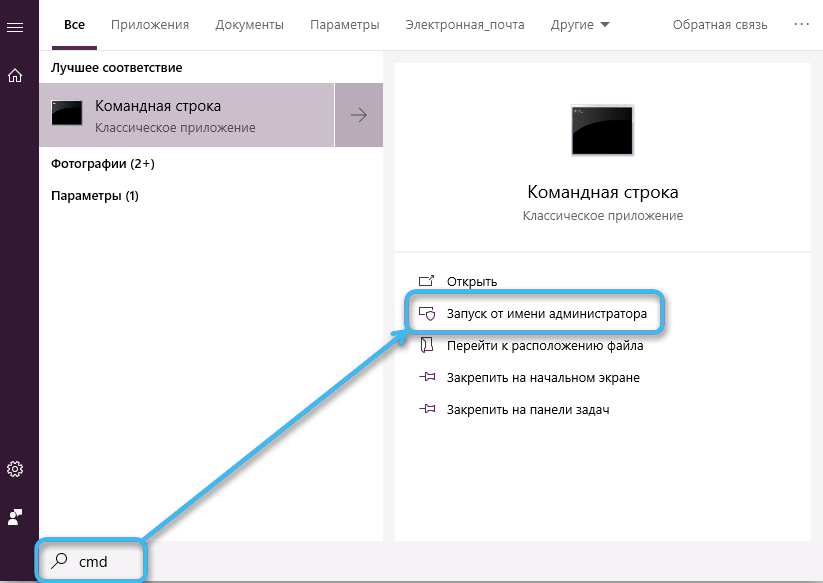
- run the tool with administrator rights from the Start menu;
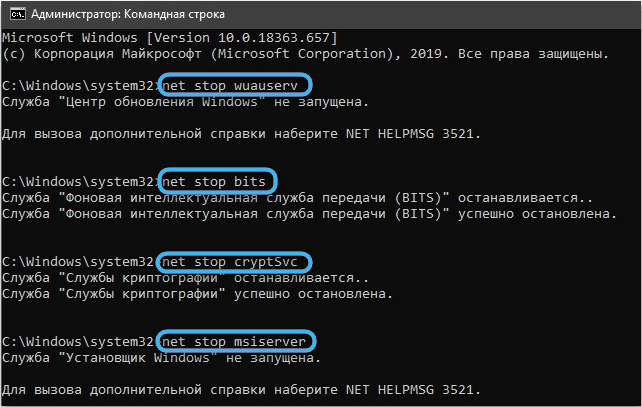
- stop services with requests:
 net stop WuAuServ
 net stop BITS
(after each request, we confirm the execution of the action with the enter key);
- rename the folder with the rename command, specifying the path to it:
rename C:WindowsSoftwareDistribution SoftwareDistribution_oldand press Enter;
- activate services:
 net start WuAuServ
net start BITS - close the terminal and reboot the device.
Running the troubleshooter
Windows has a built-in tool that allows you to get rid of various software problems, which in some cases effectively copes with the task. It also applies in case of problems during the update, including the notice in question that prevents the process. To use the tool:
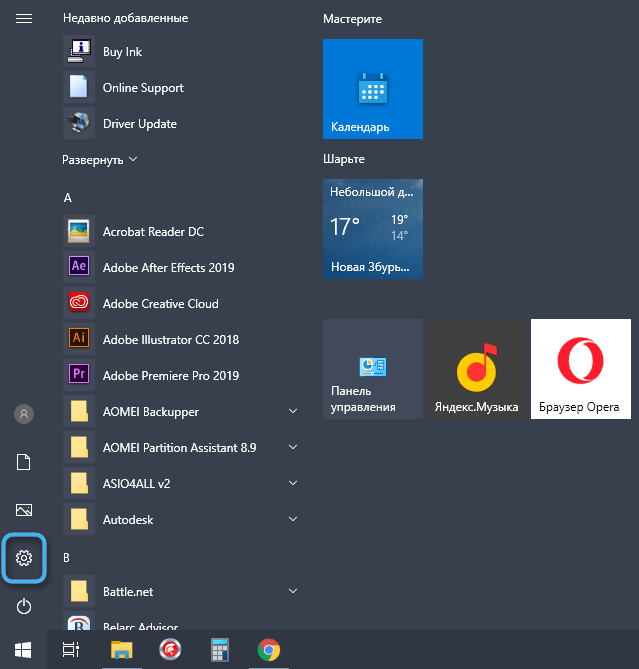
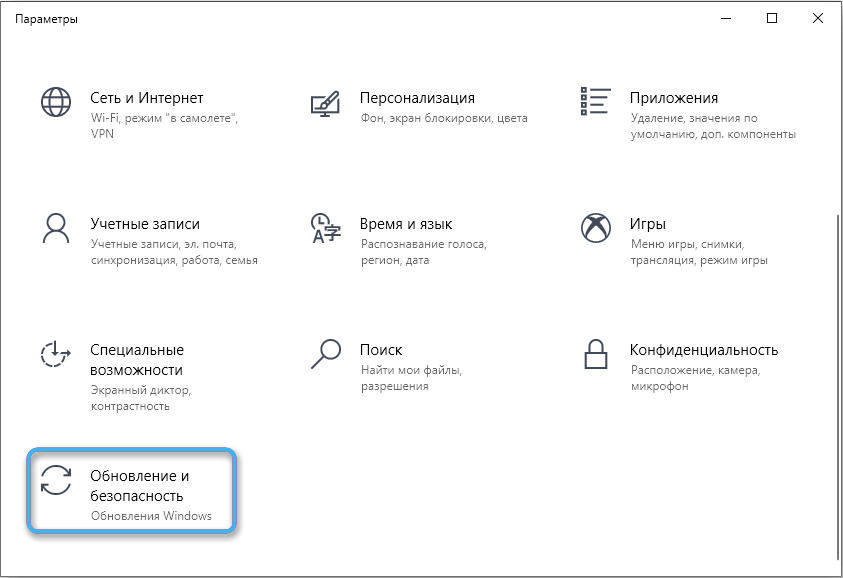
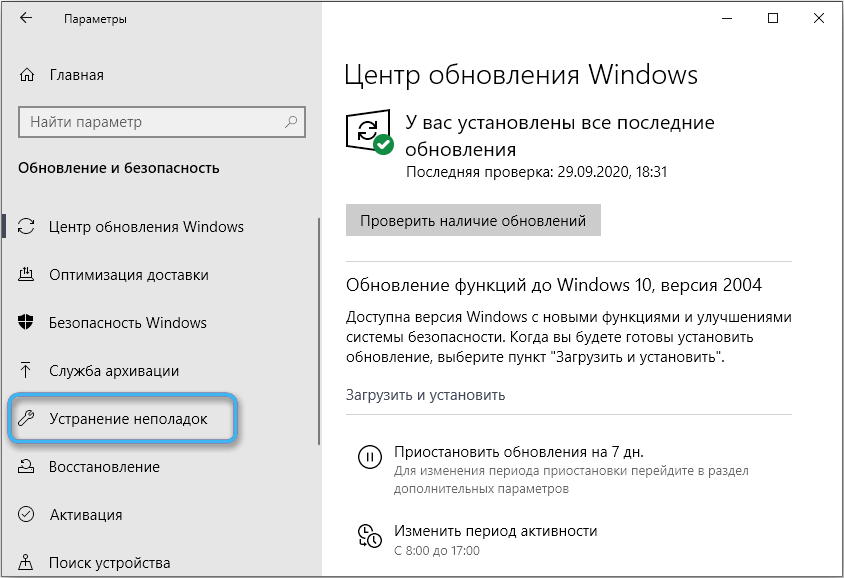
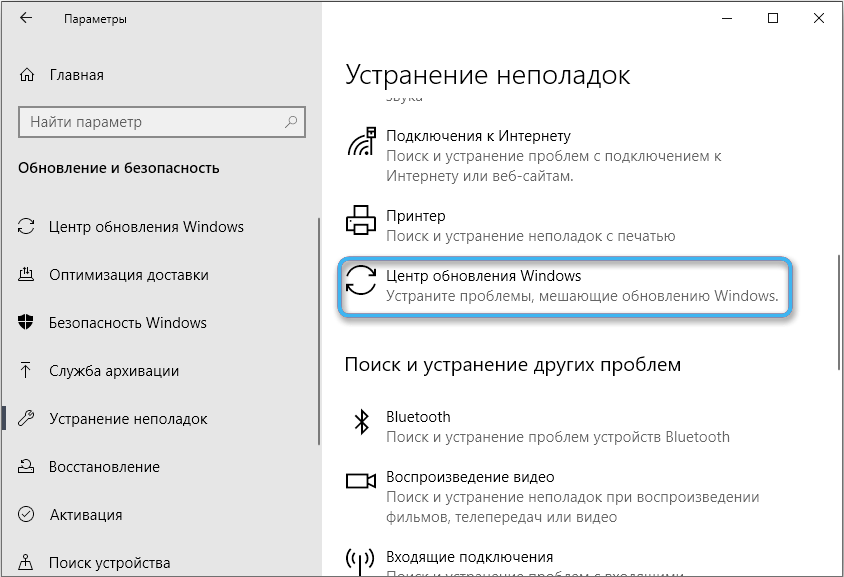
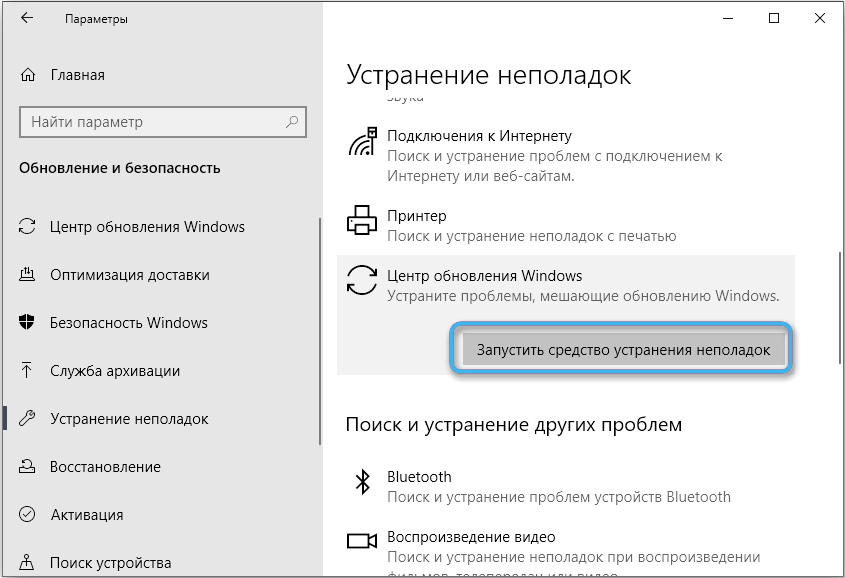
- go to “Settings”, go to “Update and security” – “Troubleshooting”;
- on the right we are looking for “Windows Update”, here we click “Run the troubleshooter”;
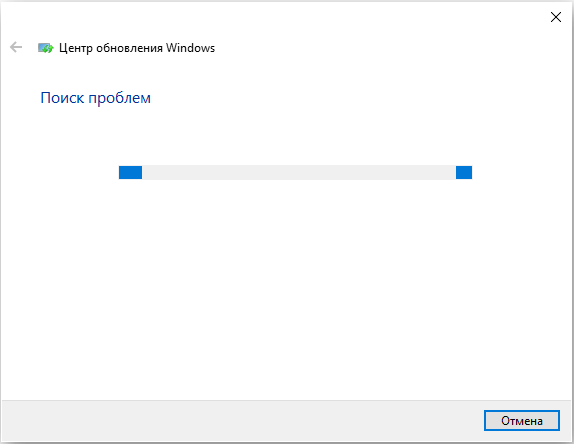
- We are waiting for the process to complete, then we will restart the computer and try to update again.
Checking the OS for file integrity
If the source of the 0x80073712 crash is a corrupted or missing component, repairing it will help resolve the issue. For the solution, we use the standard system tools: the SFC and DISM utilities.
Via System File Checker:
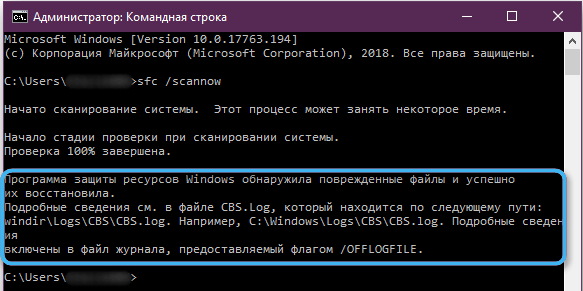
- using a terminal opened on behalf of the administrator, enter the request sfc / scannow in it and press Enter;
- after scanning, the result will be visible, the OS itself will reanimate the elements to be restored, and upon completion of the process, the device must be rebooted.
Scanning with Deployment Image Servicing:
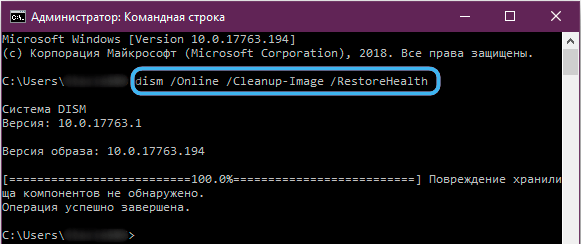
- open the terminal and set the command DISM.exe / Online / Cleanup-image / Restorehealth, after which we press “Enter”;
- We are waiting for the end of the scan. The tool will automatically fix problems when detected, and the user will see the result of the work done;
- reboot the device and try to install updates.
Deleting a Pending XML File
Residual elements can also cause a failure, in particular an XML file containing information necessary for OS components. If it didn’t fix itself or was corrupted, subsequent package installations are likely to have problems, including the nuisance in question. The solution is to force the removal of the element, as a result of which the correct file will be created by the operating system when it starts searching for fresh software.
In Windows 10, the Command Prompt will help:
- run the terminal (administrator);
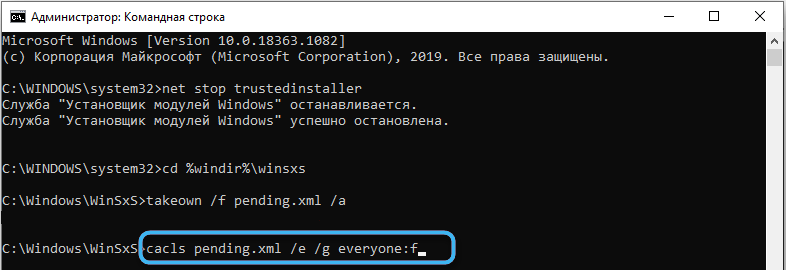
- stop the module installer service by using the netstop trustedinstaller query (press Enter);
- then execute the commands one by one:
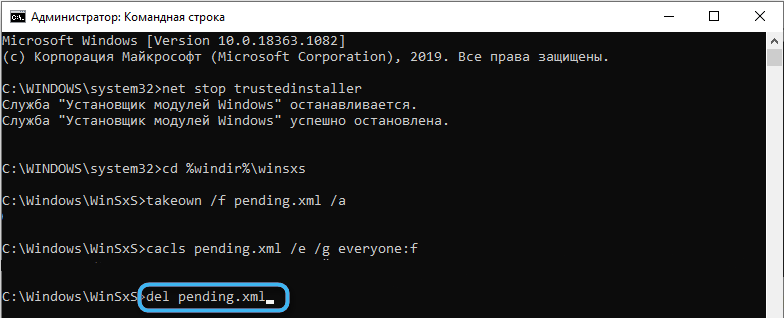
cd %windir%winsxstakeown /f pending.xml /acacls pending.xml /e /g everyone:fdel pending.xml(after each request, press Enter on the keyboard);
- restart the device.
Restarting the Windows Update service
In some cases, restarting an incorrectly functioning service becomes effective. So, restarting Windows Update may be able to fix code 0x80073712. Let’s restart:
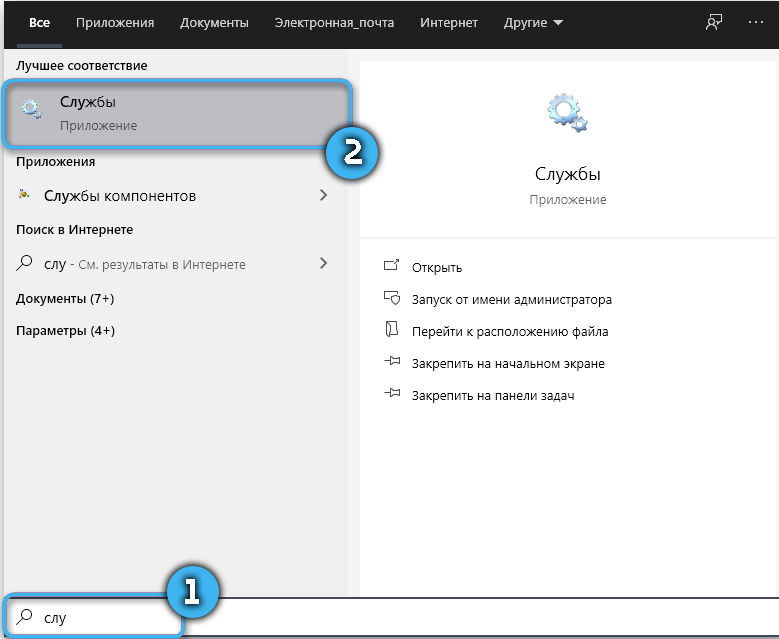
- open “Services” (through the search menu Start or through the console “Run” (Win + R) and request services.msc);
- scroll down the list, find “Windows Update”;
- restart by selecting the action above the description, or double-click to open the properties (RMB – Properties), stop the service by clicking the appropriate button, then click “Start”.
Reset and update OS components
In the “Top Ten” you can solve the problem by resetting the components involved in the installation of update packages. The method will help if any of them fail.
We perform a reset in the terminal by applying the queries:
 net stop bits
 net stop wuauserv
 net stop appidsvc
 net stop cryptsvc
 ren %systemroot%SoftwareDistribution SoftwareDistribution.old
 ren %systemroot%system32catroot2 catroot2.old
 net start bits
 net start wuauserv
 net start appidsvc
 net start cryptsvc
Deleting the update files folder
The SoftwareDistribution may contain incomplete or corrupted data. This provokes the incorrect functioning of the update service. It is possible to fix the failure by renaming the folder (the method is described in detail above) or deleting it. To do this, follow the steps:
- we stop the Windows update services and background intelligent transfer (in the services window or with console commands) – these actions are described in detail in the instructions for renaming the folder;
- go to Explorer, move to the C:WindowsSoftwareDistribution directory and clear the contents;
- Activate previously disabled services.
If none of the solutions discussed helped, we proceed to extreme measures, such as system restore, as a result of which we are guaranteed to get rid of the error and install the necessary updates.
