Text editor Microsoft Word is a program that allows the user to solve many problems. In addition to the wide range of possibilities for working with text, Word can offer you tools for creating some graphic elements to make your document even better. Various block diagrams are very popular means to demonstrate something more clearly. In this article, we will take a closer look at how to make a diagram in Word and talk about all the aspects and nuances of this process. Let’s figure it out. Go! 
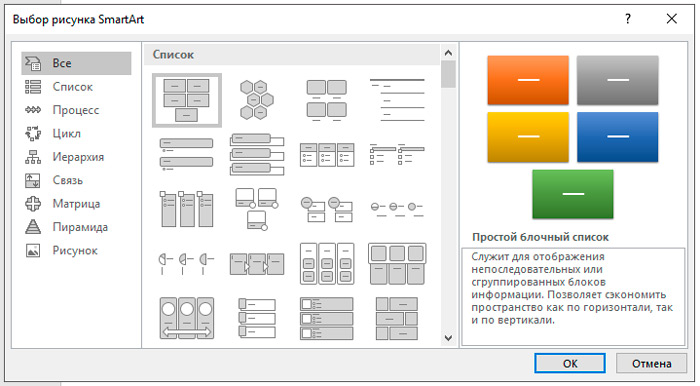
To create a flowchart, click the Insert tab. In recent versions of Microsoft Word, a special tool called “SmartArt” is available. You can call it in the “Illustrations” section on the toolbar. A window for selecting graphic elements will open in front of you. In it, you can choose a suitable layout from the proposed options. If you need to add an additional cell, click the Add Shape button. You can fill in cells and change their hierarchy in the “Text area” window. Adding text is done by simply entering characters into the appropriate fields of the window.

After filling in all the cells, proceed to the next step. Click the Format tab. To resize your block diagram, click on the “Size” button on the right side of the toolbar. A small window will appear with two fields “Height” and “Width”. Enter values in the appropriate fields to bring the schematic to the size and aspect you want. You can resize both individual cells and several at the same time. To do this, mark each of them while holding down the Shift key. The text from each block can be edited as you like using a variety of fonts, colors, WordArt styles, and more.

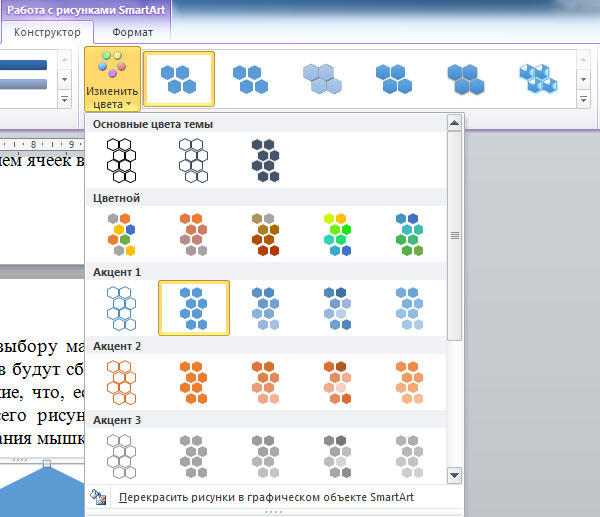
It is also possible to change the style and the entire scheme as a whole. To do this, go to the “Design” tab. In the SmartArt Styles section of the toolbar, choose one of the options you like. Among them are with the addition of shadows, volume and 3D styles. In the same tab, the “Change color” button is used to set the desired color of the block diagram. The choice is large enough. There are options for coloring cells in different colors based on their hierarchy.

You can go back to choosing a layout, but note that all settings and styles for the fonts will be reset and will have to be reinstalled. Also note that if you do not need to set the exact and clear sizes of the blocks or the whole picture, you can do it in the usual way by dragging with the mouse.
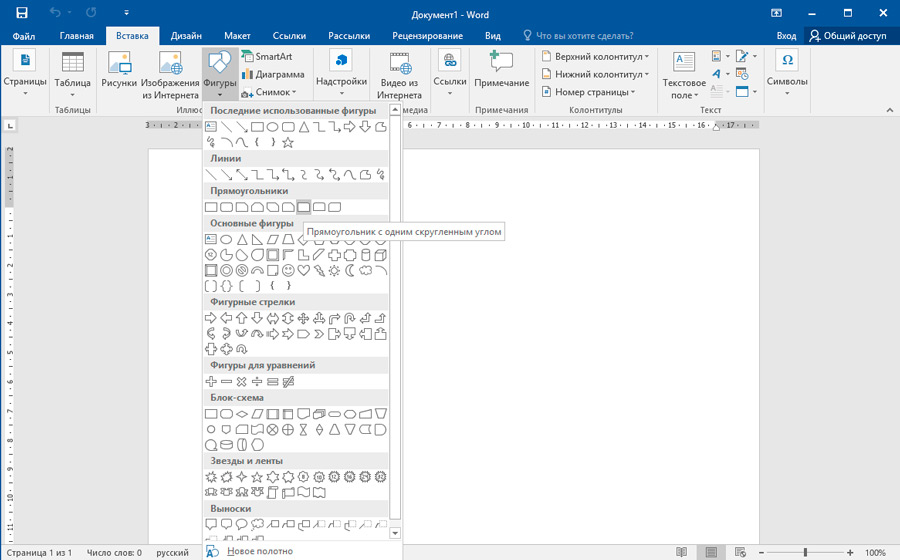
Older versions of Microsoft Word that do not have SmartArt will make the process of creating diagrams a little more painstaking, or you can use this method if you don’t like SmartArt layouts. With the Insert tab clicked on the Shapes button. In the list that opens, select the required shapes. In the same list, you will find various options for connecting lines, arrows, and more, which will come in handy for building a beautiful flowchart. By clicking on a cell with the right mouse button, you will bring up a menu where you can add text, change the color or change the style. By adding various effects, you will make the drawing more interesting and attractive to the reader, so do not neglect them.

As you can see, the process is extremely simple and requires only a little imagination and creativity from you. Now you can easily draw a beautiful, visual diagram in Word. Write in the comments if this article helped you and ask any questions of interest on the topic considered.