Gamers can enjoy Android gaming experience on their PC and application developers can test Android-based application software on their Windows or Mac system, thanks to software like Bluestacks Android emulator that runs Android apps and games on their Windows PC. Windows 10 is designed to be a versatile operating system that works on all devices, be it smartphones, PCs, tablets, or even Xbox. However, there are many users who use Android for application development or for an Android gaming experience. With Android emulators, users can run Android applications in full screen from the system browser using a Windows PC.
Bluestacks is one of the preferred Android emulators for Windows PC. It is well known that it works steadily with your Google Play account so that you can access all Android apps and games on your Windows PC. Bluestacks App Player allows you to install Android apps directly on your Windows PC so that you can have a complete Android environment on your own laptop or desktop.
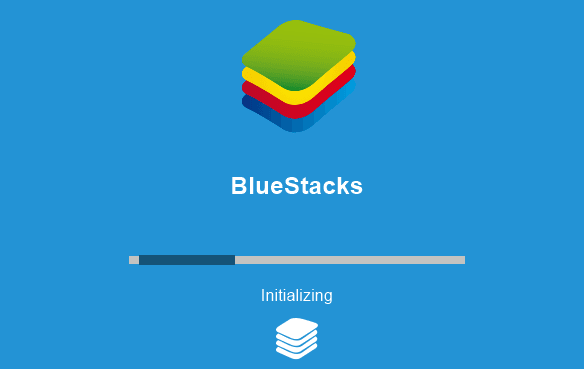
Although we are now aware of how Bluestacks offers a tremendous simulation environment for Android users on Windows, the software sometimes causes problems to run on Windows PC. Many users have complained about a Windows error problem when initializing Bluestacks. Bluestacks can get stuck in Initializing, and this problem usually arises if you are using an older version of Bluestacks or if you are on a less powerful PC. Since Bluestacks consumes a lot of hardware power, if you have too many applications running in the background, it can cause Bluestacks to get stuck during initialization – so make sure to close all unwanted applications.
Contents
Bluestacks stuck in Initializing
If Bluestacks is stuck on Initializing Welcome Login screen error, these tips will surely help you fix the problem on Windows 10/8/7 PC.
You should know that it is essential that you have the latest version of the .NET Framework as Bluestacks consumes a lot of hardware power. You can also get this error if you don’t have administrator privileges, so make sure you have been given the required privilege to use Bluestacks.
In a normal case, the problem can be solved by restarting your PC or restarting the player of the Bluestacks application. If restarting does not help to resolve this problem, you may want to try the following solutions to correct the error.
1. Uninstall Bluestacks & amp; download the latest version
Always update Bluestacks to the latest version as the error is said to occur in older versions of Bluestacks. If you still see the error, then download the latest version from Bluestacks. Before downloading, try to completely uninstall Bluestacks from the system and delete all files, folders, and registry keys in Bluestacks.
Go to Application Settings and click System. Click Apps and Features. Select Bluestacks and hit the Uninstall button.
Then find and delete the following folders:
- C: \ NProgram Files \ NBlueStacks
- C: \ NProgrammingDataBlueDataPeaks
- Than
- C: \ NBlueStacksSetup program data
Finally, open the Run window by pressing WnKey + R. Type % temp% and click OK.
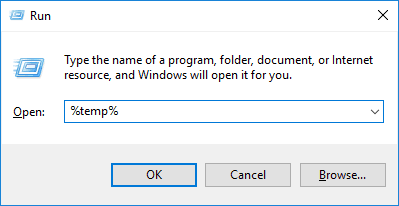
Search for BST in the search bar and delete all BST files and folders. You can use any cleaning tool application such as CCleaner to remove registry entries associated with Bluestacks.
Alternatively, you can download the Bluestacks removal tool from their site and use it to completely uninstall Bluestacks.
Once Bluestacks is uninstalled, download the latest version of Bluestacks and install it.
2. Run the Bluestacks program in Compatibility Mode
You can run Bluestacks in Compatibility Mode and see if that works for you. To do this, right-click on the Bluestacks software shortcut and select Properties from the context menu.
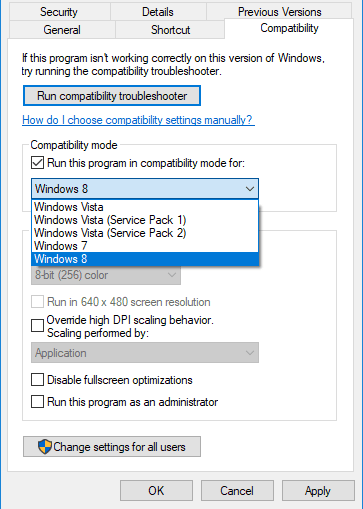
In the Properties window, select the Compatibility tab.
Select Run this program in compatibility mode for and select an older version of Windows from the drop-down menu.
Click Apply and OK to save the changes.
3. Check administrator privileges for Bluestacks
Before using the Bluestacks App Player, you need to check if you have the necessary privileges to run the app. To check for administrative privileges, follow the steps below
Open the Bluestacks installation directory and go to C: \ Program Files \ Bluestacks
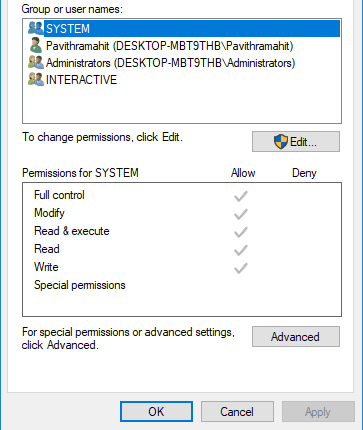
Find HD-StartLauncher and right-click on it. In the context menu, select Properties. Then select the Security tab and click Edit.
Choose your username and select Allow column for full control in the Permission section.
Now click Apply and OK to save the change. See if this helps.
Hope the solutions mentioned above have helped you solve the problem.