Now there are a huge number of programs for editing photos and other images. They all provide a wide variety of toolsets, from very modest to very extensive.

Against this background, the graphic editor ACDSee looks like an excellent “golden mean” – everything you need to correct a photo is collected here, and there is nothing superfluous. As a result, this is a small and fast program that anyone can use right after installation.
Main features of ACDSee Ultimate
The program exists in several versions:
- ACDsee Free is a free version. This is for viewing images only, you cannot edit them. This is just a replacement for the primitive standard system utility “Windows Image Viewer”, only much more convenient.
- ACDsee Photo Studio Home – has a trial period. The kit contains all the necessary tools for the layman.
- ACDsee Photo Studio Pro is a full version of the program that has all the features.
- ACDsee Photo Studio Ultimate is also a full version with additional functions for working with layers.

The last two options, as the most functional, deserve attention. The first ones are simply their modifications cut in terms of possibilities.
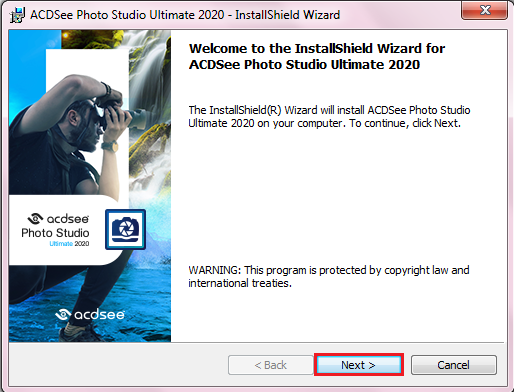
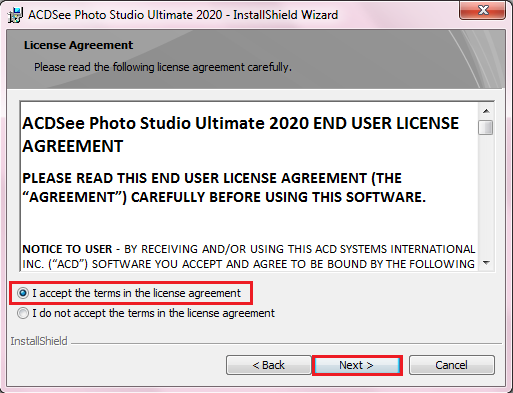
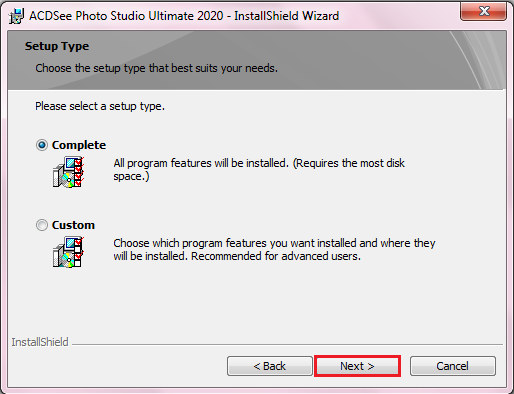
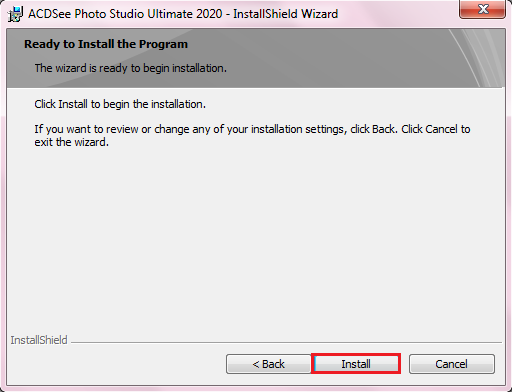
The system requirements for the “heaviest” version – ACDsee Photo Studio Ultimate, are quite modest. You need Windows 7, 8 or 10, 64-bit, and the appropriate processor. Although the developer recommends an Intel i3 processor, any such processor works easily with this program. It is also recommended to have at least 2 GB of RAM and a video card with 512 MB or more. Most of even old home computers and laptops meet these requirements.
The main function, for which the majority puts this program, is a photo viewer. But it’s also a great set of tools for editing them – quality enhancements, color adjustments, sharpening, cropping, rotating, and more. Many actions can be done very quickly without resorting to such “heavyweights” as Photoshop and similar professional editors.
Interface and russification of ACDSee
In the free version, the program has a very simple interface. It can only open images, scroll through them using the mouse wheel or buttons on the panel, and also zoom in or out in the window.
You can configure ACDsee in the “Tools” – “Options” menu. There is the very minimum of options – starting in full screen mode, hiding the mouse cursor, disabling animation, choosing a background color, and some others. However, the interface is in English, and setting up Russian will not work – there is simply no such option.
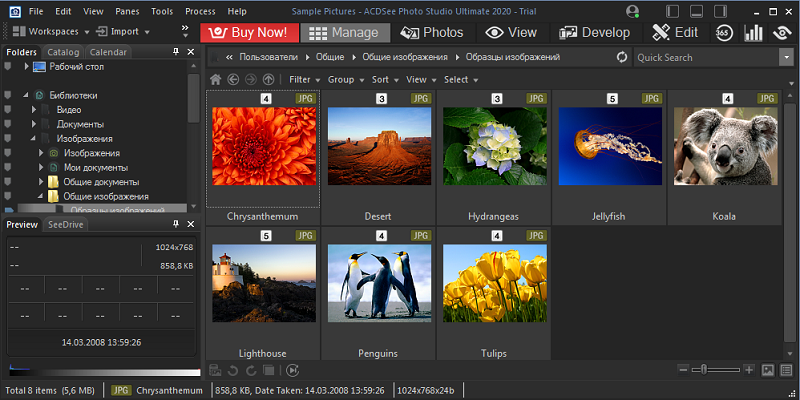
If you want to get the interface in Russian, additional efforts are required. You need to find the localization file on the Internet, download it, and then copy it to the folder with the installed program. You need to search for the same version of the program that you have installed.
How to use the editor
Unlike complex professional graphic editors, ACDSee has an intuitive interface. This means that any user, having installed this program, can immediately start working with it, without spending a lot of time to master it. The fact is that all the tools are conveniently presented in the left panel, and their settings appear directly in the course of working with them. Moreover, everything is organized very conveniently and photo processing is easy and simple.
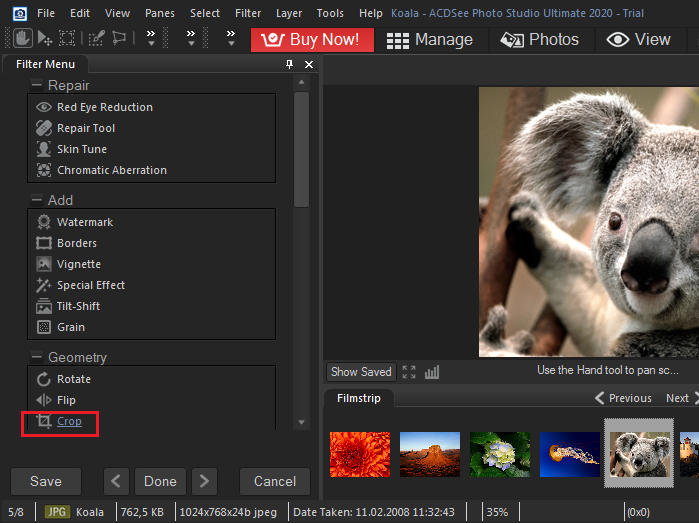
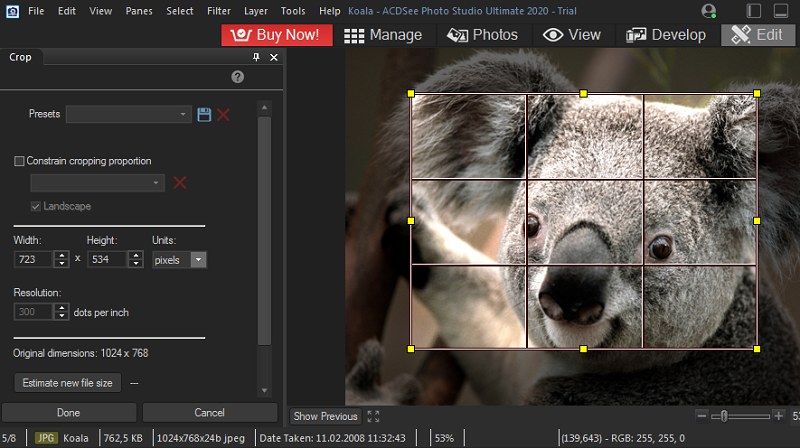
For example, if you do not know how to crop a photo in ACDsee, finding a solution will take you only a couple of seconds, because in the right panel there is a Crop tool – this is cropping. If you select it, a photo immediately appears with a frame, which can be stretched, as convenient, and moved. Settings appear in the left pane, where you can precisely specify the size of the cropped area. When the frame has acquired the desired size and position, you can click the “Finish” button and cropping on the frame will be immediately performed.
You cannot cut out a part of an image with a complex contour in ACDSee. You can only crop along a rectangular frame and get a certain fragment of the complete image.
Similarly, you can resize a photo, but select the Resize tool. After that, you need to specify the desired width and height or select a new size as a percentage of the original.
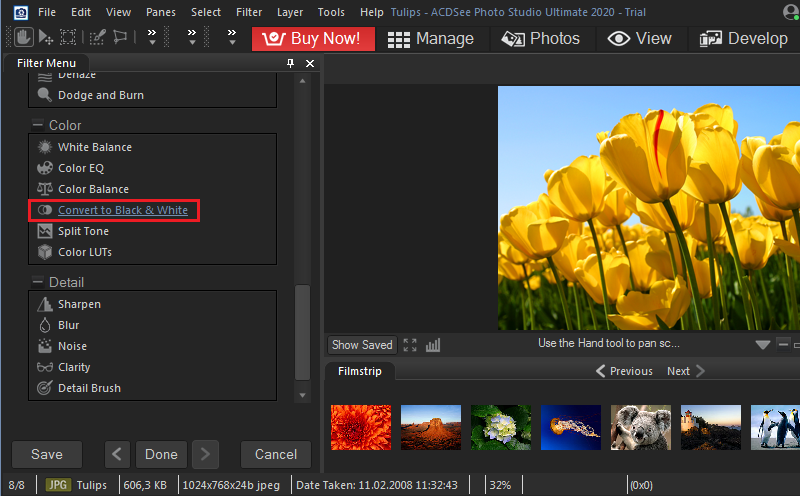
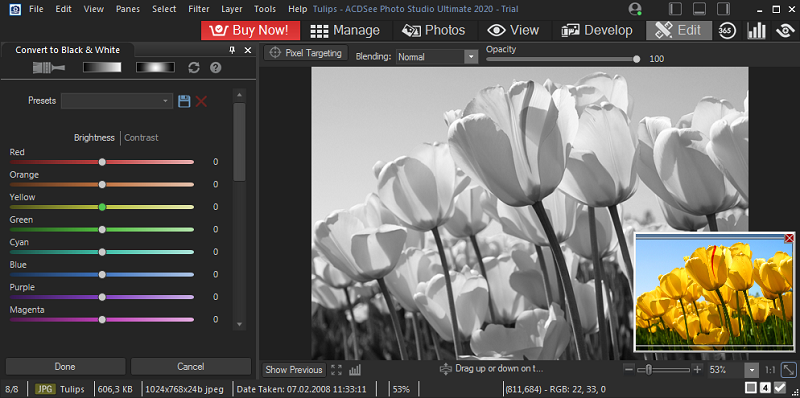
Making a photo in black and white is also easy. To do this, there is a Grayscale tool in the left panel. When you click on it, the photo immediately becomes black and white, but in the settings you can change the proportion of each of the three primary colors – red, green and blue, as well as adjust the overall brightness. So there is also some opportunity to edit the final result. After all, it happens that a color image looks good, but in black and white it becomes too bright or too dark. In the latest versions, it is possible to give a black and white picture a color tint.
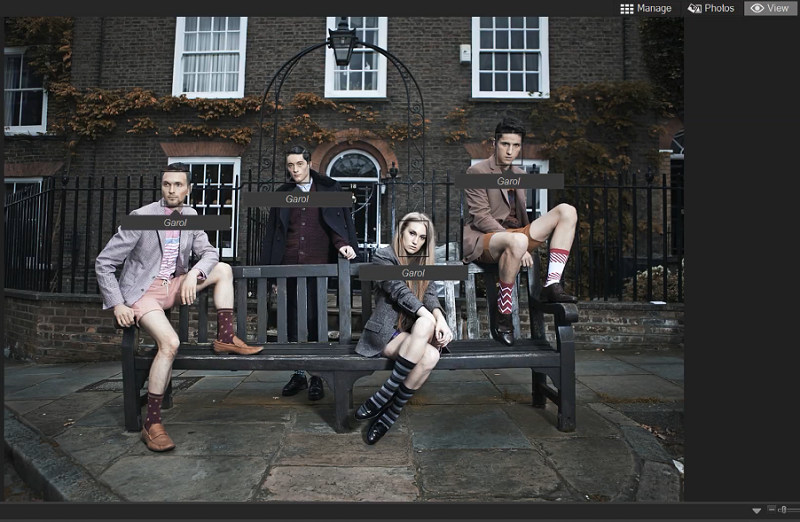
The Ultimate 2020 version has a face recognition feature. It analyzes the photo and highlights the faces found in the photo. So you can sign each person and in the future it will be very easy to find all the photos with the right person among thousands of files. But not everyone needs this feature. It is disabled by default, but you can enable it in the “Panels” – “Face Recognition” menu or by pressing the Ctrl + Shift + D keyboard shortcut. The same keys are used to disable face recognition.
Of course, ACDSee allows you to undo and rollback. This is useful if you don’t like the result. This is done by the standard keyboard shortcut Ctrl + Z.
In general, such a useful program as ACDSee should definitely take its rightful place on the computer of any person who has a digital camera or just likes to take pictures, even on a smartphone. It will help you get a real masterpiece from a faded and expressionless photograph in just a couple of minutes. In addition, it has all the functions of a convenient catalog in which not a single photo will be lost.