It is recommended that device drivers on your computer be updated regularly in order to have access to all relevant functions and work stably in modern programs. However, in some cases, the update not only does not solve the problems that arise, but also creates new ones. And here it is advisable to roll back the utility to an earlier, stable version.
Let’s take a closer look at how to roll back a device driver on Windows 10 and 11 operating systems.
Rollback via Device Manager
The easiest way is to use the standard rollback tools already provided by the operating system developer. In this case, it is necessary to act according to the following algorithm:
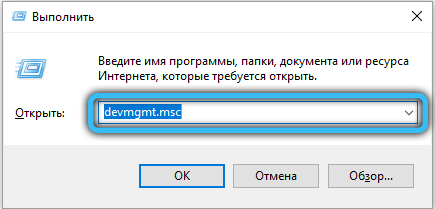
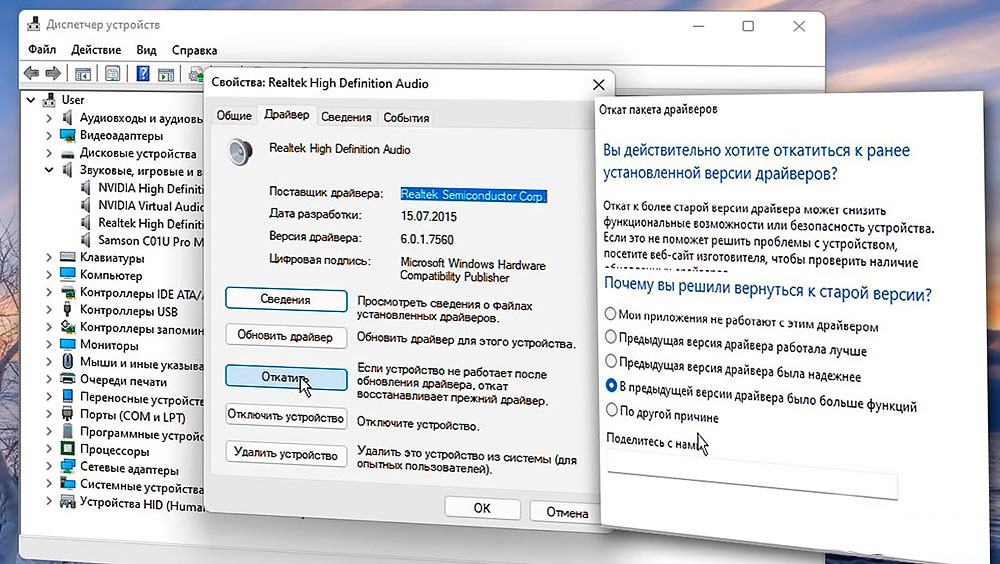
- Launch Device Manager by finding it in the list of programs or by using the devmgmt.msc command in the Run window (Win + R).
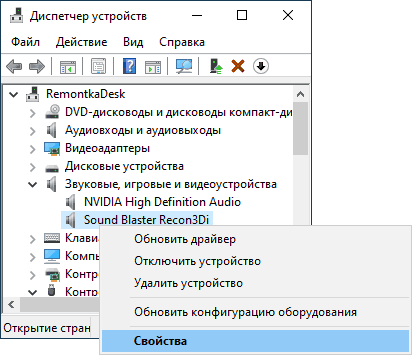
- In the list of installed devices, find the desired item and right-click on it.
- In the context menu, select the “Properties” section to open the corresponding settings.
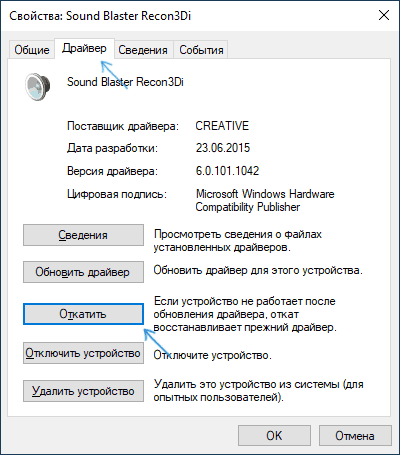
- Go to the “Driver” tab and see if the “Roll Back” button is available for clicking. If everything is in order, you need to click on it.
- The current versions of operating systems at this stage will try to figure out why the rollback is necessary. You must select one of the proposed items and confirm the action.
- Wait until the current driver is removed and the old version is installed from the archives on the disk. In some cases, specialized software from the device manufacturer is replaced with a standard system driver.
Sometimes a reboot is required to activate all changes. The system will indicate its need in a special message.
Installing another driver
You can also simply install the desired version of the driver by running the appropriate procedure or installer manually.
Procedure:
- In any convenient way, open the Device Manager and find the equipment of interest in it.
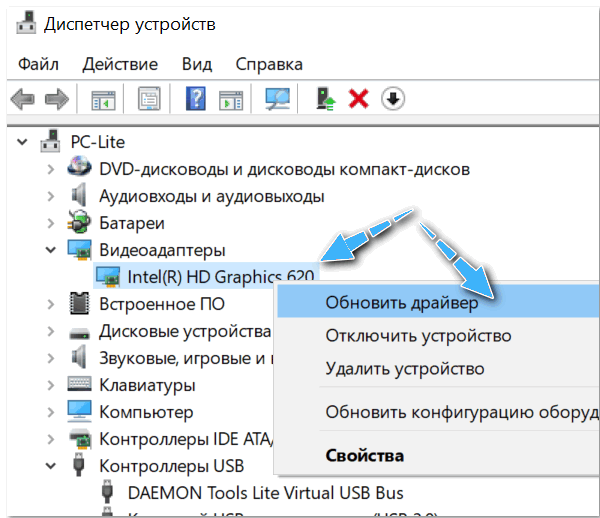
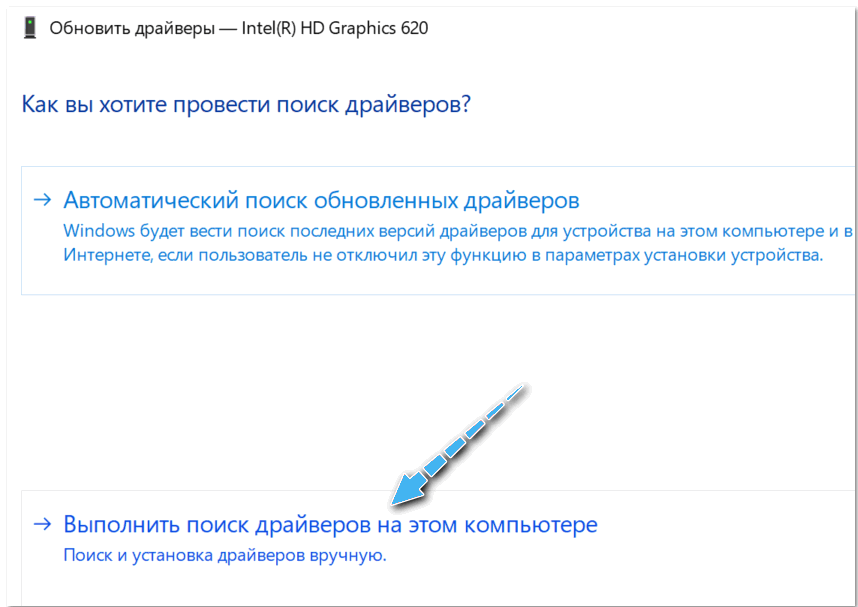
- Right-click on it, and then select “Update driver”.
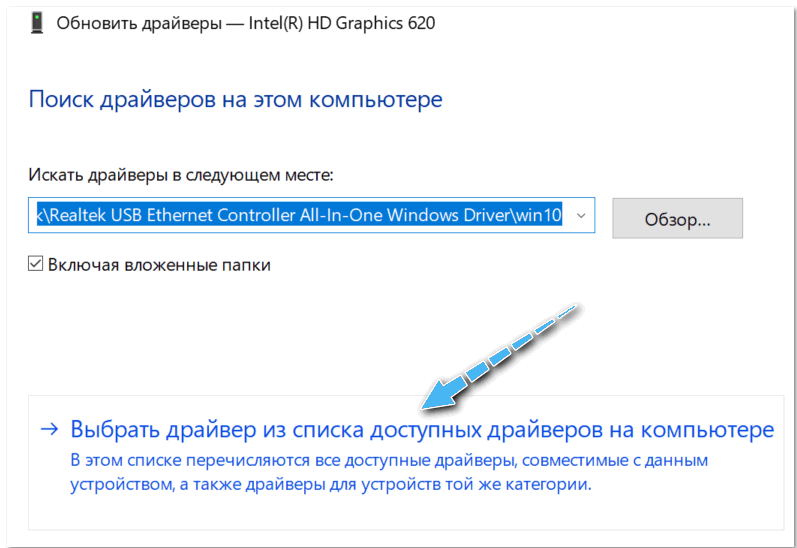
- From the proposed options, select the one that includes manually searching for the desired driver on the computer.
- Click on the item “Select a driver from the list of available drivers on the computer.”
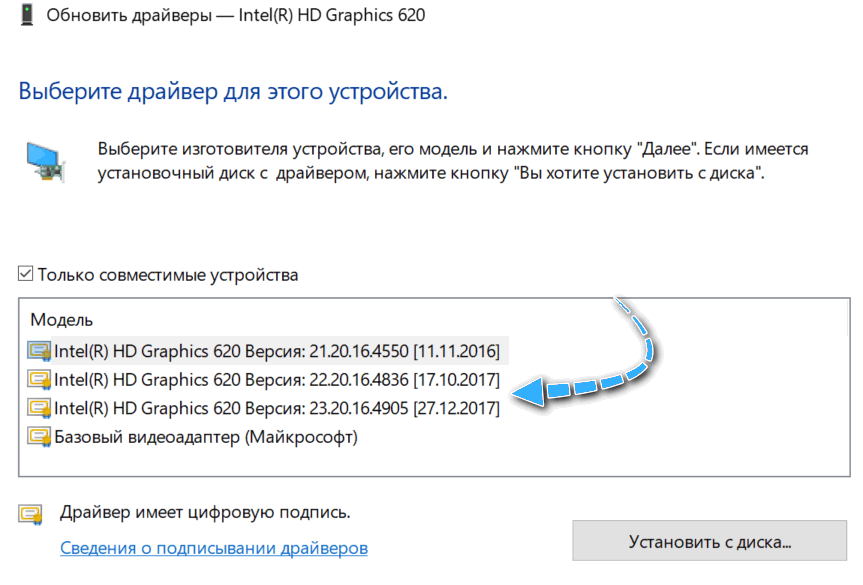
- If different versions of drivers were previously used on the computer, they will be displayed in a special list. You need to select the version, focusing on the dates and names of the utility.
- Confirm the driver installation for the device.
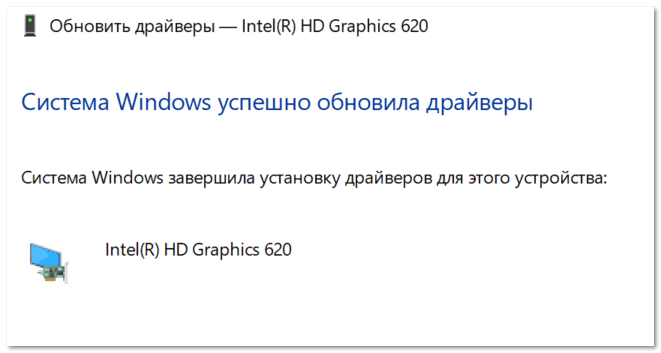
- Wait while the computer installs the driver. In some cases, you may need to restart your PC to apply all changes.
Using a restore point
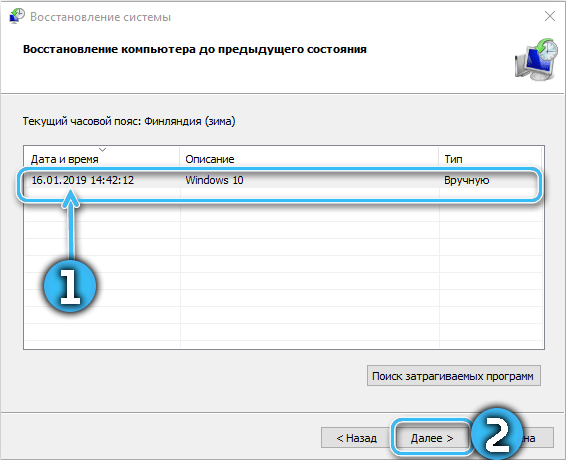
If the methods described above did not help to cope with the problem, you can use the function to roll back the entire operating system to a more stable state. However, this will only be possible if the computer was previously configured to create restore points.
This procedure will restore all operating system settings and roll back device drivers to a previous state.
Instruction:
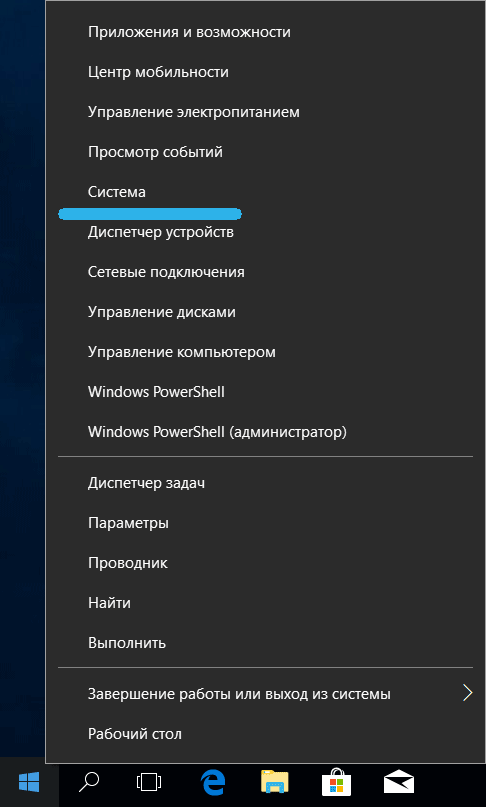
- Right-click on the “Start” button and select “System”.
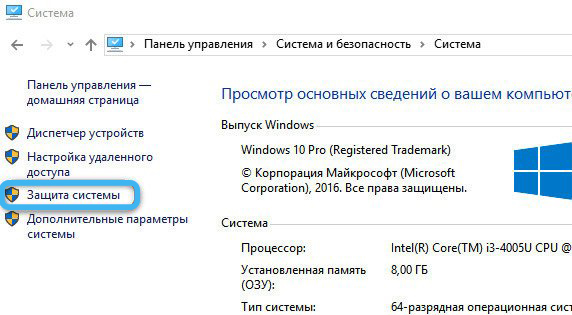
- Click on the “System Protection” section on the left side of the window.
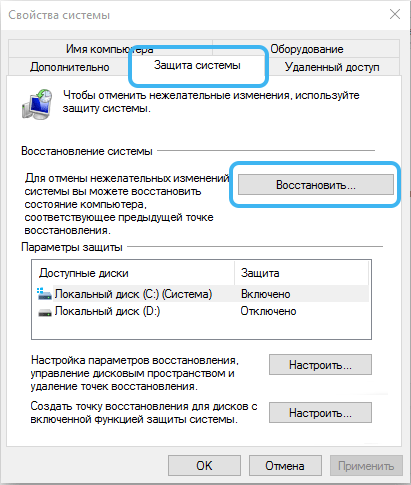
- In the window that opens, click on the “Restore” button from the “System Restore” section.
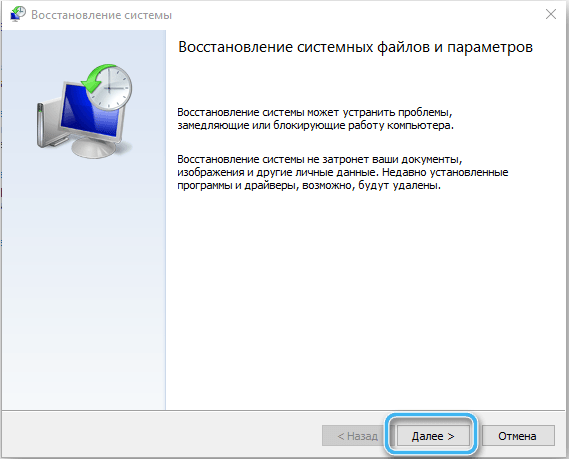
- From the list of restore points, select the one you need, and then click “Continue”.
- Wait for system recovery.
Now it remains only to check if the rollback helped solve the problem that arose after installing the new driver.
Rolling back drivers is a fairly simple task, accessible even to an ordinary user. In most cases, it is easier to use the built-in tools or to completely remove a specific device from the system, and then install the correct driver version manually.
Have you managed to roll back the drivers on your computer or laptop? What method helped? Share in the comments.
