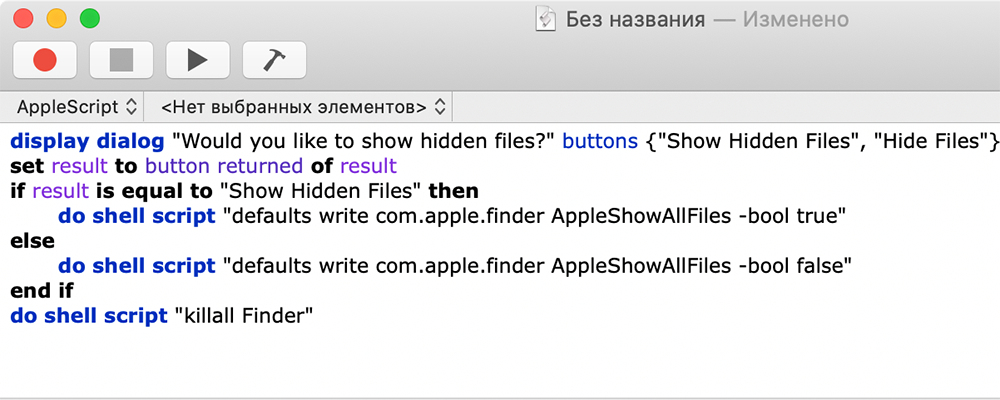
Users of Apple computer technology in most cases are very satisfied with the convenience and thoughtfulness of the proposed MacOS operating system. This shell provides for hiding some folders and files located on drives. This helps prevent accidental deletion or damage to important system files.
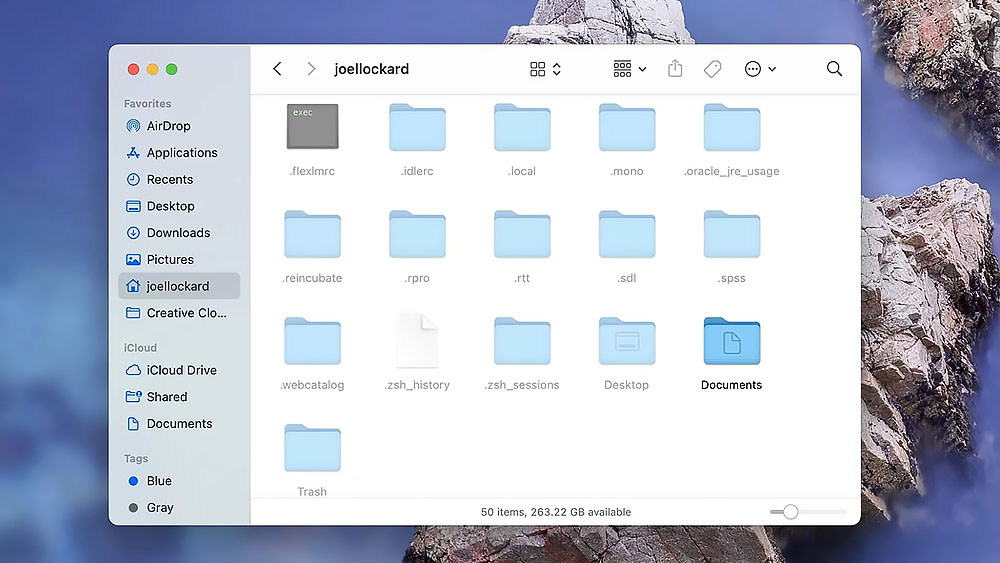
However, in some cases, it becomes necessary to manually configure system files, clean up the computer, or perform complex debugging of applications. And in this case, there is little that can be done while the OS data is hidden from the user’s eyes. Therefore, below we will consider some of the most effective ways to display the desired positions.
Contents
Using the Terminal program
Most of the Mac system settings are collected in a specialized application “Terminal”, which also enables or disables the display of hidden folders.
Procedure:
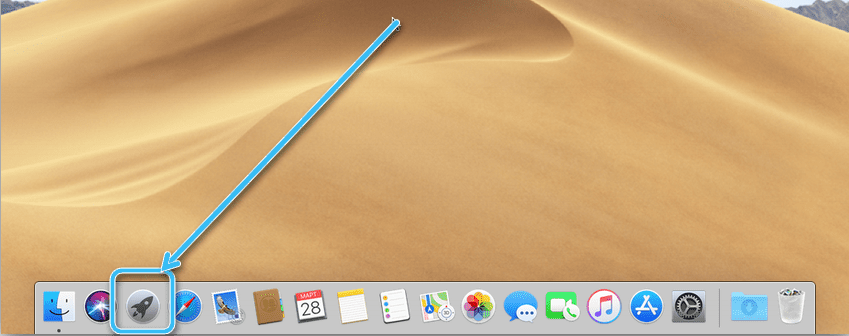
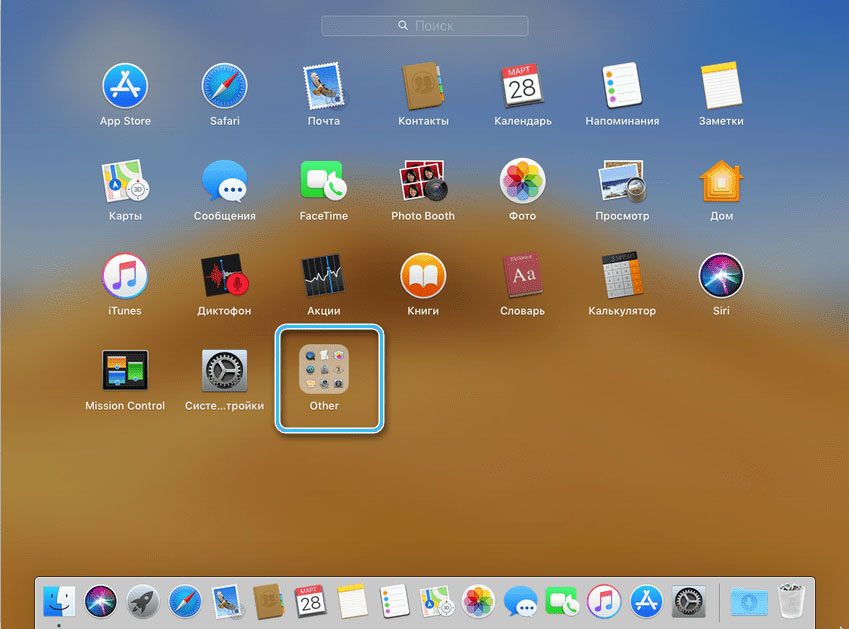
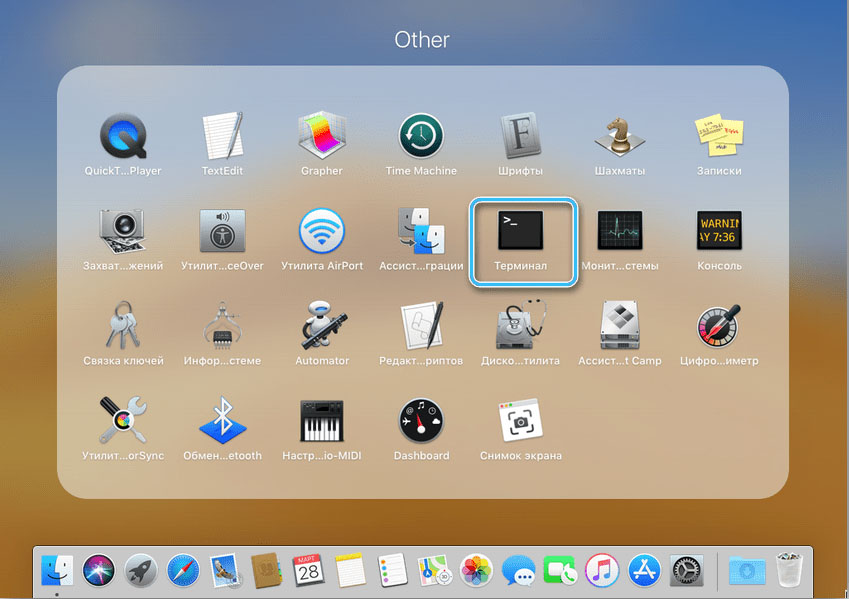
- In any convenient way, open a standard application called “Terminal”.
- In the window that appears, type the following line:
defaults write com.apple.finder AppleShowAllFiles -boolean true ; killall Finder - Wait for the Finder to completely restart. After that, it will be possible to see and edit all the folders of interest.
After carrying out all the necessary manipulations, it makes sense to hide the folders again using the reverse command, replacing “-boolean true” with “FALSE”.

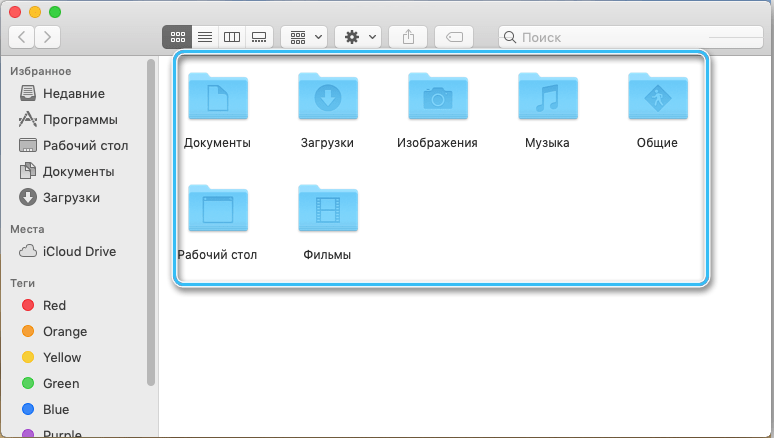
Using a key combination
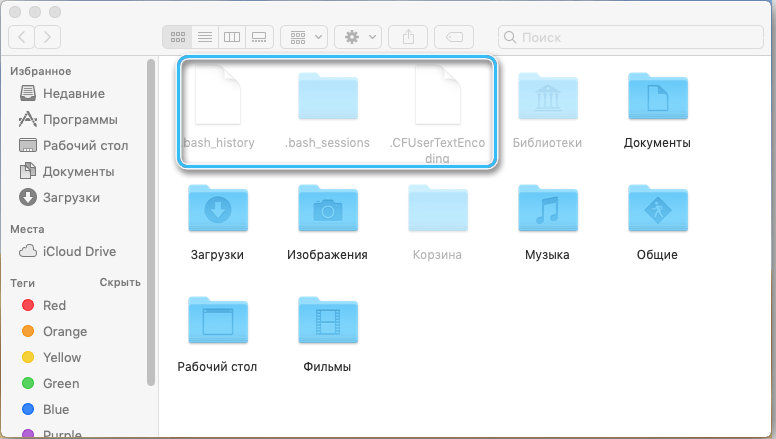
In fairly new releases of macOS, the function of hiding and showing system files has been transferred to keyboard shortcuts, so that the process of setting up access is greatly simplified. You just need to press a set of buttons: ⌘ CMD + Shift + . (dot).
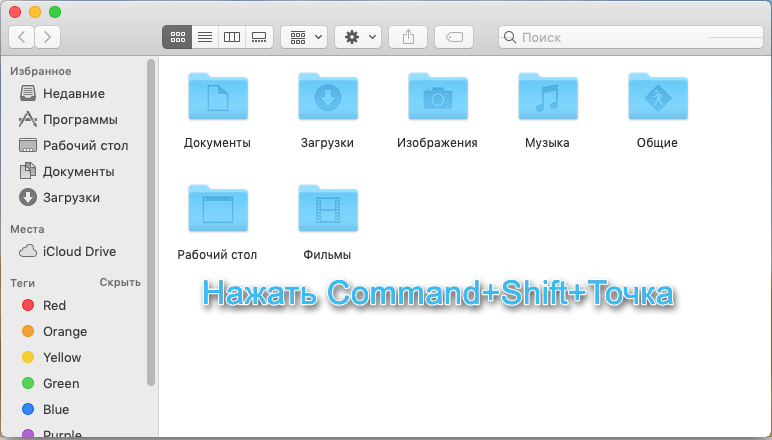
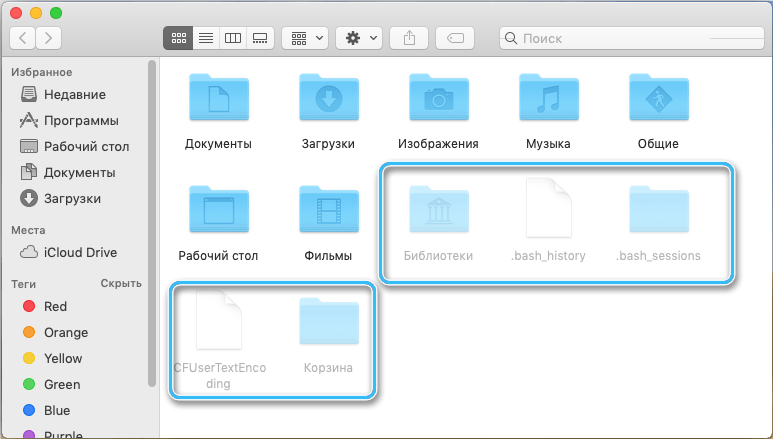
The presented command activates the display of system files in the Finder, as well as on the user’s home screen. You can distinguish them from standard files by the dot at the beginning of the names, as well as by translucent labels.
You can hide system files using the same set of keys, pressed again.
If using the described combination it was not possible to show hidden positions, it means that an earlier version of the system is used on the computer. In the event of a complete refusal of any updates, you will have to use other approaches to solve the problem.
Application of scripts
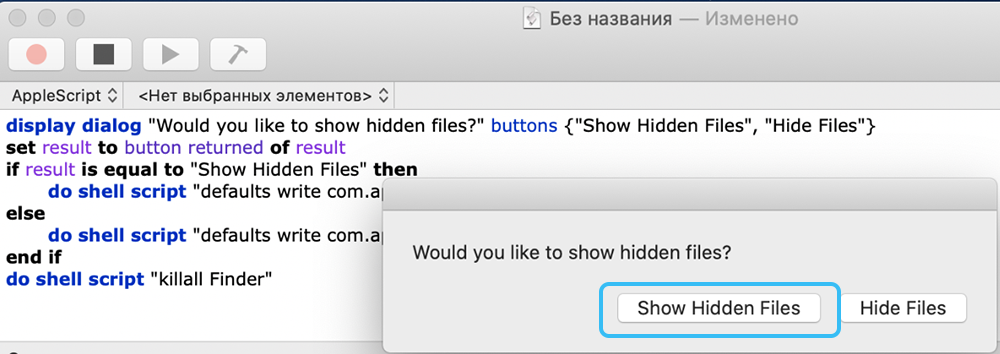
MacOS provides the ability to write some scripts specifically to work with certain system settings. And the function of hiding folders and files is no exception.
Using the appropriate script, the user will be able to display or hide system folders with just one click.
How to create a script:
- Open the “Script Editor” by finding it in the system in any convenient way.
- In the “File” tab, click on the “New” item.
- In the window that appears, enter the code:
 set vis to do shell script “defaults read com.apple.Finder AppleShowAllFiles”
 if vis = “FALSE” then
 do shell script “defaults write com.apple.finder AppleShowAllFiles TRUE”
 else
 do shell script “defaults write com.apple.finder AppleShowAllFiles FALSE”
 end if
 tell application “Finder” to quit
 delay 1
tell application “Finder” to activate - Open the “File” menu again and click on “Save”.
The resulting application can be placed in a convenient place to activate the display of hidden content with one click.
Application “Funter”
This completely free add-on Funter is a kind of Finder extension designed to work with hidden content without keyboard shortcuts or other utilities.
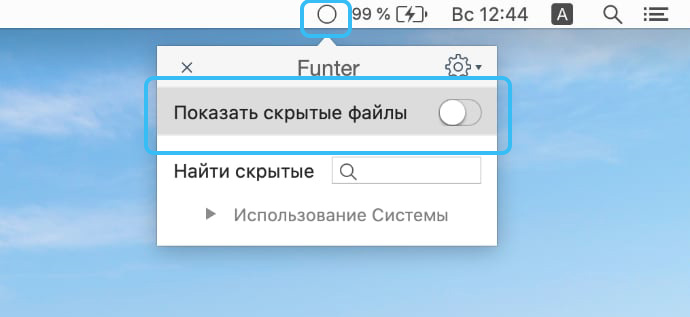
You need to install the program on your computer, after which the corresponding icon will appear in the corresponding menu bar. You can hide or show system files with one click.
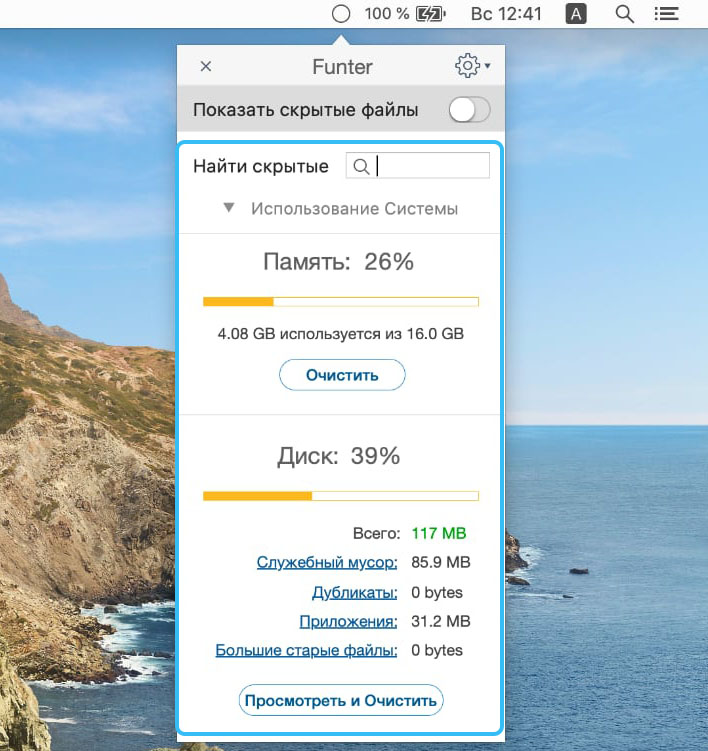
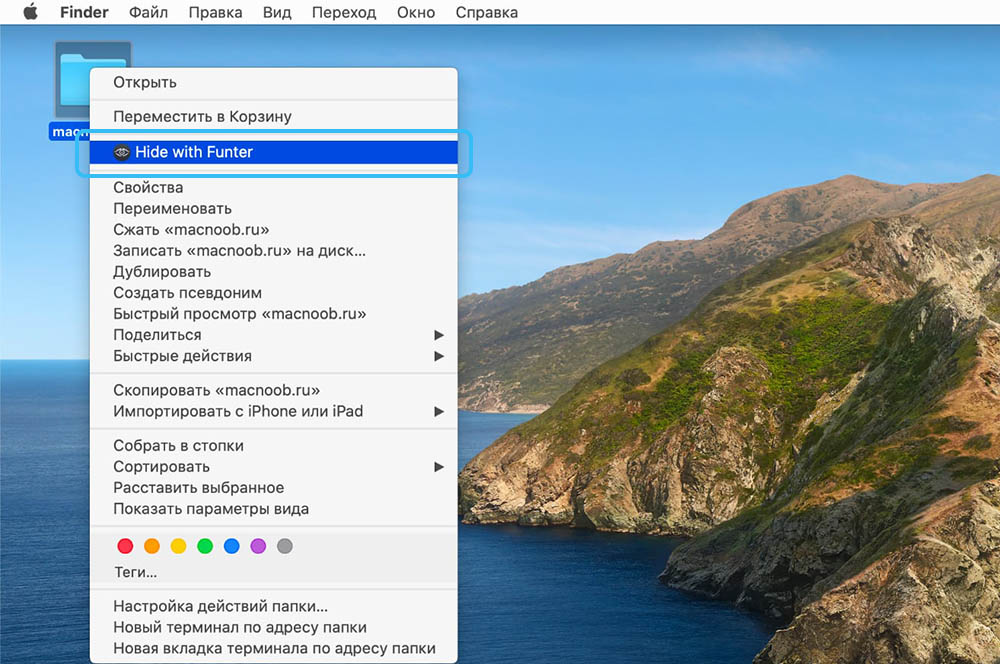
Funter is also automatically added to the operating system menu during installation, so you can customize the display of content through the right mouse button.
The described methods are guaranteed to allow you to access the system resources of your computer. However, you need to work with them as carefully as possible so as not to damage the shell.
And what method for showing hidden folders and files on MacOS helped you? Share in the comments.
