The long-awaited presentation of the new operating system is over, but the passions around Windows 11 do not subside. Inflated system requirements for hardware have divided users into two camps: those whose computers meet the criteria, and those who are not lucky. For the latter, installing the operating system is still possible, but it is fraught with a number of difficulties. They are all the more offended that too stringent system requirements are not so much forced as marketing, that is, artificial. Thus, Microsoft is pushing users to upgrade, in fact, Windows 11 is almost completely compatible with the “top ten”.
At the same time, it cannot be said that installing (or updating from Windows 10) for compatible PCs is a simple procedure, there are also some nuances here, which we will talk about today. In particular, about ways to create a bootable USB flash drive.
Contents
Ways to create an installation USB flash drive for Windows 11
Conventionally, all these methods can be divided into two categories:
- official, involving the use of the Media Creation Tool utility from Microsoft, specially created for this purpose;
- methods using software from third-party developers.
In the latter case, you must first download the finished ISO image. Let’s look at both categories, starting with the method recommended by Microsoft.
Using the Media Creation Tool to create a bootable Windows 11 USB flash drive
Although this method is considered official, it is not the fastest, most convenient or reliable. But users who use it specifically have the right to count on support from the manufacturer, and for many this moment is decisive.
So, step by step algorithm:
- insert a USB flash drive with a capacity of 8 GB or more into the USB port. We take into account the fact that all data from the media will be deleted during this procedure. If an external drive is used, it will also be formatted, removing all existing partitions;
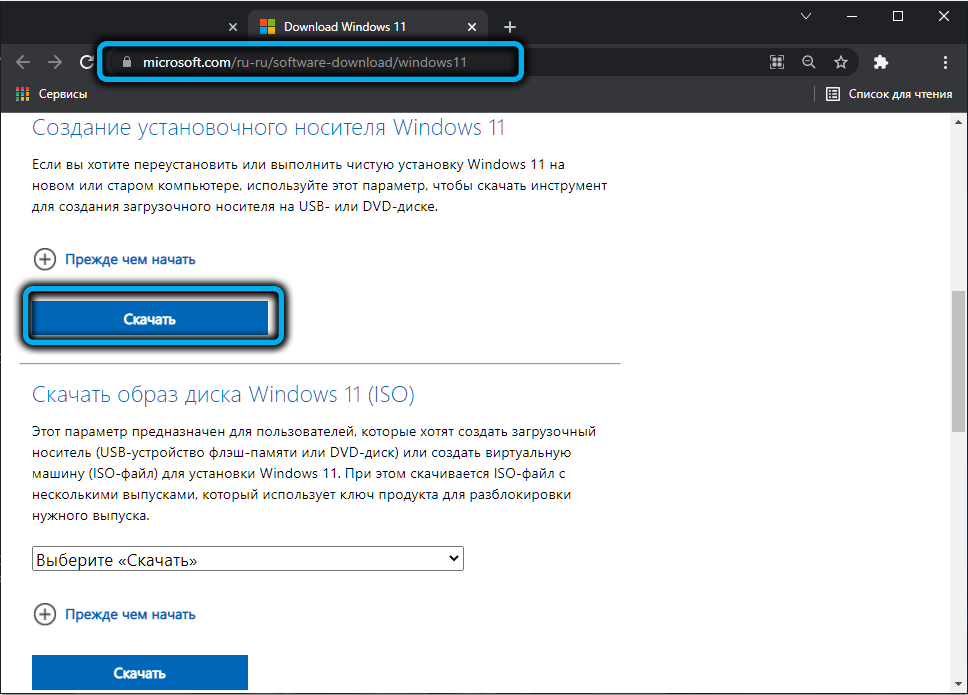
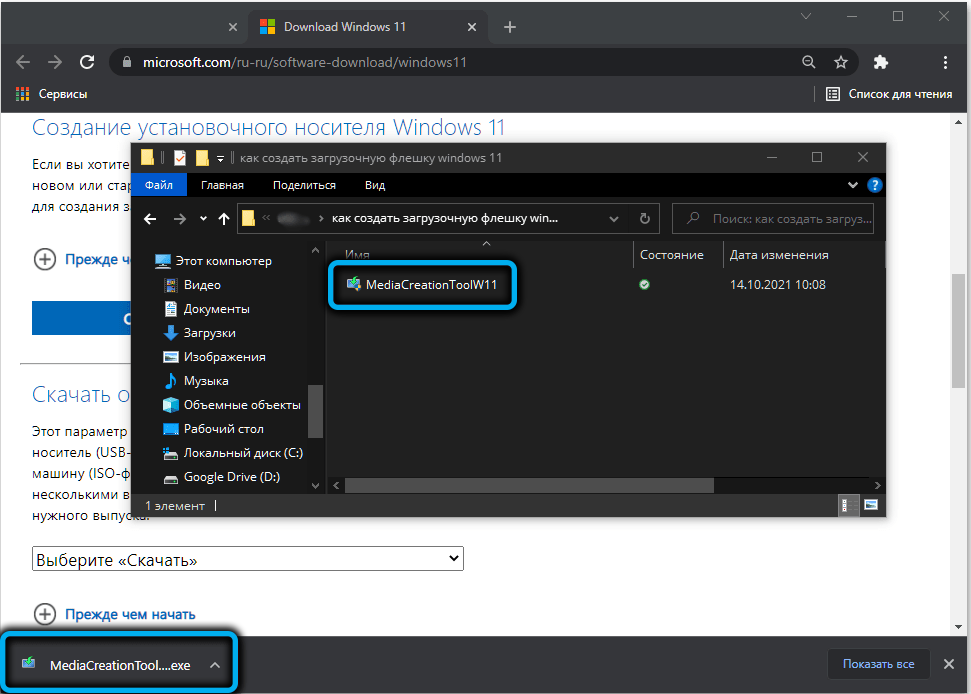
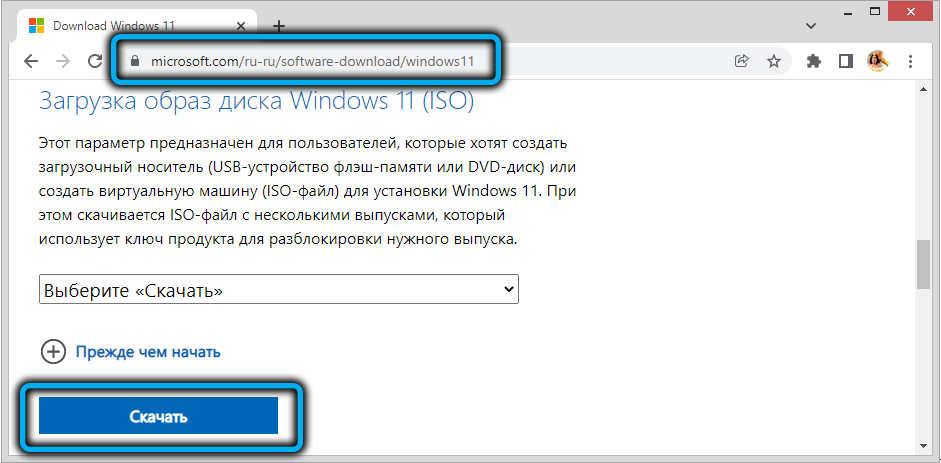
- download the MCT utility from the official website by clicking the “Download” button;
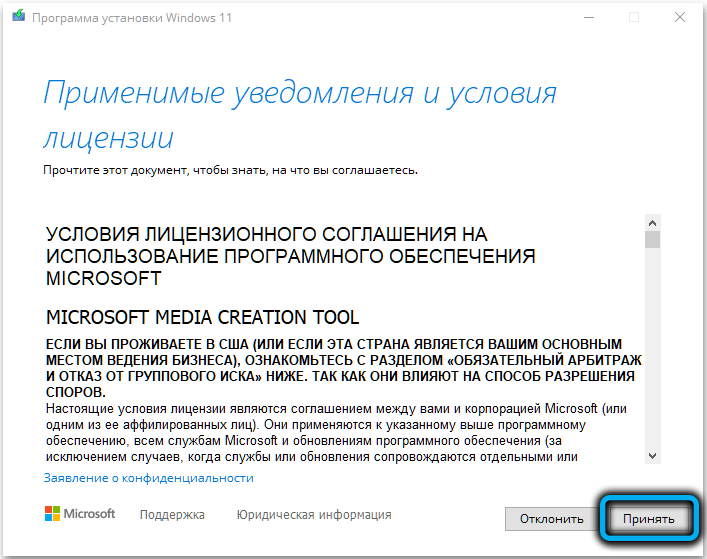
- run the program, agree with the long text of the license agreement;
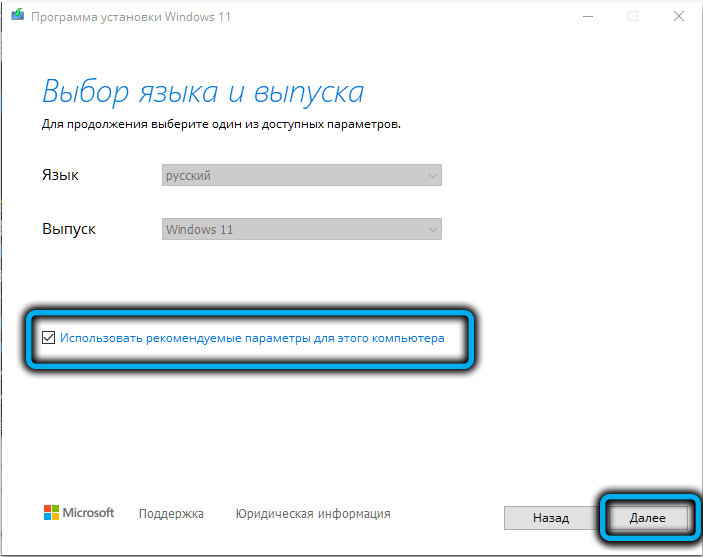
- on the next screen, the utility will determine the recommended settings (interface language, OS release version). You can change them by unchecking the box next to the text “Use recommended settings”, however, this only applies to the language, the edition of Windows 11 cannot be changed (64-bit OS in the Home or Pro version). Click the “Next” button;
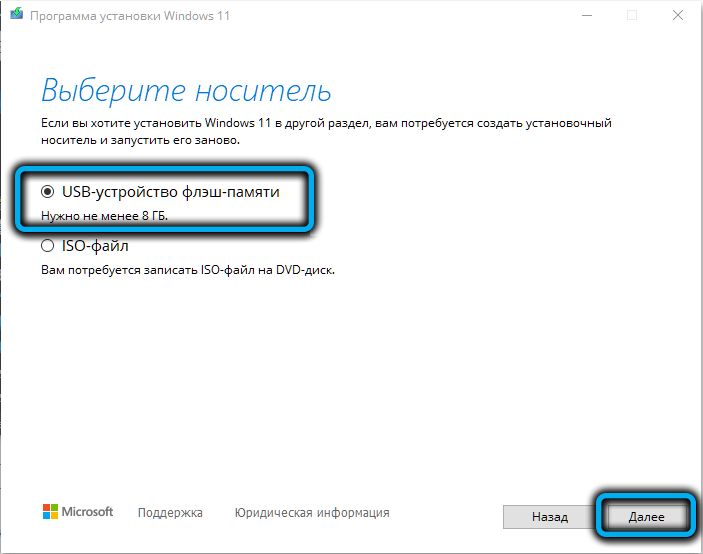
- now we select the media, in our case it is a flash drive, although the possibility of creating an ISO image with recording to an optical disc is left;
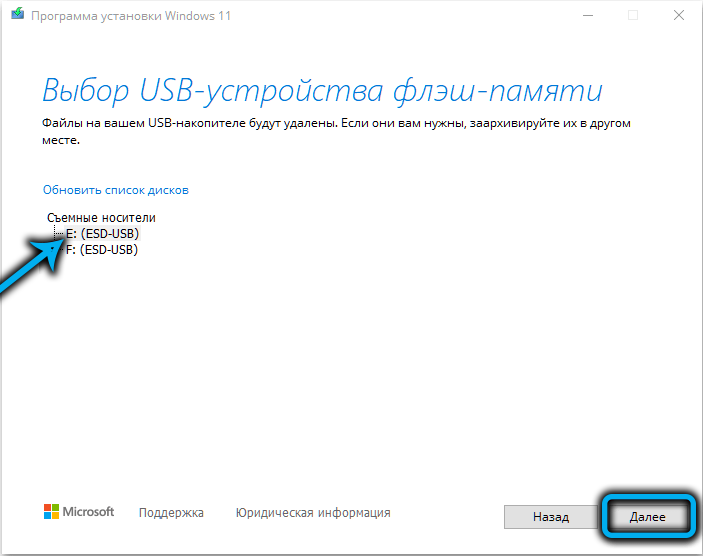
- after clicking “Next”, you need to select a specific flash drive to which the recording will be made (if there are several connected to the computer). We remind you that all data from this media will be permanently deleted. If a message is displayed that the USB drive is not found, although the USB flash drive is inserted into the slot, this may mean that it is defined by the system as a local drive;
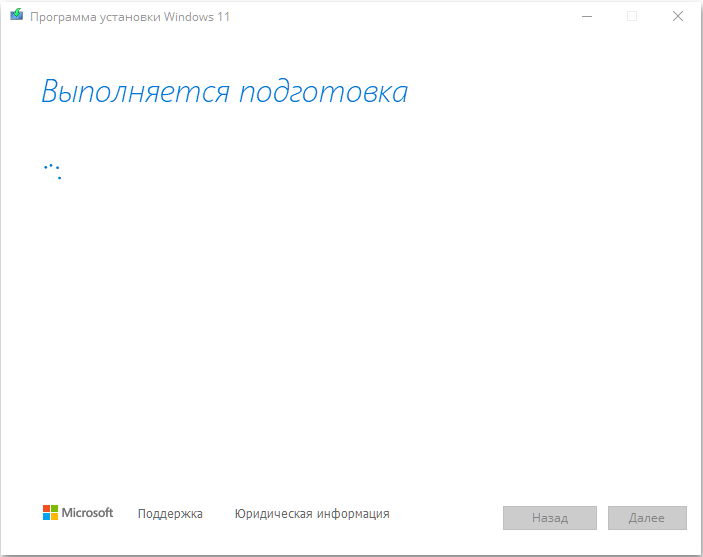
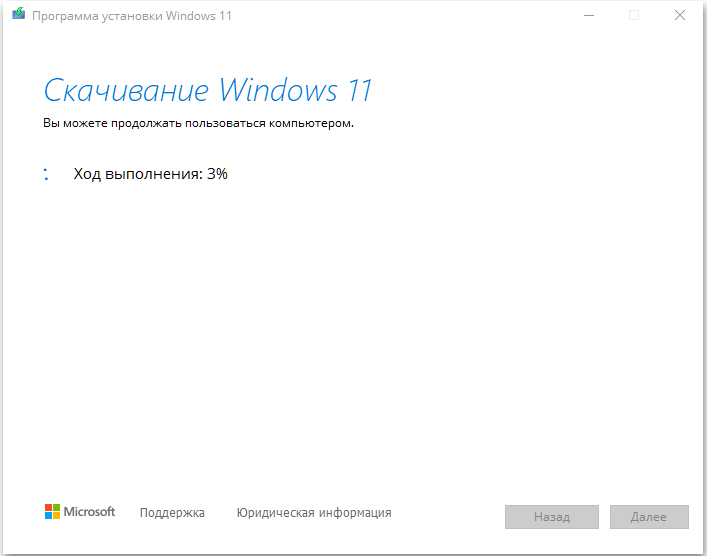
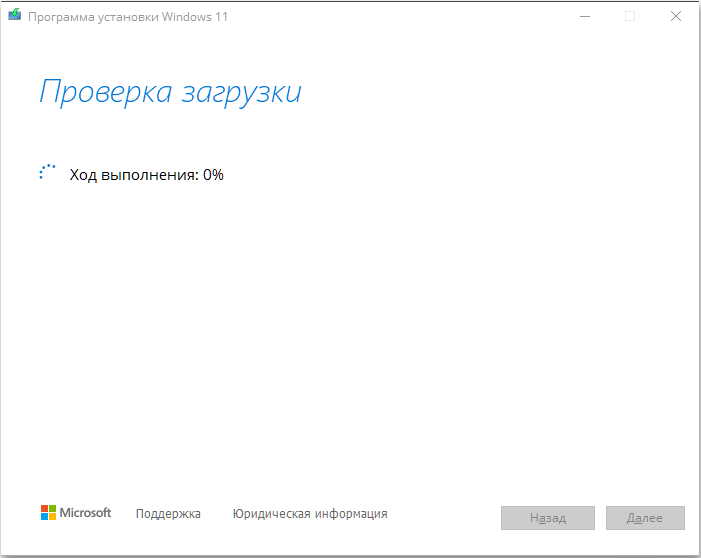
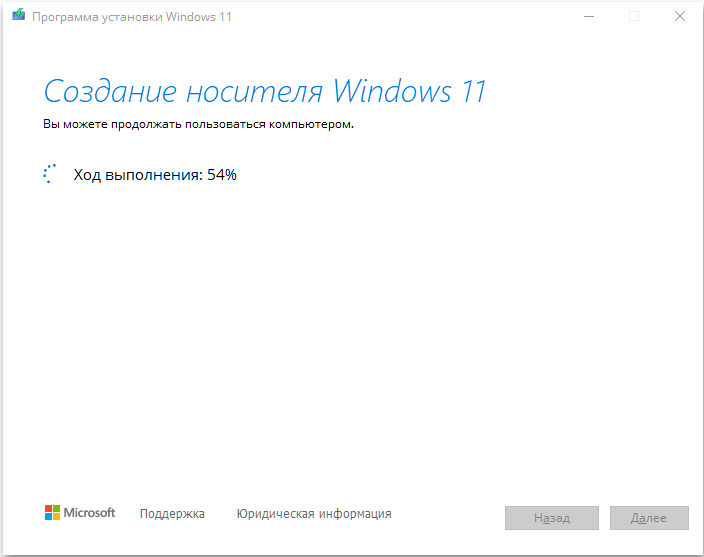
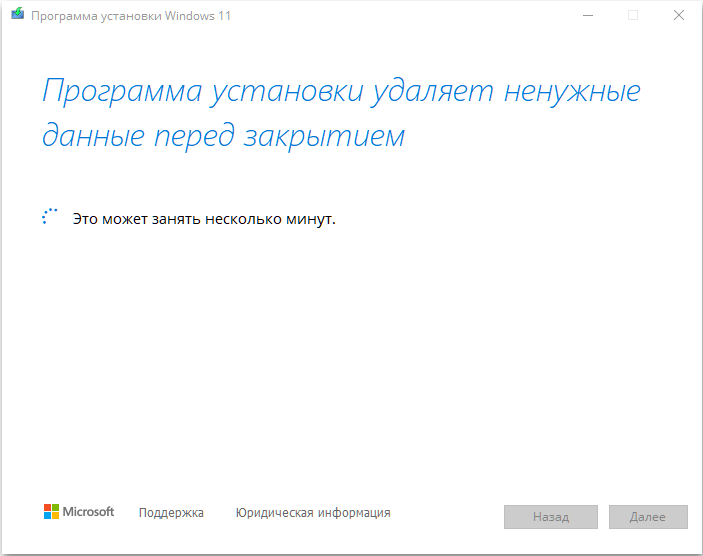
- after clicking “Next” the process of creating bootable media will begin. Since the necessary files will be downloaded from the network, the procedure can be lengthy in time. If additional windows open, they can simply be closed;
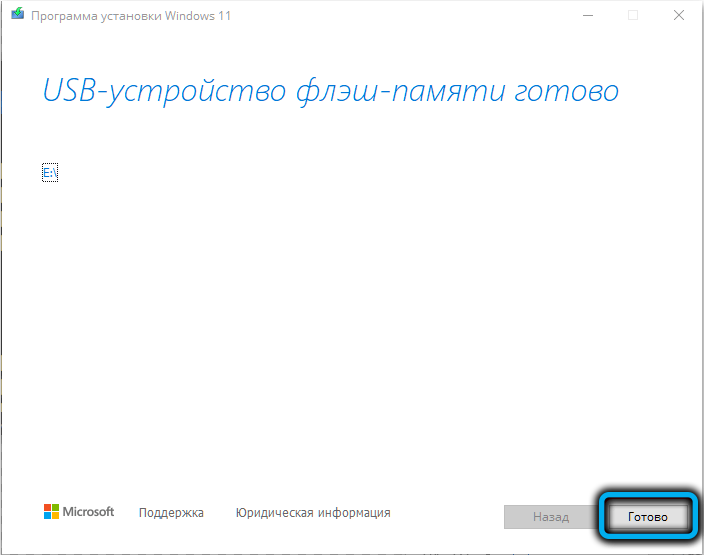
- when the procedure for creating an installation flash drive for installing Windows 11 is completed, the progress bar will be replaced with a message stating that the USB drive is ready, it remains to click the “Finish” button.
Let’s note some important details. The Media Creation Tool formats the flash drive in FAT32, it can easily create a drive that works with UEFI, although the size of the install.esd file located in the sources directory is limited to 4 GB, which allows using the FAT32 file system.
The installation of Windows 11 itself is a standard procedure: you will need to change the boot order so that it starts from a flash drive (using BIOS or UEFI settings), or call the Boot Menu and specify which media to boot from.
Using the Rufus utility
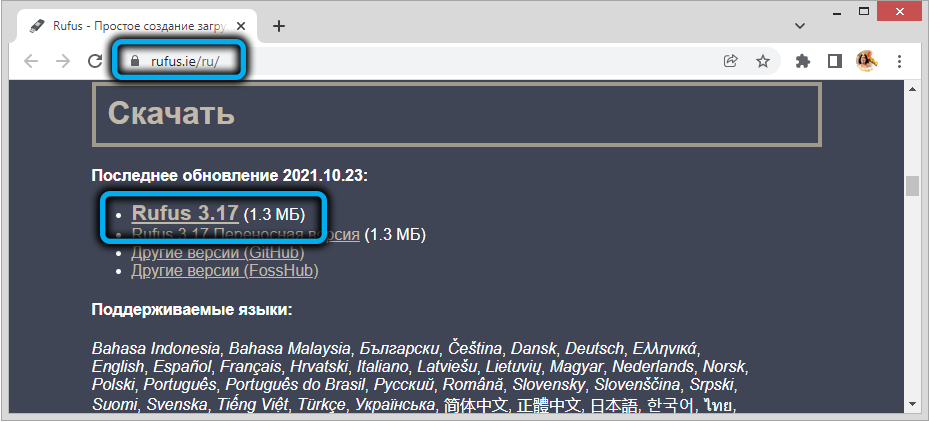
Now let’s consider a way to create a bootable USB flash drive using the Rufus program, which is distributed free of charge and therefore very popular, including in the Runet. The utility should be downloaded from the official site , which guarantees its purity.
When using third-party programs, you need to download the ISO image with Win 11 in advance, but the utility allows Rufus to perform this task directly from the interface.
If the image is already on the computer, after connecting a flash drive with a capacity of 8 GB or more to the computer / laptop connector, perform the following steps:
- launch Rufus;
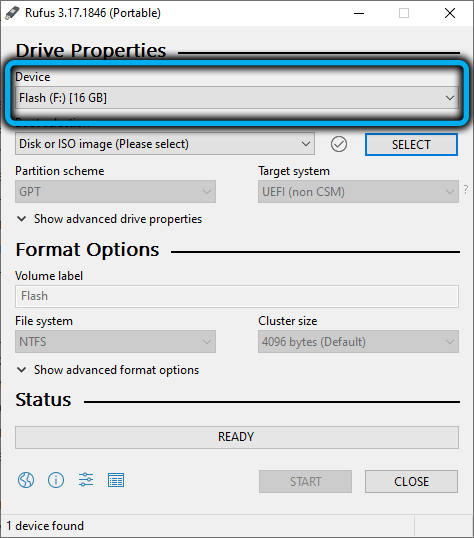
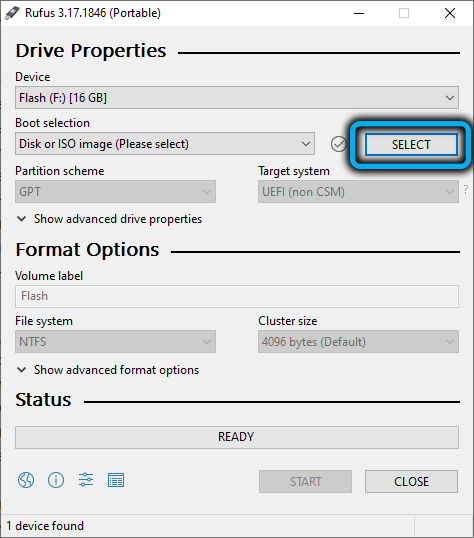
- in the “Device” section, select our flash drive;
- in the “Boot method” section, click the “Select” button and in the explorer window that opens, specify the path to the Windows 11 ISO image;
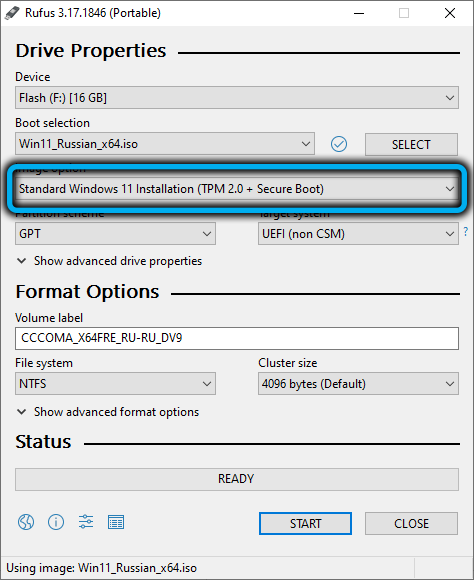
- we leave the remaining parameters as default, except for the volume label, which can be set at your discretion;
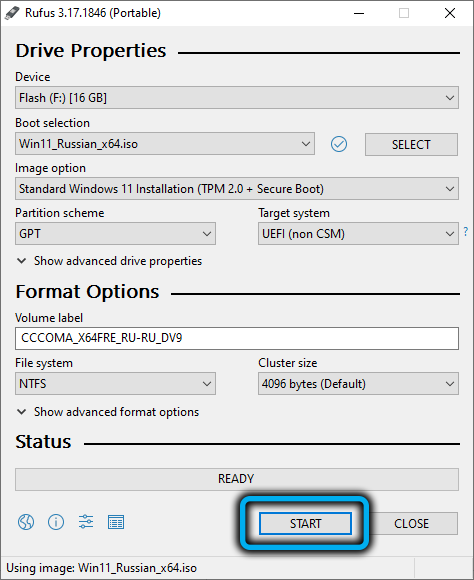
- press the “Start” button;
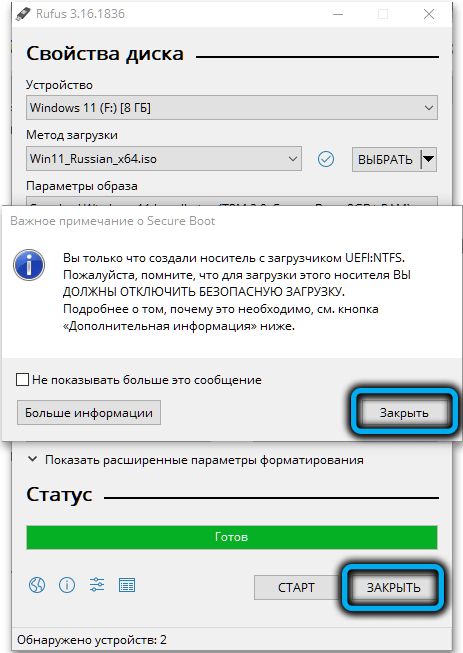
- in the window warning about the deletion of all information stored on the flash drive, we confirm our actions;
- We are waiting for the completion of the creation of bootable media.
The Rufus program also has its own characteristics: it creates two partitions on the flash drive, one is small, formatted under FAT32, the bootloader is located here. All other installation files are on an NTFS-formatted partition. This is done in order to be able to burn images with files larger than 4 gigabytesjd, which are not supported in the FAT32 file system.
We also note that the latest versions of the utility can also be used if the PC does not meet the system requirements, since the check for TPM / Secure Boot will be disabled, although the ISO image itself will remain original.
UltraISO
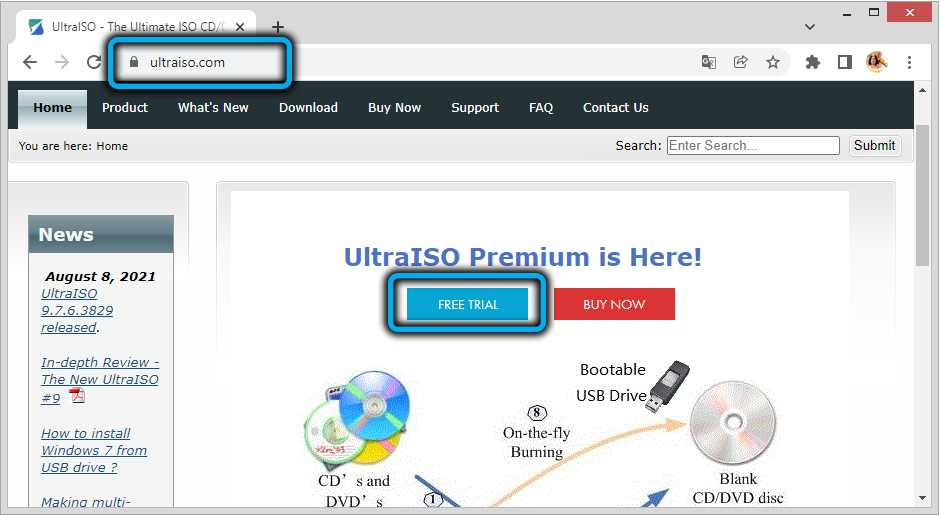
As the name suggests, this utility specializes in creating ISO images, and this is one of the oldest representatives of programs of this class. Today, there are both paid and free versions, and the trial version of UltraISO is quite suitable for creating a bootable Windows 11 flash drive.
Step by step algorithm:
- download the utility from the official site ;
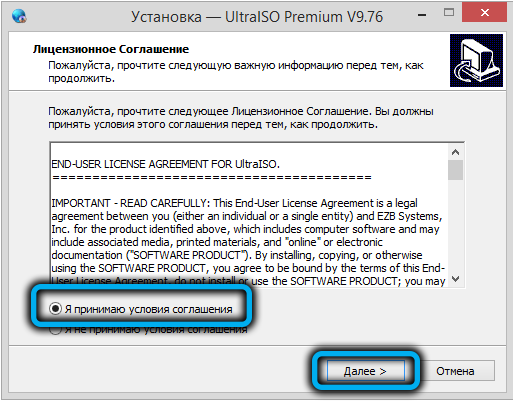
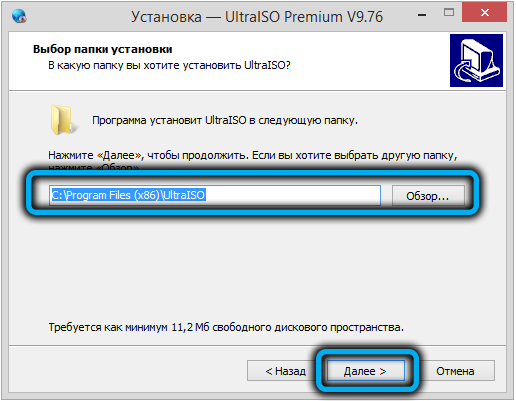
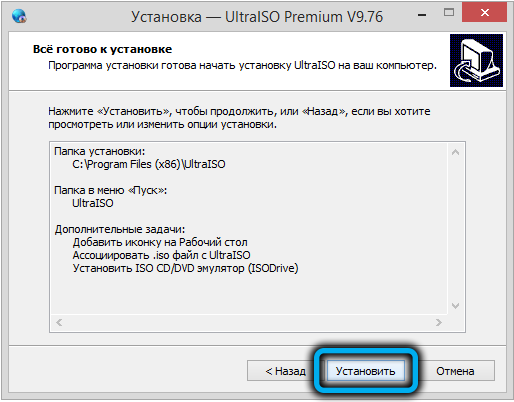
- we make installation on the computer;
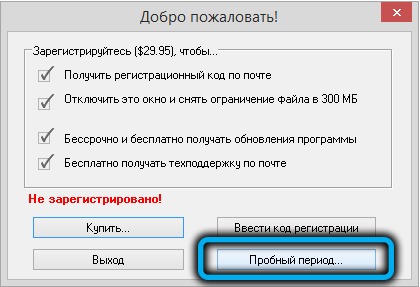
- run the program, indicate that we will use the free trial version;
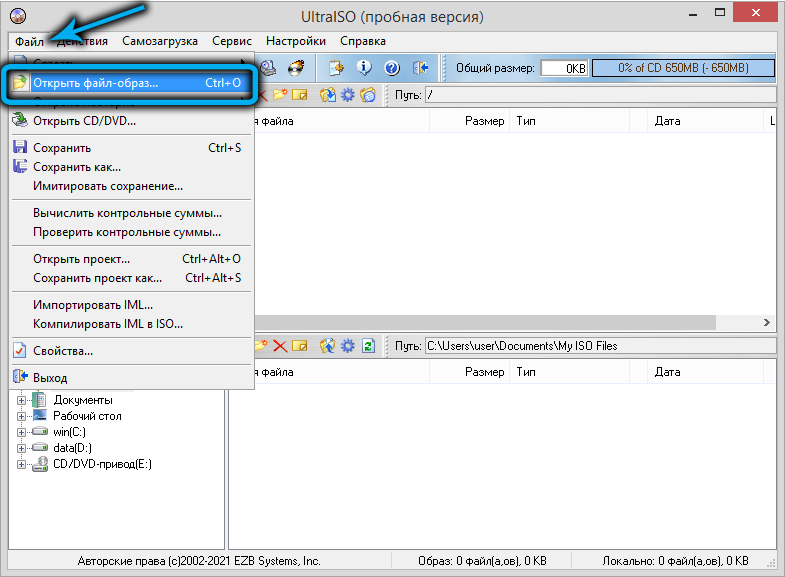
- in the top menu, select “File”, then – the item “Open image file”;
- in the explorer window that opens, specify the path to the image of the operating system;
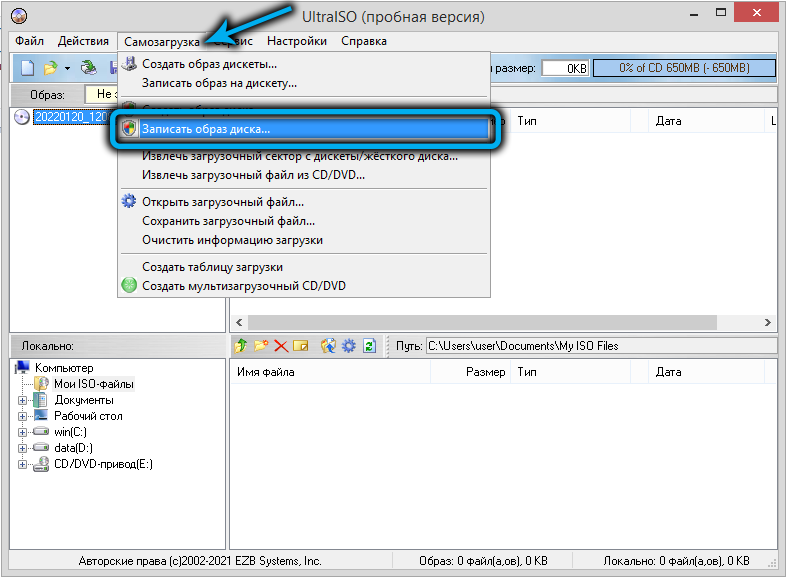
- in the top menu, click on the item “Boot”;
- select the sub-item “Burn a disk image”;
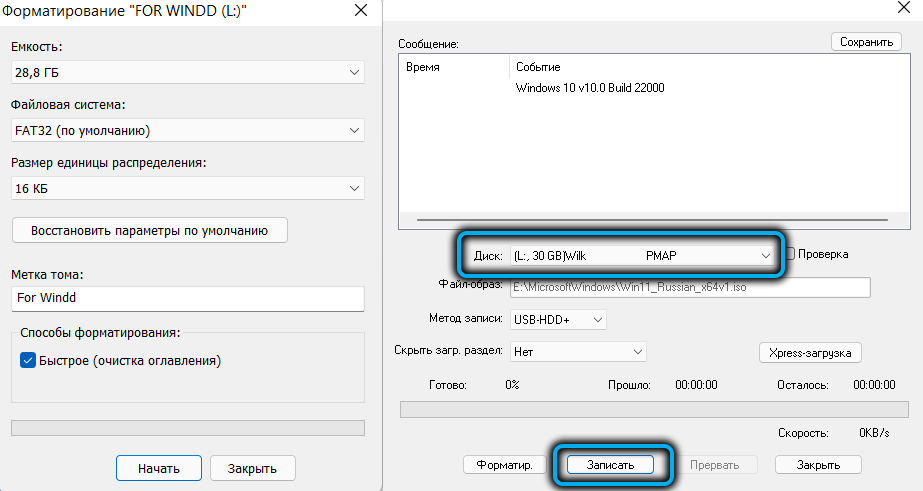
- a new window will open with default parameters, leave them as they are, only in the “Disk” field select our flash drive;
- press the “Record” button, confirm the operation, wait for the creation of the bootable USB flash drive to finish.
Unlike the Rufus utility, only one FAT32 formatted partition is created here, and if the install.wim file in a particular assembly weighs more than 4 GB, it will be split into parts so that it can be worked with, based on file size restrictions.
Create a bootable Win 11 flash drive without using programs
You can burn a Windows 11 image to a USB flash drive without using programs, official or from third-party manufacturers. For this, three conditions must be met:
- Your computer already has an ISO image of Win 11;
- you have a PC with a UEFI bios;
- the sources folder contains a compressed install file in esd format less than four gigabytes in size, and not an uncompressed analog install.wim (an image with a similar configuration can be obtained using the Media Creation Tool utility).
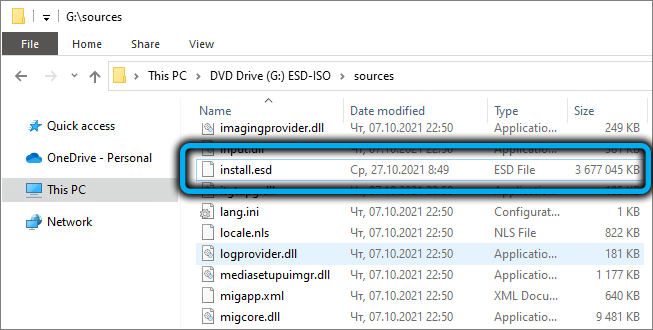
Sequencing:
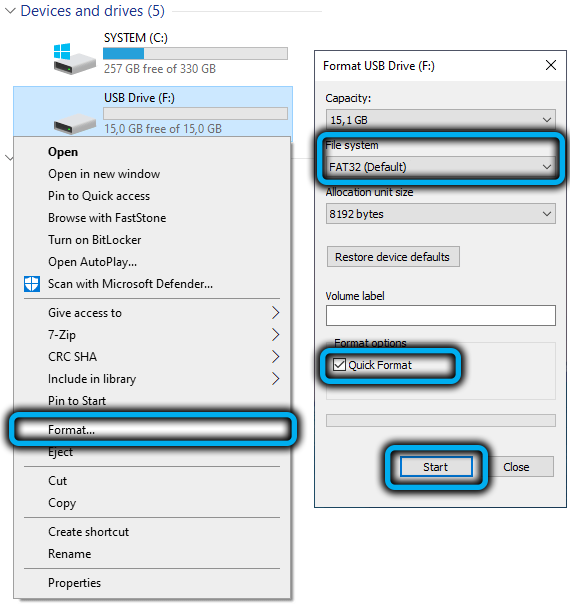
- open the explorer, right-click on the name of the flash drive;
- select the “Format” item in the context menu, leave the value FAT32 in the “File system” field, check the box next to the “Quick Format” text;
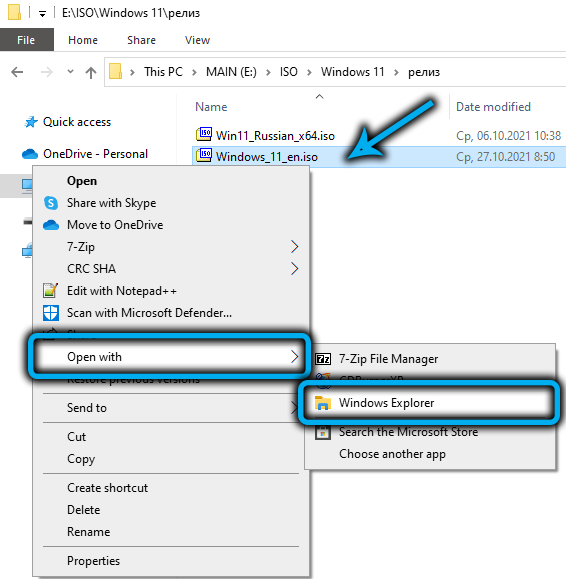
- go to the explorer in the directory with the ISO-image file, right-click on it;
- select the “Connect” item;
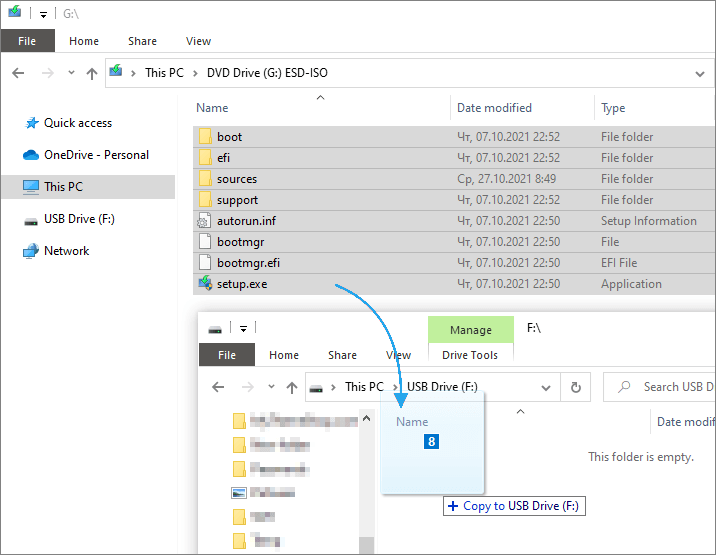
- we copy all the files along with the folders from the connected ISO image to our USB flash drive formatted for FAT32.
As you can see, this is a fairly simple procedure, and it will work even with the Secure Boot option activated.
Windows 11 multiboot flash drive
Let’s now consider how to make a bootable USB flash drive not only with Windows 11, but also with any other OS image. It will be in demand in offices where some of the computers meet the system requirements, and some do not, or for those users who want to switch to Windows 11, but are in no hurry to abandon the use of the old operating system.
You can make such a multiboot flash drive using the Ventoy utility by downloading it from the official website .
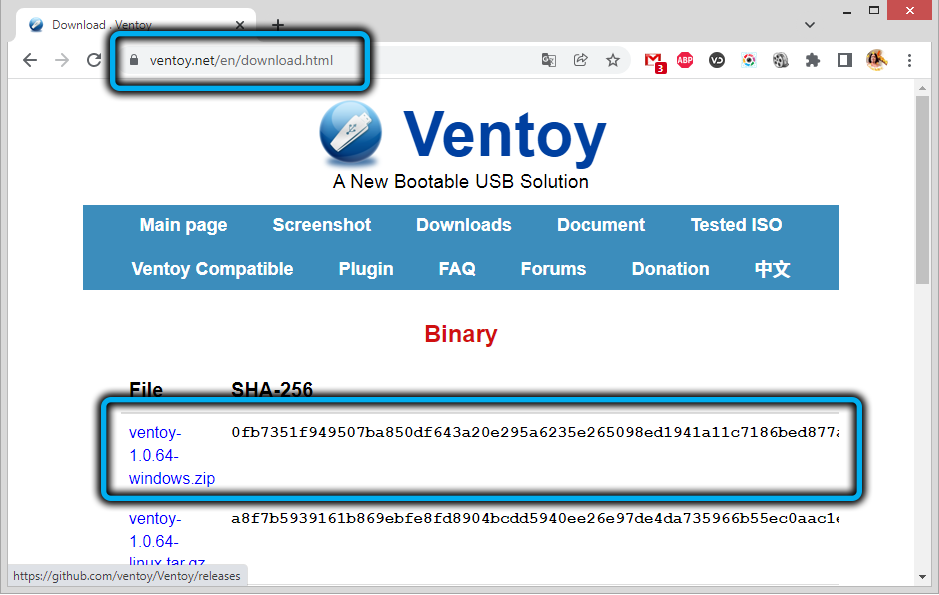
Next steps:
- you need to download a ready-made Windows 11 ISO image to your computer, directly from the Microsoft website or using the Media Creation Tool mentioned in this article. Insider versions downloaded using the WZT-UUP service are also suitable;
- we insert a USB flash drive into the connector, remembering that all data on it will be destroyed;
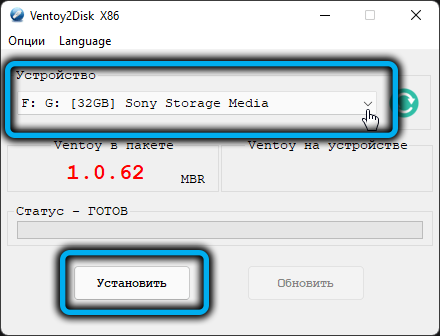
- we launch the Ventoy utility, which is characterized by a minimalistic interface;
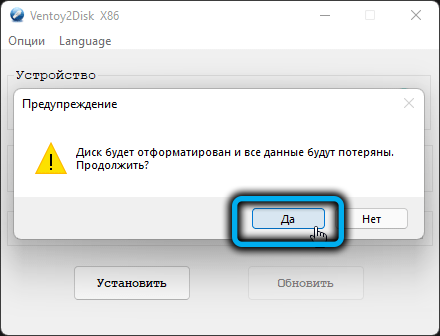
- press the “Install” button, confirm our actions (the media will be formatted);
- as a result, 2 partitions will be created on the flash drive, one smaller, with the FAT32 file system, the other with ExFAT;
- select a volume with ExFAT, copy the Windows 11 image to this section of the flash drive.
As for the multi-boot media, it can be ensured by copying the image of any other operating system to another partition, while running the Ventoy utility is no longer required – you just need to copy the image to a partition under FAT32, while the image should not contain files larger than 4 GB .
With a bootable flash drive prepared, you can proceed with a clean installation of Windows 11, but that’s another story …
