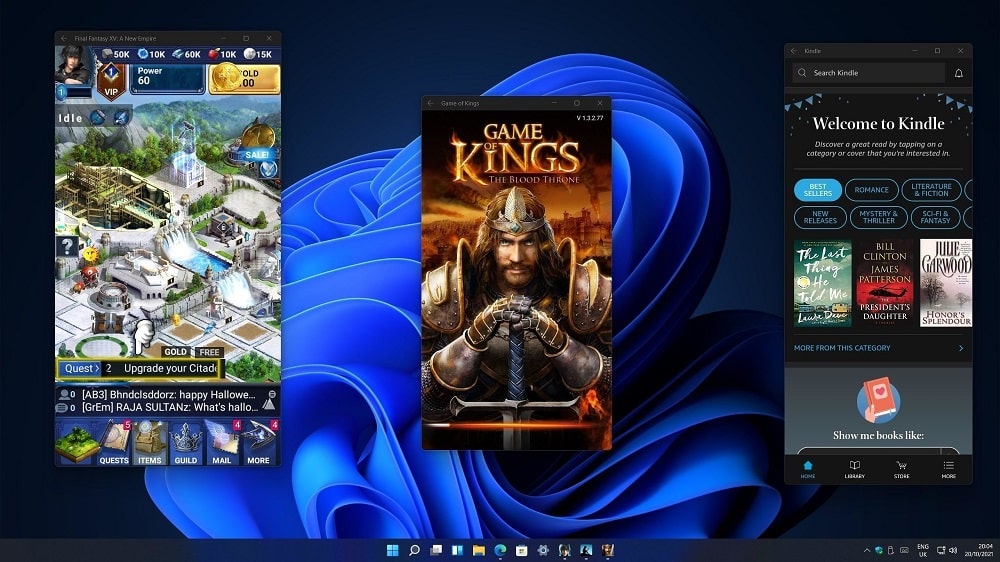
Owners of new Mac computers equipped with processors of the M1 family have been able to run mobile applications written for the iPhone / iPad for quite some time. Microsoft, presenting its new operating system in the summer of 2021, promised that this feature would also be available to Windows 11 users.
Alas, the implementation of promises let us down. Officially, you can install mobile applications from the Microsoft Store, but the choice there is very poor, moreover, many of these applications have a modified interface and functionality. Of course, if you wish, you can install and use any gadget application you like, but this will not be easy.
Contents
Preconfiguring Windows 11 to run android apps
It so happened that in fact they tried to implement this feature, but it did not get into the final release. However, accounts with developer status got the opportunity to test the Windows 11 subsystem, which is called Subsystem for Android. This component can be added to the operating system and ordinary users using the following algorithm:
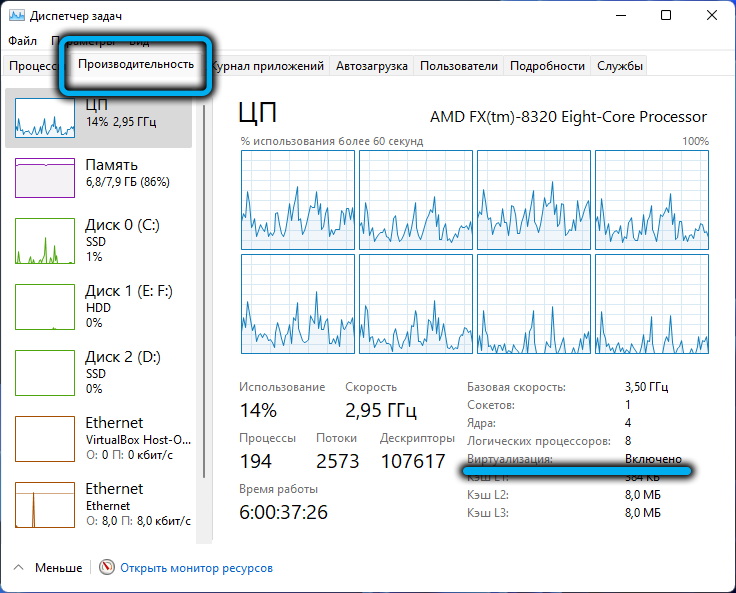
- the first condition for the operation of Windows Subsystem for Android is the activation of the virtualization mode, which is carried out at the BIOS level. You can find out if this mode is enabled through the Task Manager by going to the “Performance” tab. If not, you will have to find the manual for your motherboard model on the Internet and read if this mode is supported for it in order to activate it. If the result is negative, this way of launching Android applications will not be available to you and it makes no sense to take the following steps;
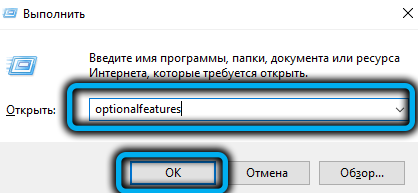
- if everything is in order with virtualization, go to “Settings” to type the phrase “Enable Windows components” in the search console and click on the corresponding line in the results block;
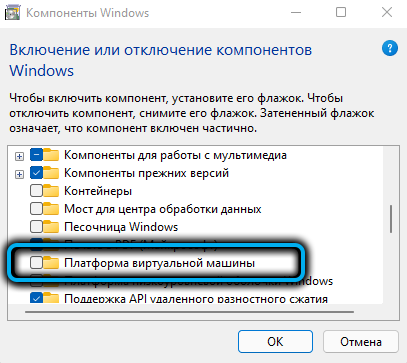
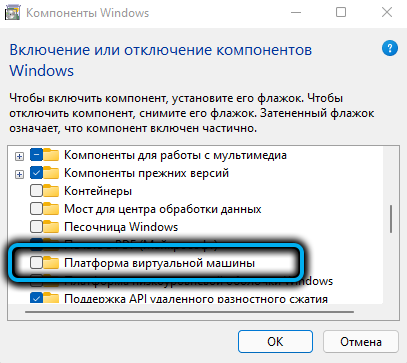
- look for the line “Virtual machine platform” in the list of installed components of the operating system, check the box next to it. Windows will download this component from the network, it remains to wait for it to be installed and restart the PC;
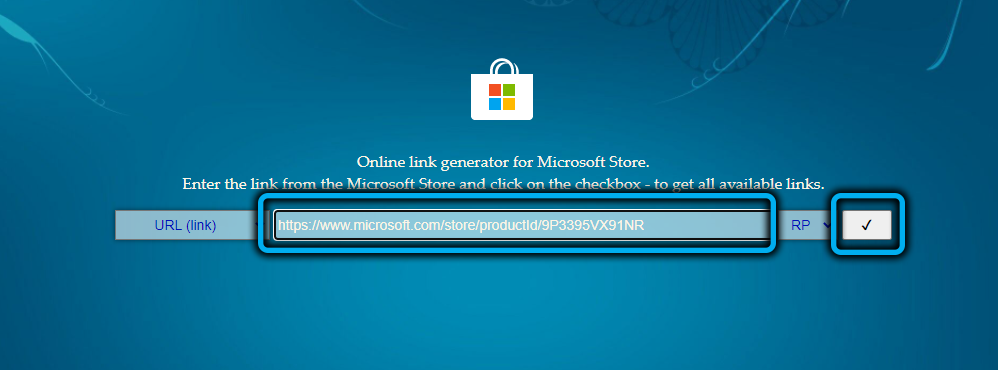
- So, virtualization is enabled both at the BIOS level and at the OS level. Now you need to download and install the aforementioned Windows Subsystem for Android utility. It is available on Microsoft servers, but is only available to developers. To get around this limitation, you need to get a download link. This can be done using an online service that offers the service of generating download links from the Microsoft Store. So, go to the site https://store.rg-adguard.net/, drive the link https://www.microsoft.com/store/productId/9P3395VX91NR into the text field, select Slow for the RP parameter and click the icon with the image ticks;
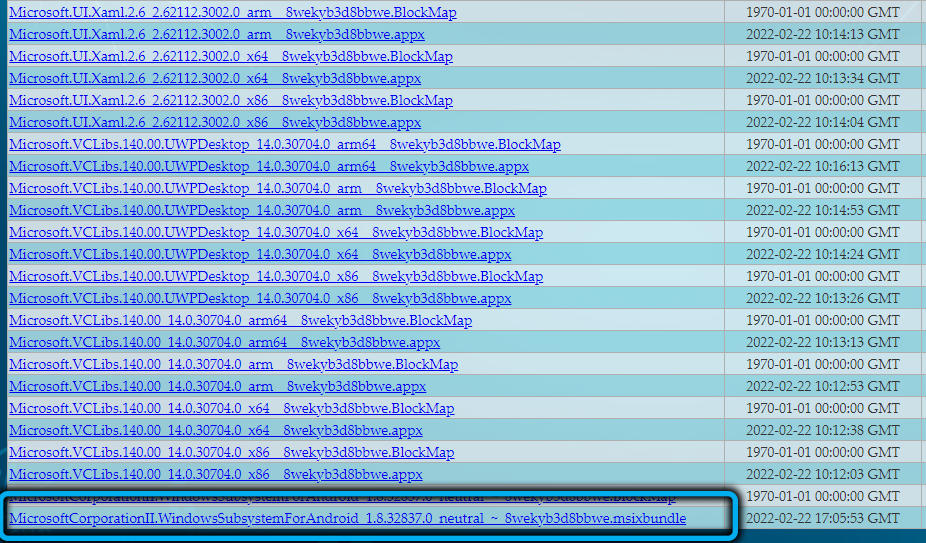
- a rather long list will open, in which you need to select a file with the .msixbundle extension, it will be there alone. We download it with a simple click on the link. If the download does not start, then your browser is blocking this download. Try another one (guaranteed case – using Microsoft Edge);
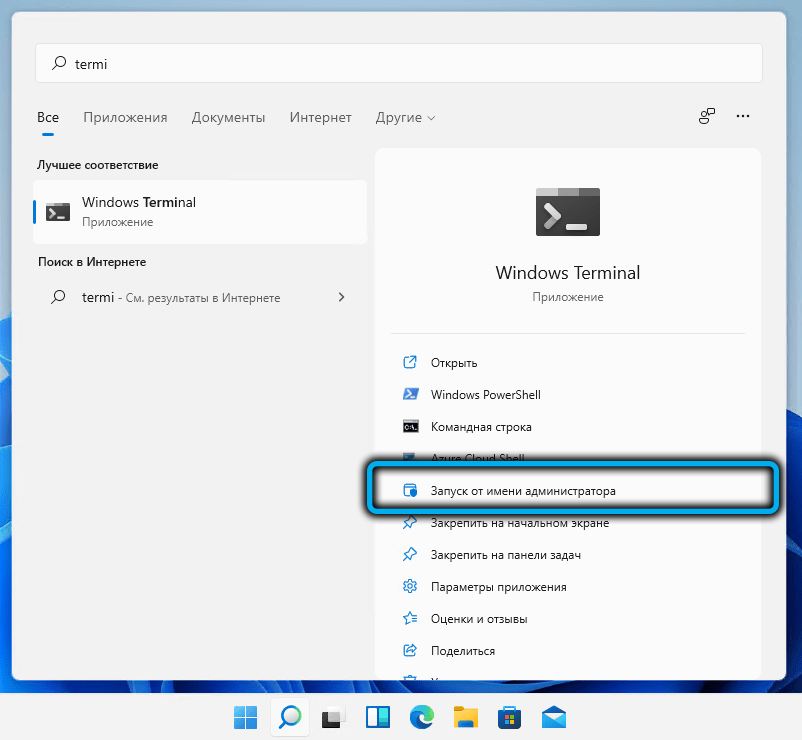
- to install the downloaded component, you need to run PowerShell with administrator rights and in the terminal window enter the line Add-AppxPackage -Path “Folder_with_downloaded_file”, here you need to substitute the path to the MSI file in quotes indicating the name of the file itself, always with the .msix extension. We complete the input by pressing Enter, we wait for the installation of the component.
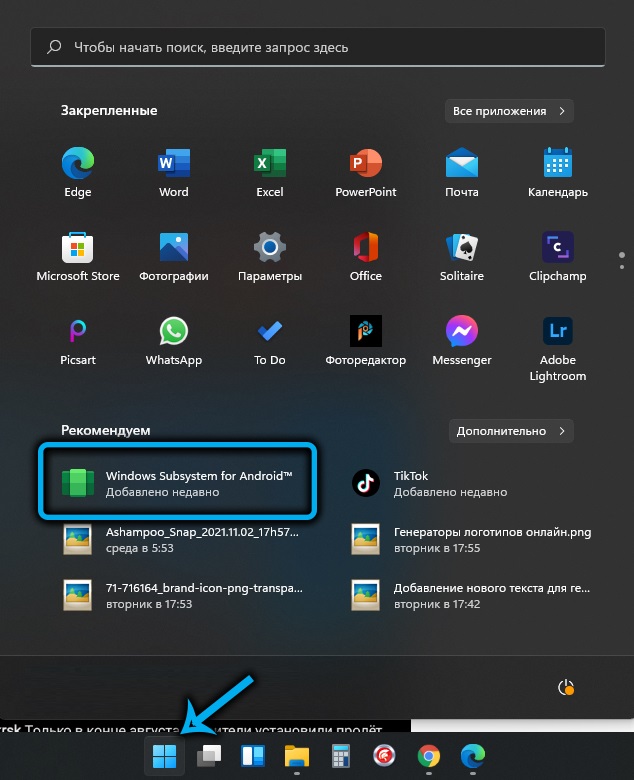
Checking the results is easy: the WSA utility will appear in the Start menu.
How to run Android apps using a third party utility
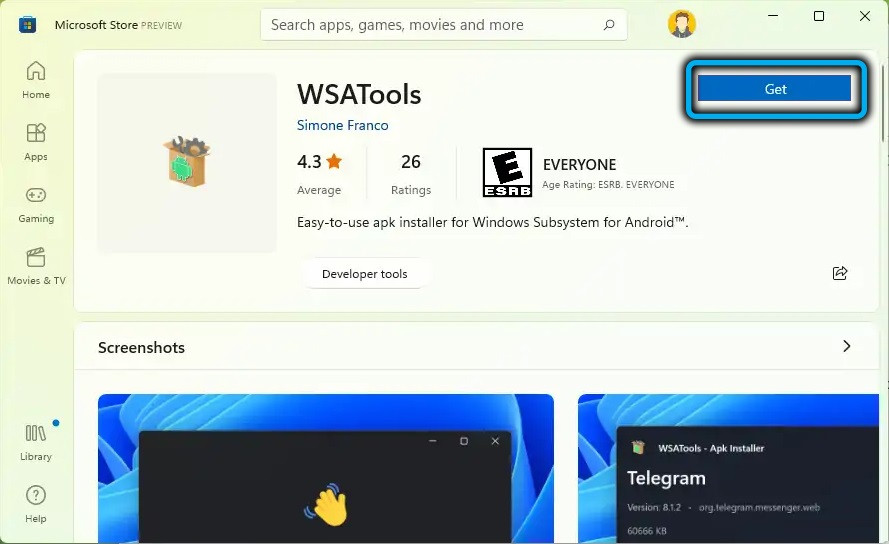
With virtualization enabled and the Subsystem for Android utility installed, installing Android programs on a computer can be done in two ways. Let’s start with a method using the free WSATools utility available in the Microsoft Store:
- download the utility to the computer from the store;
- install it;
- the first installation usually ends with an error, to fix which you must first enable the display of hidden files in Explorer, then grant read / write permissions to the WindowsApps folder located in ProgramFiles, which are disabled by default, and then run the installation of the utility again, at the path selection stage for unzipping, finding the last created folder in the WindowsApps directory, focusing on the date of creation. That is what should be indicated.
After installing the utility, a new association will appear associated with it – for files with the .apk extension.
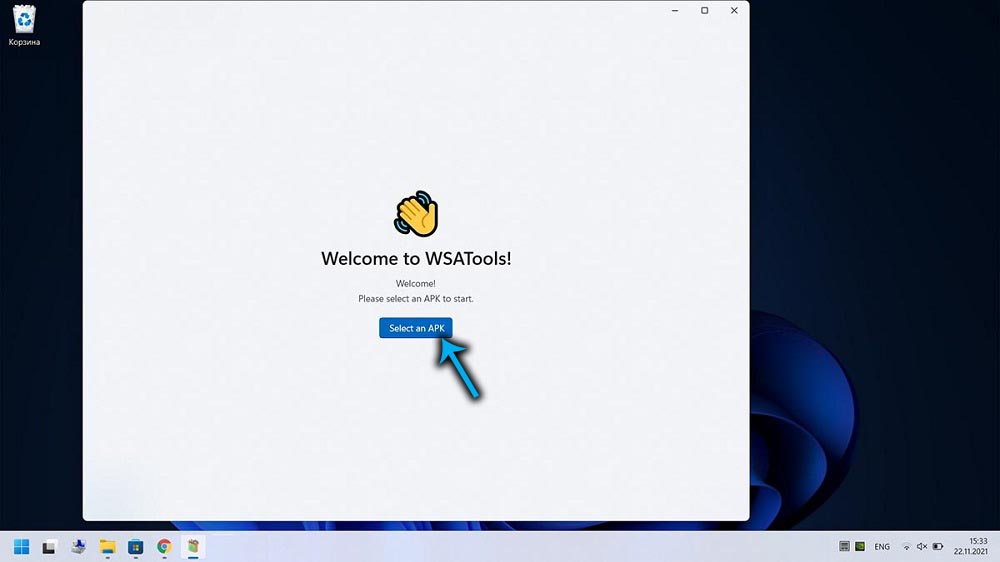
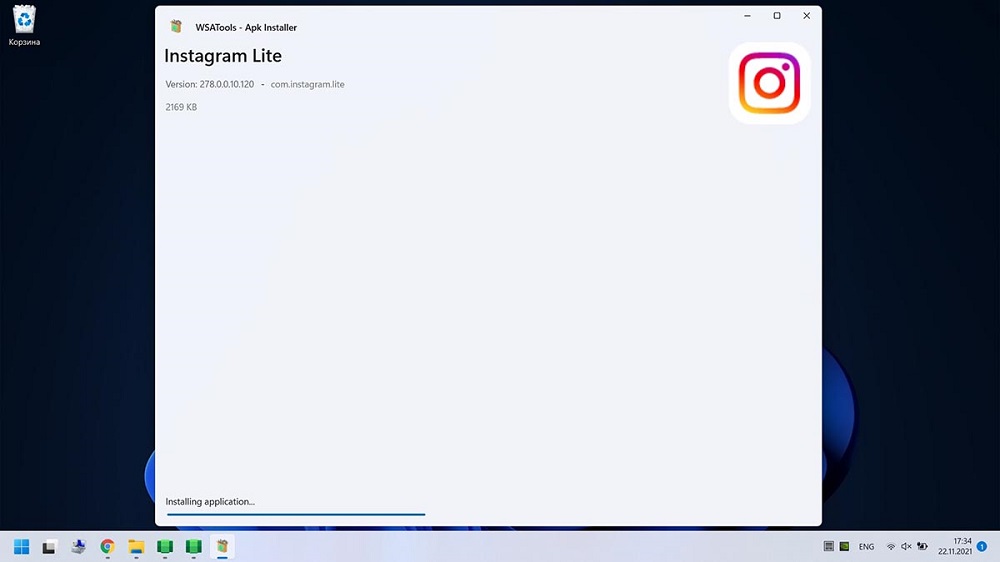
Now, to enable and use the Android application, just download the installation apk file and run it by double-clicking.
As an official source, you can advise the Amazon Store, which requires the creation of an account. True, the choice there is small, but no one forbids looking for your favorite applications in other places. Or download installation files on your smartphone, for example, from the Play Store, and export them to a PC running Windows 11.
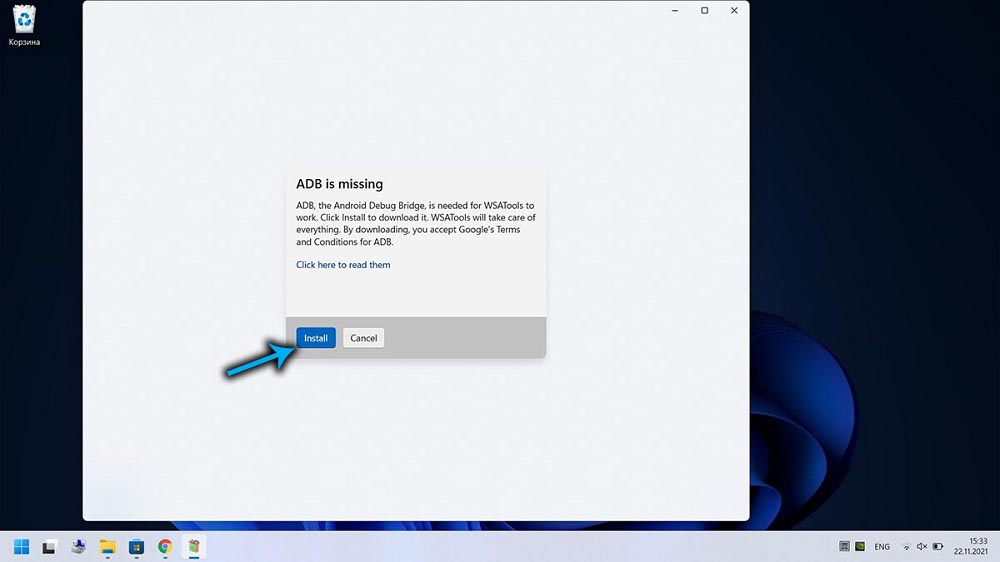
However, this method cannot be called a guarantee of the result – in some cases, the installation of Android applications does not work, and often the WSATools utility itself cannot be installed.
In such cases, there is a fallback option – using the command line or PowerShell.
How to Run Android Apps on PC via Command Line
The method is considered more difficult to use, but the number of failures when using it is an order of magnitude smaller.
So, let’s look at how to open an Android application on a computer using the command line:
- as in the previous case, we launch Windows Subsystem for Android;
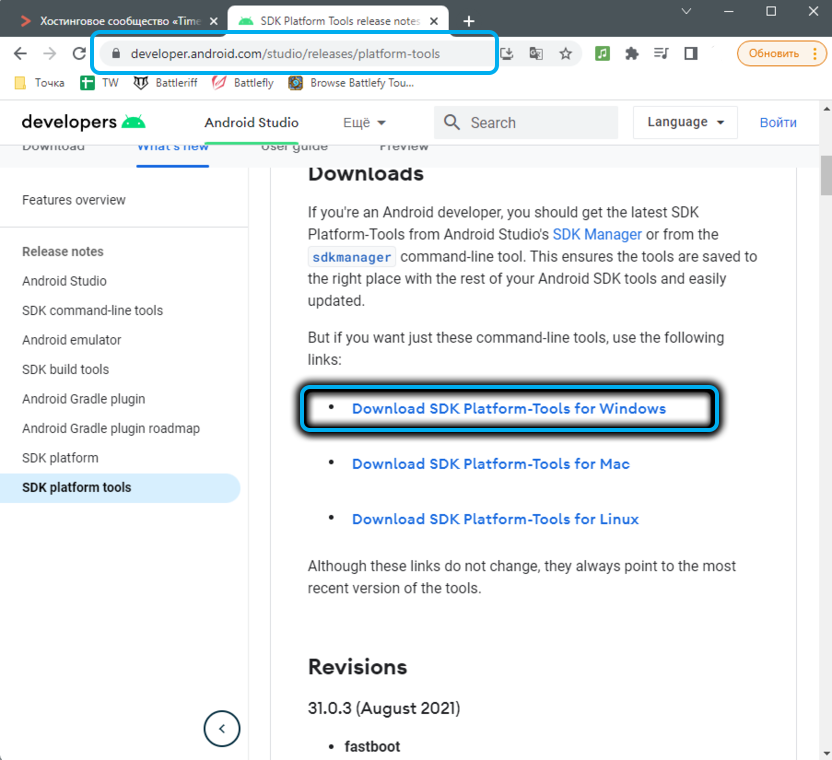
- download the SDK Platform Tools application from the official website of the Android OS developers;
- unpack the archive;
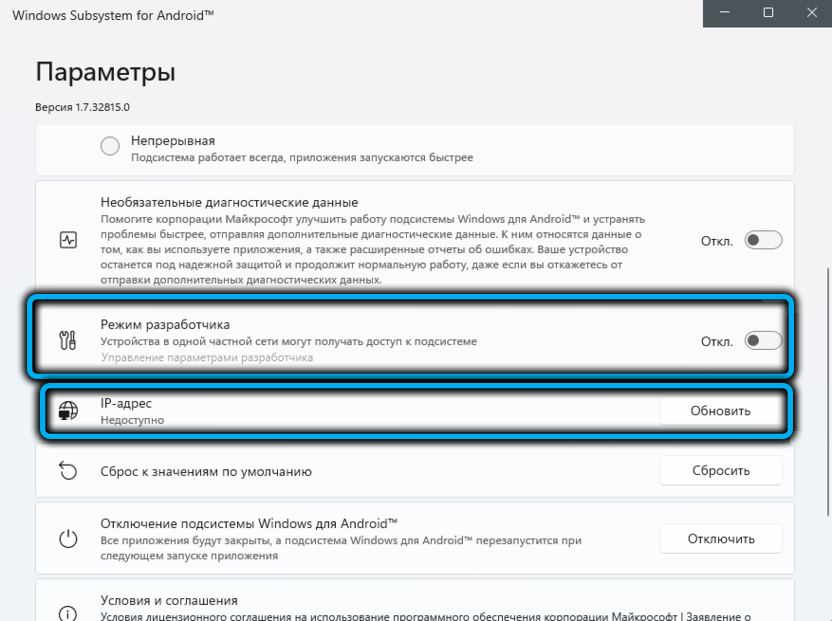
- in the running application, in the parameters, activate the “Developer Mode” (click on the text “Manage Development Options” and in the new window set the switch to the “Enabled” position);
- for the IP address parameter, click the “Update” button;
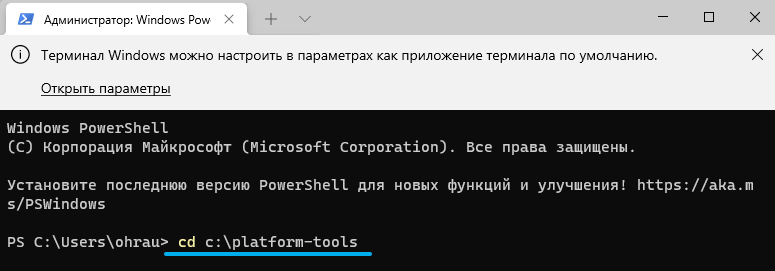
- launch the Windows 11 Terminal (it doesn’t matter if PowerShell is installed by default or command line). In the terminal window, enter
cd <каталог_с_инсталлированным_platform_tools>(specify the full path, indicating the drive from: ), confirm by pressing Enter;
- enter the following command
./adb.exe connect <IP-адрес:порт>(we substitute the real value obtained when updating the IP address parameter), press Enter;
- end the procedure by entering the command
./adb.exe install <путь_к_apk-файлу>
As a result, the icon of the Android application ready to be launched will appear in the context menu of the Start button.
The method is inconvenient in that all these steps must be performed for each new mobile application that you want to use in Windows 11.
Solving some problems
As a rule, inexperienced users most often encounter two types of problems when trying to install Android applications on Windows 11. The first is related to the impossibility of activating the virtualization function, which is why the Windows Subsystem for Android utility cannot generate a working IP address. The second concerns errors when running the adb connect command.
First, let’s look at how to start a virtual machine in Windows 11 using the OS itself:
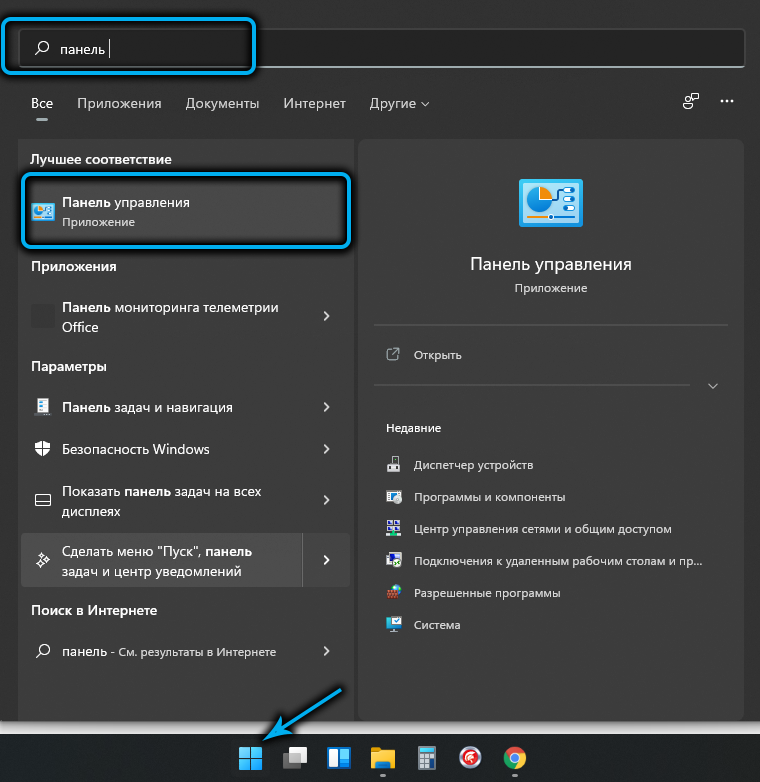
- launch the “Control Panel” (for example, using the search function in the “Start” menu);
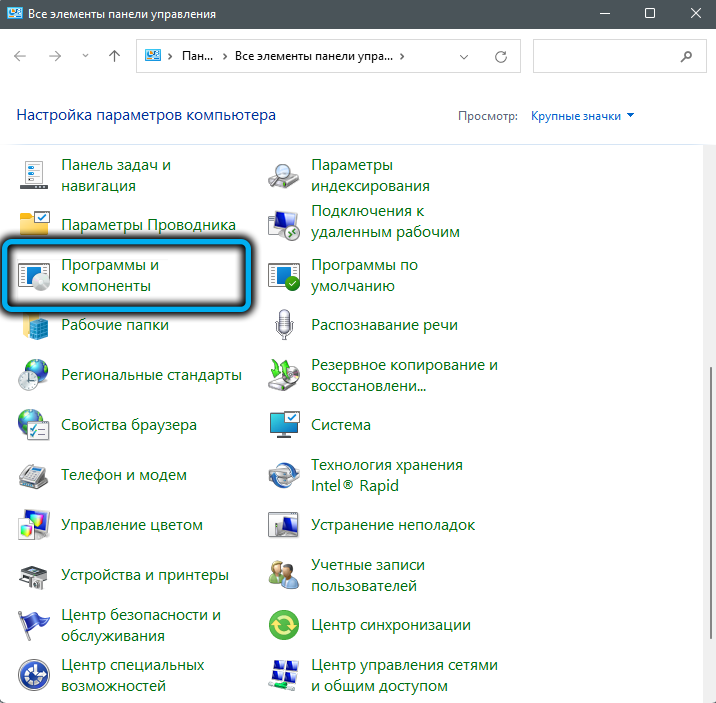
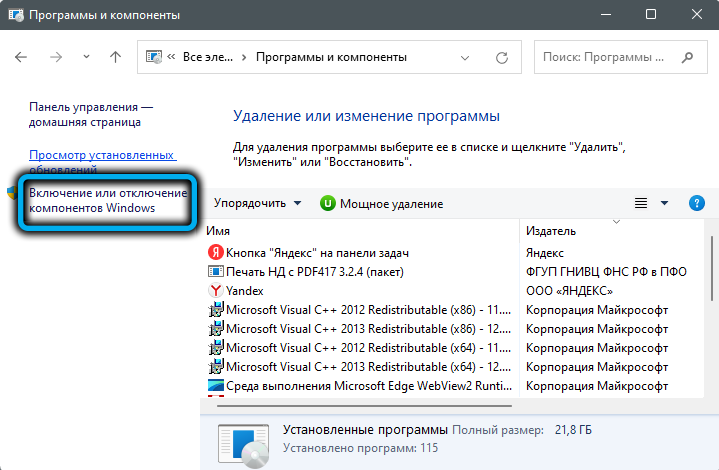
- click on the “Programs and Features” tab;
- in a new window in the left block, click on the section “Turn Windows features on / off”;
- a new window will list all installed components of Windows 11 (both active, ticked, and disabled). We are looking for the line “Virtual Machine Platform”, activate it;
- for the changes to take effect, we restart the system, and when Windows is finished loading, we start WSA again.
You can now retry the steps in the command line section.
The error when you type adb connect /install is due to the missing adb.exe file. This is because the Platform Tools SDK was not installed or it was installed incorrectly. The problem is also fixable:
- re-download the SDK Platform Tools from the official website of Android Studio (we are interested in the version for Windows, although there are options for Mac / Linux);
- install PlatformTools for developers again;
- launch the Terminal window (necessarily with administrator rights);
- go to the directory with the installed package (command cd <directory_with_installed_platform-tools>);
- instead of the command described in the previous section, type adbconnect, press Enter.
Conclusion
Of course, for many users, the ability to use their favorite mobile applications will be a significant plus of Windows 11. And for some, it will be a decisive argument in favor of migrating to a new OS. Unfortunately, both described methods require great care in setting up and using this feature, so we are not talking about mass character here. Bye. Perhaps in the future, running Android apps will be made easier and more convenient, but this is unlikely to happen in the short term. At least have to wait until autumn or longer. In the meantime, for lack of alternatives, only these options remain.
