Windows users of different versions periodically encounter various failures and errors that occur at different stages of the system installation or during work. In most cases, the problem is of a programmatic nature, and you can solve it yourself without resorting to the services of specialists.
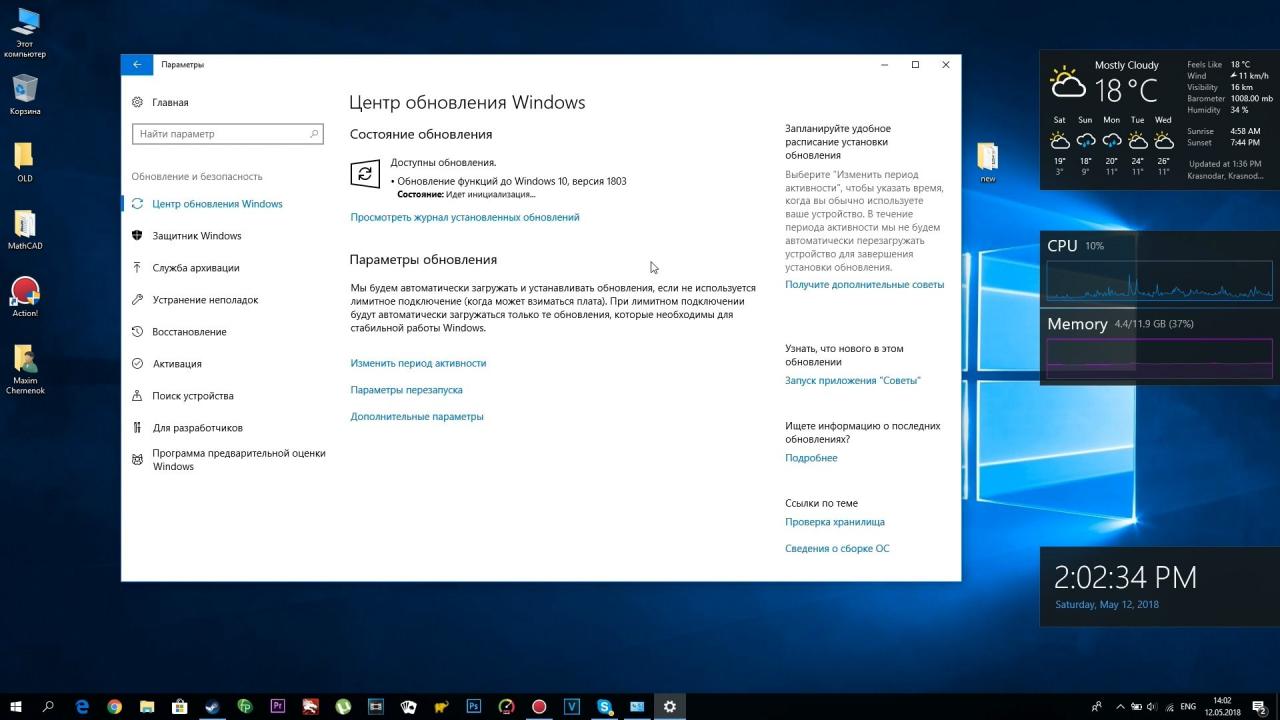
One of the phenomena encountered when updating Windows 7, 8 to version 10 through the Update Center, through the Media Creation Tool or from the additional setup.exe file, as well as during the installation of service packs on the top ten, is Windows Update failure c1900101 or 0xC1900101. Errors of this group can occur at different stages of the installation and are accompanied by various codes (0x4000d, 0x40017, etc.), as well as messages mentioning SAFE_OS or SECOND_BOOT, while the process is interrupted and the system cannot complete the installation of the software. There are several solutions to the problem and one of the options is suitable in each specific case, depending on the source of the trouble. Let’s figure out why a failure occurs and how to fix it.
Contents
Causes of Error 0xc1900101
Depending on the place of occurrence, the failure has different guises. So, s1900101 appears in the Update Center, and 0xC1900101 appears in the official utility for updating and installing Windows 10. It is not always possible to determine the nature of the problem immediately, so you often have to try several solutions. Usually, error 0xc1900101 when updating Windows 10, 1903 or when switching from “Seven” or “Eight” is caused by the impossibility of accessing the installation files by the installer, which are required at different stages of the process. Thus, the update can be interrupted both at the beginning and at the end of the procedure.
Error code 0xc1900101 and its modifications can provoke such factors:
- Corrupted installation files.
- Device driver incompatibility.
- Insufficient space on the system partition of the internal disk.
- File system errors, partitions and other disk problems.
- Antivirus activity.
The decision can be different and directly depends on the provoking factor. At the same time, the failure is often eliminated in the simplest ways, so that even with minimal user skills, you can cope with the task with your own hands.
Methods for solving error 0xc1900101, c1900101
The following ways to fix the failure are effective in one case or another and can help if Windows 10 update failed to install due to error 0xc1900101.
Disable or remove antivirus software
Antiviruses, firewalls, and other system or third-party means of protecting your computer from malicious software often cause problems during the installation of software, including Windows updates. By blocking the installation files used when upgrading the system, antivirus programs can interfere with the process, as a result of which the system generates error 0xc1900101.
We turn off the active protection of all protective utilities during the installation of the Windows 10 update. Sometimes, to solve the problem, you have to uninstall the antivirus software, because even with the protection disabled, some antiviruses can interfere with system processes. After uninstalling, the computer will need to restart, after which you can start installing updates again.
In some cases, software for cleaning the system registry and temporary files can also interfere with the procedure. We delete it, if any.
Disconnecting peripheral devices
An unsuccessful attempt to install the system, which resulted in error 0xc1900101, could be caused by a conflict with third-party drivers. Try temporarily disconnecting USB peripherals and external media that are not currently in use. Only those that are required now to install OS updates should be connected to the computer.
Reinstalling or removing outdated drivers
Outdated and corrupted device drivers can cause problems while using your computer, causing all sorts of crashes and errors, including with Windows updates. Reinstall or remove non-working hardware drivers. This can be done manually by downloading it from the official website of the device manufacturer or using special software.
You can find problem drivers in this way:
- We go to the Windows folder located on the system partition of the disk.
- Find the Panther directory, in which we open the Setuperr.log and Setupact.log files.
- We look for driver errors in them, after which we remove or reinstall the broken software.
In addition to identifying the problem using the log file, you can also use the Device Manager, which will be easier for less advanced users. The method involves the following steps:
- Go to the Device Manager (press RMB on the Start button and select a service from the list).
- We look at the drivers for each type of equipment.
- If opposite we see a yellow icon with an exclamation mark, then the device driver is damaged. Right-click on it and select the desired action from the context menu (“Update drivers” or “Remove”).
Checking free disk space
Sometimes the cause of the problem is obvious, but the user does not notice it, looking for complex solutions. Make sure you have free disk space and also meet the minimum system hardware requirements.
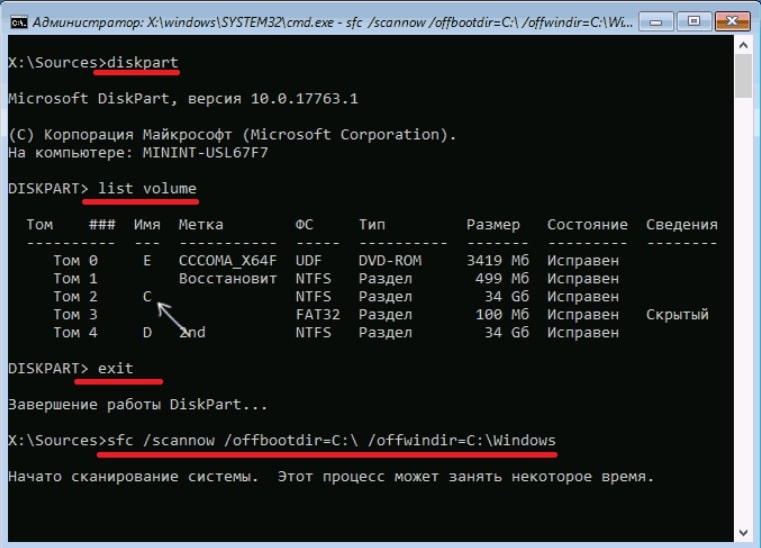
Scanning with the SFC utility
The SFC utility integrated into Windows checks the integrity of system files with the ability to recover damaged elements by replacing them with the correct versions. Administrator rights are required to run. We carry out the following actions:
- Launch the “Run” console (Win + R).
- Enter the cmd command in the appropriate field.
- In the terminal that opens, enter sfc / scannow and wait for the end of the scan. Upon detecting damage, the system will restore the files if possible.

Windows Clean Start
Often, an unsuccessful system upgrade is triggered by incompatibility of system components, services, or other software with service packs. To eliminate this possibility, we perform a clean startup of Windows (the procedure is carried out only as an administrator). In this mode, loading of third-party applications is not expected and this option is most relevant for identifying problematic, conflicting software or third-party services that interfere with the operation of the system. In Windows 10 or 8, we do the following:
- Open the “Run” console (press the Win + R keys).
- In the field, write the msconfig command and press Enter.
- The “System Configuration” window will open, go to the “Services” tab.
- We mark the item “Do not display Microsoft services”, if there are third-party services, click the “Disable all” button and apply the changes.
- Go to the “Startup” tab and click “Open Task Manager”, which will open on the “Startup” tab.
- Disable all applications here.
- Close the Task Manager window, and then click “OK” in the Configuration window.
After restarting the device, Windows will clean boot. Now you can repeat the procedure for installing the OS update, and if it was successful this time, then the problem was interference with the process from services or applications. To use the normal system boot again, we revert the changes to their original position.
Fixing error c1900101 in Windows Update
If the installation of Windows 10 components via the CH fails and error s1900101 occurs during the procedure, you can try to fix the problem as follows:
- Run the command line as administrator, for which right-click on the Start button – Command line (administrator);
- We enter the following commands in turn:
- net stop wuauserv
- net stop cryptSvc
- net stop bits
- net stop msiserver
- ren C: Windows SoftwareDistribution SoftwareDistribution.old
- ren C: Windows System32 catroot2 catroot2.old
- net start wuauserv
- net start cryptSvc
- net start bits
- net start msiserver
- We close the command line and restart the computer.
Usually this method works, and error c1900101 in the Update Center no longer appears, but if the actions did not bring the desired result, you can try to update using the distribution kit from the Microsoft website.

Cleaning Windows 10 installation files and rebooting
Error 0xc1900101 can occur due to damage to installation elements. They should be removed and then the update procedure should be repeated. We carry out the following steps:
- Disconnect your computer from the Internet.
- We go to the “Run” console, start the window by pressing the Win + R keys.
- We register the cleanmgr command and press Enter.
- The disk cleaning utility will open, here we mark the item “Temporary Windows installation files” and click “OK”.
- We go to the C drive and delete there $ WINDOWS. ~ BT or $ Windows. ~ WS. If the viewing of hidden elements is disabled, you must activate the option to show them (Control Panel – Explorer Options – View).
Now you can connect to the network and restart the update procedure using any convenient method.
Upgrade with Windows 10 ISO Image
Another way to solve the problem involves performing an OS update using an ISO image:
- Download the original image from Windows
- We mount it in the system.
- Disconnect the device from the Internet.
- Run the setup.exe file and update.
An alternative option is to write the image to an external drive (USB or disk), boot from the installation flash drive / disk and perform the update.
Other ways to solve the problem
When the above methods did not help (sometimes it happens), the following actions can solve the problem in a number of cases:
- We remove the video card drivers with all the tails with the Display Driver Uninstaller utility.
- If the error message mentions SAFE_OS in the BOOT process, you can try disabling Secure Boot in UEFI (BIOS).
- If Bitlocker is used, deactivate it.
- Using the Disk Manager (the command diskmgmt.msc is launched from the Run console), we check the system disk to see if it is dynamic. If so, it won’t be able to convert it to a basic disk without loss of information, so this leaves a clean installation of Windows.
- We check the hard disk with the chkdsk system utility.
- If you have third-party disk encryption software on your device, you should disable encryption and uninstall the utility that caused the problem in the form of error 0x40017 SECOND_BOOT.
None of the above methods can 100% guarantee the success of the procedure, although they are effective in most situations. As a last resort, when nothing helps at all, a guaranteed option is in store – a clean installation of Windows 10 from bootable media with formatting the system volume instead of updating. This is a more time-consuming process, but the most reliable one.