With such a definition as conversion, modern users are faced almost every day, while working at a computer every now and then there is a need to translate a file with one extension to another. It is worth noting that such situations will accompany consumers until such time as personal computers will operate and exist. The need to change the format of pictures is one of the most demanded needs, especially often there is a need to convert png to jpg. Often, active users of social networks or bloggers are faced with the problem of uploading PNG images to various services, the fact is that almost most sites work only with images that are saved in JPG format. No matter how beautiful and high-quality the file is, it will have to be converted to the required extension.However, despite the apparent complexity, the number of software products is so great that anyone can easily solve such a computer problem.
Contents
The fundamental difference between the presented extensions
Users who do not see the fundamental differences between PNG and JPG should be aware that these formats are different from each other, first of all, in the ways of maximum image compression and purpose, more precisely, specialized features that determine in advance their further logical use.
If we consider the PNG format as an extension for creating images for web graphics (mainly with an additional transparency effect), then the JPG format has a much more extensive purpose. By means of such an extension, absolutely all images that are not directly related to web graphics can be saved. This format is most often encountered when working with photographs. However, despite the different applications, some PC owners occasionally need to convert png to jpg. Nevertheless, in some cases it becomes necessary to convert from one format to another.
Possible conversion methods
To make a jpg picture out of a png format image, in fact, you can use a large variety of methods, everyone should choose the most optimal one for themselves, depending on personal preferences and computer skills.
Photoshop software package
Today Photoshop is a very common product that is installed on almost every personal computer. Anyone who wants to continue to professionally deal with images and, in particular, photographs, tries to master this cunning editor. With this program, you can easily convert png to jpg.
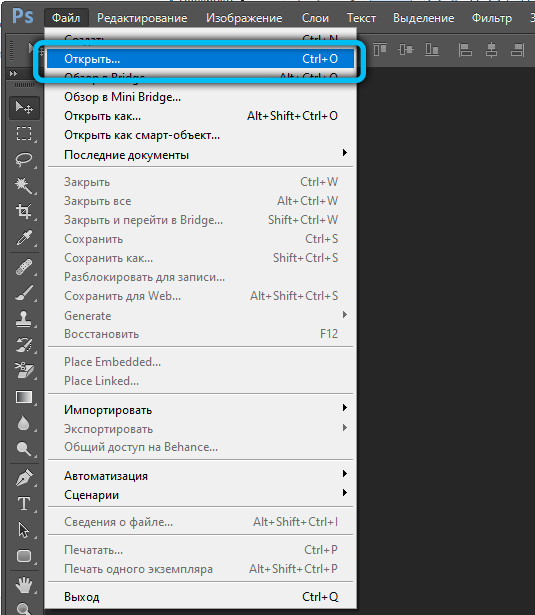
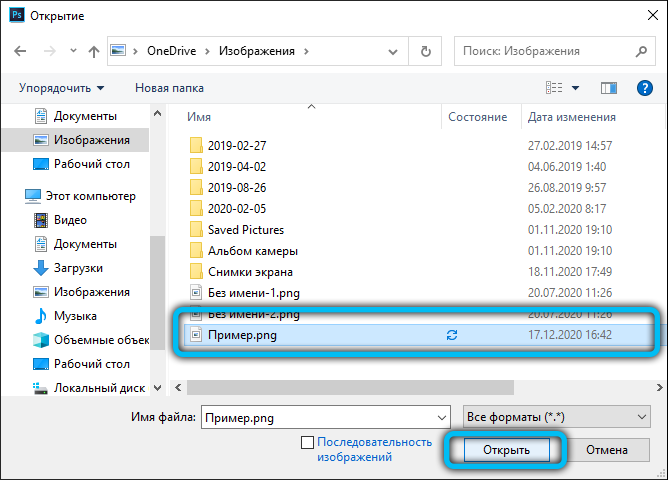
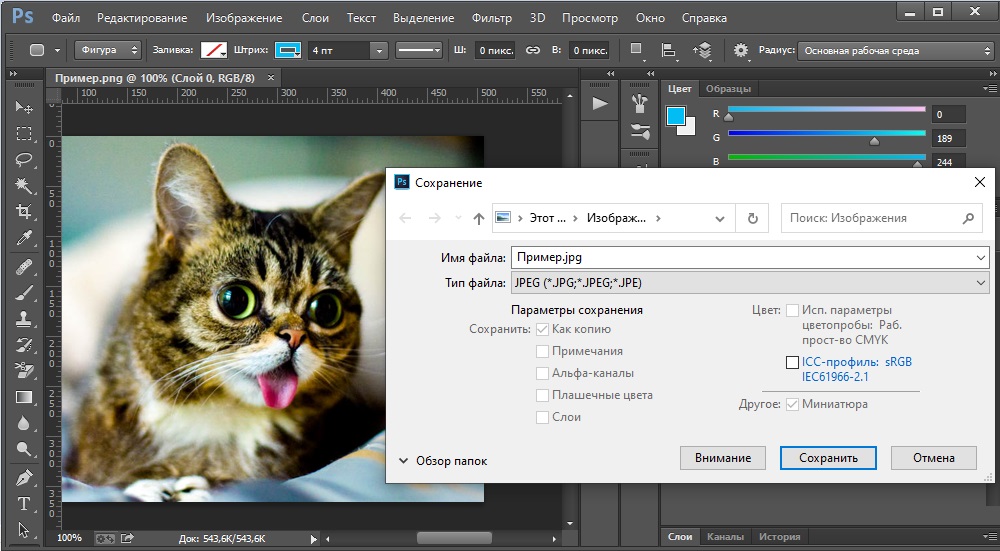
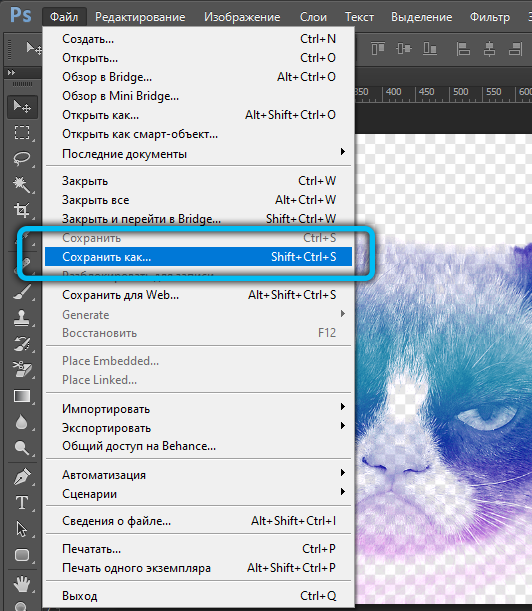
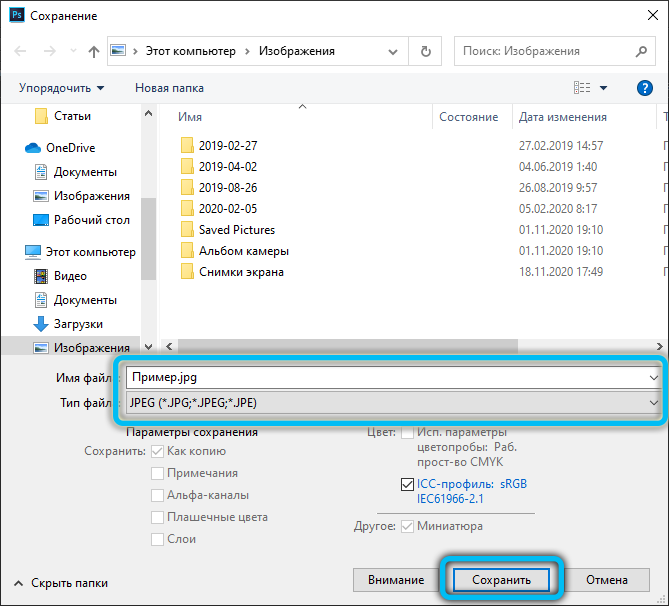
For direct work in this graphics editor, you will need the installed program and images. The user needs to open a file with a PNG extension, find a subsection with the name “File” in the menu, and find the “Save As” sentence in the drop-down list. The window for further saving contains several lists, in addition to the “File name” you need to specify the appropriate “File type”. To convert to the required format, select the line JPEG, files of this extension can be either * .JPG, or * .JPEG and * .JPE. The advantage of this software package lies in its powerful functionality, as evidenced by the ability to create a specific macro capable of independently performing some of the same type of actions, for example, renaming a large number of images.
Standard Paint program
A very simple and functional software package that does not need to be installed additionally can help to convert png to jpg. Paint is a logical and simple program that is installed on a computer along with an operating system; in addition, unlike Photoshop, it does not require, for example, professional knowledge and an expensive license.
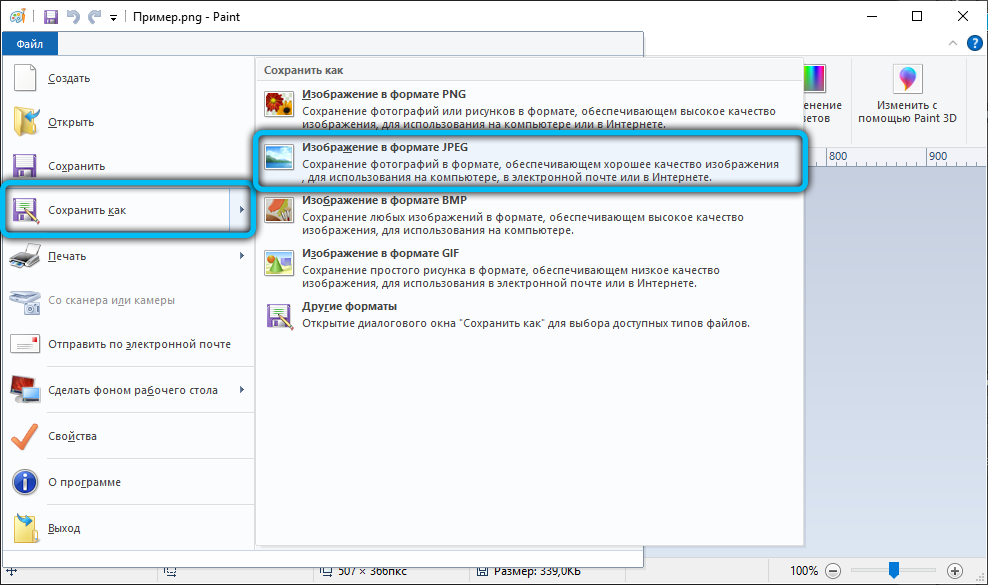
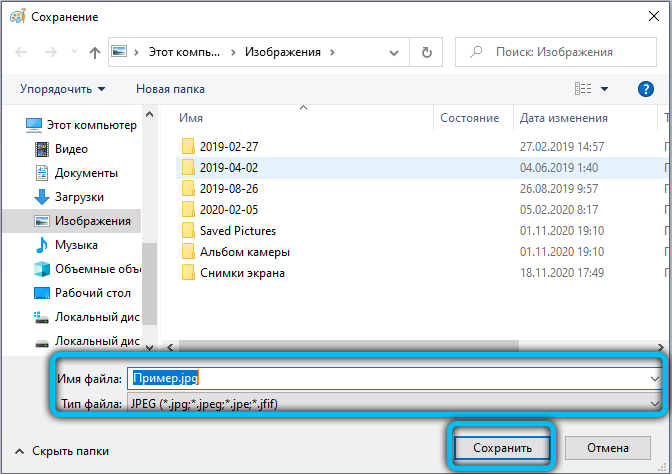
You can use Paint’s features immediately after opening the program and the picture. In the list of possible operations provided by Paint, you need to find the “Save As” item, then a small submenu will appear, in which you will have to find “Image with JPEG extension”. The user only needs to specify the location in which to save the picture. However, when working with the built-in editor, you need to be prepared for the fact that the final obtained image may not be as high quality as the original, this is the drawback of the standard program. Photoshop is a more powerful tool that is capable of producing equally high-quality images and photos at the output.
Format Factory
It is very easy to perform the procedure for converting one format to another using the special Format Factory utility. In addition to the conversion function, the program has a fairly wide range of useful tools, which makes it a fairly versatile tool for editing any media files.
To change the format of a photo, follow the instructions below:
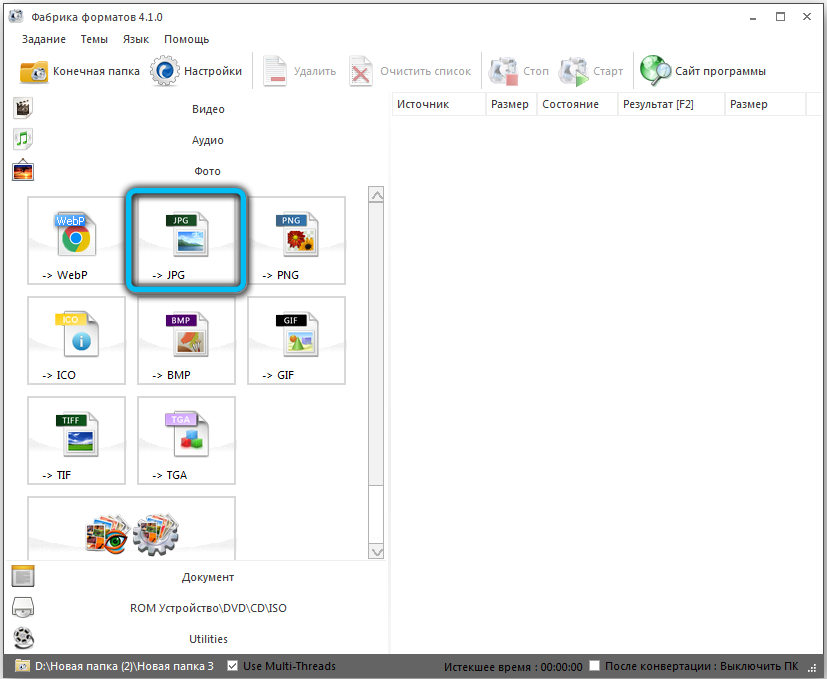
- After launching the application, in the lower left part of the window, find the list of media formats and select “Photo”.
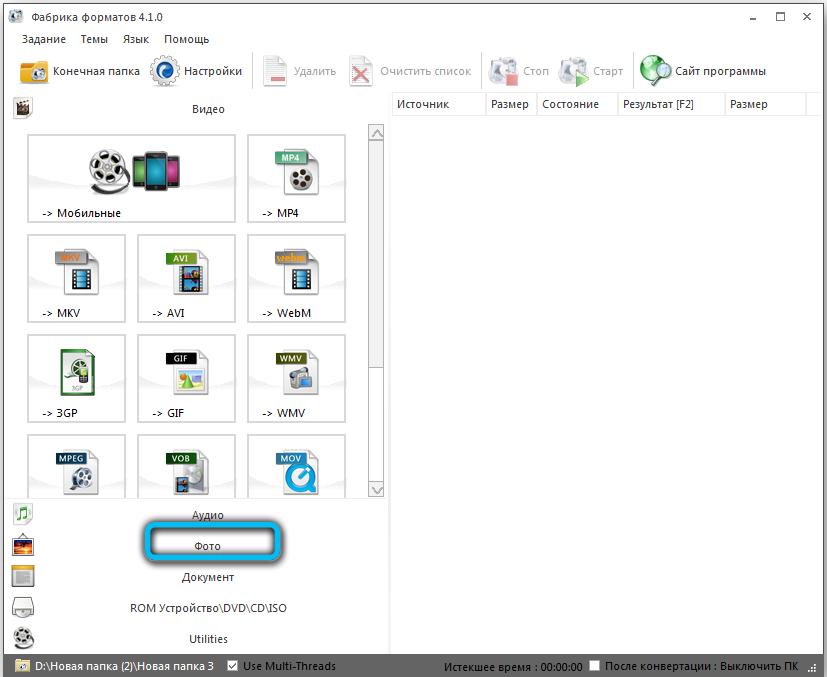
- In the list of extensions that opens, click on “JPG”.
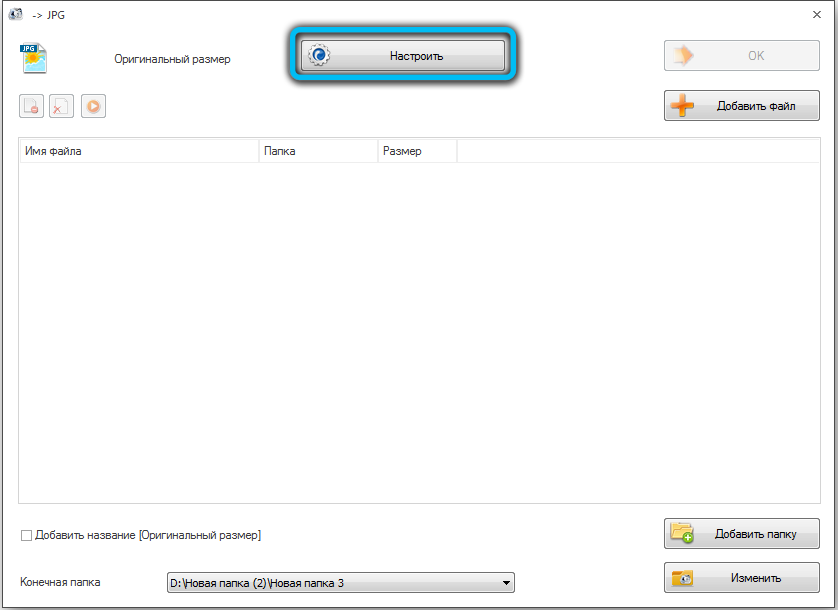
- You will see an intermediate window for changing the image parameters. To configure the current file, click the Configure button.
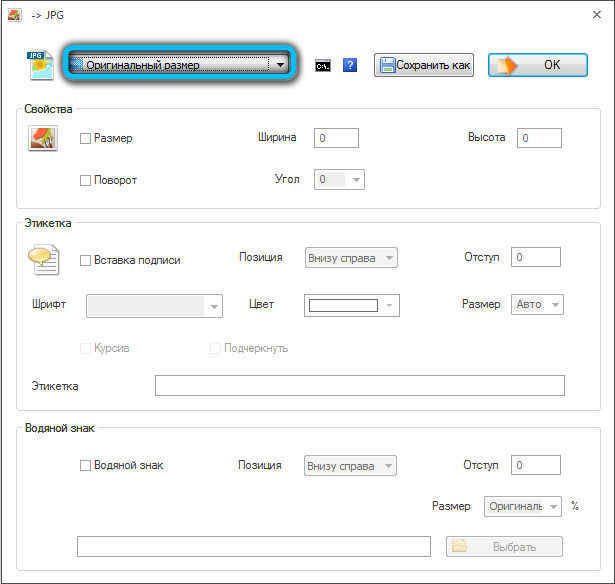
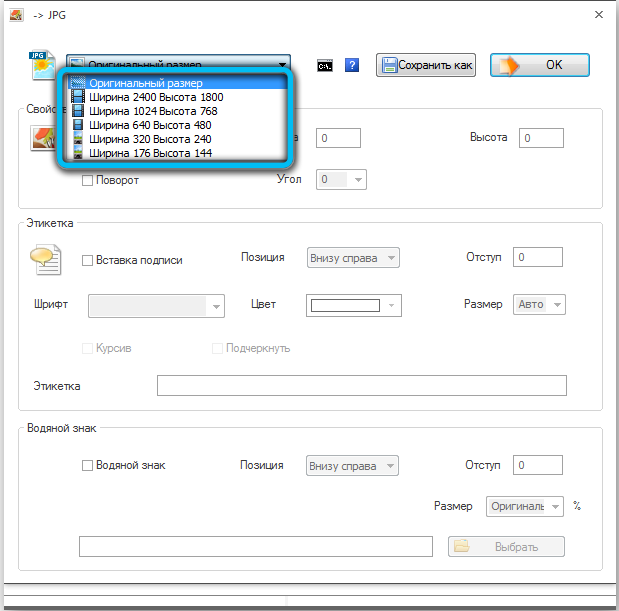
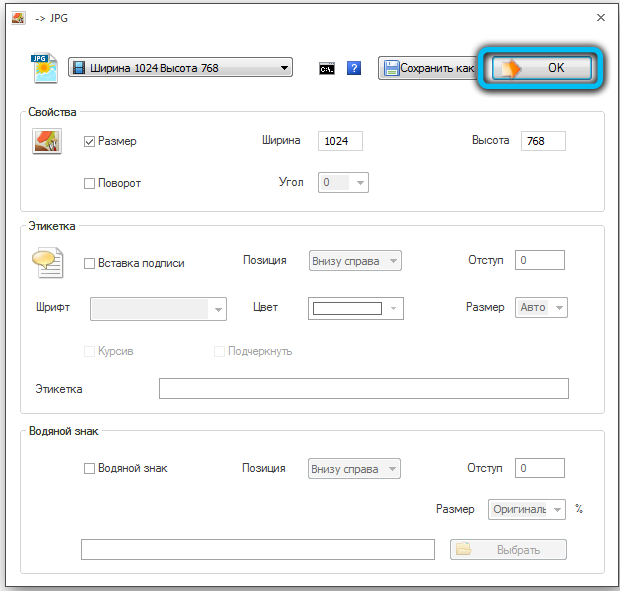
- In the settings panel, you can make changes to the properties of the picture. In particular, change the size, set the rotation angle, add a label or watermark. After the performed manipulations, confirm your actions with the “Ok” button.
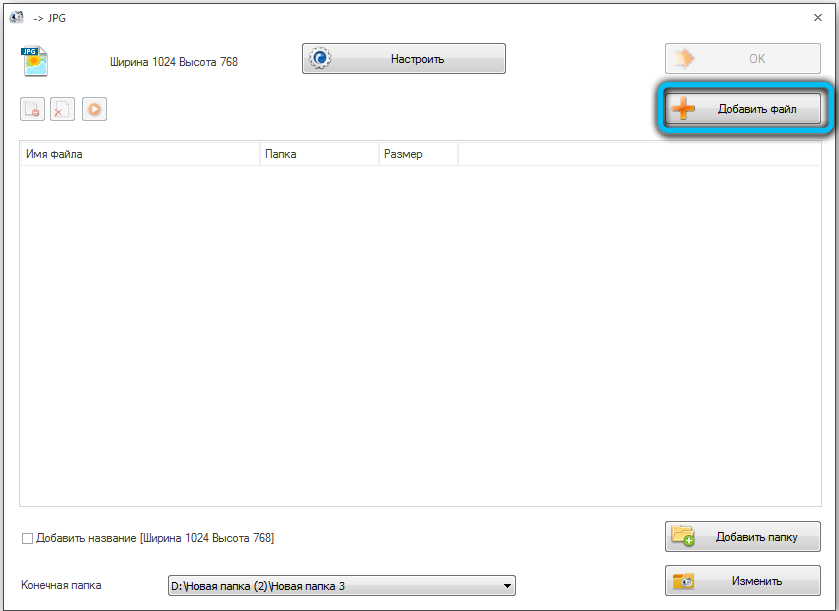
- Next, you need to download the source itself, for this click on “Add file”.
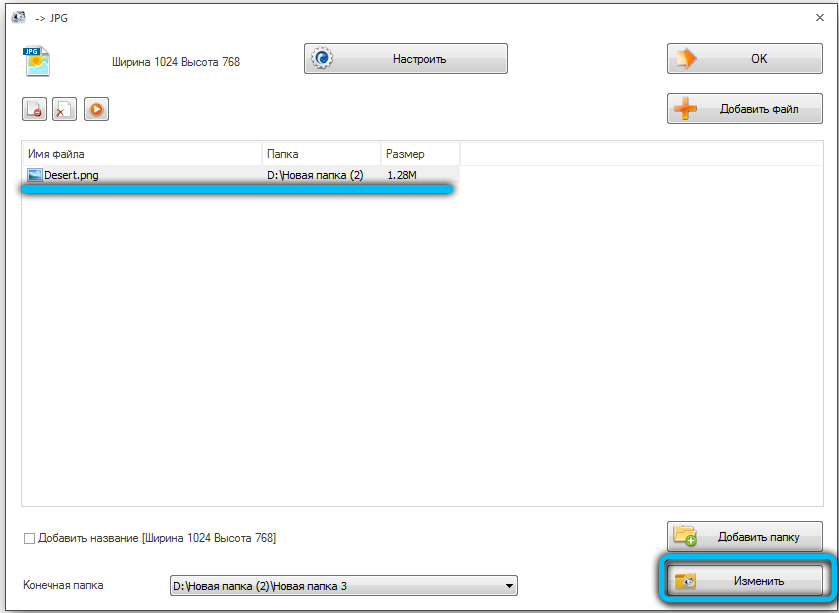
- Find it on disk and click “Open”. In the same way, you can load several objects at once.
- After that, the selected photo will be displayed on the workspace. At the very bottom of the page, you can see the directory where the JPG image will be saved. If necessary, specify a different directory by clicking on the “Change” button.
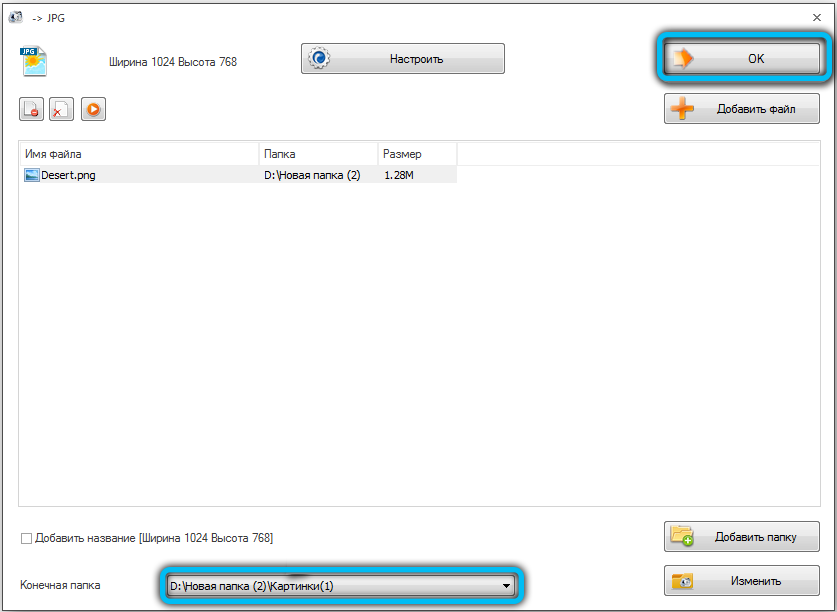
- After the previous step, make sure that the “Destination folder” line has the path you specified. If everything is correct, click “OK” in the upper right corner.
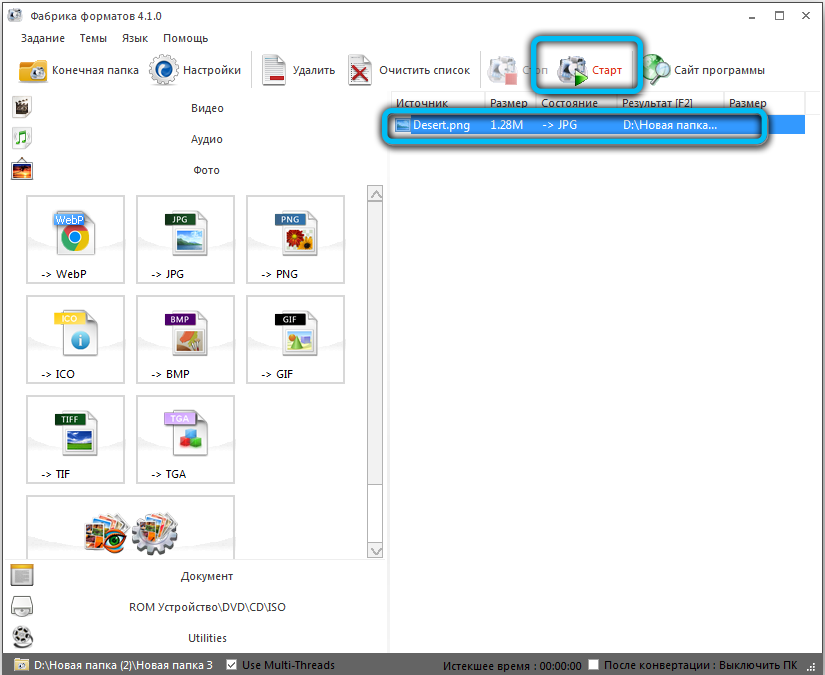
- We return to the main menu of the program. Select the transform source you just edited and on the toolbar click “Start”.
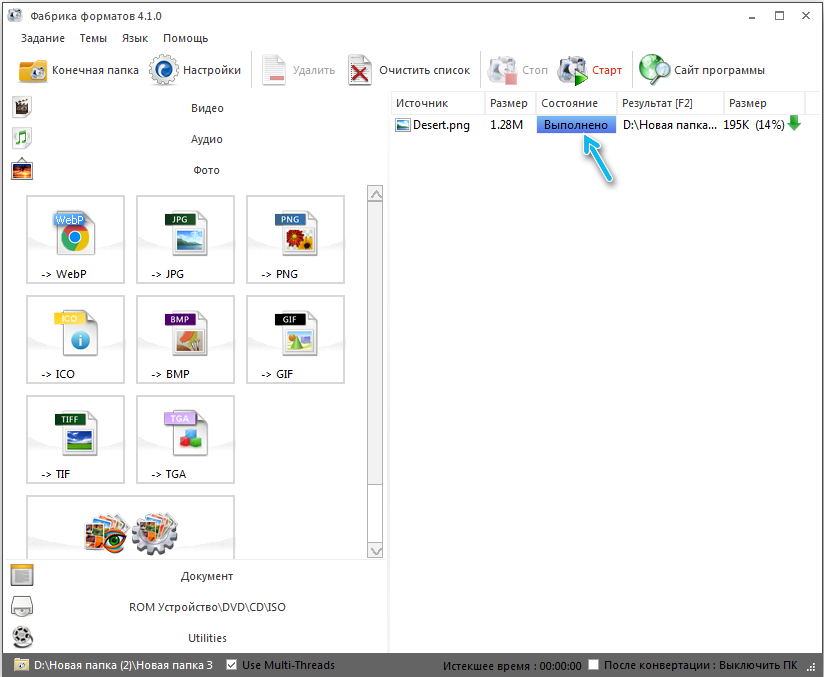
- Upon completion of the conversion process, the status in the “Status” column will change to “Completed”.
- You can open the resulting picture yourself through the explorer, or by right-clicking on the name of the completed task and selecting “Open in folder”.
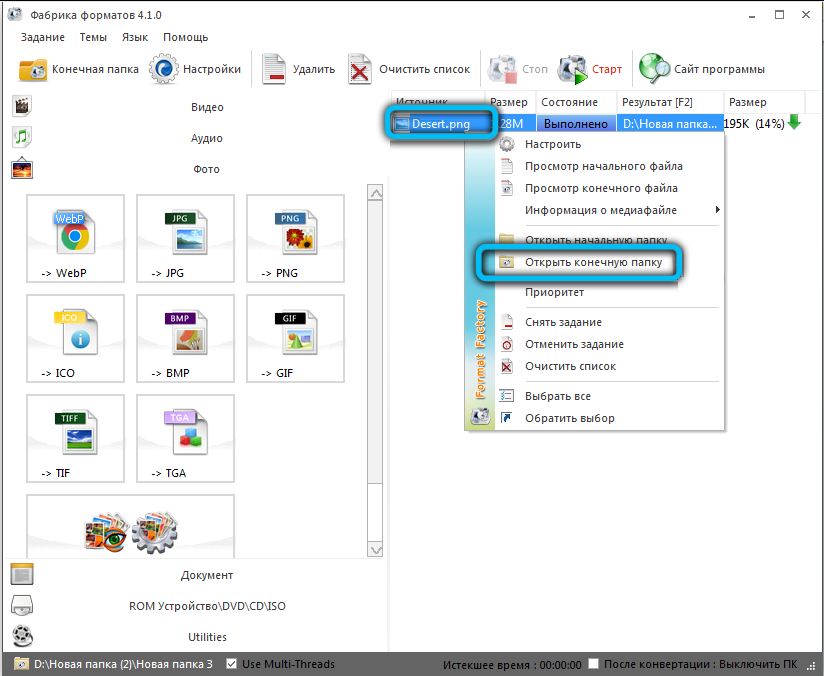
Photo converter
The following program will also do a great job of converting PNG to JPG. The photo converter has a variety of available formats and a user-friendly, intuitive interface. However, in order for this process to definitely not cause you any difficulties, we have prepared a detailed step-by-step guide:
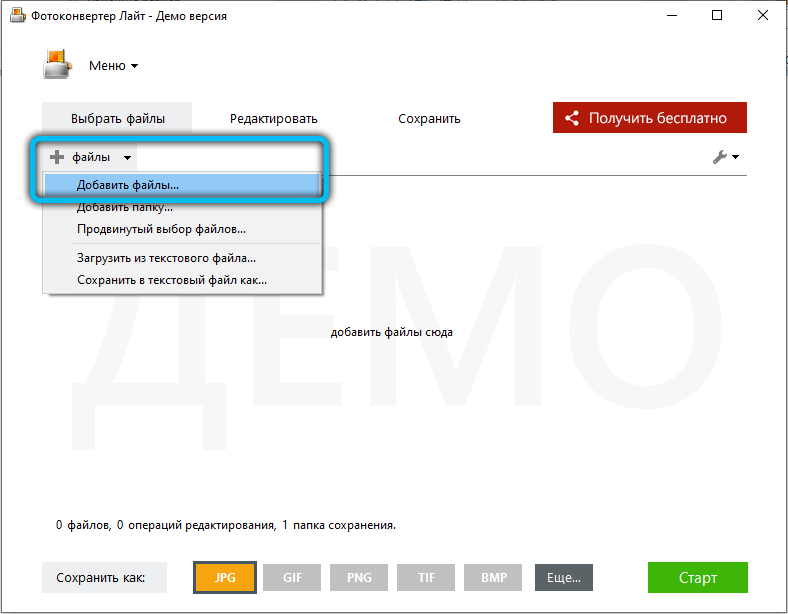
- First of all, launch the application and in the main menu, in the “Select files” category, click on the “Files” line (next to the plus sign).
- In the list of options that opens, select “Add files”.
- Next, specify the location of the photo and click “Open”. If necessary, mark several objects at once.
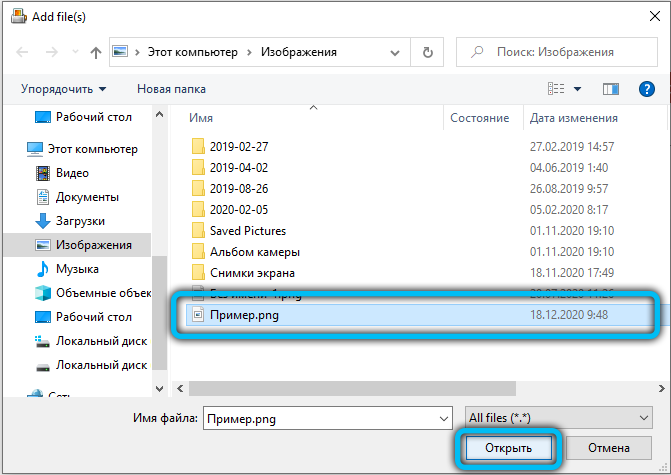
- After that, you should choose the format of the future image. At the bottom of the working window, opposite the “Save As” item, activate the “JPG” icon and go to the next section “Save”.
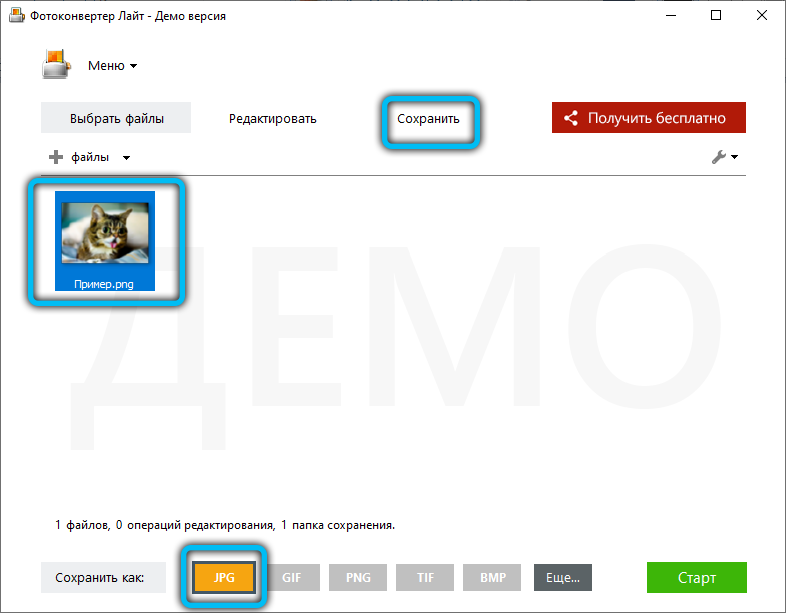
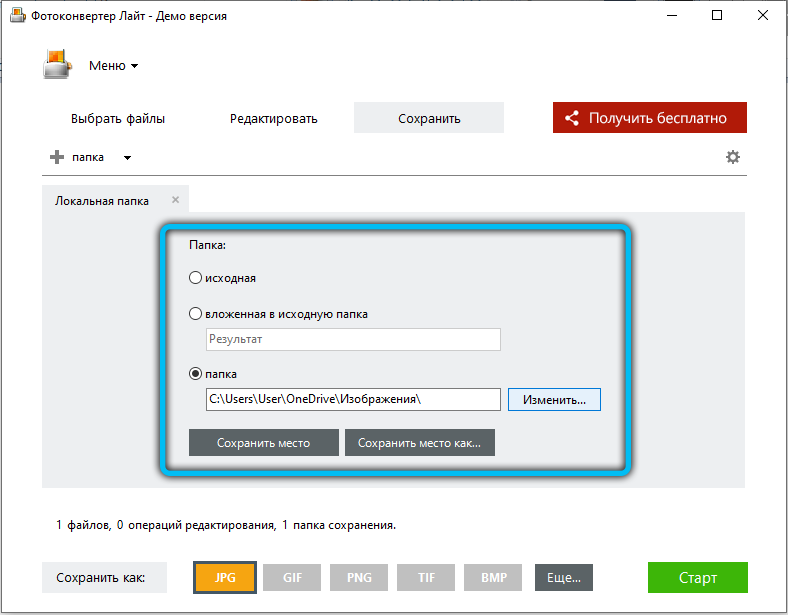
- In the new submenu, you need to set the location for saving the converted photo.
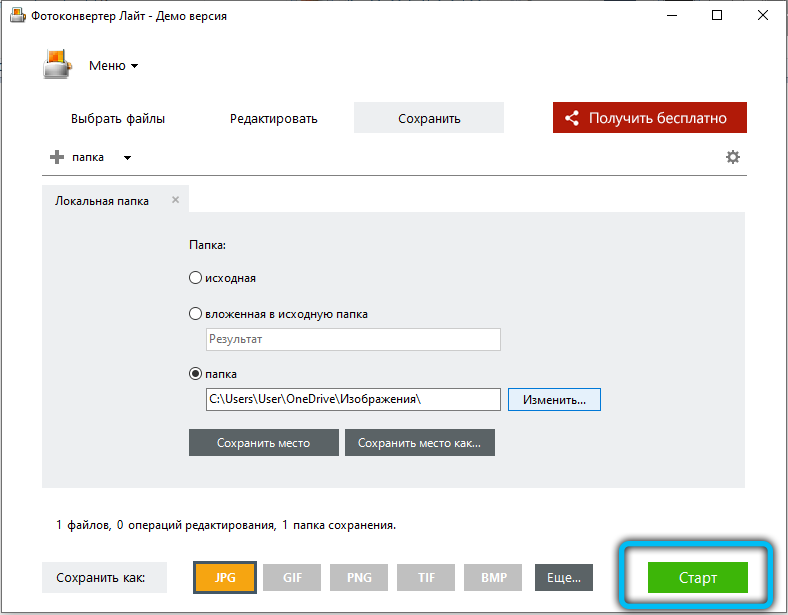
- After completing the previous step, start the conversion process by clicking on the “Start” button.
- As soon as the procedure is completed, a corresponding notification “Conversion completed” will appear in the information window. To go to the processed images, click on “Show files”.
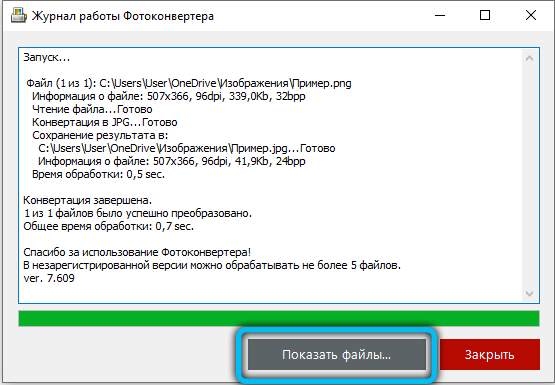
The only drawback of this utility is that it is paid for. It can only be used for 15 days, and then you have to purchase the full version.
FastStone Image Viewer
In order to reformat PNG to JPG, it is not necessary to resort to specialized programs or powerful graphics editors. Utilities for general viewing and editing of images are also suitable for this purpose. One of them is FastStone Image Viewer, which has a fairly advanced functionality compared to other similar applications.
Let’s consider the conversion principle step by step:
- On the main page, go to the “File” tab → “Open”, or use the key combination “Ctrl + O”.
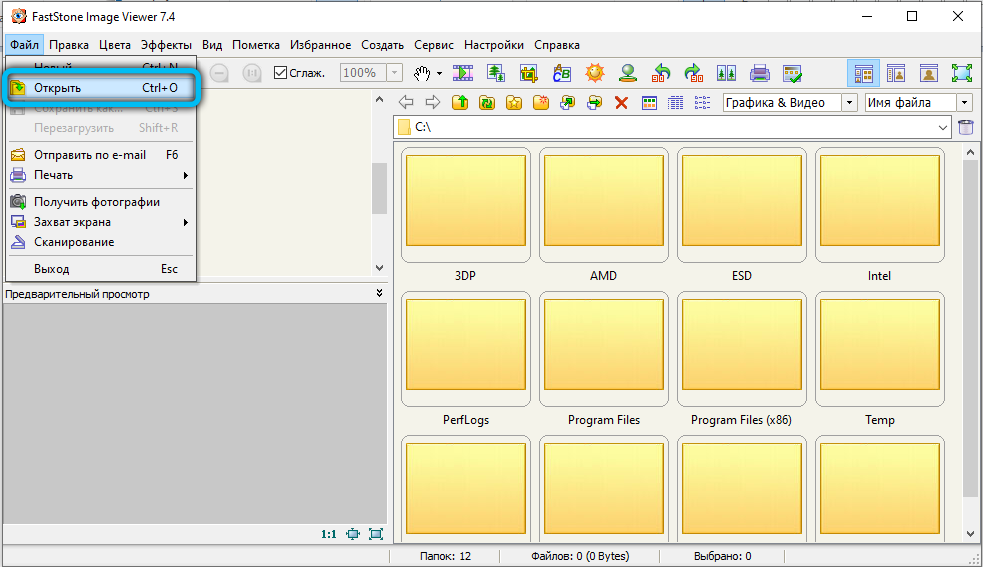
- In the search box, specify the path to the target PNG and click Open.
- In the right menu of the program, select the desired object and go to “File” → “Save As” (“Ctrl + S”). You can also click on the floppy disk icon in the toolbar.
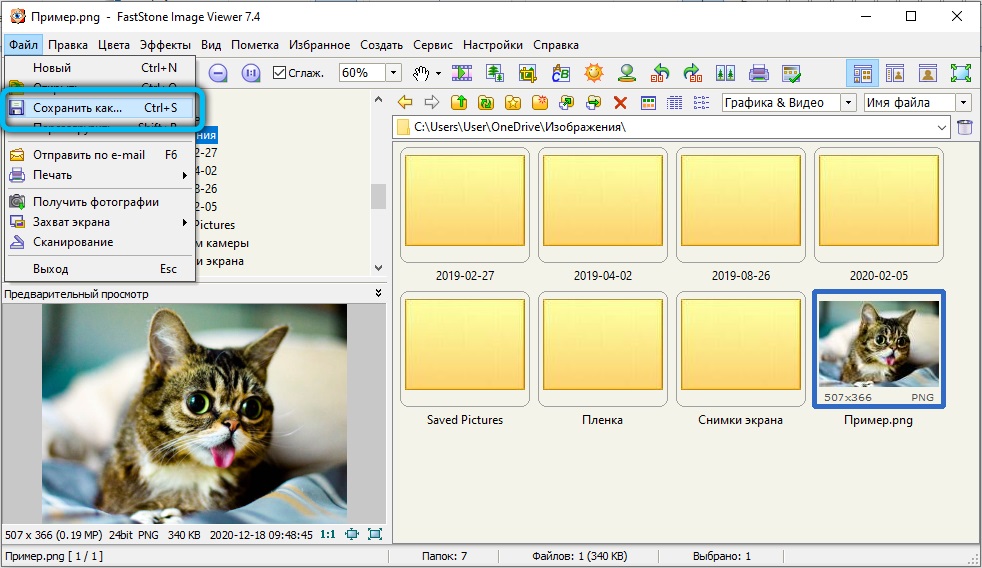 IMPORTANT. Please note that a thumbnail of the selected picture is displayed in the lower left corner. Make sure that this is the photo that you want to change the format.
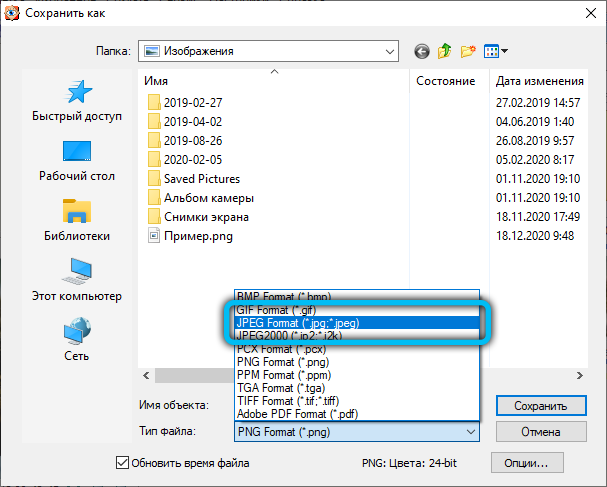
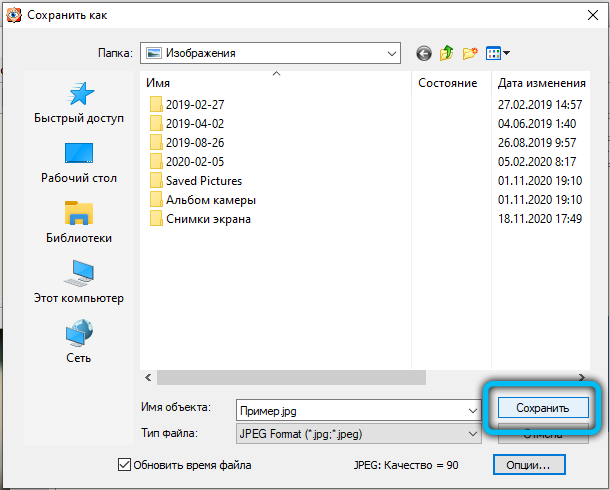
 - Now you need to set the location of the future image. Then on the same panel in the “File type” area select “JPEG Format”. In the event that you want to make changes to the characteristics of the photo, click on the “Options” button.
- It is quite convenient to control the modified parameters using the visual assistant, which shows the “Before” and “After” objects of saving. Here you can adjust properties such as: color scheme, Hoffman optimization, color downsampling.
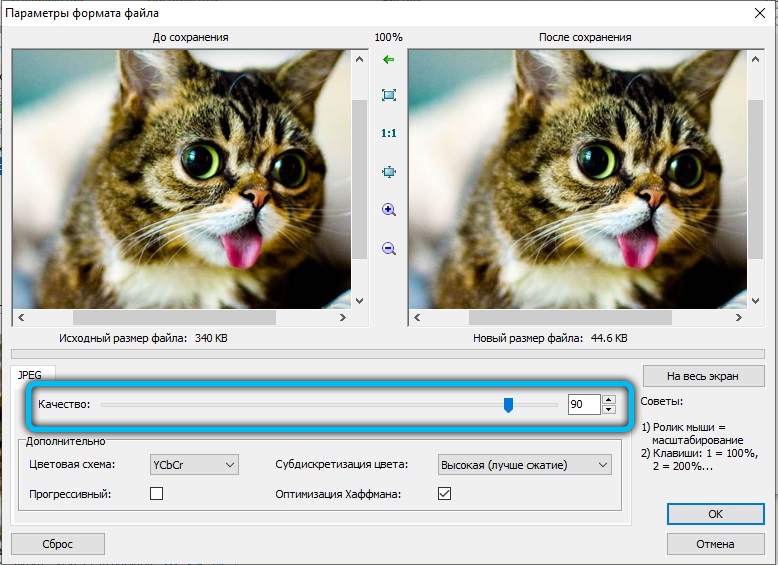 Probably the most important attribute is “Quality”, which changes depending on the compression. It is very easy to do this with the help of a special slider. However, most users do not even go to this section, since these settings are not at all required and are necessary only in exceptional situations. After completing everything that you planned, click on “Ok”.
 - After the performed manipulations, click on “Save”.
Unfortunately, this application will not be able to reformat more than one photo at a time, since mass conversion is not provided by this viewer.
XnView
Another fairly popular and multifunctional program for playing various media files. XnView provides the ability to quickly and easily change the PNG to JPG format. We present to your attention the instructions for converting. Follow each step consistently and you will succeed.
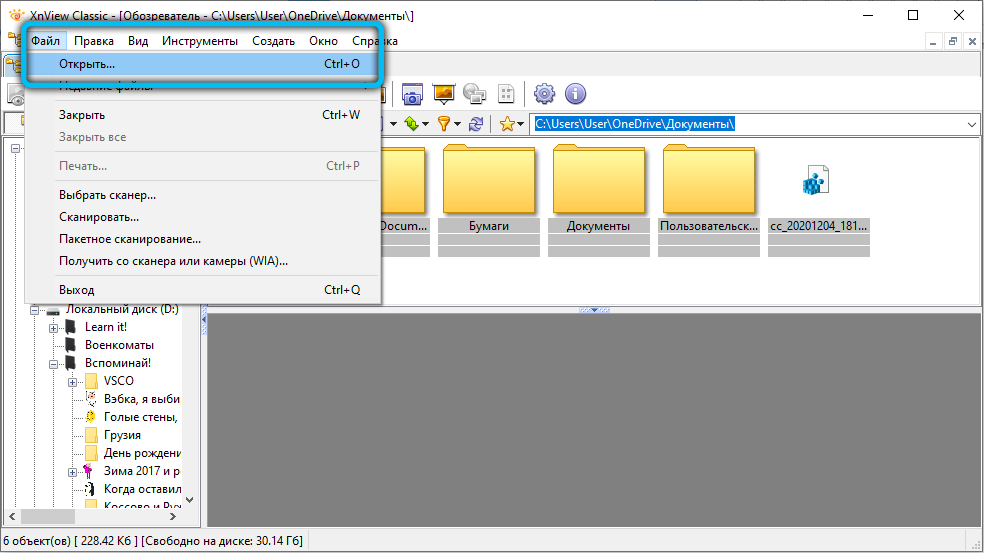
- After launching the application, follow the path “File” → “Open”, and then find and mark the image in your disk space.
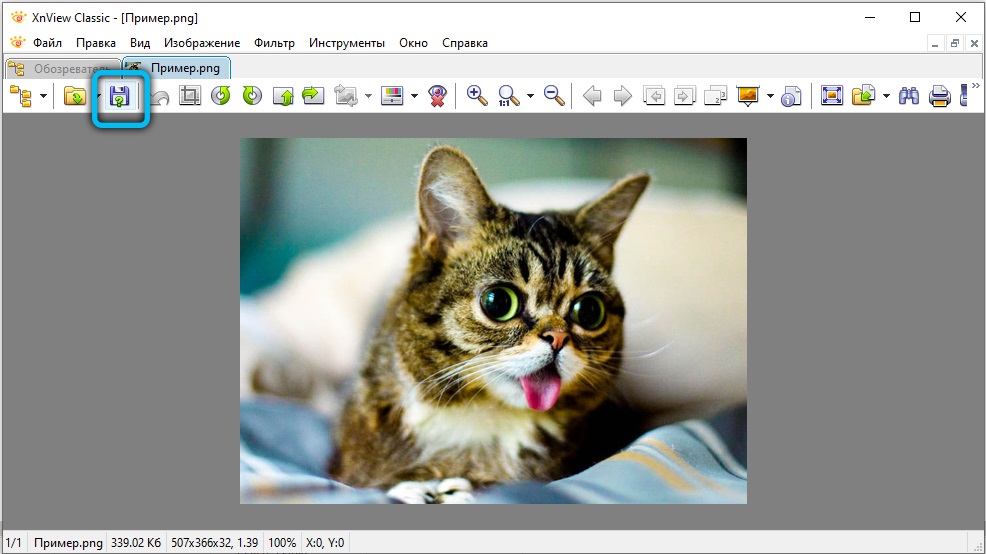
- After the original photo appears in front of you in a new tab, click on the floppy disk icon with a question mark. Alternative method: File → Save As. Those who are accustomed to using hotkeys can press “Ctrl + Shift + S”.
- The next step is to set the location for saving the converted object. Also, set the JPG – JPEG / JFIF format here.
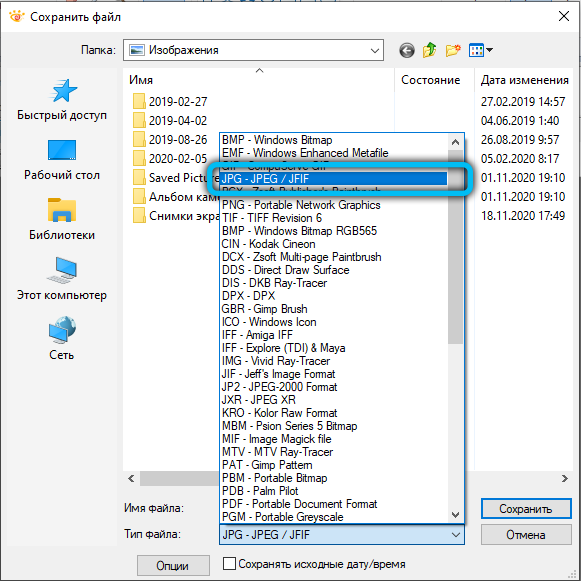
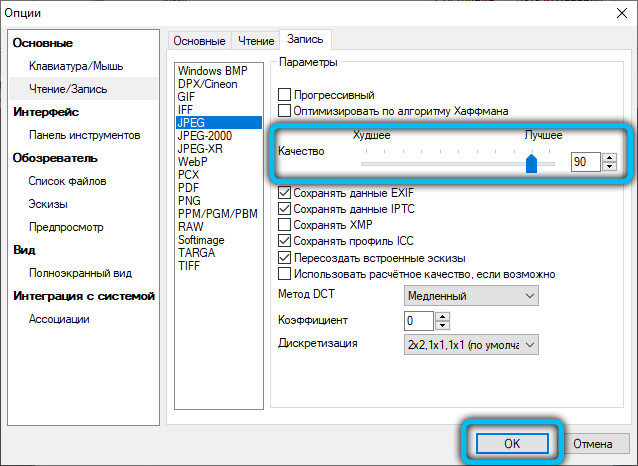
- If desired, you can open additional settings by clicking on the “Options” button. In this section you will find many adjustable parameters. Please note that this is not a required step, if you are not interested in something specific, feel free to skip this step.
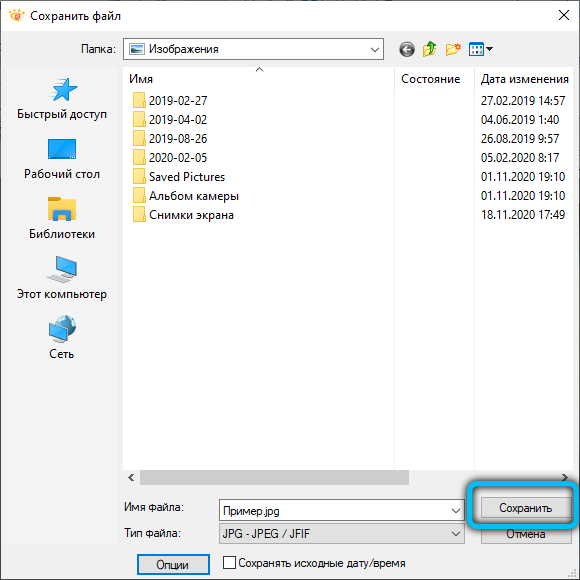
- It remains only to confirm all performed operations with the “Save” button.
This utility is very similar to FastStone Image Viewer, but it has a slightly expanded set of features and more flexible configuration.
Gimp
The graphics editor GIMP is often presented as a free alternative to Adobe Photoshop, practically not inferior to the latter in the available functionality. This utility will also cope with our conversion task without problems. So let’s move on to changing the PNG to JPG format.
- To get started, launch the application and go to the File → Open menu.
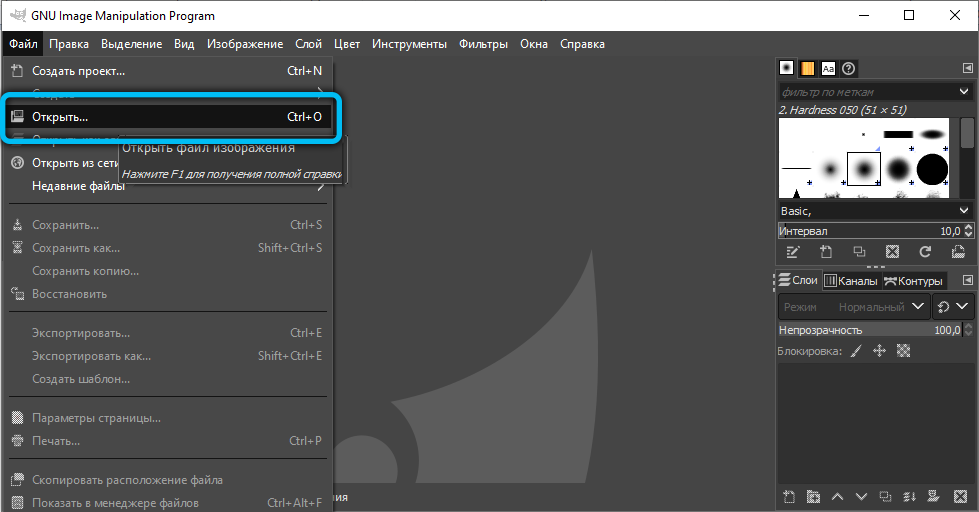
- Then specify the location of the desired photo.
- The picture will then appear on the Gimp workspace.
- The conversion function is located in the “File” → “Export As” section.
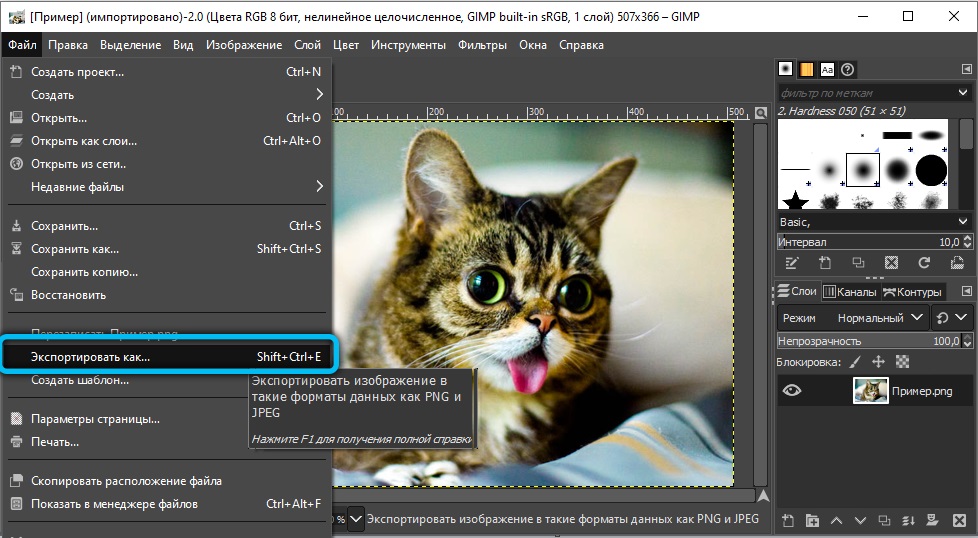
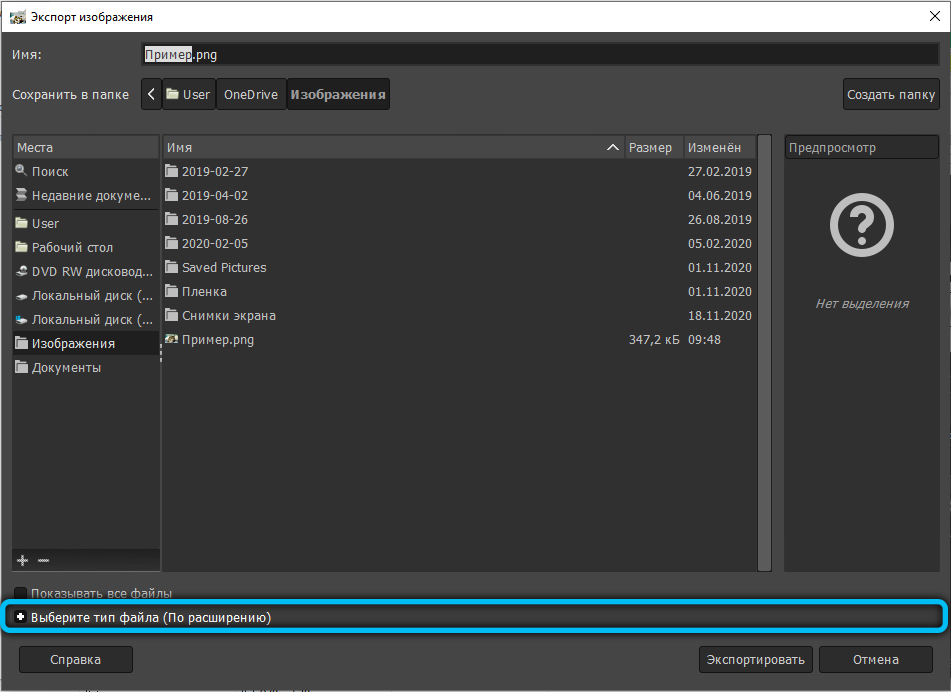
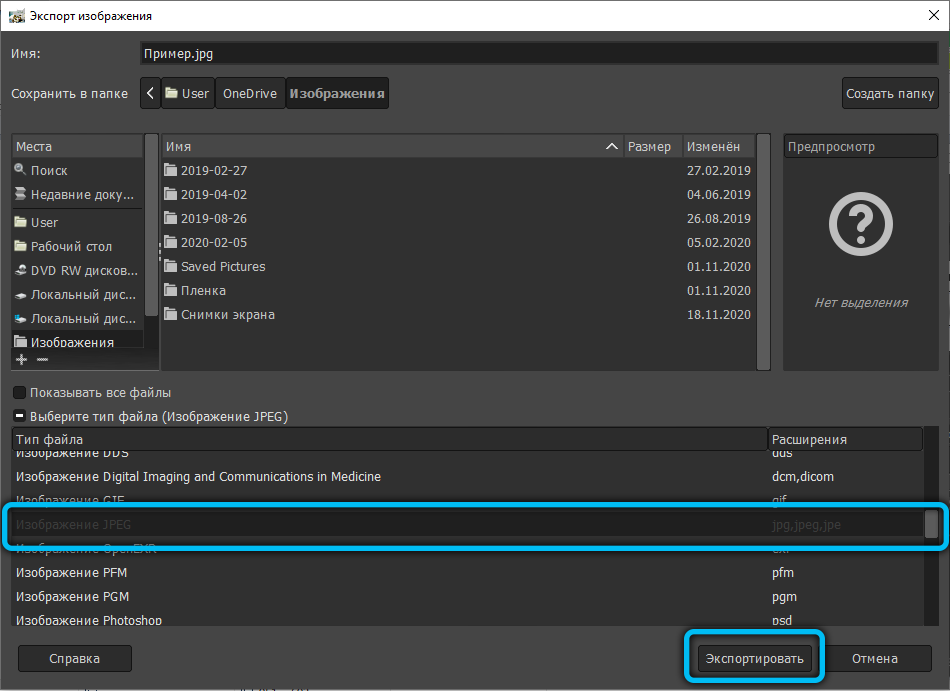
- Here you need to register any name and location for saving. Also at the very bottom of the window, opposite the text “Select file type”, click on the plus sign and in the list that appears, select “JPEG image”, and then click “Export”.
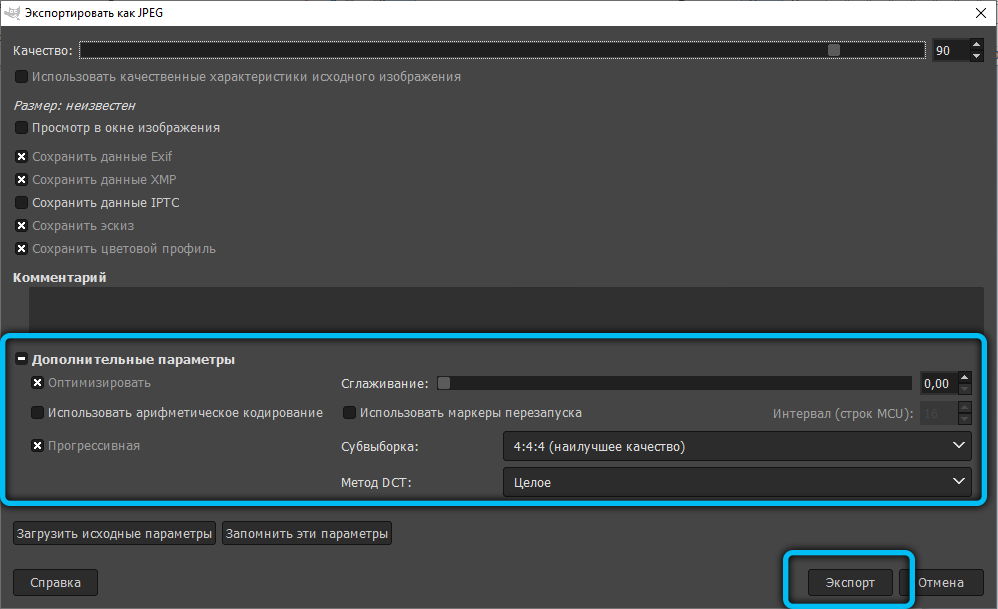
- At the next stage, the program will offer to make changes to the current image parameters. You can do this by clicking on “Additional settings”. Among the main ones it is worth highlighting anti-aliasing control, optimization, restart markers, comments and others.
- After completing this procedure, click on “Export”.
- Ready! The modified file with the new extension will be sent to the previously specified folder.
Specialized sites and services
Services and sites that work online and that allow you to convert png to jpg at any time of the day in the presence of the Internet are in no less demand. Despite the fact that the capabilities of most sites presented on the Internet easily and quickly cope with the conversion of files in PNG format, the images obtained as a result of modifications are greatly distorted.
Along with such services, there are many free and paid utilities that allow you to convert any image. Their main advantage is considered to be the possibility of quick batch conversion, when there is no need to perform the same action many times. Converted images are opened in a whole folder and converted at a time in large quantities.
Conclusion
Converting the png format to jpg is quite simple, you just need to arm yourself with a specialized program, for which you may need the simplest knowledge.