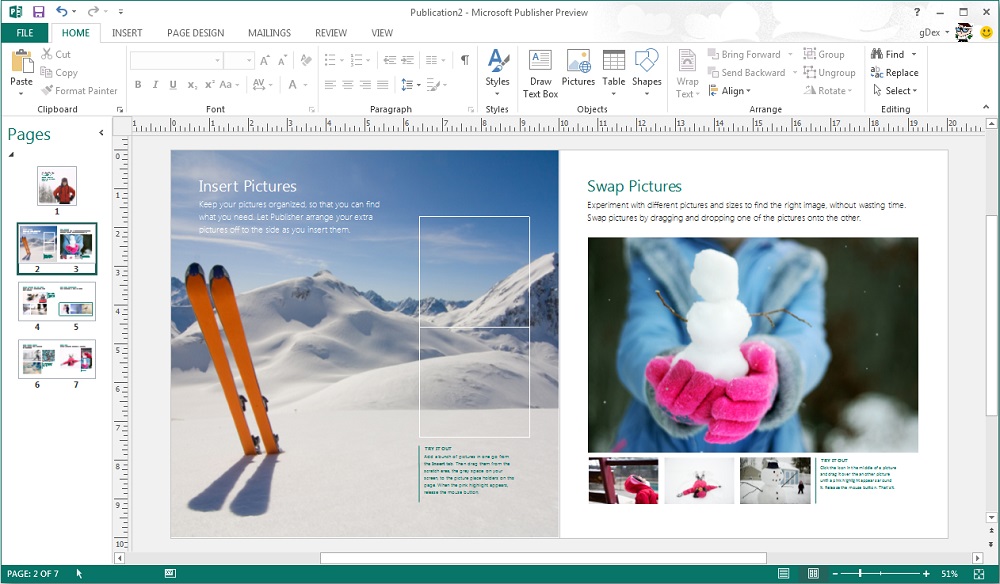
It is believed that in the office suite from Microsoft this is the most underestimated component – it is less likely to be installed on computers, occupying, along with PowerPoint, the last places in various ratings of Office products. Meanwhile, the program can be very useful if you often and a lot work with printed products of different directions.
Contents
What is this Publisher program
As the name implies, this software product can be classified as a publishing one, although it cannot be called a full-fledged printing program Publisher. But basic typographic elements are available here, ready-made publications can be easily sent to their destination via email, checked the grammar of the text, and converted publications to Word format, for example.
If you are at odds with publishing systems, but are eager to master them – this is what Microsoft Publisher can be useful for. Start your acquaintance with this direction with this particular program, and if you are familiar with Word, Excel or Access, then you will not have to learn a fundamentally new interface. Moreover, there are also temporary versions here, so if you are used to the products of the 2007 set, then no problems are foreseen here either.
The program is included in the office suite starting from Windows Vista / XP. Microsoft Publisher documents have the pub extension and can contain both rich text and graphics.
MS Publisher features
First of all, this program is intended for the preparation of publications that are presentable in print.
Let’s briefly consider what types of publications that can be created in MS Publisher:
- brochures:
- bulletins;
- newspapers;
- brochures;
- calendars;
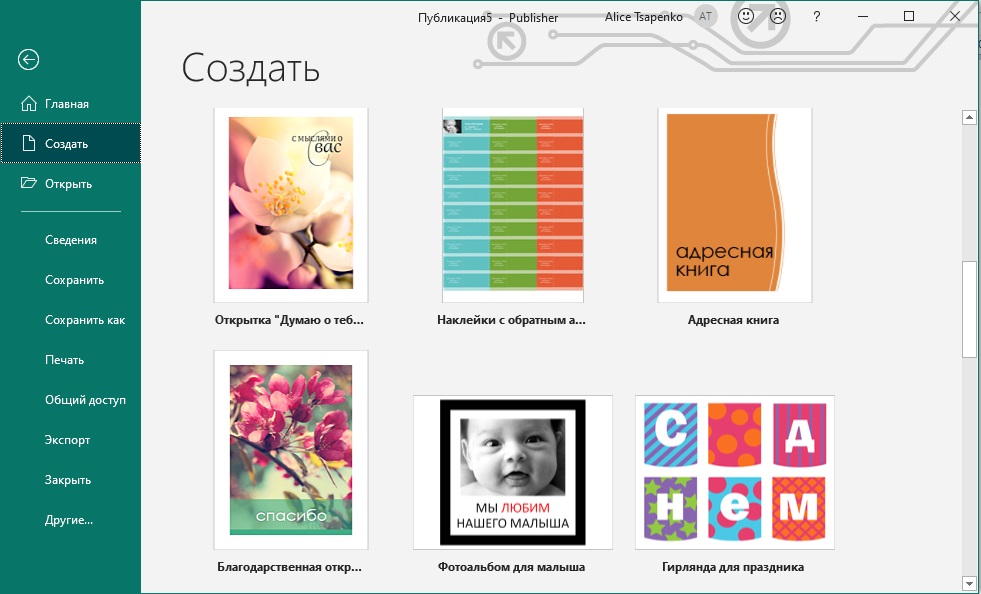
- albums;
- postcards.
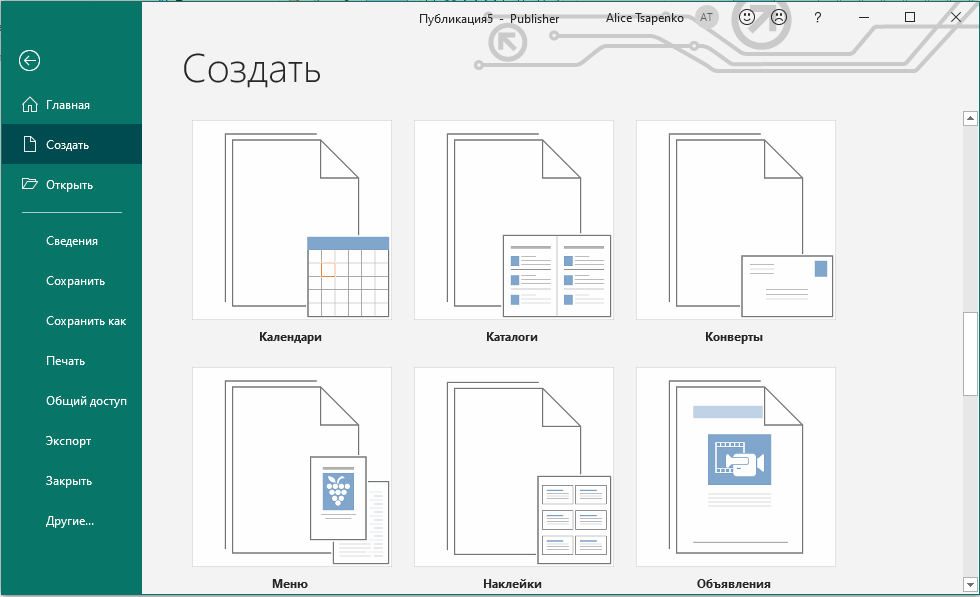
And this is by no means a complete list, given that currently, design issues in marketing are of paramount importance.
It makes it easier to have a large number of ready-made templates that allow you to start creating presentable documents with graphics, even for unprepared users.
Adding pictures and photos is as easy as in Word: you can drag and drop an image or select it from disk, resize and position, wrap text, or adjust brightness or contrast.
If, after long hours of work, you decide that the chosen template turned out to be unsuccessful, you will not have to redo the work from the very beginning: there is a wizard that allows you to migrate from one template to another as painlessly as possible.
Typing and formatting text is fine as well. Not as perfect as in Word, but quite enough not to make childish mistakes. You don’t have to worry about the color design of your work either: you have enough funds at your disposal to customize the color scheme of the publication in accordance with your wishes.
Well, let’s move on to a more detailed study of the package’s capabilities.
Create a brochure in Publisher
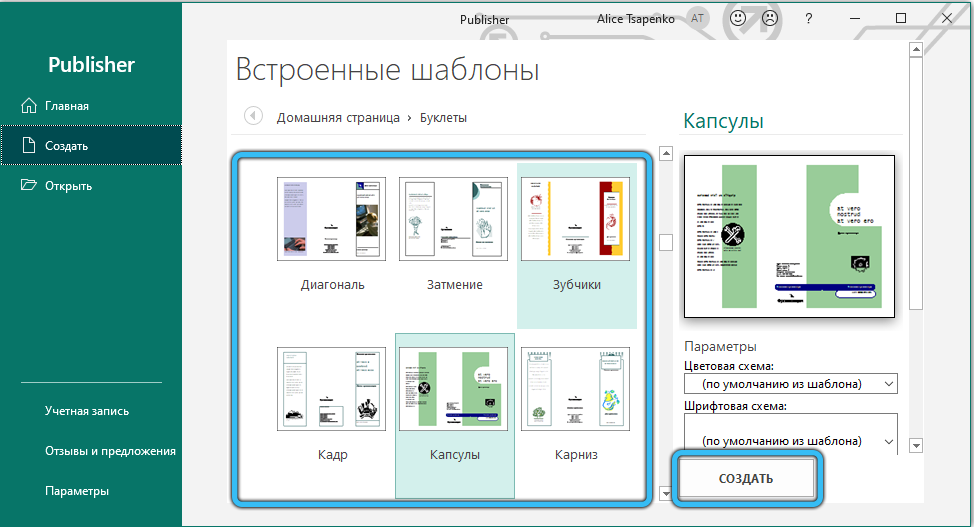
If you are a professional designer, it is obvious that using templates will not be desirable for you. But for everyone else, this is a very useful function – after all, they were created by specialists, guided by the latest achievements in the field of marketing, choosing formatting, fonts, colors and other page parameters that are most attractive to perception.
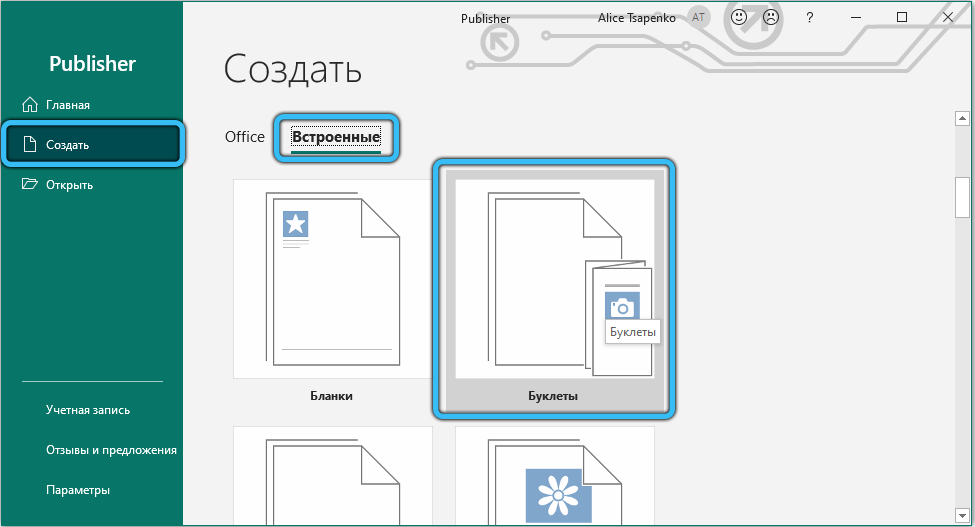
There are enough templates here, but if their number has ceased to suit you, on the Internet you can find a lot of others – professional and not so, paid and free of charge. It’s a pity that you won’t find additional templates for Publisher on the official Microsoft website, although there are plenty of them for the same PowerPoint or Word.
Having chosen a template, you don’t have to worry that during further editing you will confuse something, and the order of the pages will turn out to be incorrect.
To create a brochure in MS Publisher, you cannot do without beautifully designed headings and graphics. It is the pictures that usually form the basis of the composition of the booklet. You can use your own pictures, but you can also use pictures downloaded from the Internet. If the booklet is intended for commercial use, then you will have to reckon with the copyright.

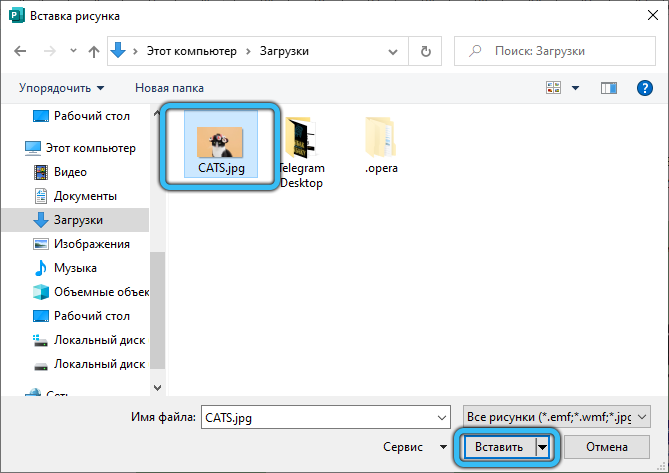
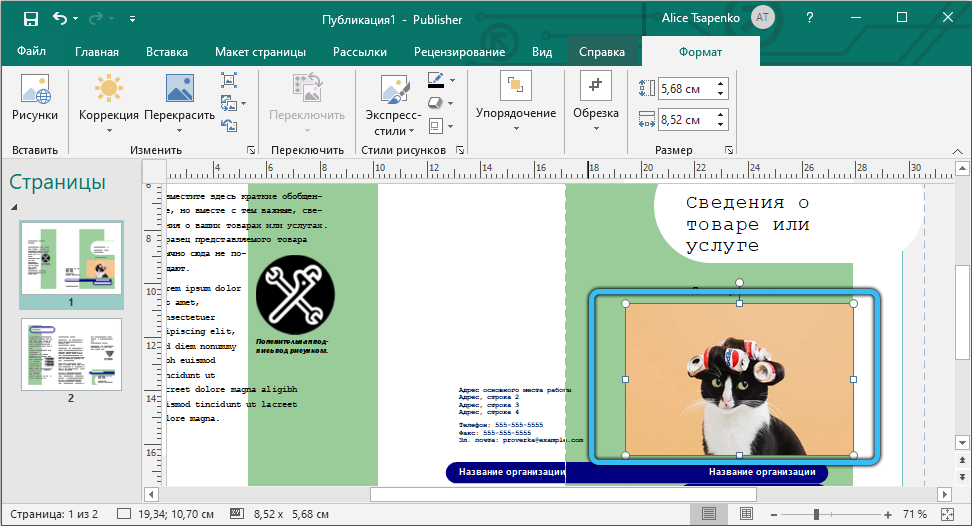
If some design elements in the template seem superfluous to you, you can delete them, and perform a variety of manipulations with the picture itself – stretch it into several strips, place it under or above the text. If you have problems, you can try using the “Clear all formatting” item, and then you will not be constrained by a specific template.

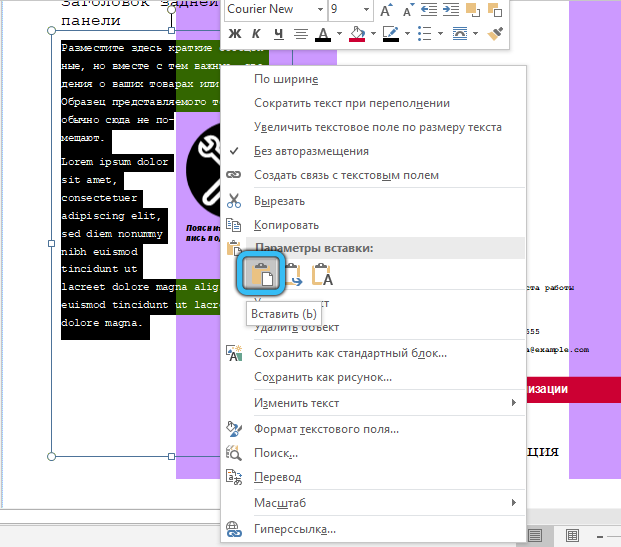
When you have placed all the necessary graphic design elements on the page, you can start typing (you can also paste it by copying). Prepare for the fact that it is possible that the text will not fit within the markup, and you will have to manipulate the font size, while some pictures may shift, or even disappear from the page altogether. To prevent this from happening, use special guides that allow you to align graphics and text.
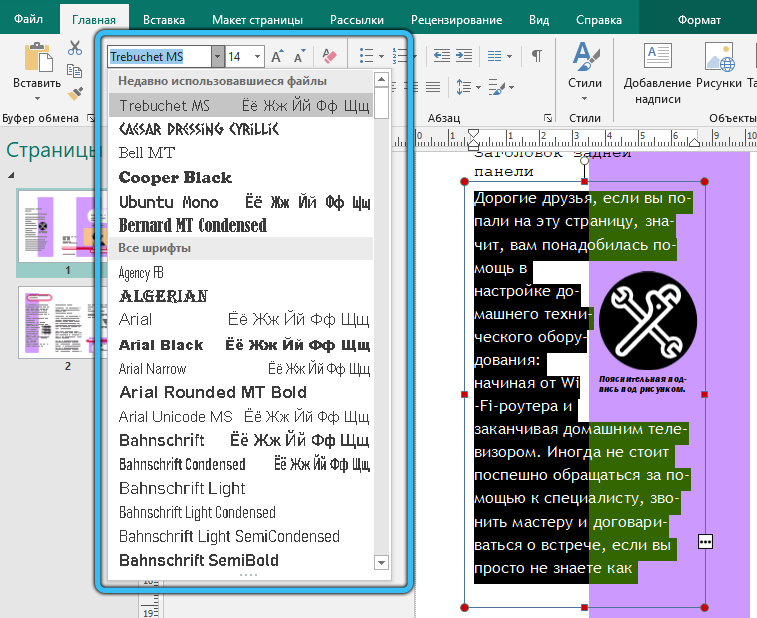
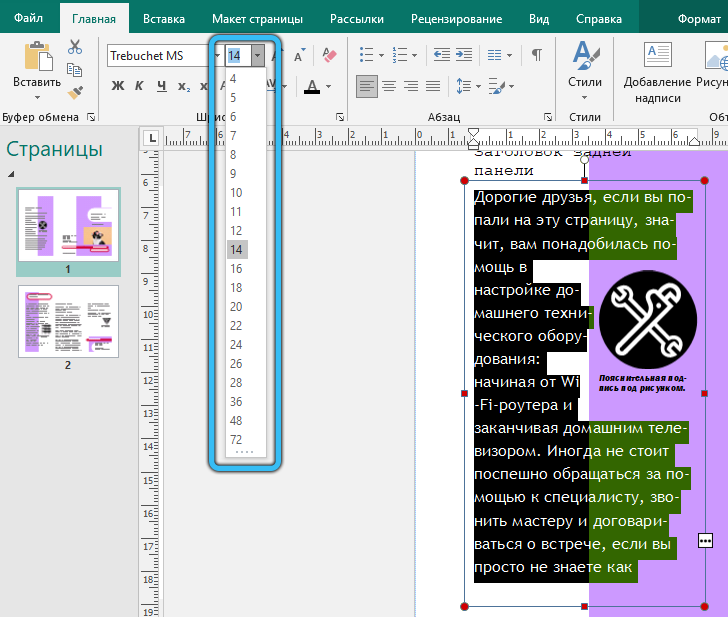
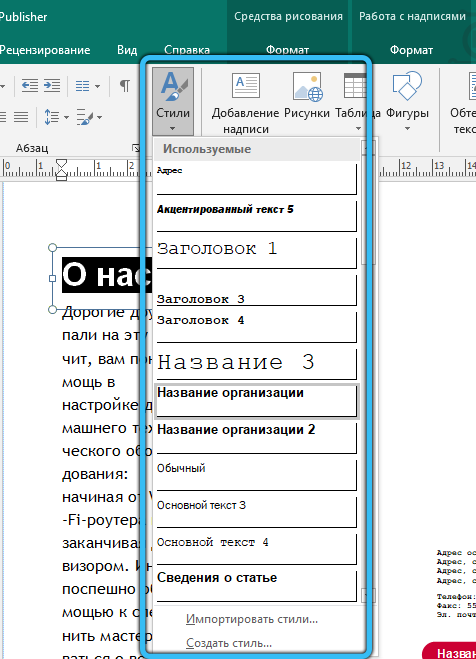
It is clear that the main design of the booklet is determined by the chosen template, but we can do some things ourselves. First, we are talking about the mutual alignment of blocks of text and graphics, of which there are several types in Publisher, and they allow you to make both components look perfect, nothing bulges anywhere and does not overlap each other.
As you can see, it is quite easy to use Microsoft Publisher to create booklets, but I would like to complete the review of the possibilities of printing the created documents. Since a booklet is rarely single-page, choose double-sided printing without worrying about the pages printed in the wrong order. The only thing to watch out for is that your printer may not be able to print on the entire page, leaving 5 mm margins, and then when creating a layout you need to select the appropriate template.

Creation of a newspaper
We are not talking about a periodical, albeit a local format, but you can try yourself as a publisher to create a faculty, school or wall newspaper for your department in the office.
Again, it’s best to start by mastering ready-made templates – all you have to do is fill it with relevant content. But if you have the strength and desire, no one forbids you to create your own templates with your own set of fonts, graphic elements, the placement of columns and lines. You just need to choose a new blank sheet of the size that suits you.
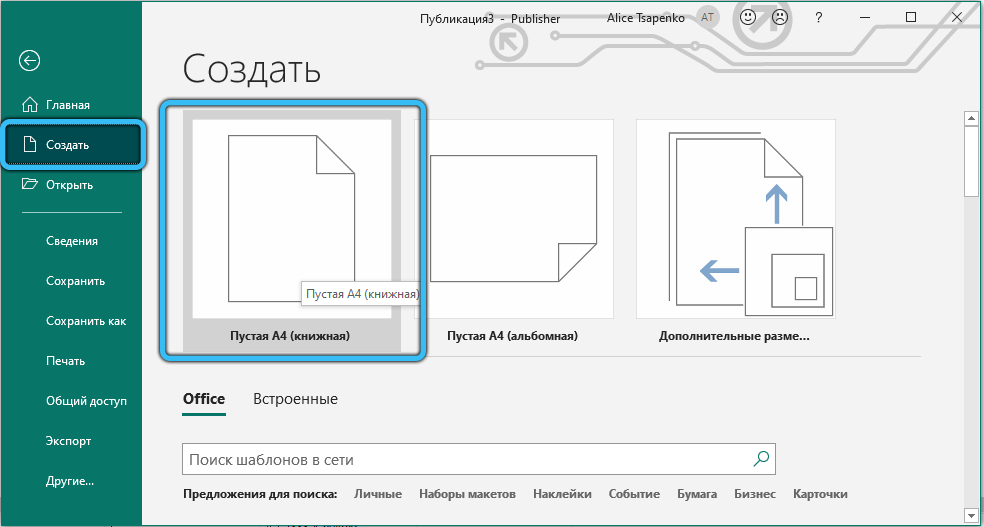
If you chose the option with a ready-made template, just fill it with text, photos, drawings. For those who prefer to create everything on their own, we offer the following instructions for creating a template on their own:
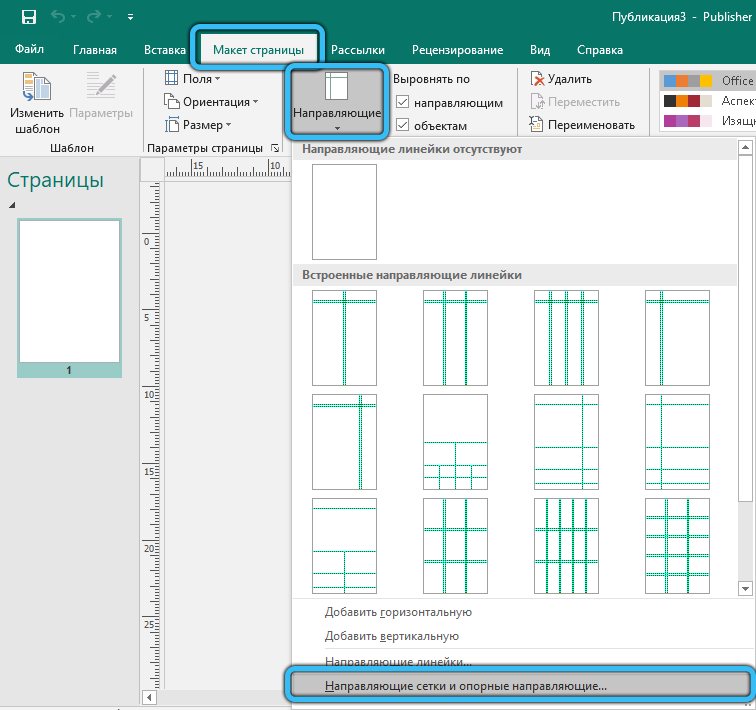
- click on the “Page Layout” tab, select the “Guides, Grids, Reference Guides” item. This will allow us to generate auxiliary markup for the symmetrical arrangement of information blocks with images and text;
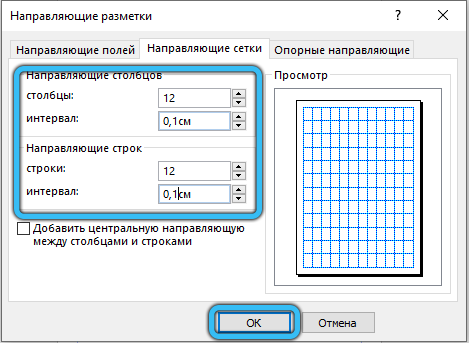
- select the “Layout guides” tab in the window of the same name, specify the page parameters – the number of columns, the distance between them, the number of lines, if necessary;
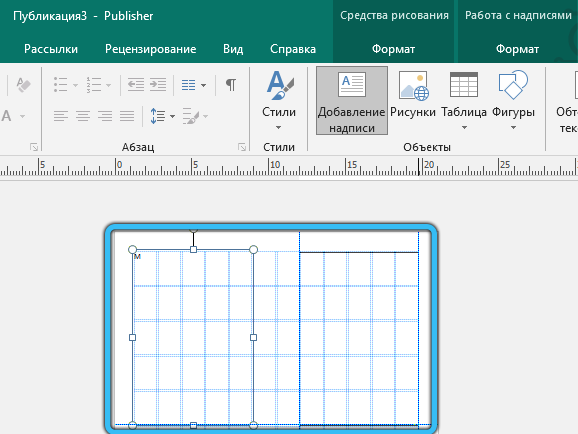
- one article does not always fit in one text block, and it is very inconvenient to insert fragments into different blocks. Therefore, the program provides the ability to link several blocks into a single whole, but first we need to place them on the page, indicating also the place for the headers – this also requires a separate block;
- blocks can be stretched using previously prepared guides. To do this, click on the “Insert” tab and then select the “Draw signature” item;

- when our first text block is ready, select it and click on the “Format” tab, in which we are interested in the “Create Link” parameter. We will be asked to indicate the second text block, which will be logically related to the current one. If the typed text does not fit into the first block, it will automatically be transferred to the linked block.

By this principle, you can create templates of any form you like, which you can fill with fresh content at a given frequency and distribute the newspaper in print or electronic form.
Office workers and students are often faced with the need to create a variety of informational content, and if such materials are presented in the form of neat, structured and beautifully designed newsletters, this will contribute to their easier perception.
Let’s consider a simple algorithm on how to correctly create and fill such a newsletter:
- after launching the program, we will be prompted to select a publication from the list. We select the item “Bulletins”;
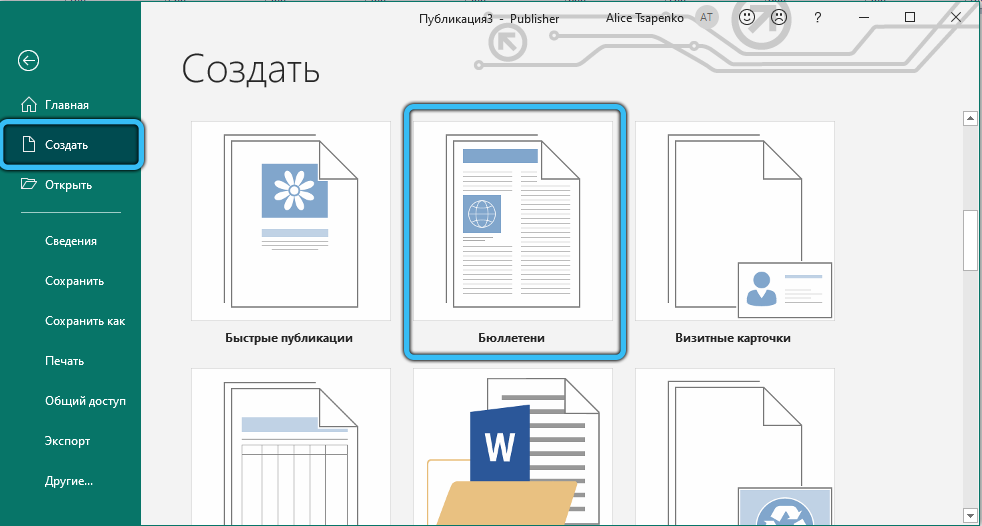
- now it’s up to you to choose a template, although you can create your own if you wish;
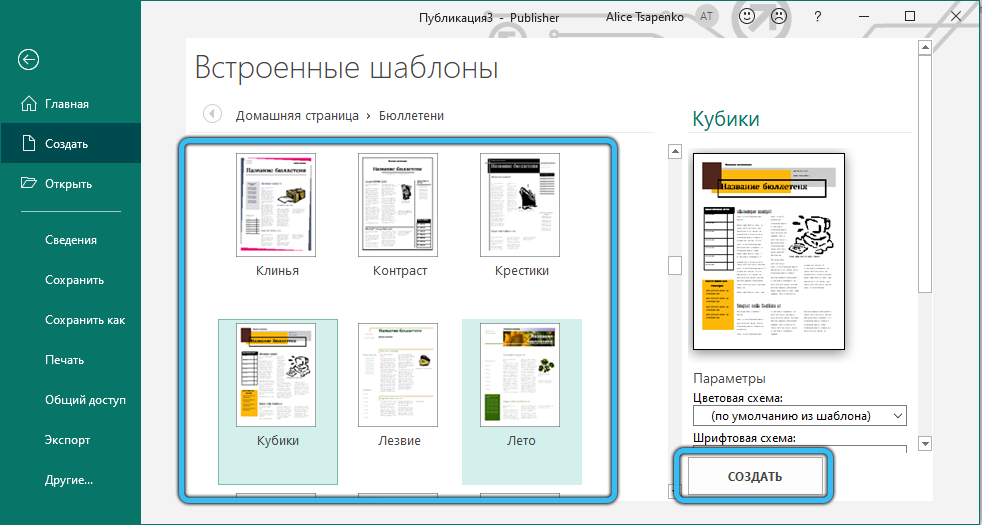
- a marked-up page will appear, in which you can select individual blocks and adjust them to fit your needs – change the size, choose a different font, formatting method, color scheme;
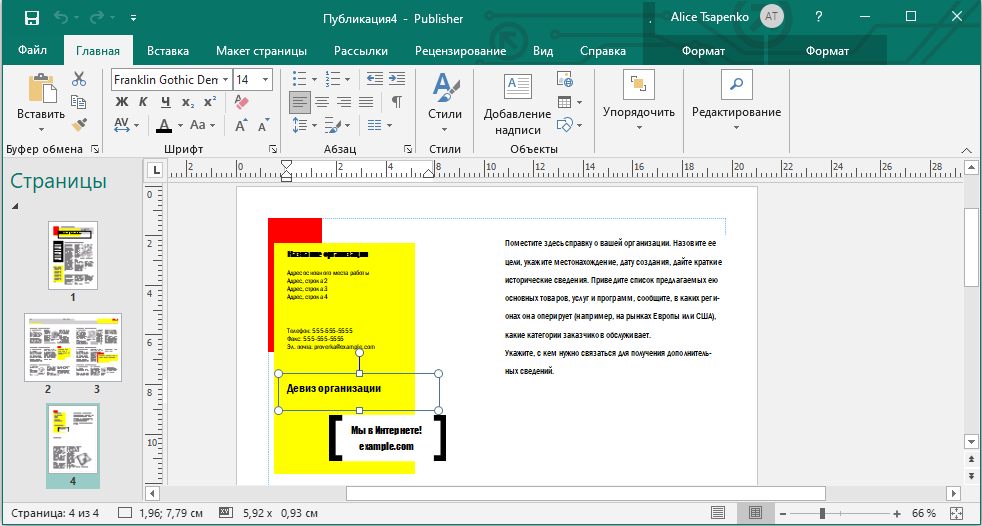
- now you can add your own content to the block – text along with images;
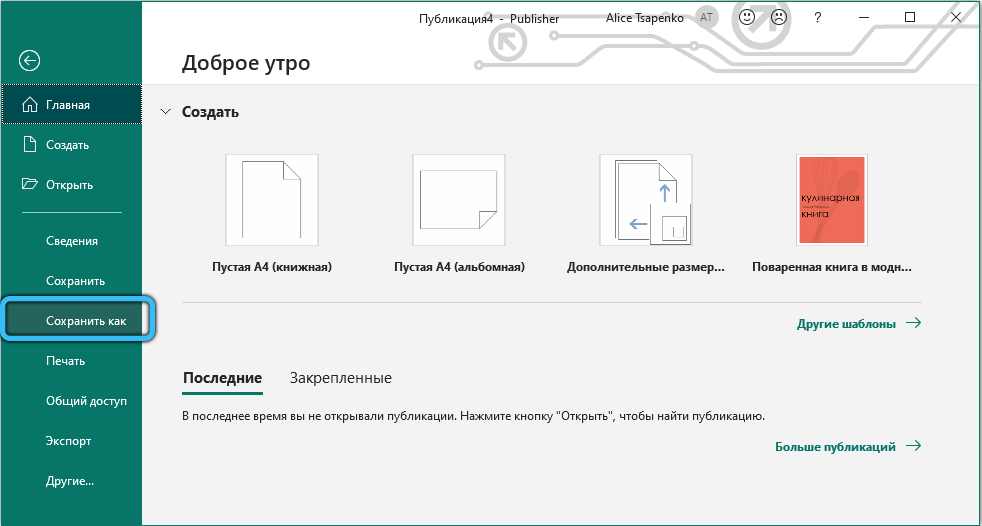
- we do the same with other blocks, if necessary. Do not forget to save all the work done from time to time by clicking the “Save As …” button;
- if you plan to place in the newsletter not one material, but several, the titles of the articles, according to the rules of competent work in Publisher, must be entered into a special template-table. If the direction of the newsletter is not multivariate, this table can be simply deleted by highlighting the template with the cursor and then clicking on the Delete button on the keyboard;
- we finish creating the newsletter by saving it on the desktop or in the working folder.
How to create a brochure
The best format for creating various advertising materials is a brochure with a ready-made logo of your company and all the necessary details saved in the template.
If such a brochure is being made for the first time, an approximate algorithm for its creation will look something like this:
- after starting the program and clicking the “New file” button, you need to select the “Bulletin” item in the “Types of publications” tab;
- now you need to choose the most suitable template from the list of available ones, grouped into several general categories;
- an editing window will appear in the right pane, where you can apply formatting to the selected block to your liking – change the font style or size, color scheme, add page numbers or a header;
- now we fill the brochure with content – advertising text and images;
- before publishing, you can view the first and second pages of the document in a schematic form, and, if desired, perform some simple manipulations with the contents of the blocks, such as copying or moving to another place;
- the finished brochure can be printed by choosing single or multi-page printing, depending on the amount of material created. Note that most of the templates are targeted at 8.5×11 paper sizes.
Again, if you create your own template, save it under an original name so that you can easily find it.
How to make a calendar
Calendar is perhaps the most complex type of publication you can create with Microsoft Publisher. But even if you do not have the skills to create such materials, you can create a colorful calendar using any suitable images, from photos of your loved ones (children, grandchildren) to topics that are close to you (sports, models, cars, favorite actors, collecting, etc. .).
Let’s take a look at the step-by-step instructions for creating a calendar “from scratch”:
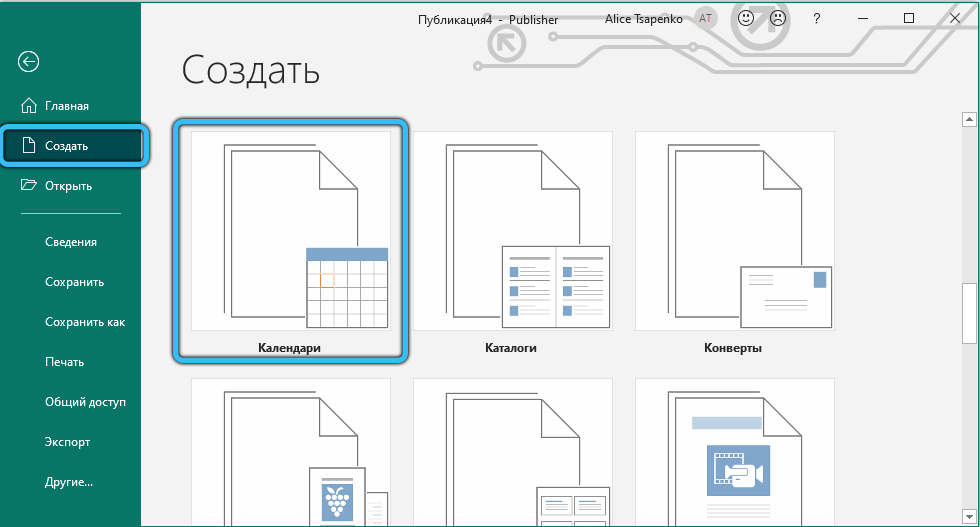
- start the program, click on the “New file” button, select “Calendar” in the “publication types” tab. If you are using a package from Office 2003, go to the Popular Template Categories tab to select a template;
- choose the type of the future calendar depending on its size. To see how the calendar page of the selected template will look like, click on the “Options” button – the calendar diagram will be displayed in the upper right corner of the monitor. Double click on this image if it suits you. If not, choose another template from the same or a different category. Remember that the name of the category is a conditional thing, it can always be adapted to suit your needs;
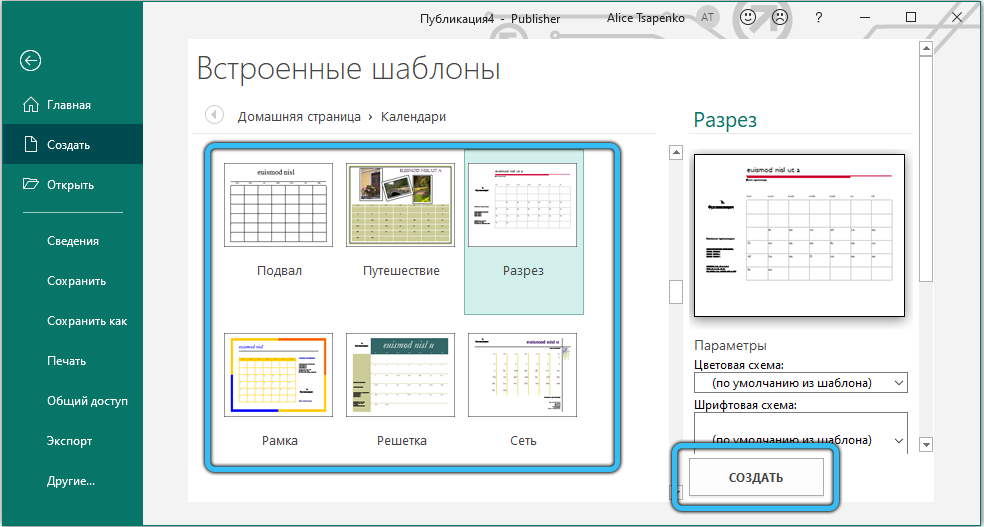
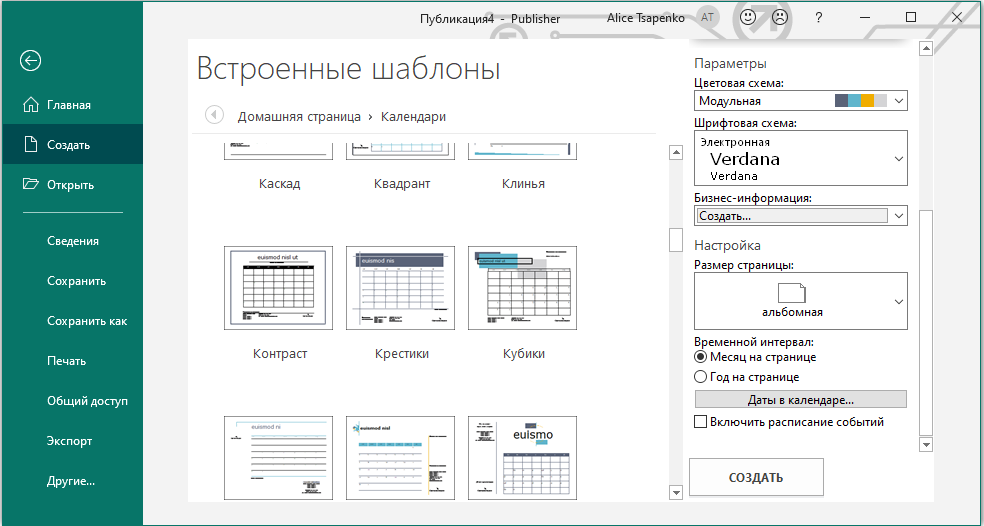
- in the Customize panel located in the main program window panel, you can adjust the font type and size, as well as the color scheme by choosing a ready-made version or by clicking the Create New button to create your own calendar design option. In any case, it is advisable to save the calendar template under a unique name in order to use it in the future;
- now you can proceed to other settings. Choose page orientation, portrait or landscape. Set the order and sequence of displaying months, if you want to mark individual days with events – this is also amenable to adjustment. If the calendar is created “from scratch” or with non-standard sizes, for this you need to add a template by clicking on the Calendar Options item located in the Format Publication panel;
- now you can start adding your own content – images and / or text.
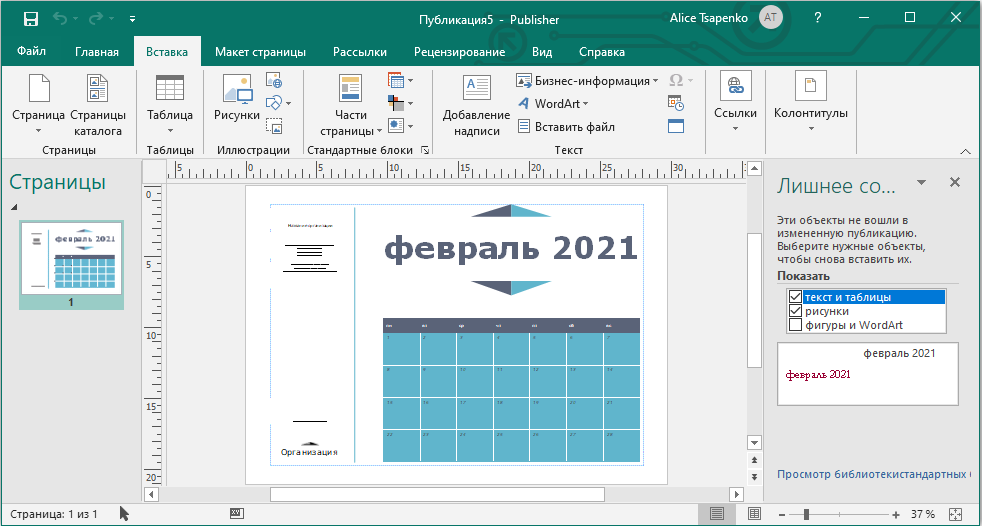
Do not forget to save the calendar itself when it is ready.
As you can see, creating publications in Microsoft Publisher is quite an exciting activity. If you use ready-made templates, then it’s not difficult, but in order to individualize the created document, you will have to try, how can you do without it …