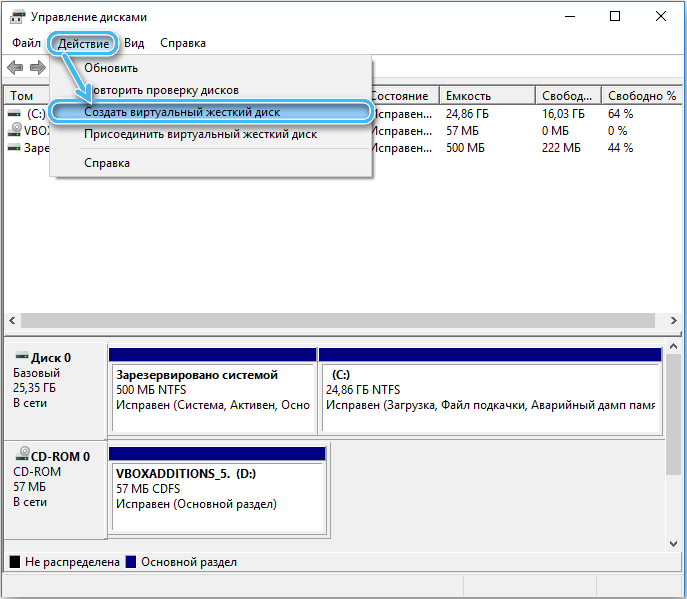
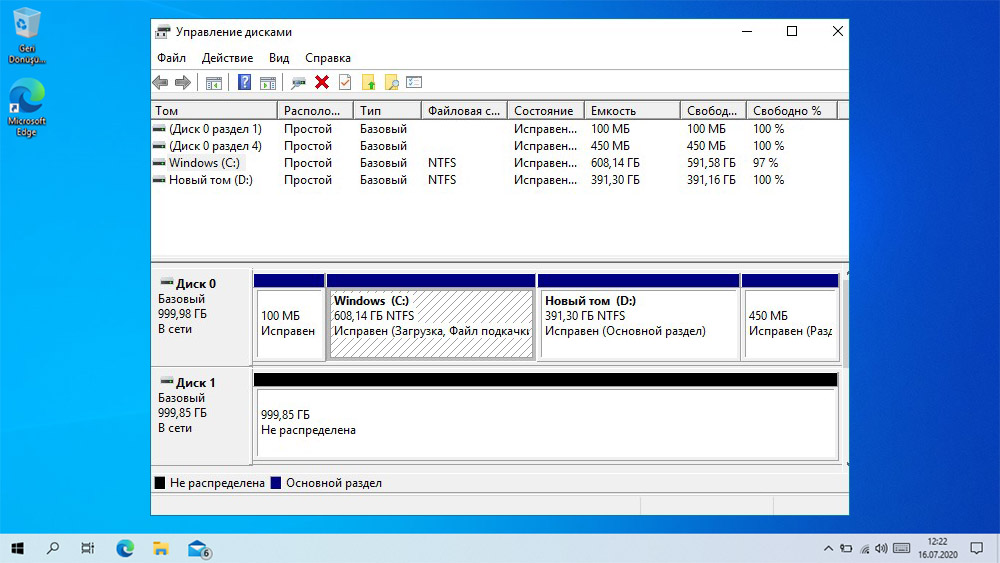
Comfortable work on a computer often requires proper configuration of the drives installed in the system. And to make it easier for users, the developers of the Windows 10 operating system have provided a convenient built-in Disk Management utility with an impressive set of functions. Consider how you can open this program and what features it has.
Contents
Ways to start “Disk Management”
In the Windows 10 operating system, almost all programs can be launched in several ways. This also applies to the Disk Management utility, which can be called up using several algorithms. The user can consider all methods and choose the most suitable one for himself.
Search
Windows 10, unlike earlier versions of Microsoft’s operating system, has a very useful built-in search feature. With its help, you can find almost any program or utility installed on the system.
You must click the magnifying glass button on the taskbar or use the key combination “WIN + S”. In the window that opens, enter the name of the utility or the special command diskmgmt.msc.
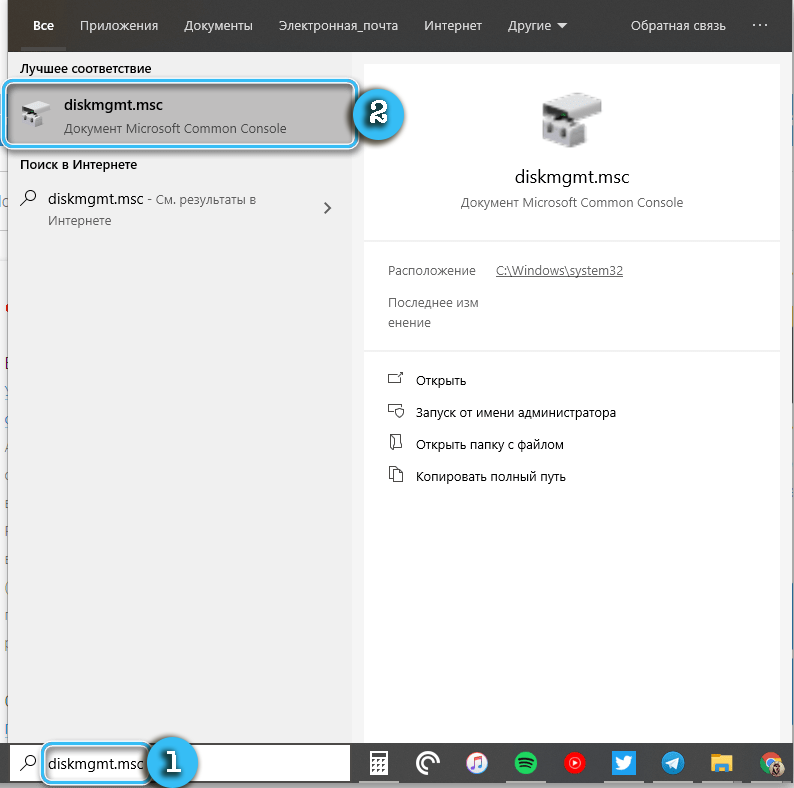
The search result will immediately appear in the window. To launch an application, simply click on it with the left mouse button.
Using Run Commands
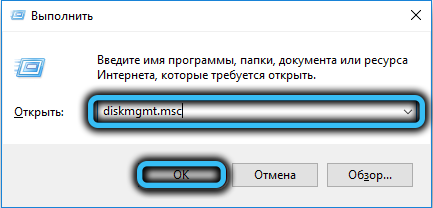
When using the built-in search in the operating system, the above command is used. It will also help if you want to run the procedure of interest through the “Run” window.
Procedure:
- Press the WIN+R keys on your keyboard to bring up the Run window.
- In the window that opens, enter the diskmgmt.msc command.
- Press the ENTER key to open the utility of interest.
As a result, it will be possible to quickly get access to the settings of interest, bypassing standard shortcuts, links, and similar elements.
Via Command Line
The command line in the Windows 10 operating system is most often used to launch fairly complex processes that are not required for the average user. However, the functionality of this program is also suitable for opening the settings sections of interest.
Algorithm:
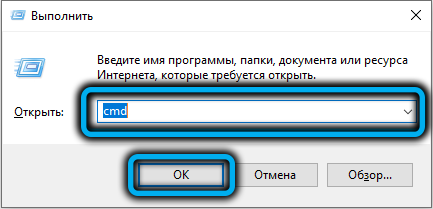
- Open the Run window using the WIN+R keys.
- In the window, enter the cmd command and confirm the request with the ENTER key.
- In the Command Prompt that opens, enter the standard diskmgmt.msc command and press ENTER again.
PowerShell utility
PowerShell is a slightly more technological and advanced utility, which is an analogue of the standard Command Prompt in the Windows operating system. It provides support for almost all console commands, so the process is not much different from those described above.
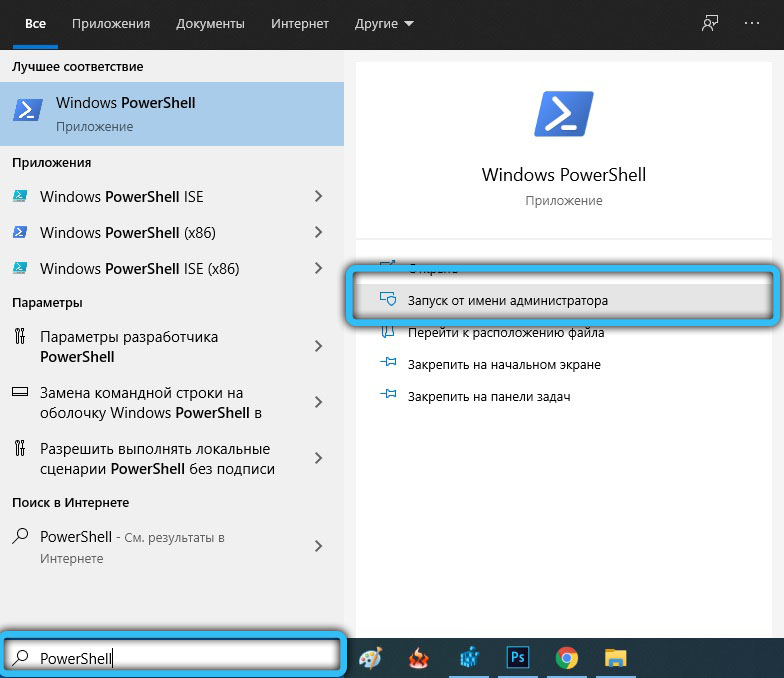
You need to launch the PowerShell application by searching for it using the built-in search. Next, the diskmgmt.msc command is entered, and the actions are confirmed with the ENTER key.

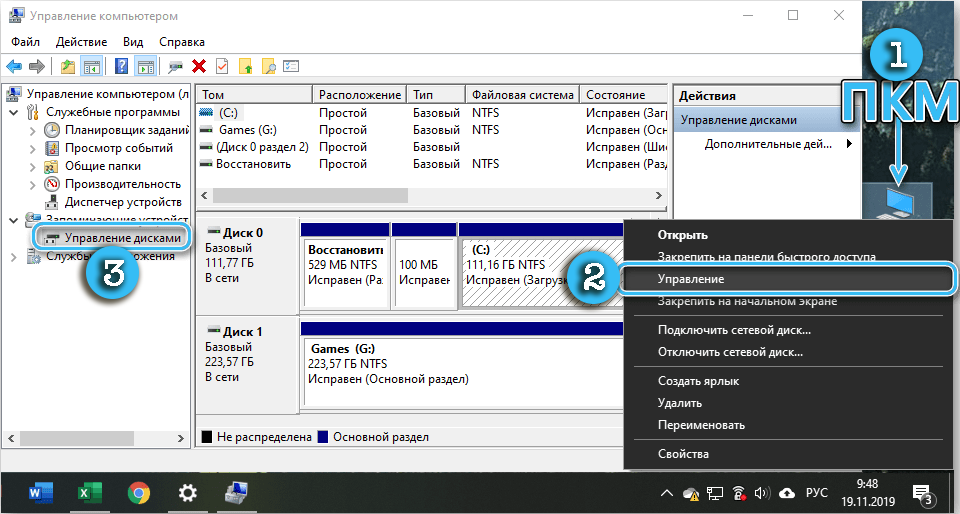
In the Windows 10 operating system, the “This PC” shortcut is responsible for accessing “Explorer” and the list of installed drives. Usually it is placed on the desktop for everyone’s convenience.
You need to right-click on this shortcut, and then select “Manage” from the context menu. This action will launch a special “Computer Management” shell, inside which you will be able to find the necessary utility for configuring disks. You just need to select it on the panel located on the side and click the mouse.
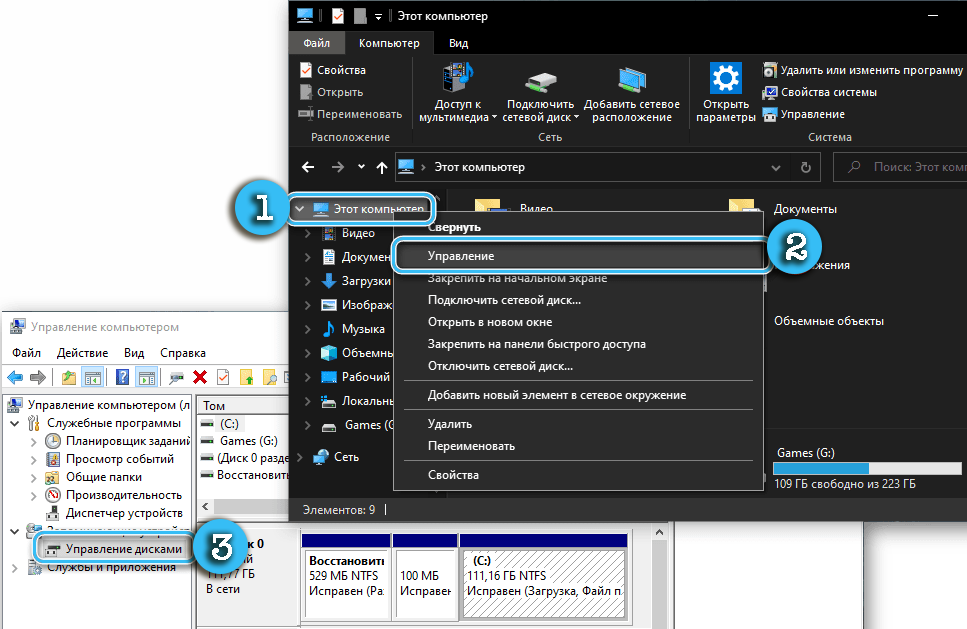
It is worth noting that the default settings do not include a “This PC” shortcut on the desktop. This may cause some difficulty. In this case, you need to open the “Explorer” (WIN + E) and go to the “This PC” section in it. Then it remains just to repeat the operation with the context menu, but for the item in the “explorer”.
Computer Management settings
The disk setup program can be found without problems in the general settings panel “Computer Management”. To do this, do the following:
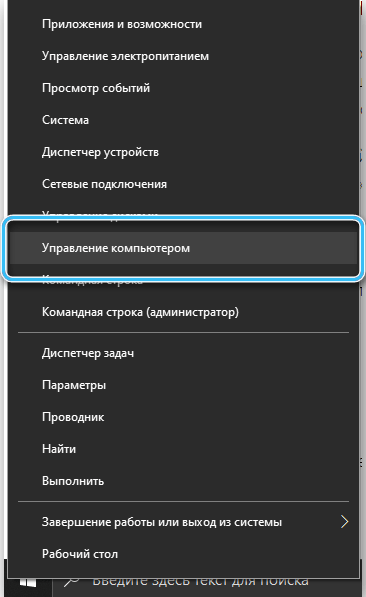
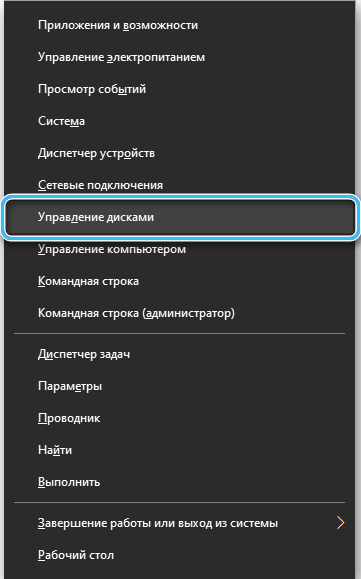
- Press the Win + X keys to open the corresponding menu.
- Inspect the window and find the item “Disk Management” in it.
- Click on it with the left mouse button.
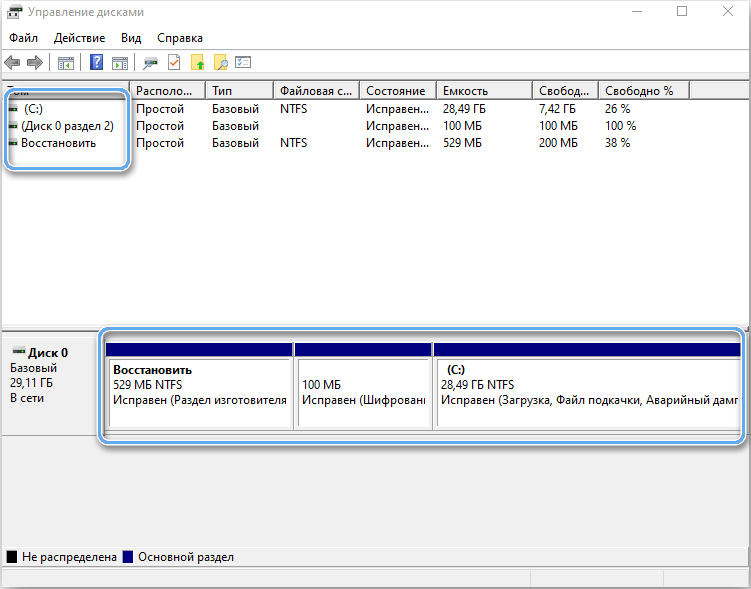
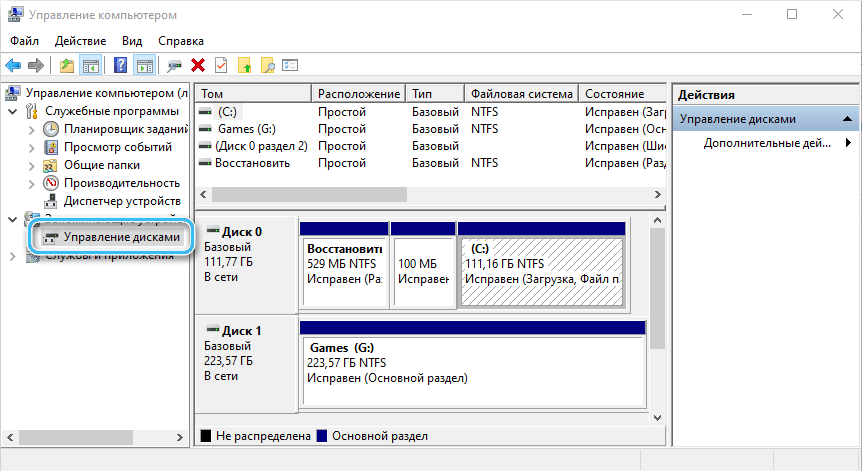
A program should appear that is responsible for configuring installed drives, managing volumes, and formatting.
The Computer Management menu can also be found in the right-click context menu when clicking on the Start button.
The “Start” button in the operating system is responsible for a lot of functions and allows you to access almost all tools without unnecessary manipulation. By right-clicking on it, you can see the “Disk Management” item in the context menu. It remains only to click on it and open the equipment of interest.
What to do if “Disk Management” does not open
Most often, using at least one of the described methods accurately allows you to access the set of settings of interest. But if nothing has given the desired results, it is worth taking a closer look at some aspects of access.
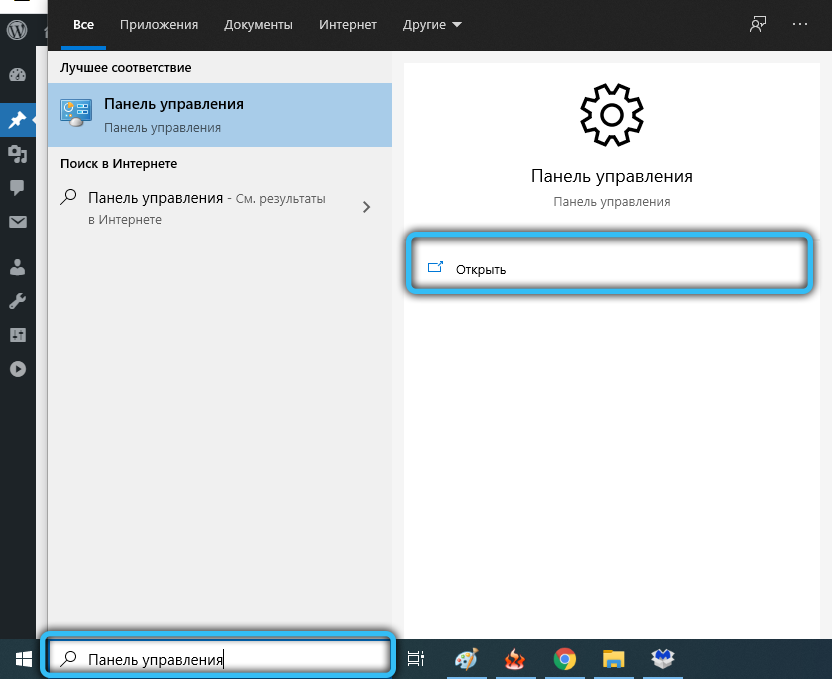
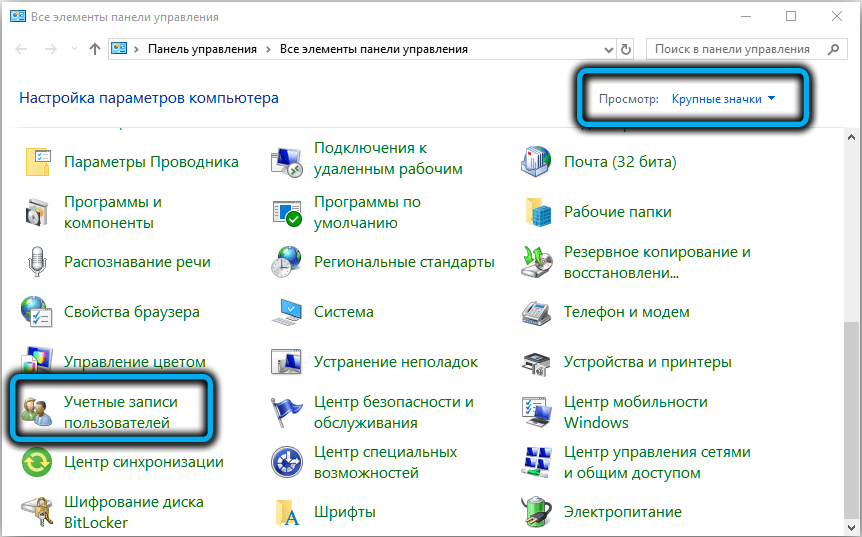
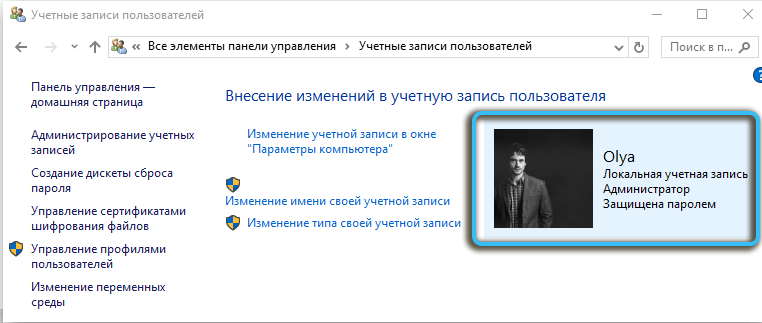
In particular, you need to check the rights of the account you are using. The full set of settings is available only to the administrator, while ordinary users and guests have very limited debugging options. As a result, when trying to open Disk Management, the user encounters an access denied message.
In rare cases, even with administrator rights, difficulties may arise. Here it is advisable to download specialized software from third-party developers to your computer and take advantage of its capabilities. Many such programs not only completely repeat the functionality of the standard utility, but also significantly exceed it.
Utility functionality
The built-in Disk Management program opens up a lot of options for the user to configure installed drives and partitions. Among the main functions of the utility are:
- display of all physical and virtual drives;
- adding partitions to the installed disk;
- changing existing volumes;
- merging sections;
- creating new virtual volumes for various tasks;
- accurate display of data on occupied and free disk space;
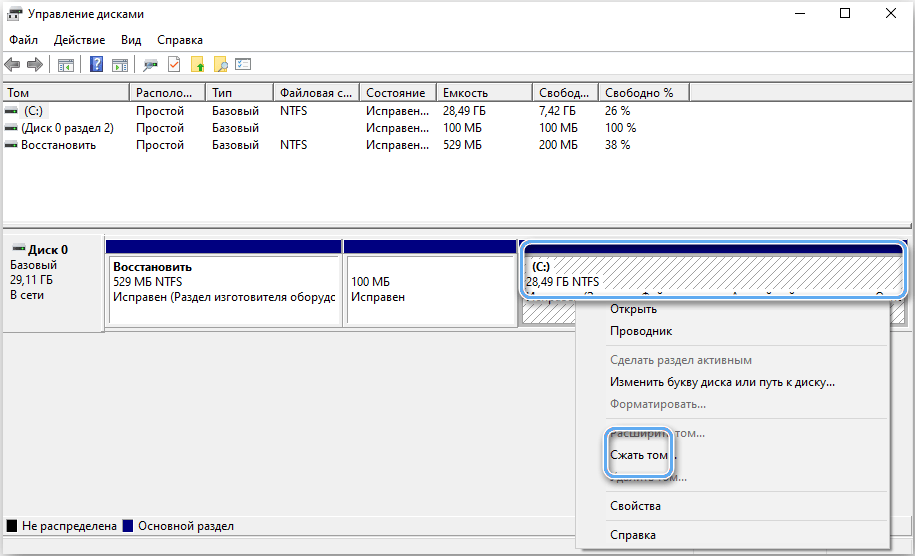
- expanding and shrinking volumes, depending on the user’s goals.
Checking disks for errors
The most important option of the program is a tool for checking installed disks and partitions for errors. This prevents very serious damage and avoids the loss of valuable data.
How to check the drive in Disk Management:
- Open the utility and wait until it automatically performs a quick disk check for serious errors.
- Select the desired partition and click on “Recheck Disk”.
- Wait for the results of a more thorough analysis.
Based on the results obtained, the user can monitor the “health” of their drives and plan their replacement depending on wear or possible defects.
Volume management
“Disk Management”, among other things, also allows you to conveniently manage drive volumes, resize them, add or delete them.
To create a new partition, just select an unallocated area on the disk directly in the program and right-click on it. In the context menu, select the “Create a simple volume …” item. Next, the size of the new partition and its letter designation are indicated. The symbol used must not match the names of other discs that exist on the computer.
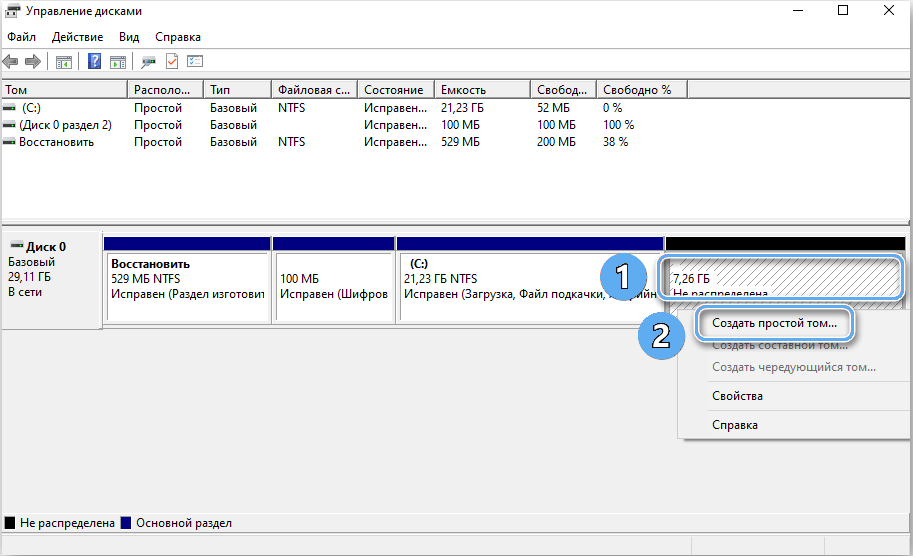
NTFS is the most commonly used file system today because it has no file size limits. All other settings can be left as default. Next, you need to confirm the operation and wait for the creation of a new volume.
Also in the program, you can expand and compress existing sections. The extension is possible only if there is an unallocated area on the disk. The corresponding commands “Expand volume …” and “Compress volume …” are responsible for resizing.
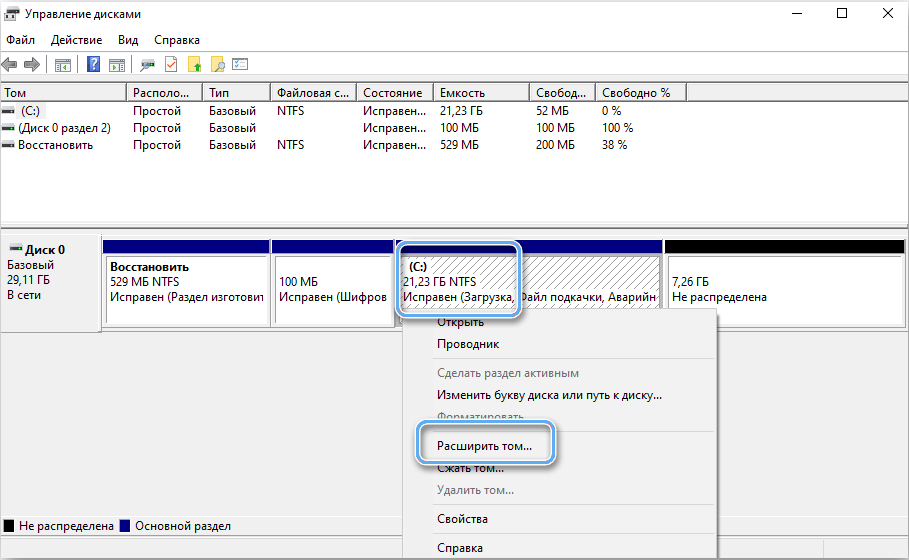
The Disk Management program in the Windows 10 operating system provides users with all the necessary functionality to debug drives and ensure the most suitable operating conditions. It has a very clear interface and is accessible even to beginners. It can be easily accessed at any time using one of the many methods.
