Here we are going to show you, step by step:
- how to make a standard touch pen
- how to make a fine point digital pencil.
We are going to give you the list of materials and photos of each step .
Enjoy it, let’s get started …
Contents
How to make a standard stylus
Android devices allow us to perform any type of task with our fingertips.
When it is necessary to carry out more precise work, such as an artistic drawing or a plan, we immediately notice that our fingers hinder the task, due to its thickness.
This is the reason why a wide variety of touch pens specially designed for use in touch screens are marketed on the market.
There are different types of stylus since the material used to build a digital pen for a capacitive screen is not the same as one for a resistive screen.
The truth is that in the case of resistive screens, due to the technology of this type of display, we can use on it any plastic object that we have at hand, and even a mechanical pencil with a metal tip, since these screens respond without drawbacks to this type of materials.
Capacitive screens need special materials that carry electricity, in order to respond correctly to instructions given through a stylus.
Without a doubt, if we do not have a touch pen for our tablet or our Android smartphone, we will immediately notice that our possibilities of interaction are limited since ultimately the stylus allows us to increase the user experience.
Well, if you want to enjoy the possibilities offered by a touch pen on the capacitive screen of your Android device, here we bring you a homemade stylus manufacturing method, which is practically free and that you can manufacture in a few minutes.
Materials to make homemade touch pen
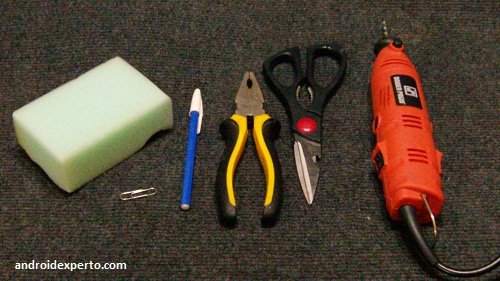
- A pen.
- A clip.
- A sponge. It should be noted that any sponge can be used, but we must always test it on the screen before starting with the manufacture of the stylus.
- A scissors
- A clamp.
Steps for manufacturing
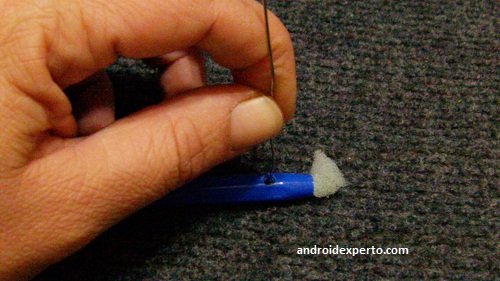
1. The first thing to do is cut out a small piece of sponge, trying to give it a shape that ends in a rounded point.
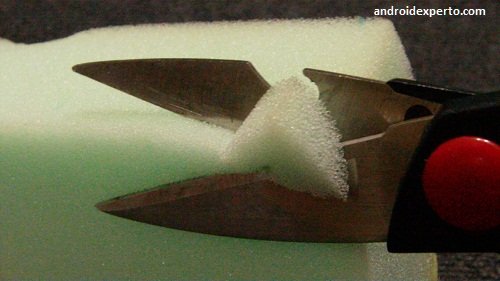
Keep in mind that we are going to have to insert it into the pen, so we must make sure that it is a small enough piece to enter, and at the same time thick enough so that it is tight and does not come loose.
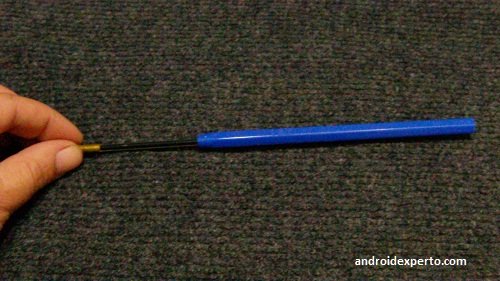
2. Then we take the pen and remove the ink tank and the tip, but we do not discard it, since we will use it later.
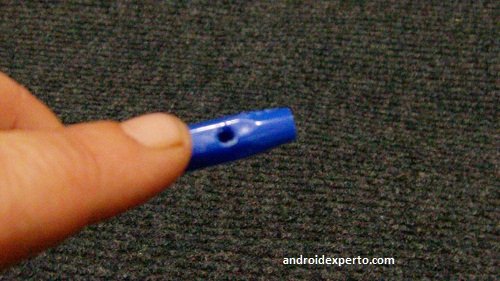
3. Very carefully, we will drill a hole near the tip of the pen, which is recommended to do with a low speed hole punch and a small bit or using a mini-screw.
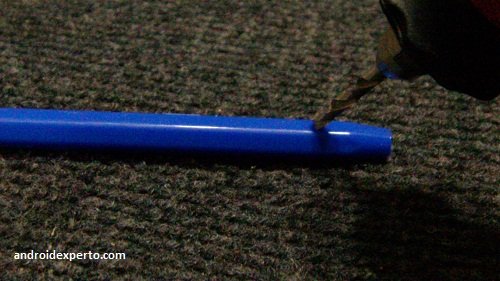
It can also be pierced with a large sewing needle heated over a fire or even an awl. The important thing is to do it with patience and great care, and bearing in mind that the hole must be large enough so that the clip can be inserted into it.
4. The next step will be to insert the sponge into the pen, pushing until it protrudes a little at the tip. The sponge should be just slightly damp to be able to do the job without breaking. It is recommended to use the cartridge that we removed from the pen to be able to place the sponge properly.
5. The next step will be to insert the clip, previously stretched, through the hole of the pen, until it makes contact with the sponge.
6. Once the click is in contact with the sponge, we screw the rest of the wire around the pen.
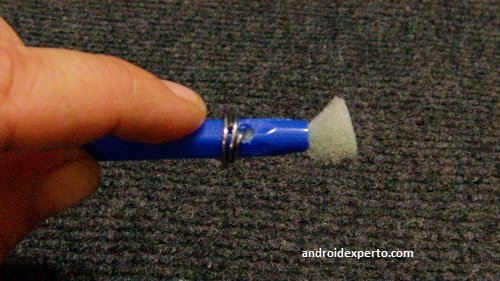
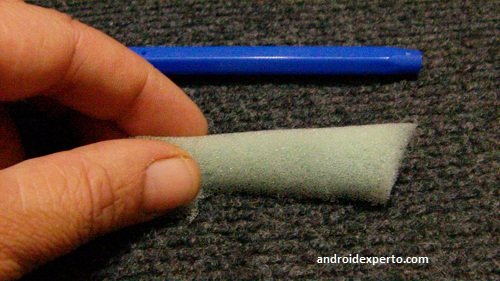
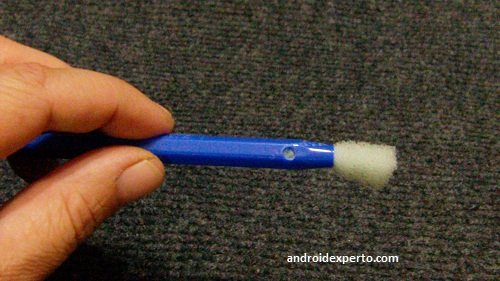
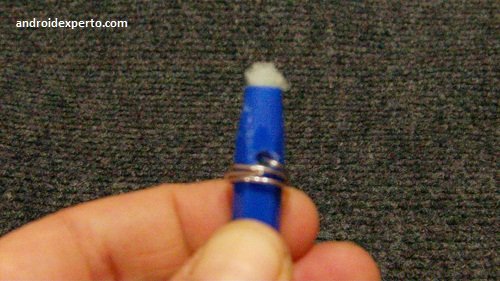
7. Finally, we round the tip of the sponge with a pair of scissors, so that it is as seen in the following image.
It is important to bear in mind that for the digital pen to work it is necessary for our fingers to be in contact with the clip screwed on the pen, since the wire is in charge of carrying the electrical charge through the sponge to the screen.
Also, the sponge should always be minimally damp, as the stylus will not work if the sponge is completely dry.
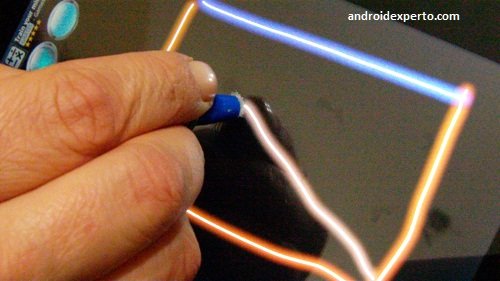
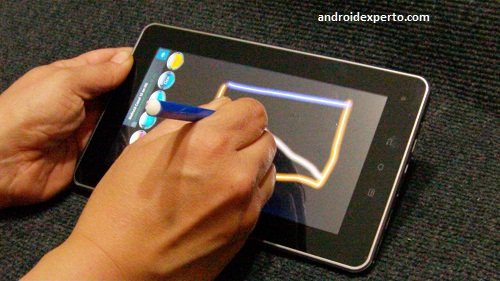
Now we can start enjoying our homemade stylus.
How to make a homemade fine point cell phone pencil
In this part of the article, we will learn to make ourselves at home, with our own hands and with few materials, a touch pen to use with cell phones, tablets and any other type of capacitive screen.
We will be able to do it with really very cheap materials, which we can find practically in any house.
The result of this adventure will allow us to have a fully functional fine-tipped touch pen for cell phones that is compatible with practically any screen with which we use it.
Before starting, we must meet with the necessary materials, which as we mentioned are really inexpensive, as well as the tools that we will use.
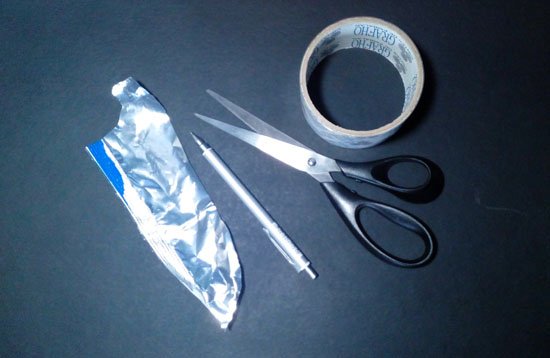
The materials that we will need to make our fine point stylus are:
- 1 wrapper for potato chips, cookies, or any other edible, as long as the wrapper looks like metal.
- 1 mechanical pencil that we no longer use at all, since we are going to modify it to make the touch pen.
- Scissors or cutter also called Trichet or cutting.
- Masking tape also called thick “Scotch”.
Once we have the necessary materials and tools, let’s start with the procedure, which is very easy to carry out.
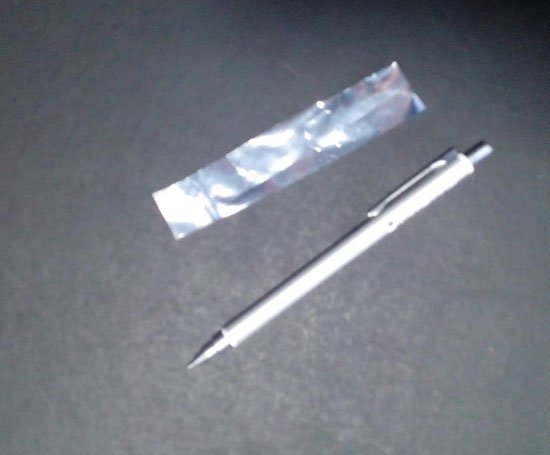
Step 1
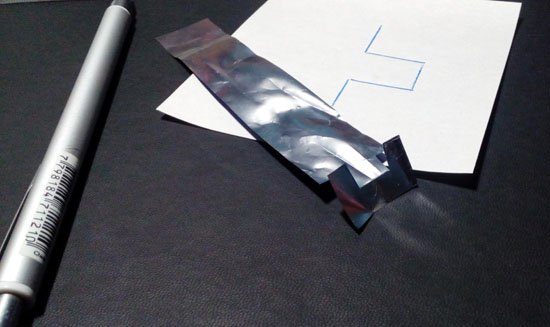
We take the wrapper, but not before cleaning it to remove any oil or grease residue. After that, we cut a part of it, making a rectangle not too thick, but with the length of the mechanical pencil that we are going to use as a base for our touch pen.
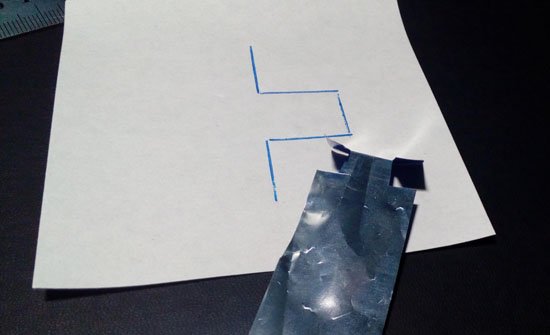
Step 2
Next, we make a few small cuts in the bottom of the wrapping material we just cut, as shown in the image below.
Step 3
After that, we cover the cut we just made with adhesive tape, as shown in the image.
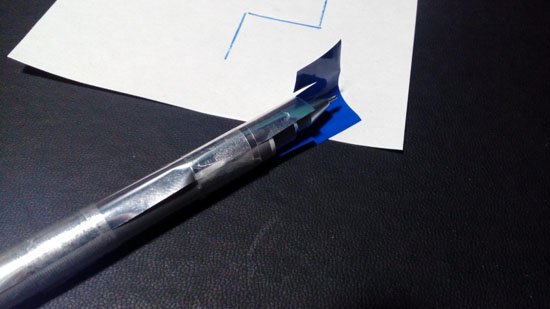
Step 4
To finish, we place the mechanical pencil that we are going to use to make our fine- tipped touch pen inside the envelope that we have just made, and we fasten it with adhesive tape, trying to leave some free sections so that our skin makes contact with the surface of the envelope.
Considerations
The precision of the fine-tipped stylus we just made will largely depend on the quality of the screen on which the stylus will be used. This means that in certain models it will work better than in others.
More info … What is an active stylus?
Those with some years of experience in computing and mobile devices will surely agree that the technology of touch screens used in tablets and cell phones has advanced to a point where it is not necessary to use a touch pen to use the options and characteristics of a device.
In other words, the screens are sensitive enough to allow us to operate them with a more than optimal level of comfort and security without having to use any external implements for it; only our fingers are necessary.
However, there are certain applications in which we could obtain some advantages by using a stylus. But despite having advanced all the technology around tablets and cell phones, the truth is that most of the touch pens that we can find in the market do not even dream of being a pleasant experience of use.
As we know, before the appearance of capacitive screens, the devices had screens called “Resistive”, which had to be used by means of some type of touch pen to be able to obtain the maximum benefit, since we had to press the screen so that the actions take effect. Thus, practically anything could be used to operate them.
This has now changed a lot thanks to the aforementioned capacitive screens, which use a completely different operating procedure than resistive screens: capacitive screens respond to electrical stimuli, such as those provided by our fingers, thanks to which today We can even use a screen with several fingers at the same time, which allows us, for example, to use gestures to activate certain functions of the device. Without being very suspicious, we could say that this fact ruled the death of the touch pens or stylus.
However, there is still a wide market for touch pens, which are used in a wide range of implementations. But unfortunately as we mentioned above, the experience of using this type of stylus is disappointing most of the time.
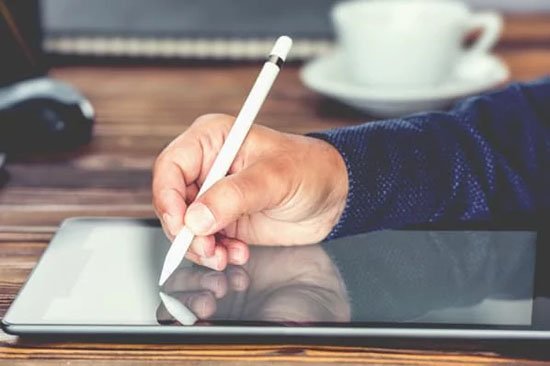
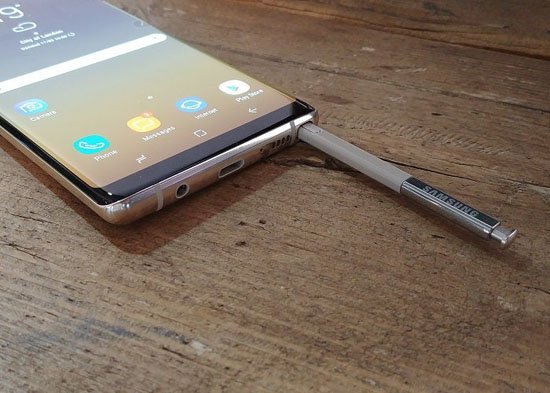
On the other hand, we have the touch pens that offer us an outstanding user experience, they are those that are integrated into certain models of tablets and cell phones, such as the iPad pencil or the SPen that comes with the Galaxy Note. But these pens will not work on other devices as they are designed to be dependent on a certain technology installed in the accompanying devices.
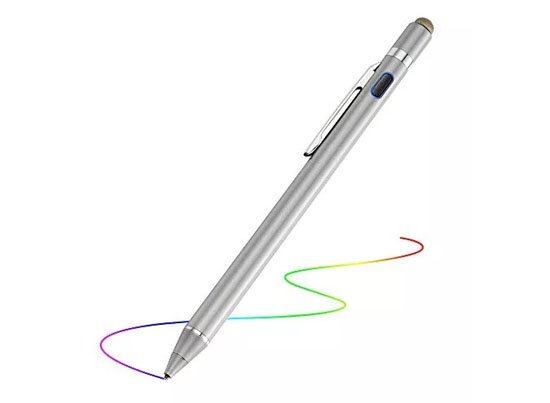
Now, if we want to have a good stylus, but we don’t have the desire or the budget to switch to the aforementioned models, we still have an option available: Active fine-tipped styluses.
This stylus technology, known as Active Stylus, already has its good time in the market, therefore they are well tested and relatively inexpensive. This type of technology is capable of providing us with good quality and precision, and although they are not comparable to touch pens such as the iPad or the SPen, the truth is that they can provide us with broad standards in most of the applications in which let’s use them.
The active stylus work with a technology that emulates the capacitive current generated by our fingers by means of a rechargeable battery, and the result is a fine-tipped stylus that is compatible with practically any cell phone or tablet screen , such as editing captures. screen or annotate PDF files.
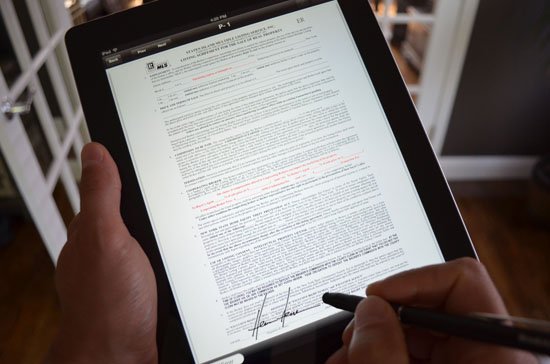
They can also be very useful if we are users of note-taking applications such as Google Keep, Evernote or OneNote. Likewise, if we are users who usually take a lot of sketches or draws, an active stylus is one of the best alternatives available to improve the relationship with our tablet or cell phone. Another point in favor of active styluses is the possibility they offer us to be able to sign digital documents.
Obviously, the list of tasks in which we can use an active stylus is much broader, it is only a matter of evaluating if we really need one, and carefully observing if what we are paying for an active stylus is really worth it to improve our skills in the tasks we do on a daily basis. That of course, is a task that the interested user has to do.