Cloud storage services are very useful, but there are few who fear for privacy. Therefore, if you usually use this service to store your images, it is easy that you have wondered how to make a private album in Google Photos .
The reality is that, in principle, Google Photos albums are themselves private . The same does not happen, for example, on Facebook, where anyone you have added as a friend has access to all your content. In the case of Google Photos, only those people to whom you have shared a link will be able to see your images. And the link only gives access to a single album, not to all the content you have on the service.
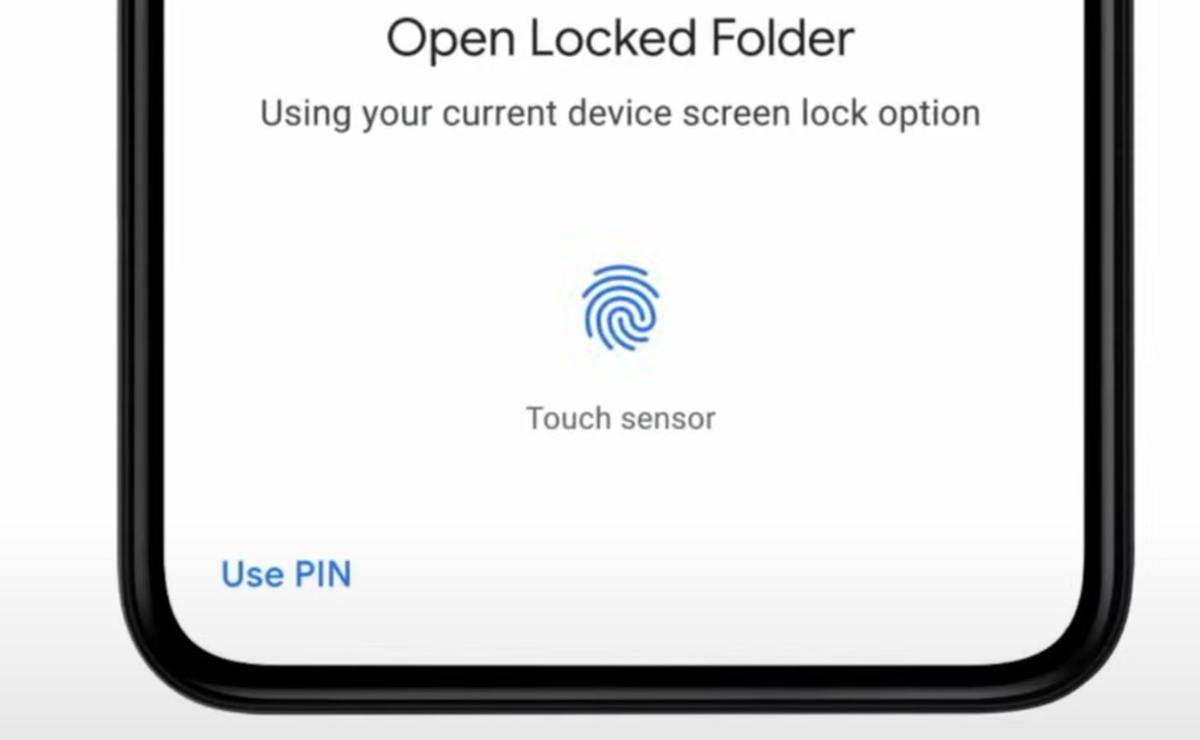
But there is also the possibility that what worries you is that someone can take your mobile and see all the images you have. If you want to avoid it, what you need is to create a private folder . In this process, which we will explain below, what you do is set a password or a fingerprint lock so that only you can access a specific album.

HOW TO PUT PASSWORD IN GOOGLE PHOTOS
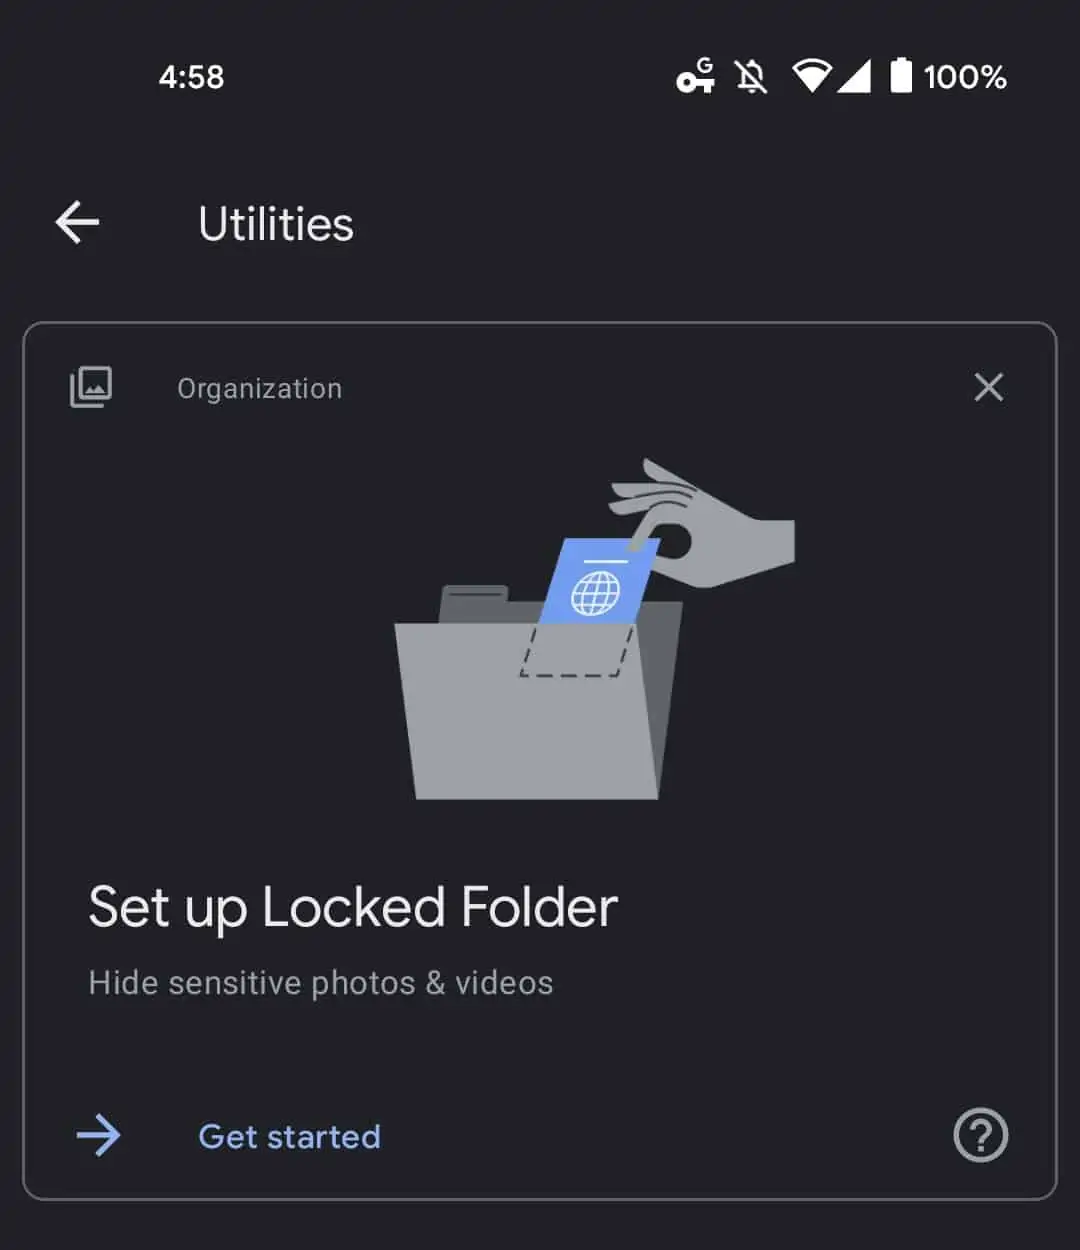
If you consider how to put a password in Google Photos, what you need, as we have mentioned, is to create a private folder. To have the private folder active in this application and that only you can access its content, the steps to follow are the following:
- Open Google Photos
- Enter Library
- Click on Utilities
- Enter Private Folder
- Tap on Configure Private Folder to activate it
Items that you put in your private folder won’t appear on the main Google Photos screen or in search results. In addition, to access it you will have to enter the same unlocking method as to unlock your mobile.
To enter the photos in this folder, we can select them on the initial screen and when clicking on them choose the option Move to private folder . We can also take photos or record videos directly from said private folder. Keep in mind that if you delete an item from this folder, it will not go to the trash, but will be permanently deleted.

HOW TO UNHIDE AN ALBUM IN GOOGLE PHOTOS
Now that you know how to have a hidden photo, you may be wondering how to unhide an album in Google Photos when you no longer want to have it hidden. As we have commented that the best way to hide it is to send it to the private folder, the way to unhide it is to remove it from said folder. To do this, we will simply have to click on the photo in question within the Private Folder. Two buttons will appear, one for Delete and the other for Move. By clicking on the latter, we can remove the file from this folder and have it in view again.
The big problem with the private folder is that we cannot put an album in it at once , or create albums or subfolders within it. Therefore, it is difficult to have an order. So if you want to have everything more organized, it is preferable to hide the app or make it difficult to access it and have the albums in the normal folder than to use this method of the private folder.