The work of a programmer, especially a modern one, is hard. Not only does he have to learn several programming languages, but the process of writing the code itself is associated with a lot of difficulties, because he has to deal with simple language constructs, from which he needs to compose complex ones and reuse them. But software platforms come to the rescue, which already contain many functions and subroutines, for which it remains only to set the necessary parameters, and not write huge chunks of code. The .NET Framework is a popular example of such a platform – it is used when writing many applications for Windows. Its peculiarity lies in the fact that this package must be installed on the client computer, otherwise programs using functions from it will not work.
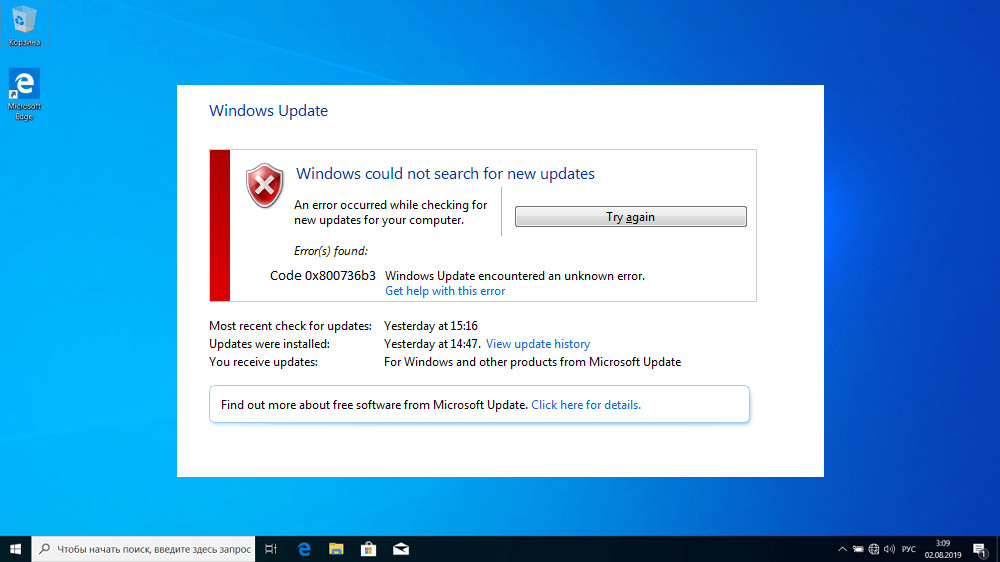
In versions of Windows up to the “dozen” .NET Framework was not included in the official distribution and had to be installed separately independently or when installing in self-made assemblies. In distributions of all versions of Windows 10, the package is present, but it happens that when some components of the operating system are updated, something goes wrong and an error 0x800736b3 appears, indicating that the .NET Framework is missing from the system. Attempting to reinstall the package often fails, but the problem is fixable. In this article, you will learn how to get rid of the error that prevents the launch of many necessary applications.
Contents
Causes of error code 0x800736b3
There are many reasons leading to the appearance of this error, and most of them are difficult to detect, which explains the fact that the error has not yet been eliminated. These are the reasons:
- There was a conflict with the system firewall or antivirus software when installing the .NET Framework Component Update.
- the failure was caused by a problem with the Internet while downloading the update;
- some of the system files responsible for Windows updates have been damaged on your computer;
- Windows Update Center service worked incorrectly;
- there are problems with the equipment, primarily with the drive.
But in any case, do not worry. Yes, a message with error code 0x800736b3 warns that the popular API platform is missing in the system, but you can fix the situation, with several different options.
Remedies
We’ll start by looking at fixing methods with the most effective options that have a high likelihood that the problem will be fixed.
Net Framework offline installer
A failure to install or update the .NET Framework can go unnoticed for a while because not all programs use this application programming package. But sooner or later you will face the fact that some applications will not start, and the system behavior may turn out to be unstable.
The most “correct” way to fix the problem is to try to manually download the .Net Framework installer, preferably the latest available version (they are compatible from top to bottom).
Step by step algorithm:
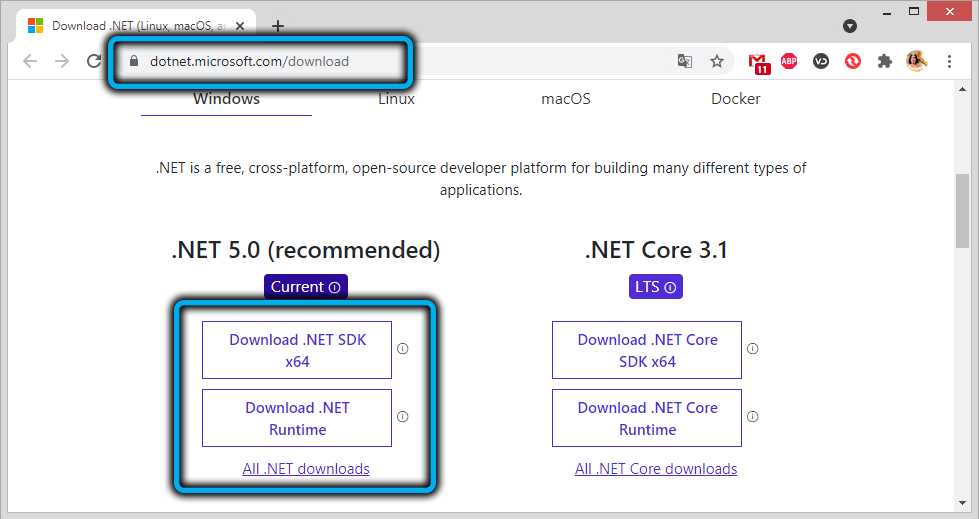
- download the installation package from the official website;
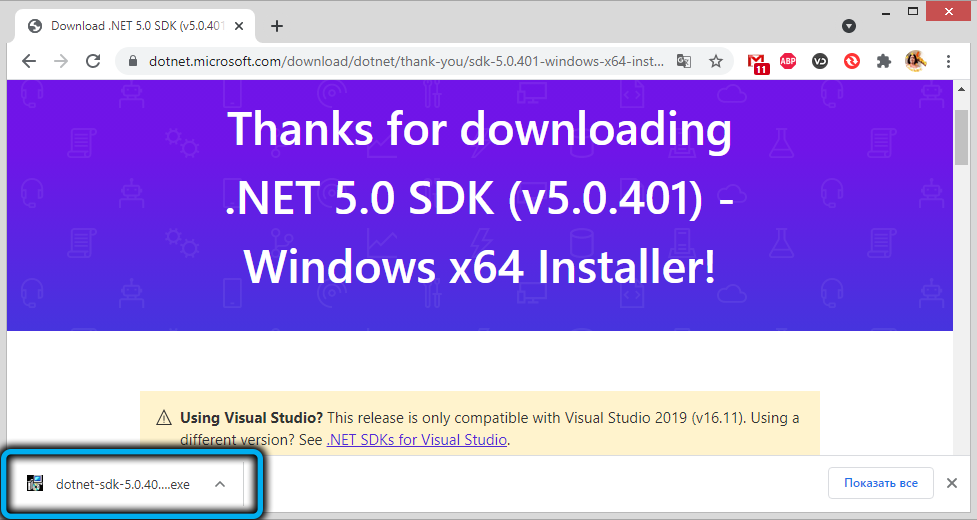
- after the file has loaded, run it;
- we are waiting for the end of the installation, the process itself may be lengthy.
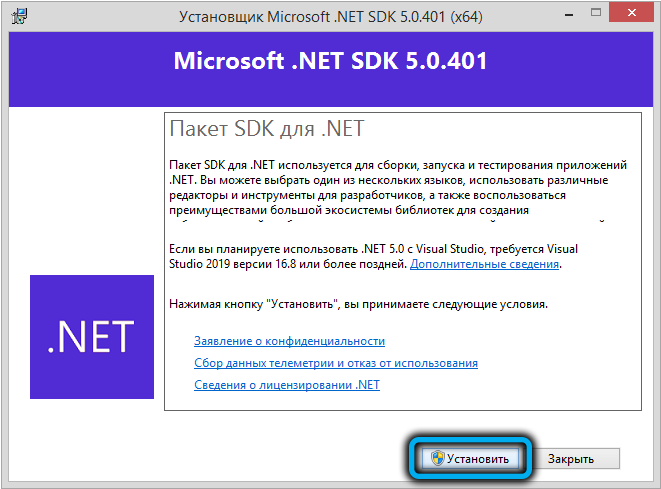
After the installation is complete, try rerunning the program that caused the crash. In most cases, self-installation of the .NET Framework helps. If this is not your case, go to the next step.
Using DISM with System Installation Media
As part of Windows 10, there is a powerful tool designed to help the user with the recovery of damaged system files – DISM. However, if you use it to eliminate the error 0x800736b3 that occurred during the installation of updates, it will not work due to the absence of the SXS file, therefore, for the normal development of this system tool, you will also need an installation drive or an ISO image of the system.
Let’s see how to use DISM to solve the problem:
- insert a USB flash drive with a Windows 10 image into the drive or into the USB port (always with the corresponding system bit depth – x64 or x86);
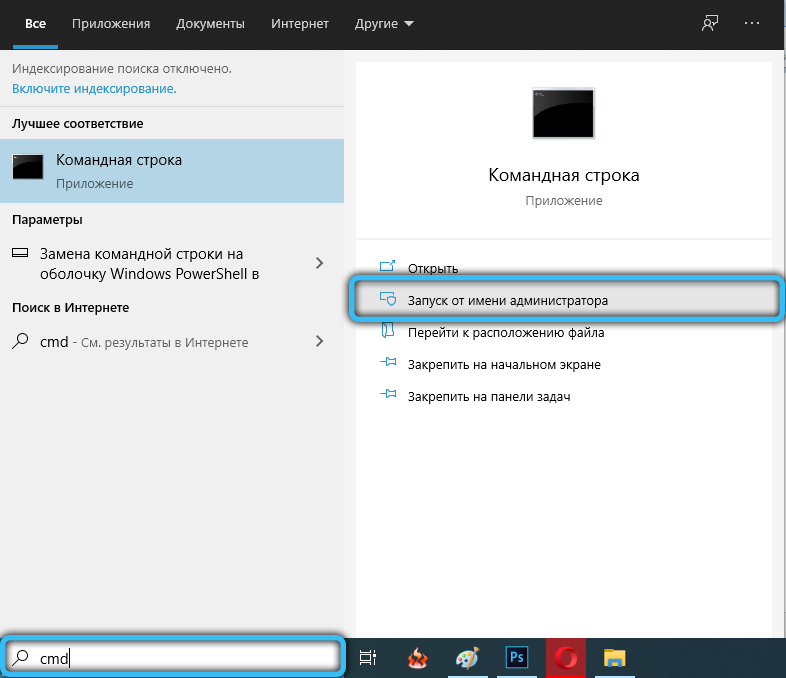
- type cmd in the search bar, right-click on the search result and select “Run as administrator”;
- enter the command Dism / online / enable-feature / all / featurename: NetFx3 / Source: X: sources sxs / LimitAccess, where instead of X we indicate the letter of your media with the system image;
- wait for the command to complete, it may take some time;

- check if the problem is resolved.
If not, go to the next step.
Checking the equipment
As we have already noted, among the possible reasons there may be faulty hardware – an HDD or SSD disk, or there may be a faulty memory module. There are many utilities from third-party developers to check media for the presence of “bad” sectors, there are programs for diagnosing the operability of RAM.
Run the built-in troubleshooter
Windows has another useful tool that can be used in the event of various system problems, including those that appeared as a result of an unsuccessful update of system components. It is he who is advised to use inexperienced users.
Let’s follow this advice and we:
- click on the gear icon;
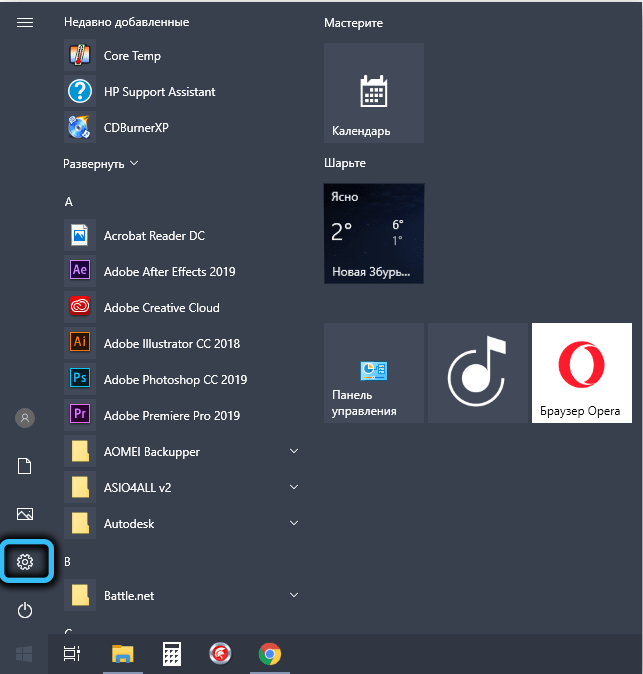
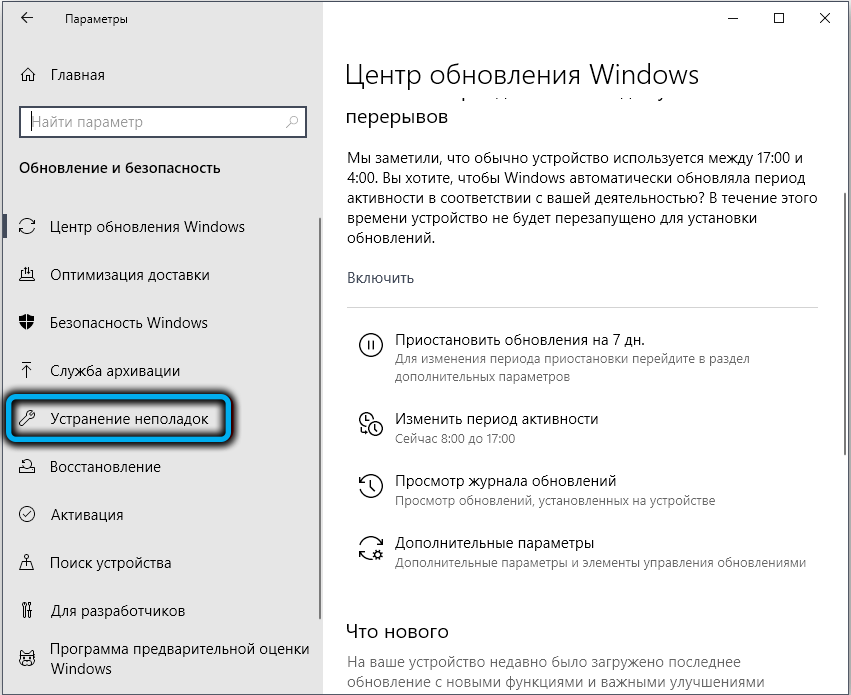
- select the “Updates and Security” tab, click on the “Troubleshoot” option;

- here our goal is the “Windows Update” tab, where we select the “Start and troubleshoot” item.
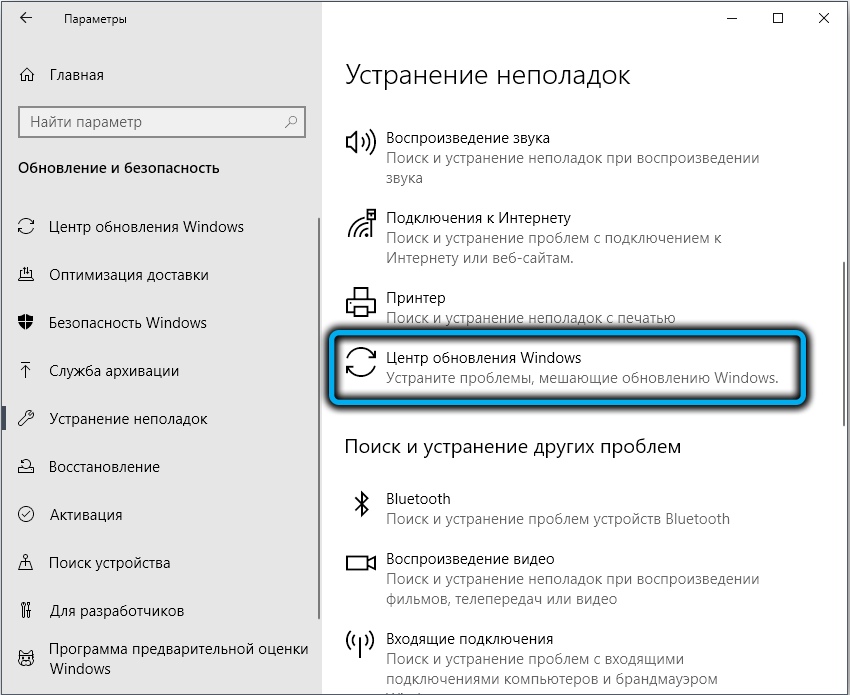
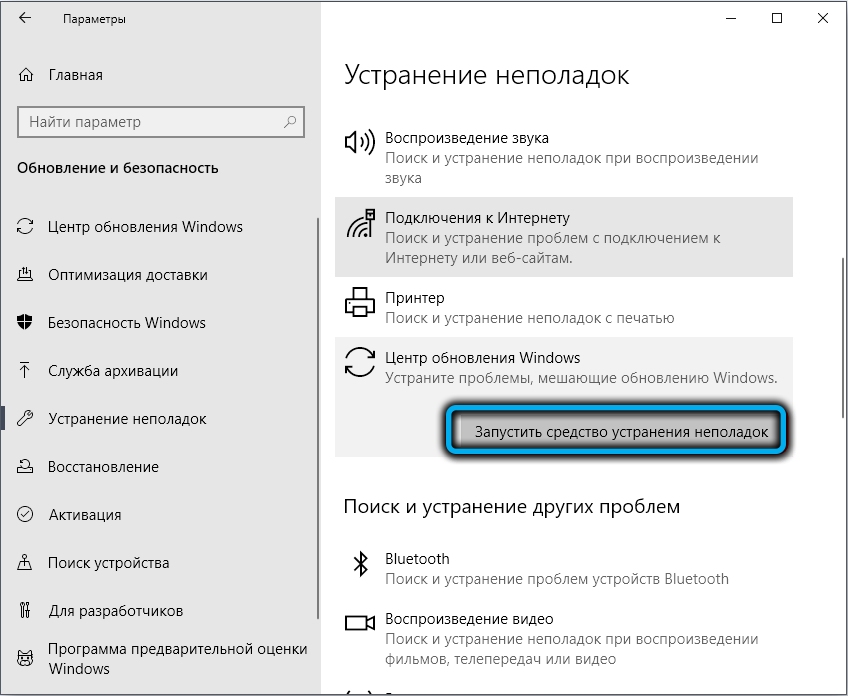
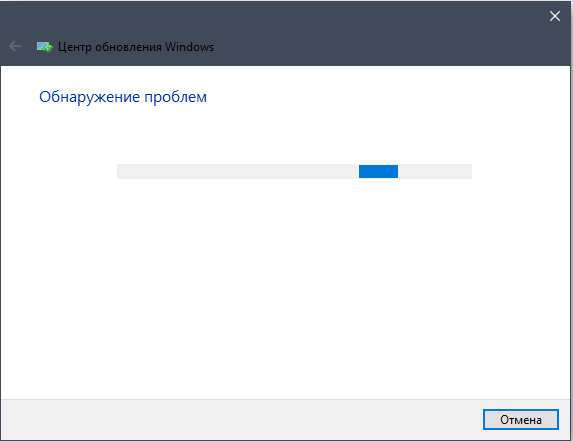
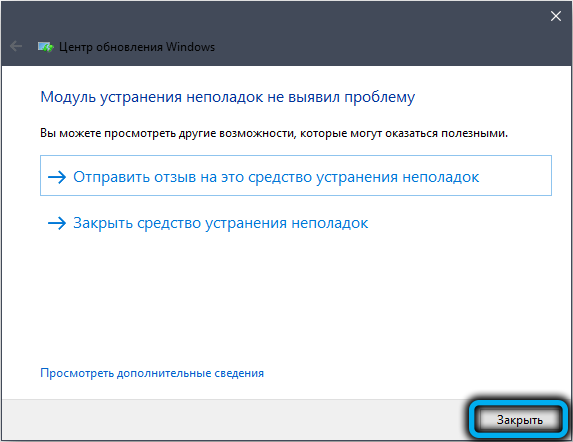
All that remains is to follow the instructions and prompts, and after completing the check, restart your computer and check if the problem is resolved.
Launching the SFC Scan Utility
Another built-in tool for checking the health of operating system components is the SFC utility, which should be run from the Windows command line. The command syntax is quite simple: sfc / scannow.
As in the previous case, scanning and finding problems may take some time. Wait for the utility to run, close the terminal window, restart your computer and check if the error 0x800736b3 has disappeared in your Windows 10.

Resetting Windows Update Components
One of the options for solving the problem is to reinstall the components that are part of Windows Update – although it is quite rare, but users indicate the effectiveness of such a step. It is obvious that the Update Center in the top ten is really one of the main ones with the operating system, and it is with its work that many “jambs” are associated with it, which make life difficult for owners of PCs and laptops.
Reinstalling the CH requires the execution of a number of commands, here you cannot do without starting the command line.
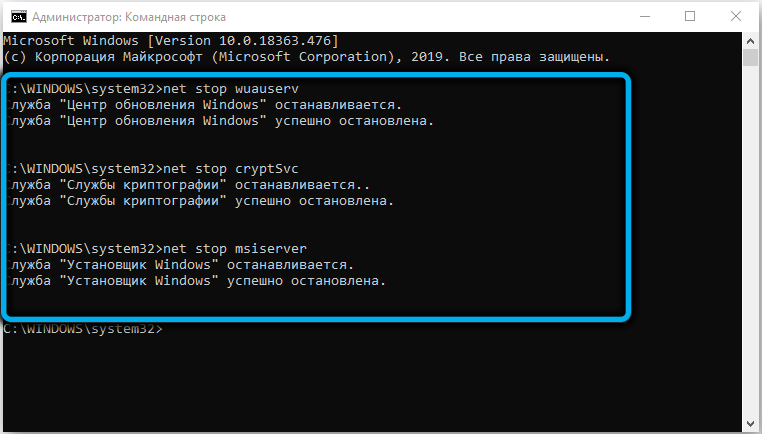
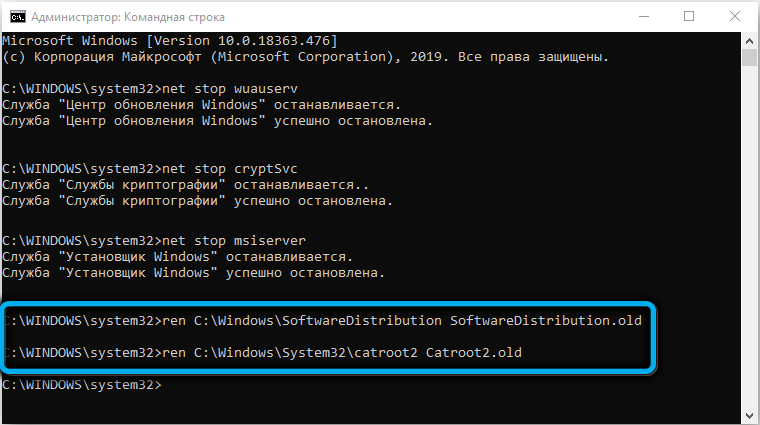
The command sequence itself is as follows:
- net stop wuauserv
- net stop cryptSvc
- net stop msiserver
- ren C: Windows SoftwareDistribution SoftwareDistribution.old
- ren C: Windows System32 catroot2.old
- net start wuauserv
- net start cryptSvc
- net start msiserver
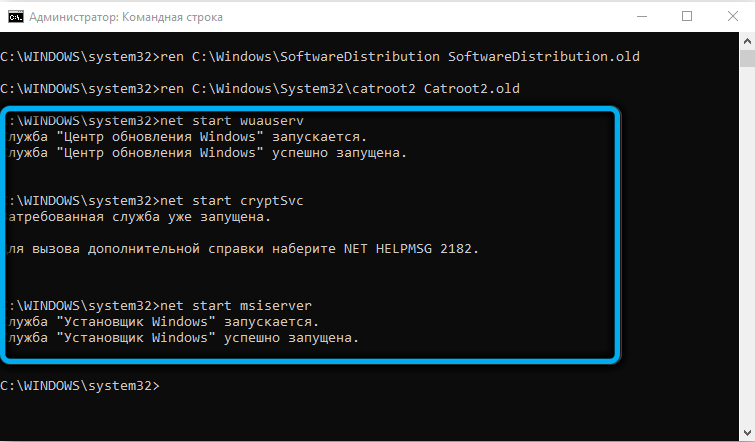
In other words, we stop the cryptSvc and msiserver processes, then rename the catroot2 and SoftwareDistribution directories and start these processes again.
After working out all the commands that should be written without errors, character to character, exit the command line and check the results (you do not need to restart the PC).
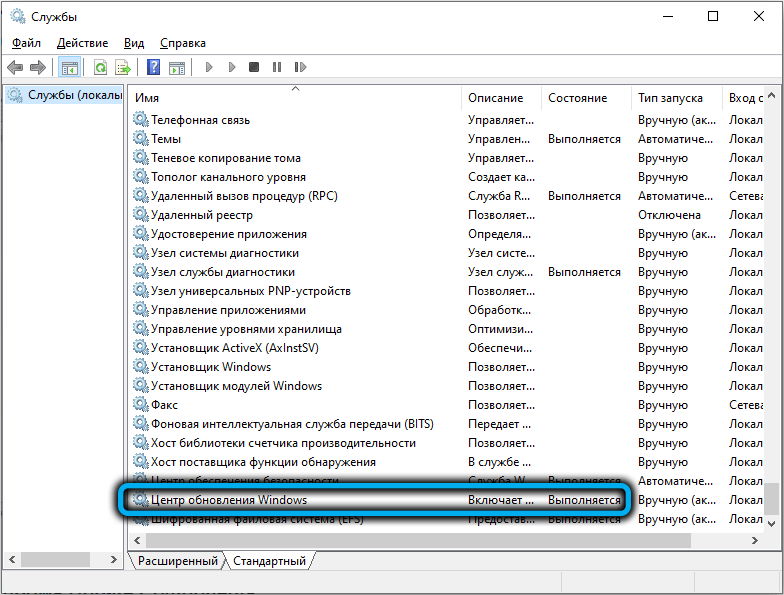
Make sure the Windows Update service is active and running
It is possible that Windows Update is simply disabled for you – in this case, it is clear that Windows 10 updates will not be installed, hence the 0x800736b3 error when launching applications that require a properly installed and functioning .NET Framework.
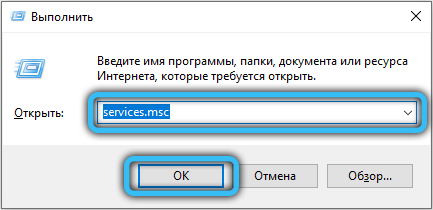
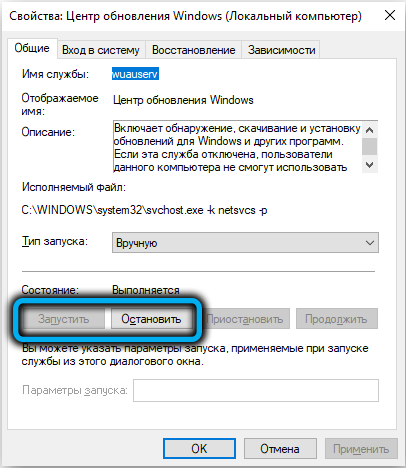
You just need to restart the service, for which in the search box type services.msc, click on the result line, and in the window that opens, find the line Windows Update (Windows Update) and make sure that the “Status” column is set to “Running”. If there is “Stopped” there, click on the name of the PCM service, select “Properties” and in the “General” tab in the “Startup type” field, select “Automatic …”, and then click on the “Start” button that has become active and OK.
Make sure the BITS service is up and running
This service is indirectly related to the work of Windows Update – it is responsible for the secure transfer of files over the network in the background, without causing visible interference to the user. If it doesn’t work, Windows Update won’t be able to receive files.
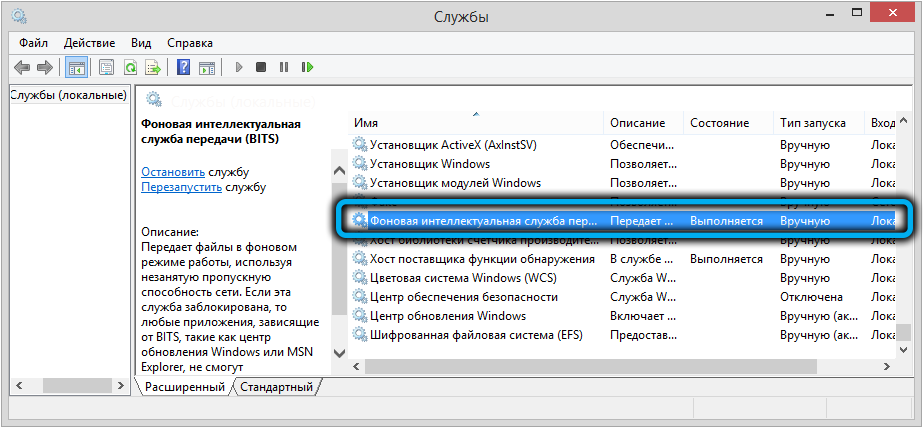
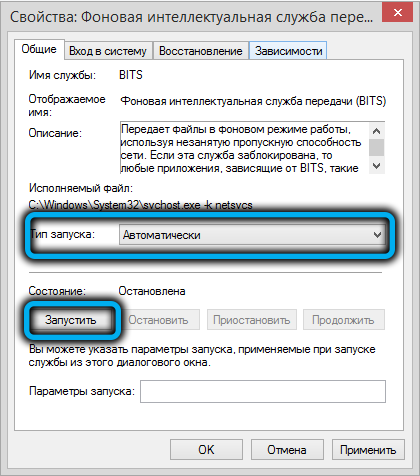
We check in exactly the same way as in the previous case, only we are looking for the line “Background Intelligent Transfer Service”. If it is disabled, go to the properties and set the value of the “startup type” parameter to “Automatic”, then click on the “Run” button and confirm your choice.
Change DNS settings
Rarely, but it happens that the DNS server with which your Internet service provider works, for some reason, cannot redirect requests to the addresses of Microsoft servers. In such cases, it is worth trying to change the value of the DNS server in the parameters of your Internet connection.
To do this, we perform the following steps:
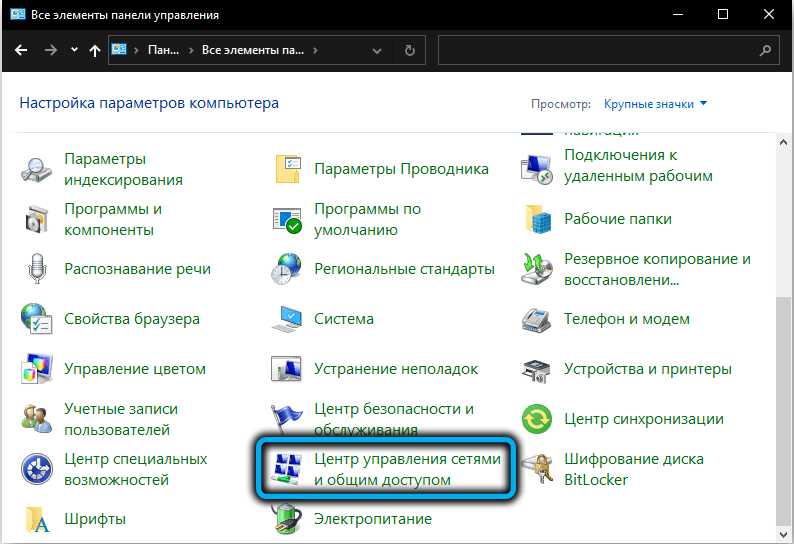
- launch the “Control Panel”;
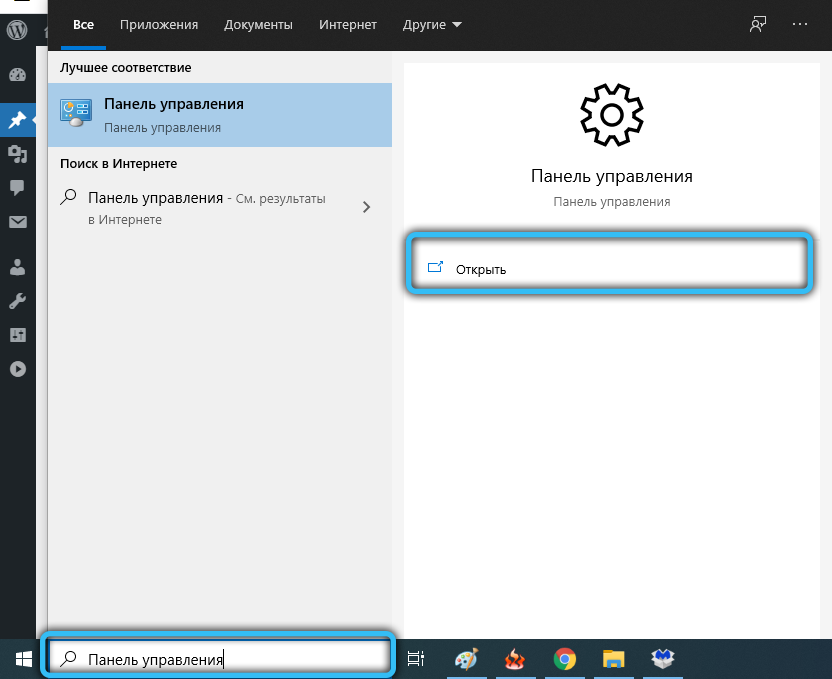
- click on the “Network Control Center …” tab;
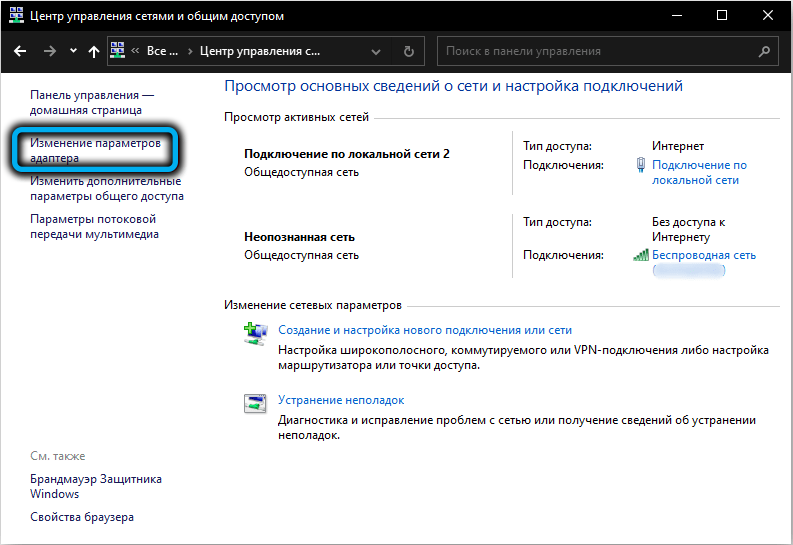
- in the right pane, select the item “Change adapter parameters”;
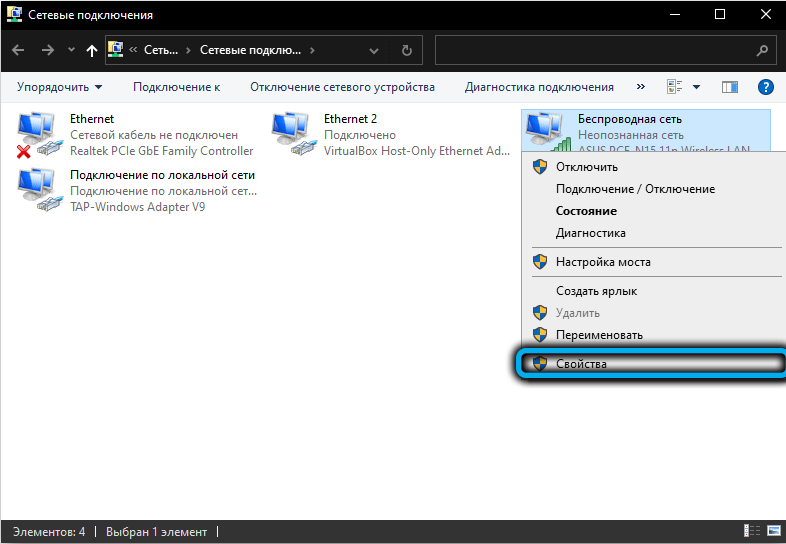
- from the list that appears, select the currently operating network, click RMB and select the “Properties” option;
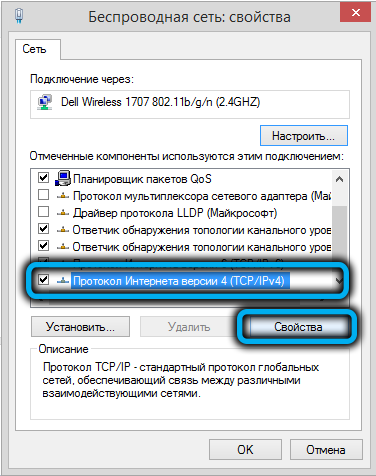
- in the “Selected components …” window, select the TCP / IPv4 line and click on the “Properties” button;
- in the lower block, activate the “Use the following DNS server addresses” selector by entering the address 8.8.8.8 in the upper field, and 8.8.4.4 in the alternative DNS server field;
- click on the OK button, close all windows, restart the computer.
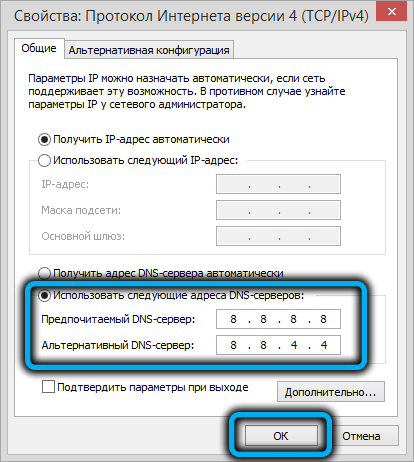
Using direct addresses of Microsoft DNS servers should solve the routing problems, if they are temporary, after running and installing updates, it is better to return the value of the “Obtain DNS server address automatically” selector.
Reinstall Windows 10 from scratch
If the error installing updates 0x800736b3 did not disappear after performing all the specified manipulations, and the computer often crashes and is unstable, the best and only way to fix the situation is to reinstall the operating system.
Of course, it is not easy to decide such a cardinal step, and in most cases it does not come to this, but if all else fails, then you have to go for it. But before that, do not forget to back up your important data, as well as the system partition. The procedure itself should be familiar to you, and we have described it more than once.