Experienced users are not averse to sometimes launching an old toy to remember past years. Such nostalgia is quite understandable, while before the transition to Windows 10, there were usually no big problems with launching such games, and if they “didn’t go”, activating the compatibility mode saved the situation.
In the new OS, most old games simply won’t run, and compatibility mode is no longer a panacea. This situation arose due to the fact that Microsoft decided to abandon the default activation of the components required to ensure the normal operation of old gaming platforms in favor of modern ones. Such a move was quite predictable, but, fortunately, the DirectPlay API itself was not removed from the system. So fans of retro games should not worry too much about this: enabling a component is a relatively simple procedure.
Contents
What is DirectPlay in Windows 10, what is it for
DirectPlay is a component of the DirectX graphics API whose main purpose is to provide transport services for network protocols used in games such as IPv4, IPX, serial cable or modem connection.
In versions of Windows prior to Windows 10, DirectPlay was always present and was enabled by default. In addition to serving client network protocols, DirectPlay was used to transmit voice messages in real time, mainly with low-speed codecs that did not require bandwidth exceeding 32 KB / s.
The component supports network topologies such as client-server (target group – multiplayer network games) and client-client (network games operating within the local network).
The client-server component, for obvious reasons, has become more widespread, it involves the communication of the client machine only with the server, if it becomes necessary to transport the packet to another client, this is again done through the server.
The client-client topology allows all network members to exchange packets, although in this case one of the clients is determined by the master protocol, and it is responsible for administering the current session. If the host computer shuts down, DirectPlay will not allow ongoing transactions to be interrupted by reassigning roles and appointing a new administrator. Unlike the client-server topology, the client topology is not intended for large networks, it provides acceptable results when running multiplayer games with up to 64 participants.
In any case, DirectPlay is considered obsolete technology, which is no longer used in modern games. That is why in Windows 10 and 11 this component, although present in the distribution, is not initially activated. You can find it in the “Components”, and we will tell you how to enable it a little later.

In the meantime, we list the main features of the package:
- DirectPlay supports both popular network topologies;
- it is possible to adjust the sound on the client machine, including through a remote server;
- there is support for encryption when transmitting packets, which allows you to enhance the security of the game session;
- there is also an archive of codecs that can be used if you need to play audio in a rarely used format;
- component can be automatically updated.
In most cases enabling DirectPlay will not be required, but if you are a fan of older games, you will definitely need to enable this library.
How safe is DirectPlay?
DirectPlay is a component of the more powerful DirectX multimedia platform. If you actively use graphics and sound, then most likely you already have it installed. Additional activation of DirectPlay is unlikely to affect the performance of the system, since this component, as we already know, is not designed for high speeds. For the sake of justice, it is worth mentioning that when using the “client-client” topology in local networks, the load on the CPU at some moments can increase up to seconds of computer freezes. In the server version, such manifestations are not observed.
Where to find DirectPlay
The default package location is the Legacy Components section found in the Windows Components panel. It is here that you can enable DirectPlay as needed and deactivate it if such a need is no longer needed.
How to download
Since under standard conditions DirectPlay is present in all versions of Windows, including the ten, there is no need to download the package.
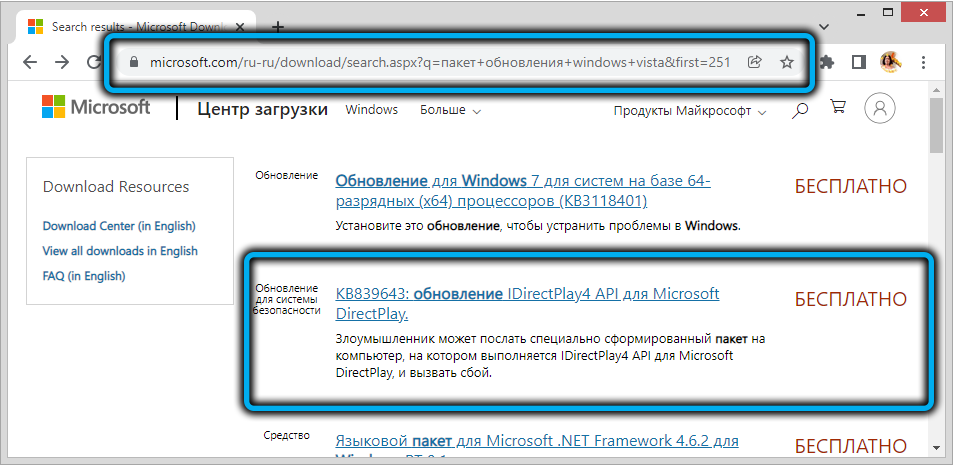
But if, after activation, the old game does not start, you can try downloading the patch number KB839643 from the official website, which includes the latest DirectPlay version 9, and start installing it using the following step-by-step instructions:
- download the file itself;
- go to the downloads folder;
- double-click quickly on KB839643;
- an installation window will open with a proposal to accept the license agreement – we accept;
- uncheck the option offering automatic software installation, click the “Next” button;
- We are waiting for the end of the installation of the patch along with the DirectPlay component.
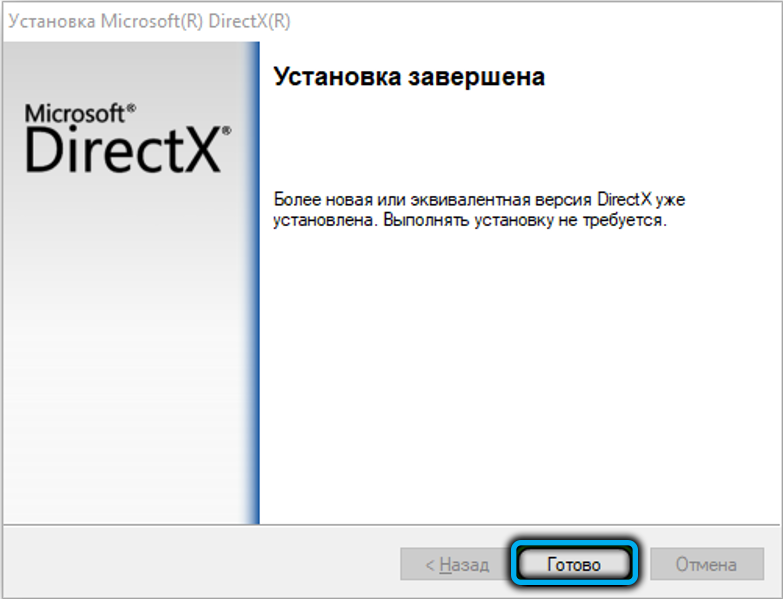
How to install DirectPlay for Windows 10
Let’s now consider how to enable DirectPlay, which is already present in the system, but in a deactivated state. There is only one way to do this, but in some cases this will not be enough to ensure the performance of old toys, so at the same time we will also give ways to solve possible problems. Most likely, after enabling the component, you will not have to do anything else, but if errors appear during the launch of the game, you can try using other steps.
Enable DirectPlay
This is a fairly simple procedure that is performed in a few clicks:
- press the Win + R combination to launch the Run console;
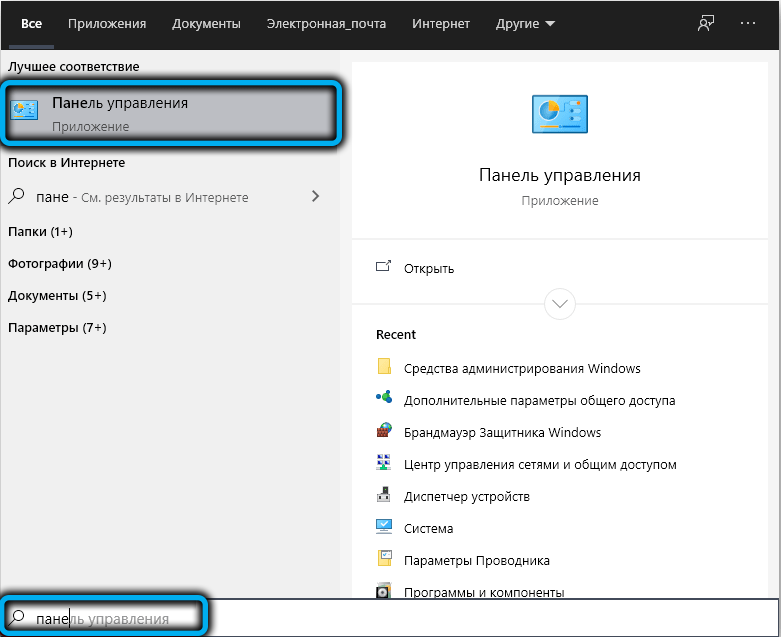
- in the field that appears, enter the text “Control Panel”, press Enter or the OK button;
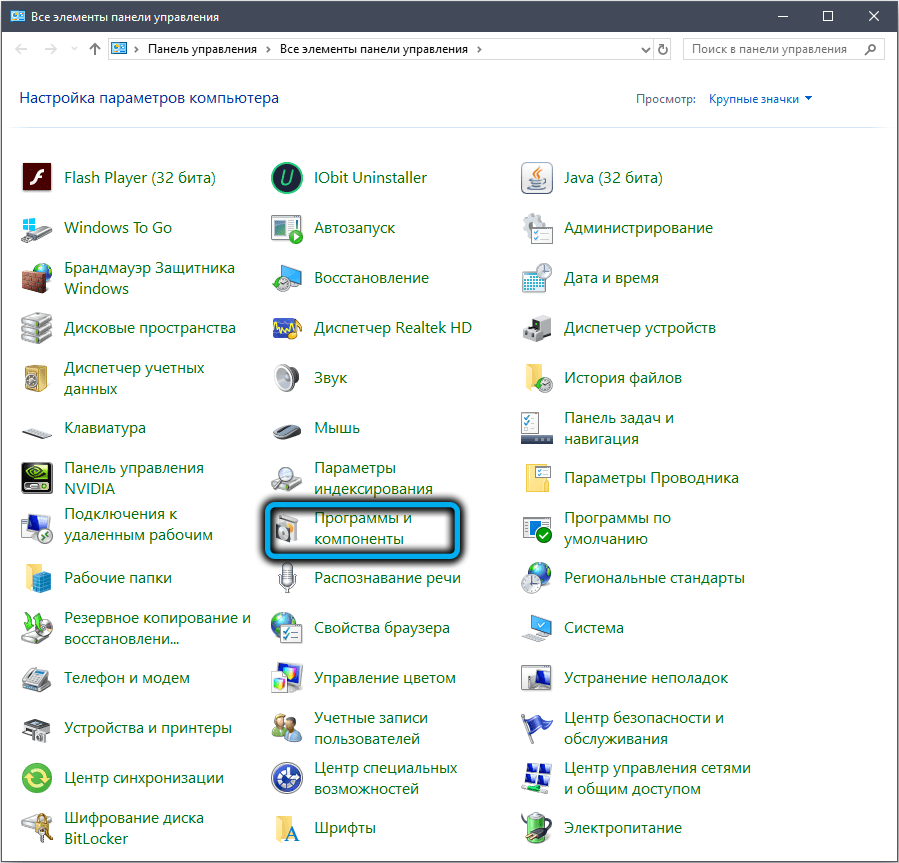
- select the “Programs and Features” tab;
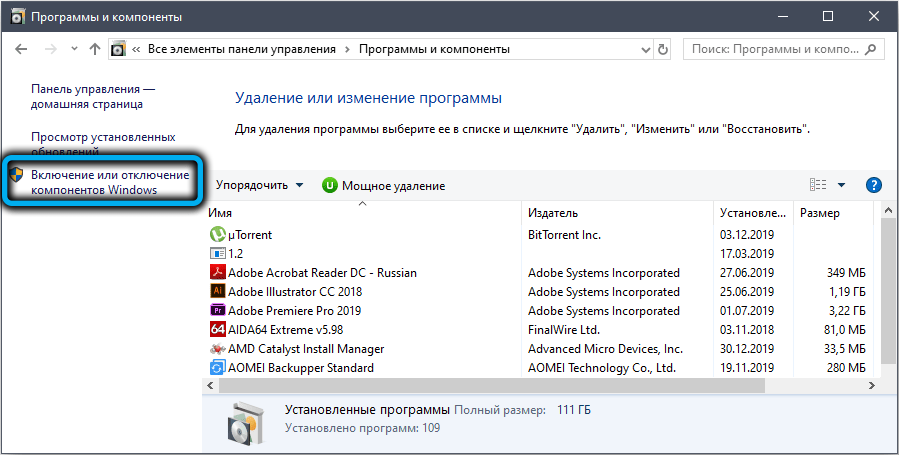
- in a new window in the left pane, put a checkmark in front of the “Turn Windows features on or off” option;
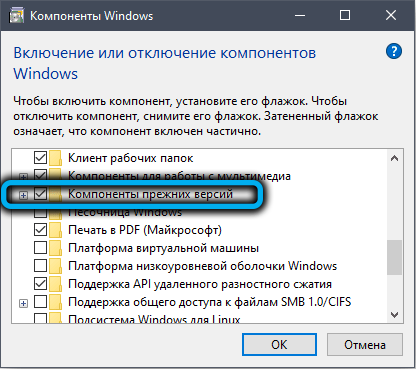
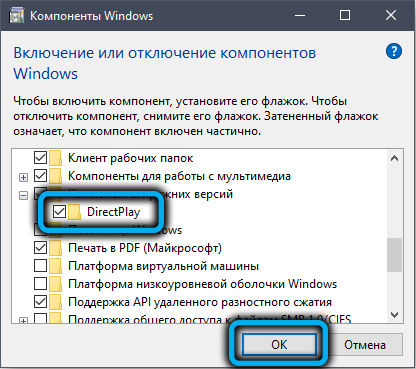
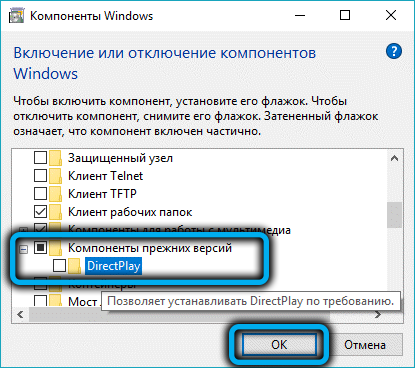
- a new window will open, in which we click on the folder icon next to the inscription “Obsolete components”;
- in the expanded branch, put a tick next to the DirectPlay parameter;
- We confirm our actions by pressing the OK button, close all windows and restart the computer.
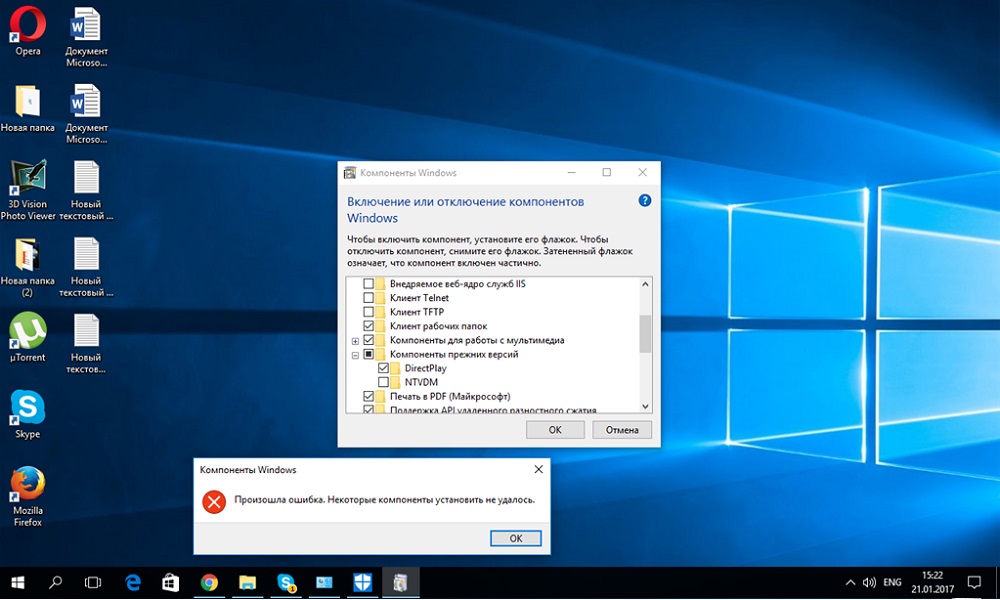
We launch the retro game and enjoy the gameplay. If an error 0x80073701 popped up when activating DirectPlay, proceed to the next step.
Disabling antivirus software
Built-in or installed anti-virus software may initiate the installation of new programs, believing that they may be dangerous to the computer or operating system. Often such false positives occur against well-known, popular and proven programs if the antivirus encounters a code fragment that is similar to malware definitions.
In such cases, the only correct scenario is to temporarily disable the firewall or Windows Defender and do the same with a third-party antivirus, if you have one installed.
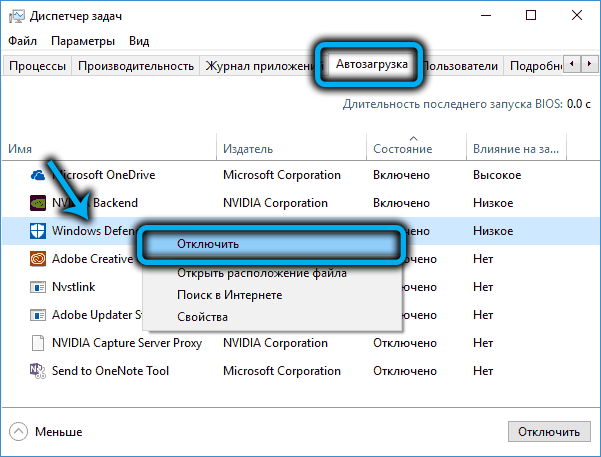
The easiest way to do this is to exclude the launch of the antivirus from startup:
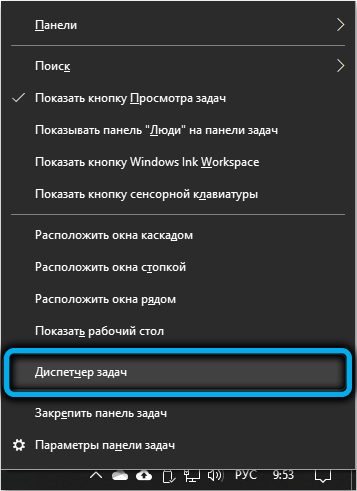
- launch the “Task Manager” by clicking the “Start” button;
- go to the “Startup” tab;
- in the list of programs that opens, find the anti-virus program, disable its autorun;
- restart your computer and try to re-enable DirectPlay.
Using compatibility mode
If DirectPlay activation was successful, but it was not possible to launch your favorite game, the situation may be corrected by turning on the compatibility mode, which emulates the settings of previous versions of Windows.
Consider how this mode is enabled in Windows 10:
- launch the “Explorer” located on the taskbar;
- we find the folder in which the executable file of the game we are interested in is located (with the exe extension);
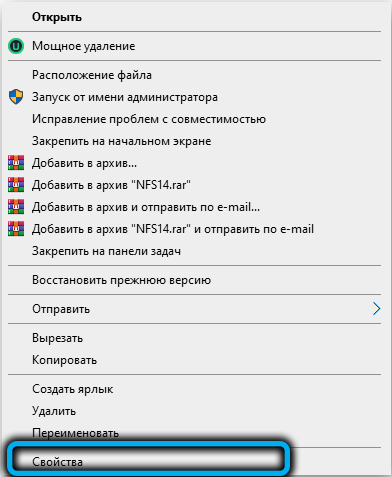
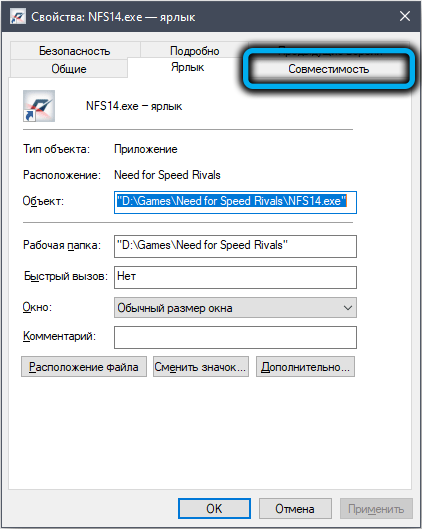
- right-click on this file and select “Properties” in the context menu that opens;
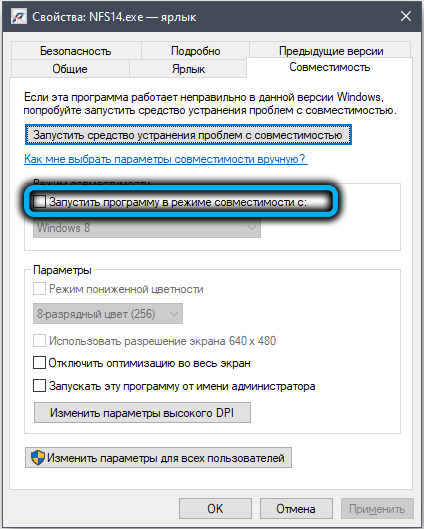
- go to the “Compatibility” tab;
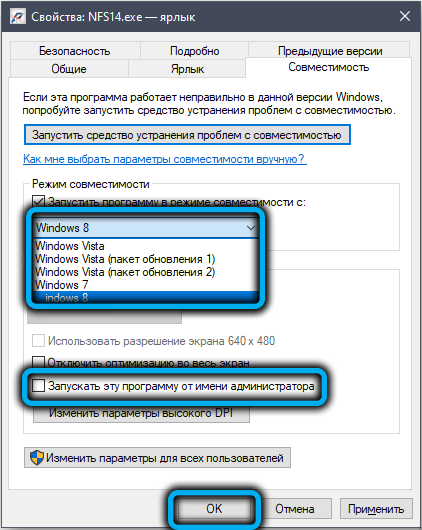
- check the box next to “Run this program in compatibility mode”;
- the operating system selection panel located below is activated, for which our game was created. If you do not know this, select the OS version in turn;
- you also need to check the box for the item “Run the program as an administrator”;
- Click OK, reboot the system and try to start the game.
Using the Compatibility Troubleshooter
If after that you still fail, it remains to try the last resort, just designed to solve some compatibility problems at the program level.
Here is a step by step algorithm:
- click on the Cortana search button on the taskbar;
- we type the word “Compatibility” in the search console, click OK;
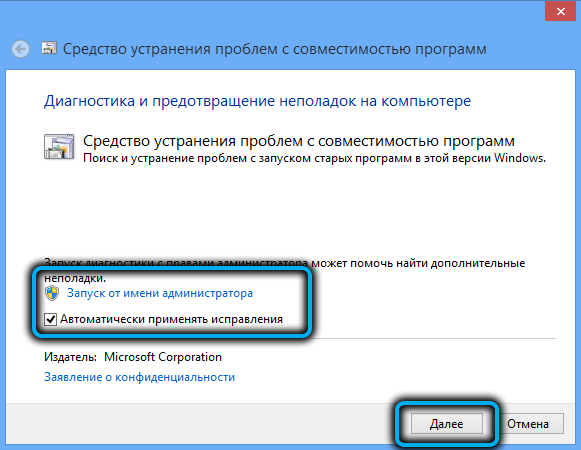
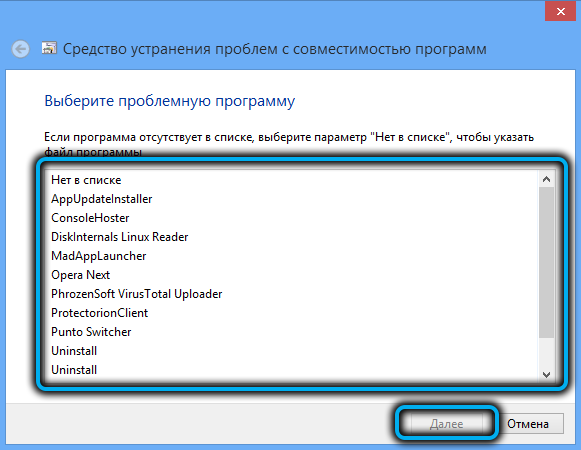
- in the list that appears, select the line “Run programs created for earlier versions of Windows”;
- a new window will open, in which we click on the link “Advanced”, and in the drop-down list select the option “Run as administrator”;
- press the “Next” button;
- select our game in the list that appears. If it is not there, select the line “Not in the list”, in this case, after clicking the “next” button, you need to select the folder with the game through the explorer, go into it and select the executable file by clicking the “Open” button;
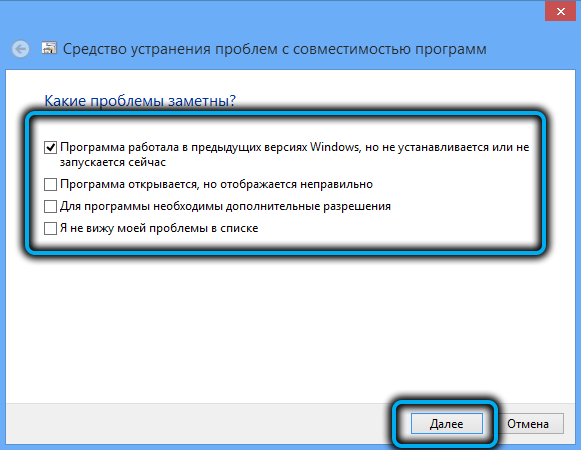
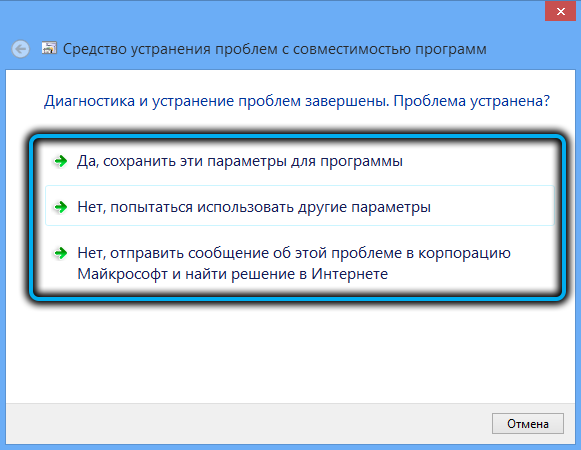
- click the “Next” button – a window will open with a list of ways to solve the problem with starting the game;
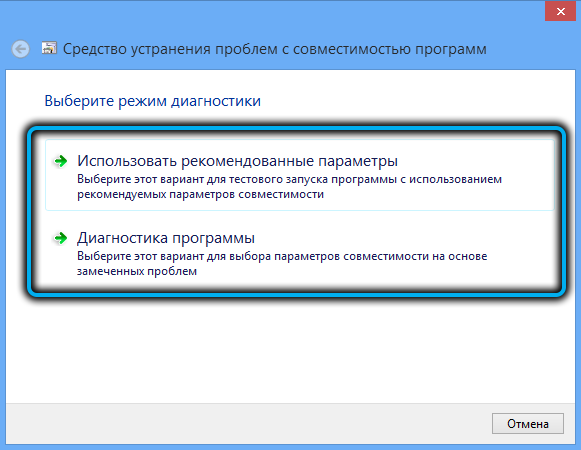
- if the list consists of more than one line, you will have to try them all – perhaps one of the proposed methods will actually be effective.
If none of the above helped, you’re out of luck and your favorite game of your youth won’t run on Windows 10/11. In this case, we can only advise you to install a second, suitable version of the OS on your computer. But is the game worth the candle?
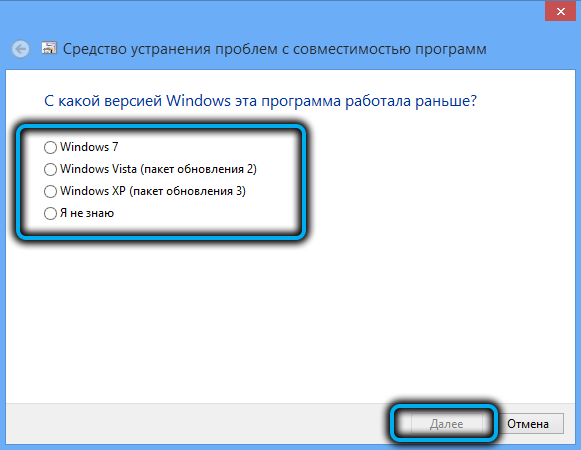
Although here is a completely working option for you: search the network for an emulator for a specific game, if it turns out to be working, all these dances with tambourines will be superfluous.
How to uninstall DirectPlay on Windows 10/11
To remove the component for launching retro games, which uses considerable computer resources, if you no longer need it, you must do the following:
- in the search field we drive in the text “Windows Features”;
- click on the result of the same name;
- in the window that opens, select the “Obsolete Components” item by expanding it;
- uncheck the DirectPlay option;
- click OK, restart the computer.
That is, we perform the same actions as when starting DirectPlay, manipulating only with the flag.
Now you know how to install, enable and disable DirectPlay. We hope you have no problems following these procedures. However, if you have any questions, feel free to ask them in the comments.
