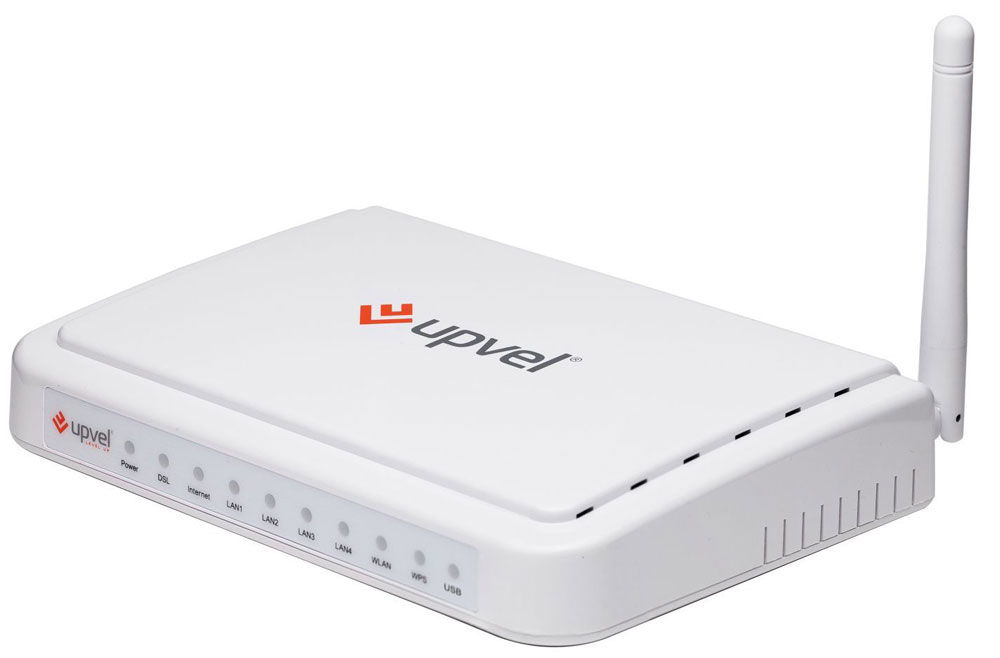
Using the UPVEL UR 344AN4G device, you can unite all your devices in the apartment into a common network, as well as organize Internet access for all of them. This is a universal router that includes a router, an ADSL modem, a USB port for connecting 4G/3G modems, a switch and an access point. Interestingly, this model can operate using both UTP and xDSL technologies.

A router with many modern features
Contents
Characteristics:
- IPv6 support;
- HTTP, PPPoE, NAT/NAPT, DDNS, TCP/IP, UPnP protocols;
- 4 LAN ports;
- DHCP;
- IP-TV;
- The kit includes a splitter;
- SPI firewall provides security;
- simple setup program;
- power supply 12V;
- operates at temperatures from 0 to 40 degrees;
- Emissions CE, FCC.
Web interface
To get to the router settings menu, it is important to enter the following data in the browser you are using: “192.168.0.1”. In this window, enter admin/admin (standard parameters for new routers). This password can then be changed (“Administrator Password” in the “Tools” section).

Internet connection (Rostelecom)
Now go to the “Internet” item in the “Interface Settings” section. To configure via a UTP cable, select “Ethernet” in the “Data transfer mode” item (for an xDSL connection, you must click on “ATM” and set the VCI and VPI values as written in the contract provided by the provider).
To set up a network for Rostelecom via PPPoE, follow these steps:
- launch the “Setup Wizard”;
- Now you need to read the introductory part, click “Next”, then check the “Gateway” line and move on to the next step;
- If desired, you can enable the NTP client for the UR 344AN4G, allow updates for it, and also set the time zone. Usually this point is skipped;
- in the list of connection types you must select PPPoE (suitable for Rostelecom, as well as TTK, Dom.ru);
- enter login, pass (this data is in the contract);
- permanent connection;
- dynamic IP-address.
It is also important to check the “Yes” box next to the “Default route” line, and then save the new settings.
As you can see, everything looks elementary. Having done everything correctly, you will gain access to the network after the next reboot.
Wi-Fi setup
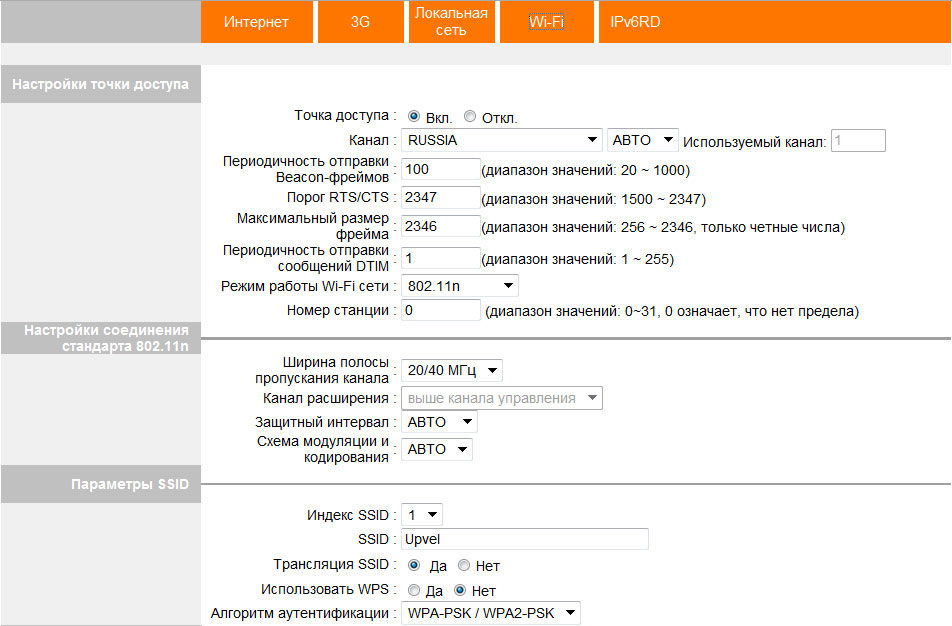
To make the UR 344AN4G router an access point, you will also have to dig a little into the settings. All manipulations are carried out in the “Wi-Fi” item of the “Configuring interfaces” section.
So, first you need to check the “On” box next to the “Access Point” item. In addition, do the following:
- disable MAC address filtering and WDS mode;
- TKIP+AES/AES;
- enter the network name in the SSID field (you can come up with anything);
- channel – Russia auto;
- WPA2-PSK;
- In the “Shared key” field, enter a password (any memorable one).

Now all that remains is to save the changes – and the router is ready to distribute the Internet to other devices.
Firmware UPVEL UR 344AN4G
Quite often, to improve the performance of routers, their firmware is updated. The process is usually called firmware. Now let’s talk about how the firmware for UR 344AN4G is done.
You need to download the latest firmware for UPVEL UR 344AN4G from the manufacturer’s website, but you can download it from this link . The file format should be tclinux.bin. To flash the device, you will need the already familiar web interface. There, select “Firmware” in the “Service” section. All that is required now is to specify the correct path to the file, and then press the “Update” button.
The process takes some time, we do not recommend turning off the computer or disconnecting the UPVEL UR 344AN4G from power. Such a solution can harm the operation of the router and even break it permanently. The device will reboot automatically immediately after the update. This will indicate successful firmware. Your UR 344AN4G router is completely ready for use!
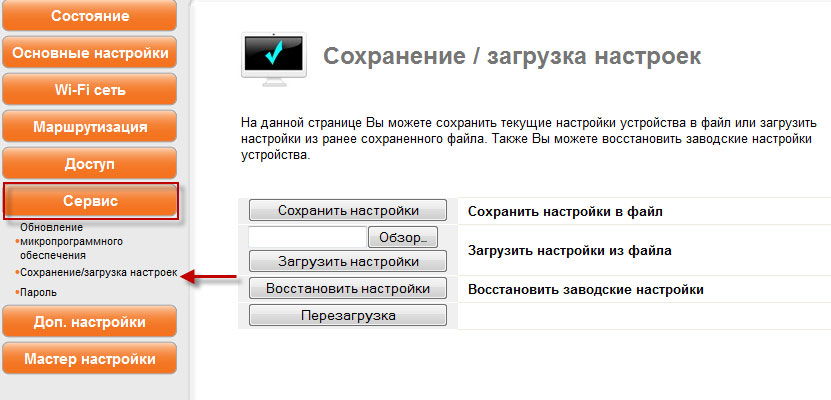
Saving settings to a file
In some cases, the UPVEL UR 344AN4G device may “roll back” to its original settings due to power surges. To avoid re-entering all the information, we recommend saving your configuration data to a file.

This is done very quickly:
- Go to the “Settings” item in the “Service” section in the interface.
- Click the “Back up settings” button. Don’t forget to write down a convenient place where it should be stored.
- Click Update.