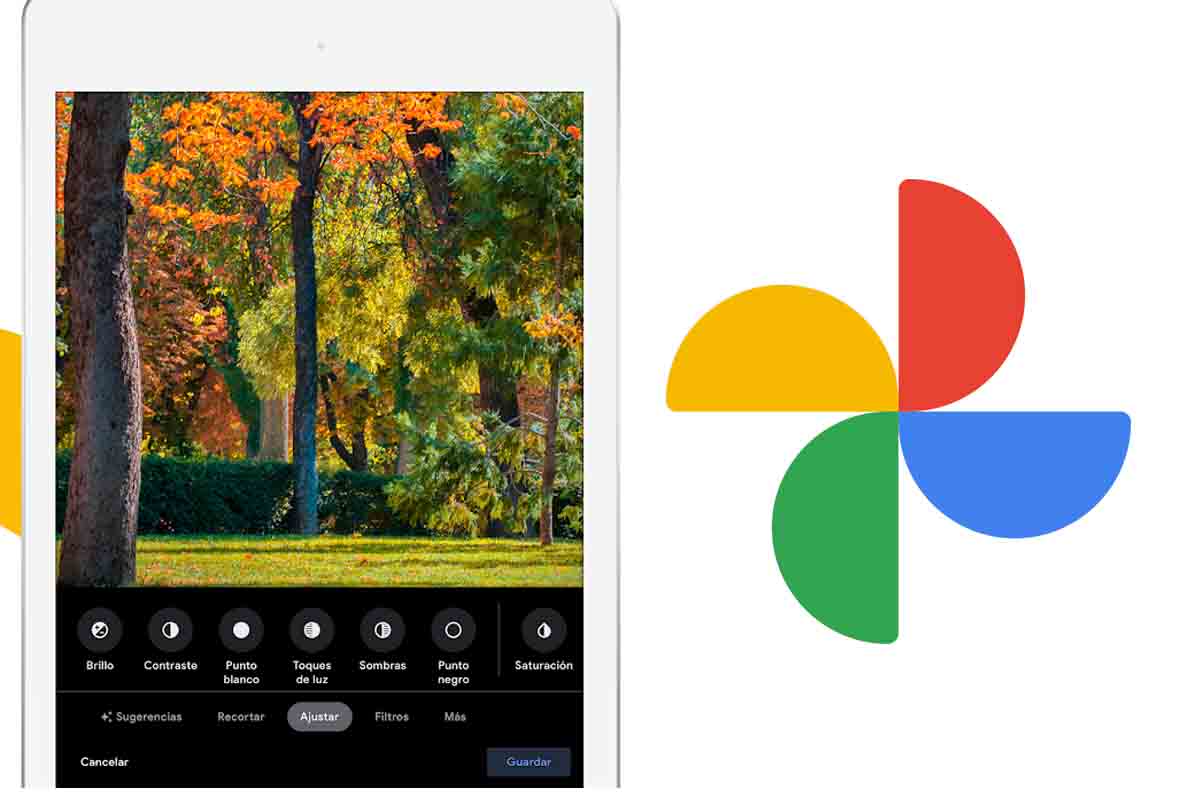
Google Photos is one of the best mobile applications to keep all the images we take with our mobile organized. But, in addition, in this application you can edit the images with filters or effects that serve to improve them. Find out how to apply effects to your photos in Google Photos.
One of the most used applications around the world to store and organize the images stored on mobile phones is Google Photos. This app has long exceeded 2,000 million users and remains one of the most preferred by users due to the multiple functions it offers.
In addition to creating collages or movies in Google Photos, you can edit images and apply a multitude of filters and effects to improve them. If you have an Android device with this app or you have downloaded it from any other application store, discover how to apply effects to your photos in Google Photos and highlight them before publishing them on any social network.
The first thing you have to do to know how to apply effects to your photos in Google Photos is to open the application and select and open the image to which you want to apply the effect. L ollowing in the lower part of looking where it says “Edit”. By default you will see that you are in “suggestions”, slide to the right to where it says “Filters” press to display the gallery of different effects. There with swiping to the right you can select them and apply them to the image. When you have chosen the desired effect, click on “save”.
Contents
HOW TO USE THE HIGHLIGHT COLOR EFFECT IN GOOGLE PHOTOS
If you already know how to apply effects to your photos in Google Photos, but you want to know exactly how to use the highlighted color effect in Google Photos, we will show you the steps to follow.
To know how to use the highlight color or Pop color effect in Google Photos, the first thing you should do is open the app and find the image where you are going to apply the effect. Then open it in full screen. Now you must select “edit” at the bottom and then slide with your finger to where it says “Adjust” . Just above the word “adjust” appear different configured settings slide from right to left to where it says “pop”. Press it and save the image edit.
HOW TO MAKE THE 3D EFFECT IN PHOTOS FROM GOOGLE PHOTOS
Another of the newest and most interesting effects in Google Photos is 3D. With this effect your images will look much more realistic. We explain how to make the 3D effect in Google Photos photos easily .
The first thing you have to know is that the 3D effect is done by Google Photos automatically without the user doing anything. To take 3D photos you must have taken them with the mobile camera, then Google Photos will analyze and convert them with the 3D effect.
To see the photos that Google Photos has put with 3D effect you must open the app and click on the “search” tab. Then click on “Cinematic Photos” at the bottom of the screen.

HOW TO CREATE A MOVIE ON GOOGLE PHOTOS
Telling stories is much easier if we have the possibility to do it in the form of a film. Now that you know how to apply effects to your photos in Google Photos, we will show you how to create a movie in Google Photos.
You just have to open the Google Photos app and go to the “search” section from the button you have at the bottom of the screen. Then go to the bottom, in the “creations” section and choose “Movies”. Now click on “create movie” to start. Google Photos gives you the option to create a new movie by selecting photos and videos. You can also choose a template from which they come and Google Photos will create the movie automatically without you doing anything.
WHERE EDITED PHOTOS ARE SAVED IN GOOGLE PHOTOS
Once you have the edited photos, you may wonder , Where are the edited photos stored in Google Photos? We answer you.
Google Photos doesn’t save images in any hard-to-reach locations where you have to go crazy or crazy to find them. If you choose to save the edited photo as a copy, you will have it in the same album as the original. If you have directly edited the original, only the appearance will have changed, but the location where it was stored will be the same.