Ordinary PC users are rarely interested in the speed of the disk subsystem, but when the computer starts to “slow down”, finding out the reasons can be a very time consuming task. Meanwhile, there are many software tools that simplify diagnostics. One of them is the CrystalDiskMark utility, which measures the speed of HDD / SSD, as well as flash drives of all types. Today we will look at how to use this program, since its interface is confusing, and there may be “confusion” about the interpretation of test results.
Contents
Media Speed Testing Principle
The utility works quite simply, determining the speed of writing data to the disk and the speed of reading them (the latter indicator is always much higher). Of course, the speed will depend on both the media type and the specific model.
The principle of operation of all programs of this type is approximately the same: to test the selected disk or flash drive, a sufficiently large file (at least 50 MB in size) is written to them several times in a row, then the arithmetic mean is obtained from the obtained values.
Reading speed testing is performed in exactly the same way, with the only difference: once written, a test file is then repeatedly read, and the results are averaged.
So CrystalDiskMark shows you what actual speed your drives have, and it is advisable to run the benchmarks multiple times to get reliable estimates.
Setting up CrystalDiskMark
First you need to download it, preferably from the official website. There are two versions of the utility: the usual one, which requires installation, with writing data to the system registry, and the portable one, which is simple enough to run without any installation. The advantage of the first method is that all basic settings and work results are saved on disk, and in a variety of files and folders. The portable version is located in the same directory and is not tied to any specific media or to the operating system, so many people prefer to use it.
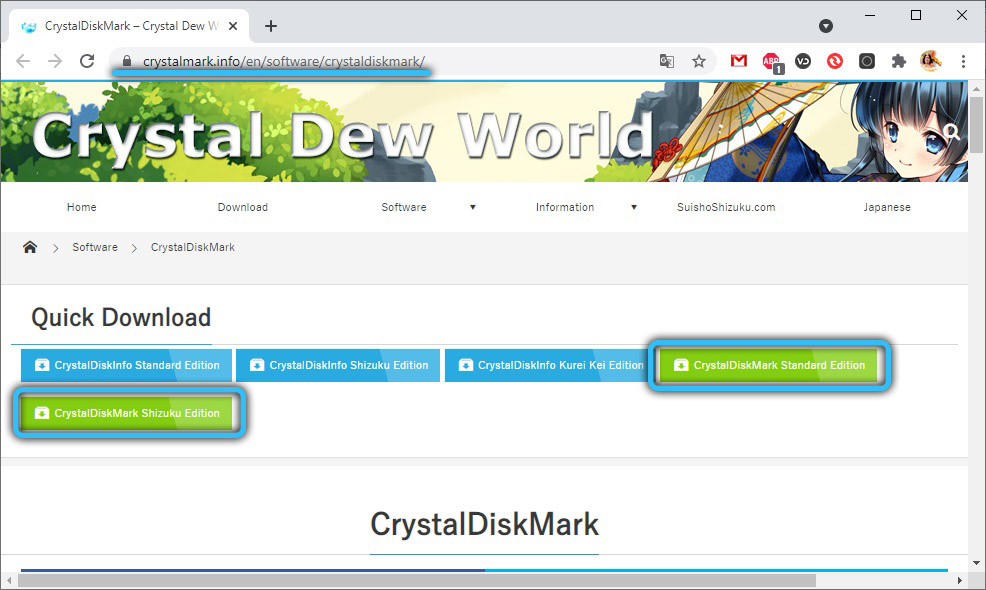
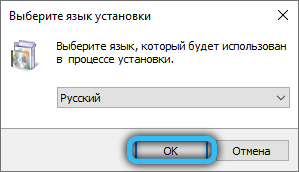
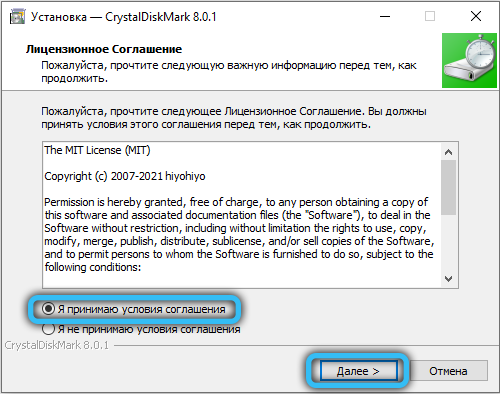
The interface and capabilities of CrystalDiskMark in both versions are the same, and the installation process itself is standard – you need to select the interface language and the directory where the program will be installed and accept the terms of the license agreement, since the utility is distributed free of charge.
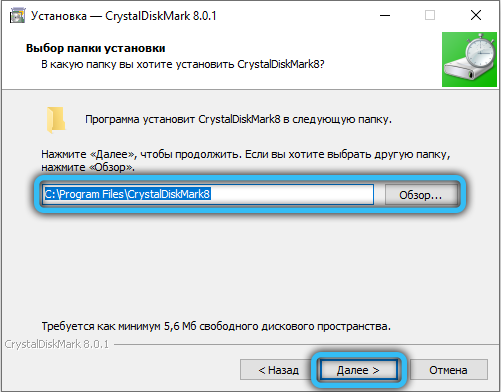
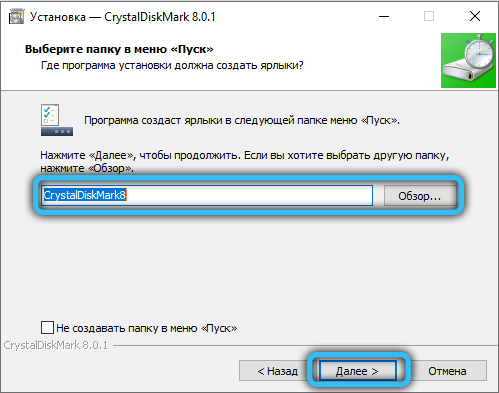
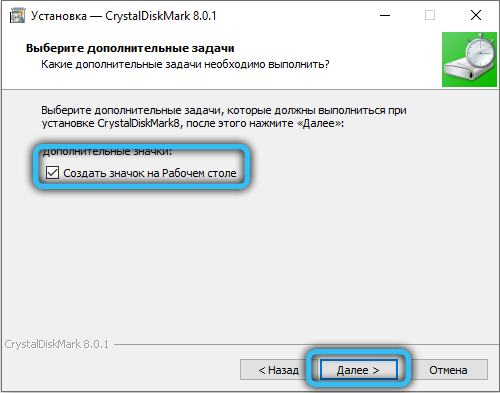
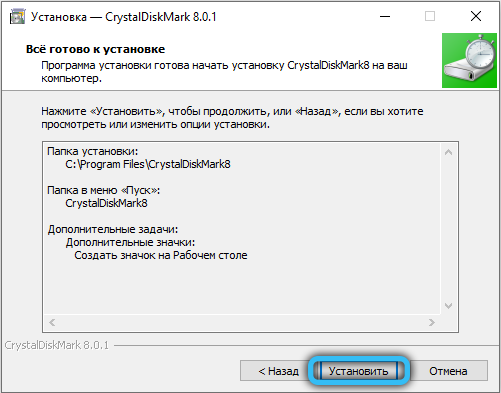
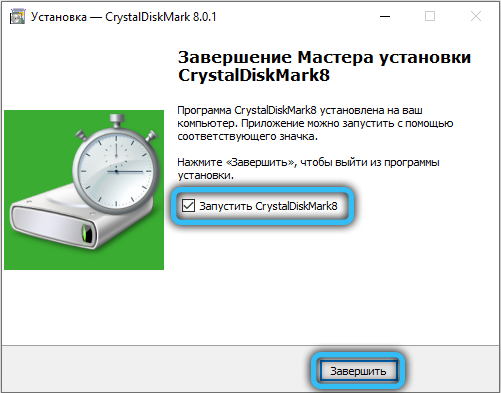
Before we start using the CrystalDiskMark program, let’s take a closer look at its interface.
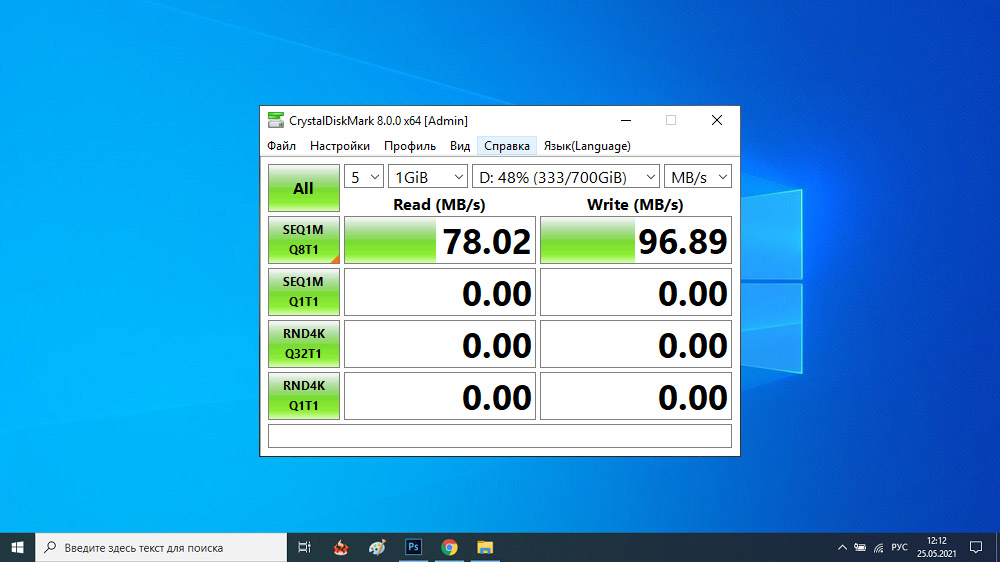
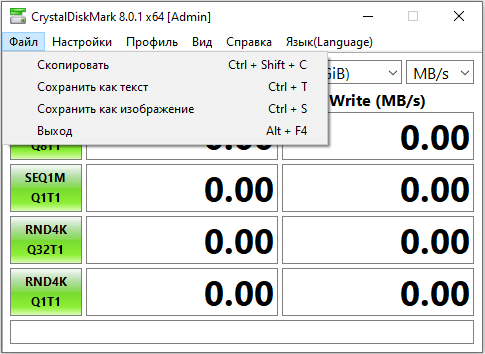
Everything is pretty clear with the top menu. The “File” tab allows you to copy the test results to the clipboard or write to a file on disk.
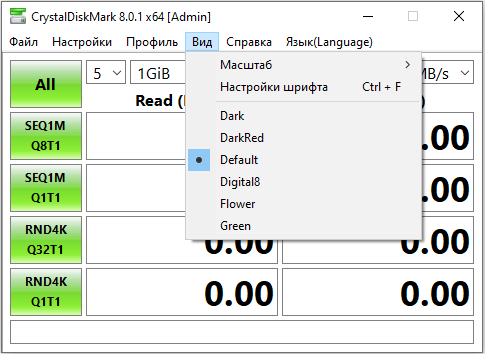
Tab “View” – to change the color scheme of the small program window and to change the scale of displaying test data. Obviously, the purpose of the “Help” and “Language” tabs is self-explanatory. But the item “Settings” requires detailed consideration.
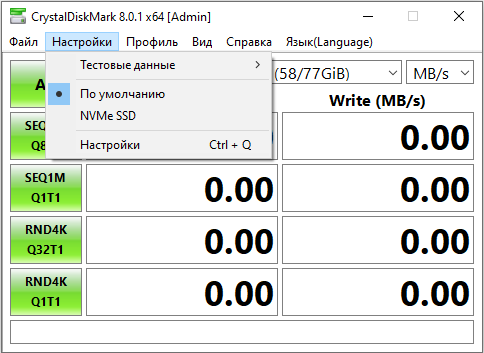
Here we can change the data used (meaning the file that will be written / read), set a pause between tests, activate IE8 mode, which assumes testing in 1 thread with a queue depth of 32.
As for the item “Queue and threads”, it is intended for experienced users and allows you to manually set the number of threads and the depth of the queue.
Let’s move on to the description of the main parameters of CrystalDiskMark, located under the top menu.
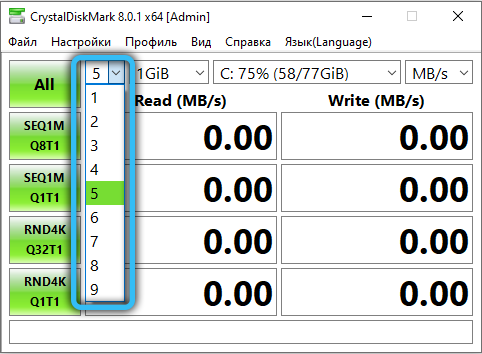
The first drop-down menu allows you to set the number of runs. The default is 5 checks. It is clear that the higher the value, the more accurate the results will be, but the testing time will increase in direct proportion.
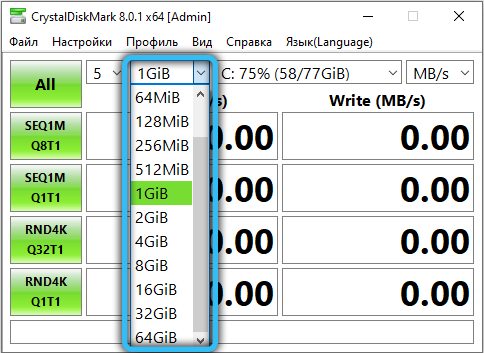
The second list prompts you to select the size of the control file (by default – 1 GB). Of course, the above rule is also true here: the accuracy of the results obtained will be the higher, the larger the file will be selected for testing. Again, this will affect the runtime of the check. But there is one caveat: the file size strongly depends on the size of the media. An 8 GB file simply won’t fit on a 4 GB flash drive, the optimal value for removable media will be the minimum parameter values (50-100 MB).
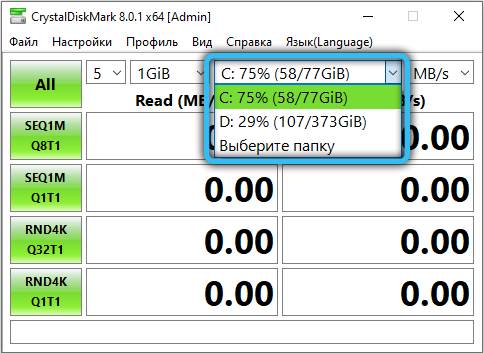
Finally, the third list contains all the media detected by the program, you just have to select the one you need. Here you can also see the amount of unallocated space on the media. If for some reason the required drive is not in the list, you can try to specify it yourself through the explorer by selecting the “Select Folder” item.
The green buttons on the right are responsible for starting testing with different parameters, which we will discuss below.
How CrystalDiskMark works
By clicking on the “All” button, we emulate the sequential pressing of the bottom four buttons, that is, we start a full test.
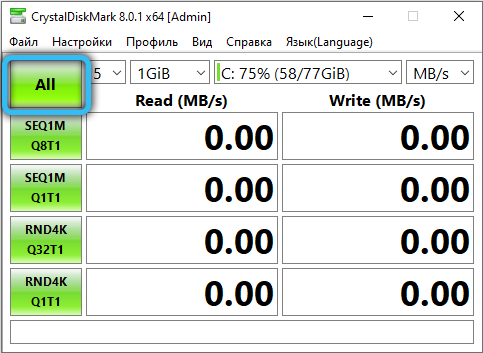
But first, let’s look at what these 4 buttons mean. Seq means that the control file will be written sequentially, as well as reading it. The 4K notation indicates that all operations will be performed using a random number generator, and the read / write block size is 4KB. And the last designation, Q32T1, informs that a queue depth of 32 is set for 1 thread (otherwise, the queue depth is equal to one).
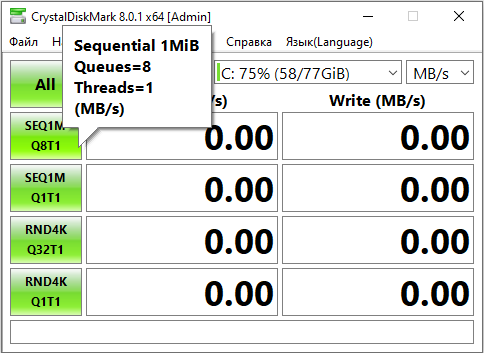
So, by pressing the Seq Q32T1 button, we start testing with sequential reading / writing of a control file with a queue depth of 32 in one thread. The best option for checking the speed of SSD and HDD drives, since the size of the control file will be at least 500 MB. It is the result of this test that should be compared with the media speed specified by the manufacturer. Note that running this test will not affect the performance of your computer.
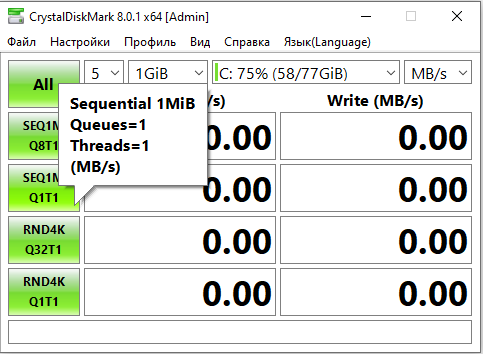
The 4K Q32T1 button is best used to test an operating system disk partition. The reason is that any modern OS mainly works with small blocks of data, and testing will be done in 4 KB blocks with a single thread with a queue depth of 32.
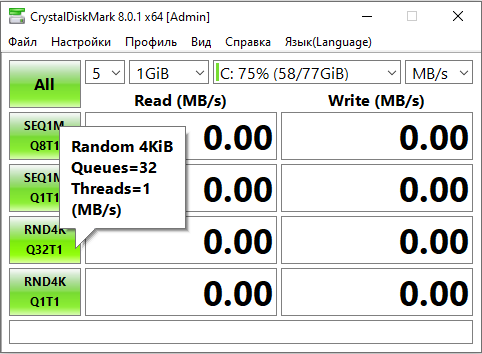
The other two buttons do the same job, but with a queue depth of 1.
That is, with the Seq button it is better to check the speed of the hard and SSD disk, and with the 4K button – the partition with the operating system or small flash drives.
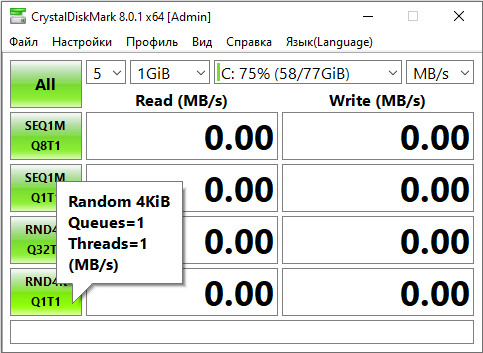
And what are these parameters, stream and queue?
With the stream, everything is more or less clear – this is the number of simultaneously performed read / write operations, an increase in this parameter leads to an increase in the load on the media. As for the queue depth, it indicates the number of requests processed by the drive under test. The deeper the depth, the more information will be processed by the disk, which means that the accuracy and efficiency of the results will also increase.
So, we reviewed the instructions on how to check the disk speed using the CrystalDiskMark utility, but the results obtained are unlikely to be clear.
Interpretation of test results
How to understand how normal the read / write speed readings on the selected media are?
The result strongly depends on its type: for a USB flash drive, the nominal speed will be one, for memory cards – another, for hard drives – it will differ from the speed of a solid-state drive. Its volume also matters, but in any case it makes sense to compare the test results with the speed characteristics of the carrier declared by the manufacturer.
So what do the resulting numbers in CrystalDiskMark mean that appear in the boxes to the right of the buttons?
The approximate decoding is as follows:
- for the SeqQ32T1 test with respect to the hard disk, read speed at 150 MB / s, write speed – 130 MB / s should be considered normal;
- solid-state media are faster, therefore, for SSD disks in the same test, the optimal read speed will be about 400-450 MB / s, writing – 350-400 MB / s;
- for 4K tests, as a rule, both read and write indicators are approximately the same, and the absolute value will depend on the queue depth. The theoretical average read speed for this test is about 1 MB / s, writing – 1.1 MB / s (data are given for HDD disks).
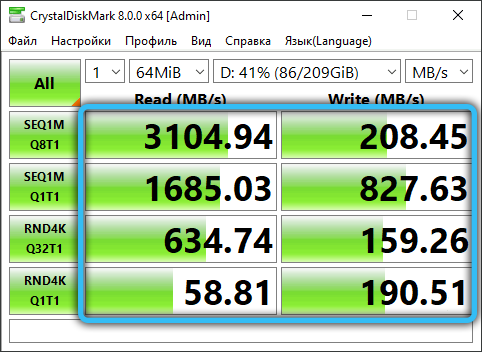
It is the latest tests, with the 4K index, that are considered the most important, since they measure the speed of the operating system with small blocks of data. And the peculiarity of all modern operating systems is that approximately 90% of the processed system data is 8 KB or less. That is, the speed of testing in this mode indicates the real speed of the operating system with the selected drive.
Errors made when measuring speed
Most often, users of the utility are unhappy with the fact that the test results do not coincide with the declared performance of the drives. Such discrepancies can be caused by incorrect actions of the users themselves. An example is the measurement of the speed of a USB 3.0 stick when it is inserted into a 2.0 slot. As a result, you will get the speed of the port, not the carrier itself, and they will be very different.
The situation is the same with hard drives, especially removable ones. By connecting a SATA 3 hard drive to the SATA 2 connector, you will get unreliable results. The situation is similar with memory cards: the speed of the card reader must be no less than the speed of the tested drive.
And one more nuance: during testing, it is unacceptable to run applications that actively perform read / write operations. It is desirable that only CrystalDiskMark be listed among the running programs.
Finally, there must be enough free space on portable drives, otherwise the test files will simply not fit on them.