Contents
Introduction. Nexus – and that says it all
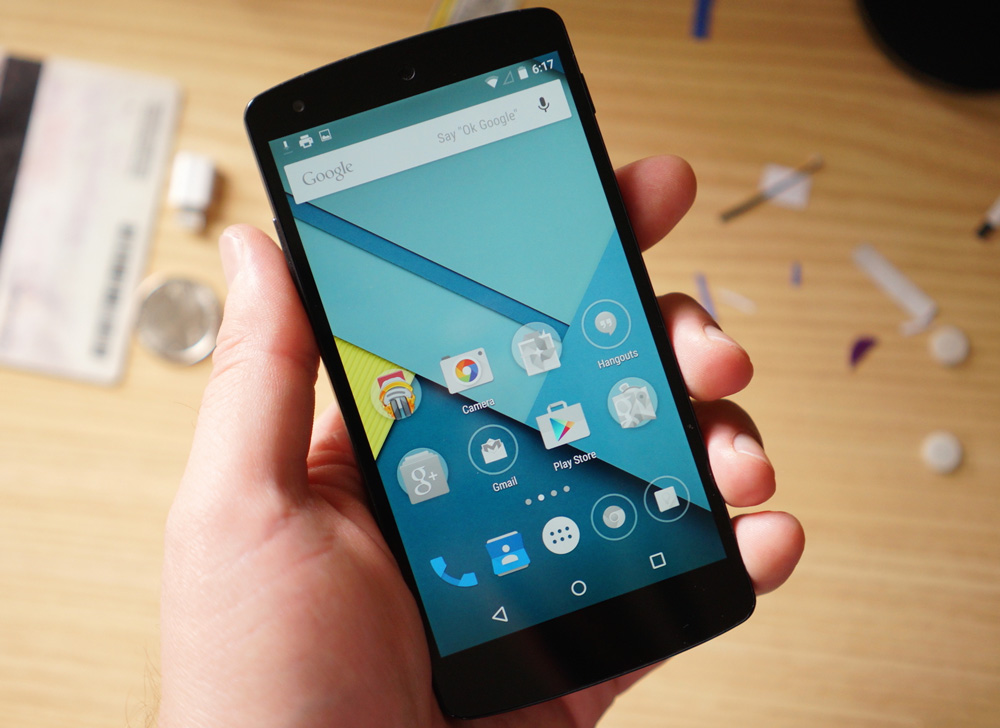
Smartphone from Google and LG – Nexus 5 – is undoubtedly an interesting product. You can even loudly declare that today this smartphone is truly the most worthy and high-quality of the entire Nexus line. You have to give credit to LG for a job well done. They were able to create a good device for little money, which is a definite plus in the smartphone market.

What you need to flash your Nexus 5
Due to its popularity and well-established design, the device receives all the latest updates from Google. What is there to say? The smartphone turned out to be so successful that LG released an updated version of this device – Nexus 5X, changing only the filling of the gadget (that is, they modernized it, making it completely modern and relevant). Yes, and the Nexus 5 works with a bang! But users often have a question: how to flash Nexus 5? Therefore, today we will devote ourselves to this problem.
Before talking about the firmware, it is worth mentioning what changes in the filling of the device after the procedure. The essence of this “game” is to change the operating system of the device. And what OS is preinstalled on the LG Nexus 5? That’s right, Android. It is the version of Android that we will change today. For example, if you have KitKat 4.4 installed, then you can install Lollipop or another available version on your phone using an official over-the-air device update.
What you need to know before flashing?
First you need to go through some briefing before performing the main actions. In no case should these recommendations be belittled, because you can be left with nothing, that is, with a non-working smartphone. So, what do you need to know before flashing your favorite phone?

- The device must have a charge of at least 60-80 percent for uninterrupted use.
- Be sure to use only original accessories (USB cable, power supply, and so on).
- To download data (firmware, software updates) you need an Internet connection with unlimited (unlimited) traffic. In principle, tariffs with limited traffic may also be suitable if this does not provide you with any inconvenience. If you are not sure what your tariff is, be sure to check with your Internet provider.
- If you just need to update the software version of your Nexus 5 smartphone, then the following paragraph is at your service.
- If you want to install stock firmware using a computer, then go to the corresponding paragraph.
- If you are in doubt about the choice, then read all the instructions and choose the most suitable one.
- The main thing for you is to remember the following fact: you do all the actions performed with the device at your own peril and risk. No one guarantees the correctness of the flashing with the help of third-party programs (this does not apply to the official update of the software version). Therefore, it is better to think over your decision well several times, so as not to go later with a “brick”, and not a Nexus Googlephone
Updating the operating system version “over the air”
If you do not know the meaning of the concept “by air”, then we will tell you. This means that the update will be performed directly from the phone itself without the need for a computer or cords.

- First, connect to an available Wi-Fi wireless network.
- Now go to the “Settings” menu and find the “About device” item. Here we will need a tab called “Software Update”. Click the Update button.
- If your smartphone writes that updates have already been installed on your device, then there are no available firmware for your device. That is, the latest available version of the operating system is installed.
- Otherwise, you need to agree to download updates and wait for it to complete. When finished, click on the Install button. After that, your Nexus 5 will start a system update, during which the device cannot be used. In no case do not turn off the phone, do not try to reboot, remove the battery – you can get a “brick”, that is, a completely non-working device.
- Only when you see the familiar home screen and a message that you have successfully completed the firmware update procedure, you can use the device as usual.
Install stock firmware
Preparatory work
- Charge your smartphone to at least 70-80 percent.
- Download the drivers and extract them to a new folder on your computer or laptop.
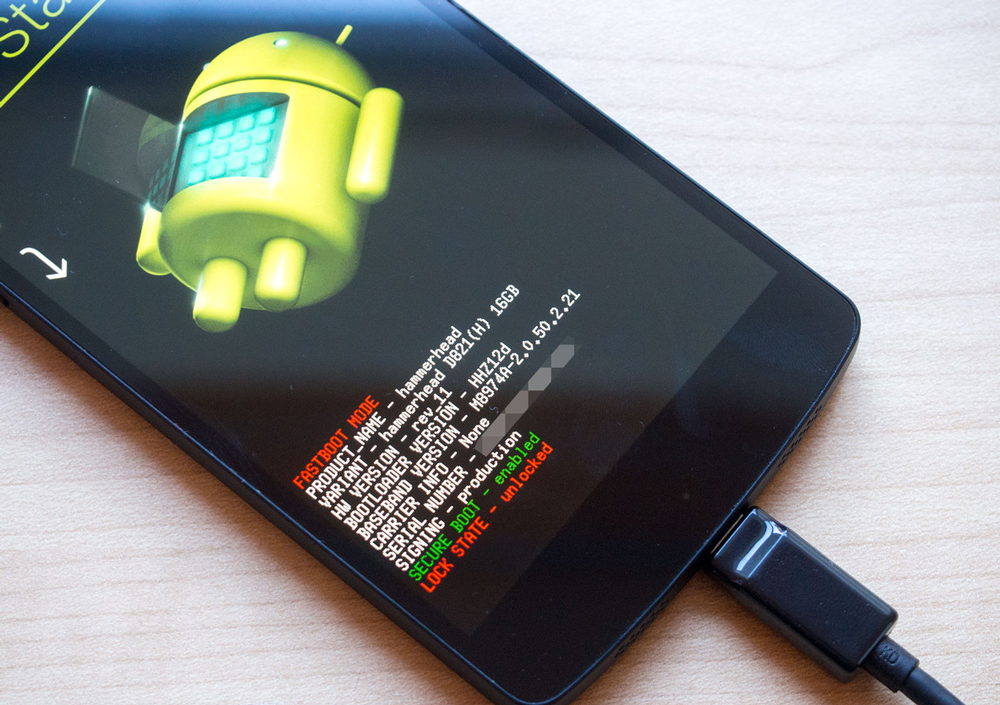
- Now you will need to install the downloaded drivers. To do this, we translate the Nexus 5 into Fastboot mode as follows: turn off the device, and when turned on, simultaneously hold down the Power button and the volume down key for ten seconds.

- Connect to the computer using a USB cable.
- On a PC or laptop, go to the device manager and look for our smartphone there. Right click on it and open its properties. In the window that appears, switch to the Driver tab and click on Update. Now the computer will ask you to select an update method, where you must select a driver from the list of installed ones. Next, we move along the following trajectory: first “Show all devices”, then go to “Install from disk”. Now we go to the folder created in the second paragraph and find the android_winusb.inf file there and click OK. Next, simply install the driver using the prompts in the pop-up windows.
- Now download ADB and Fastboot to your PC. Please note that these programs must be installed according to the bitness of the computer system. That is, if you have Windows x32, then download the utility for x32/86. A similar situation with Windows x The downloaded archive must be unpacked into a new folder. In no case do not make Russian folders or subfolders. For example, the program path D:ProgramADB is incorrect. It will be correct to do this: D:ProgrammsADB.
- Now download the stock firmware for your smartphone. The firmware files must be unpacked into the ADB folder, which should not contain other subfolders
At this preparatory work is declared completed. Be sure to check the correct execution of the instructions so that there are no problems in the future. Next, we turn, in fact, to the firmware process itself.
flashing
- To begin with, repeat the third paragraph of the previous paragraph – transferring the device to Fastboot mode.
- We connect the smartphone to a personal computer using a USB cable.
- The third step is to launch the utility from the ADB folder, the seventh paragraph of the previous paragraph) – the file is called flash-all.bat. It remains to wait for the completion of the flashing of the device.
Solution of problems
Of course, it happens that the first time not everyone succeeds in making the Nexus 5 firmware, and indeed any other device. And often users have some problems. The most common question in such cases is the eternal reboot of the device. What to do?
- Power off your smartphone using the power button.
- Enter the phone into Fastboot mode (if you forgot how to do this, then return to the third paragraph of the “Preparatory work” paragraph).
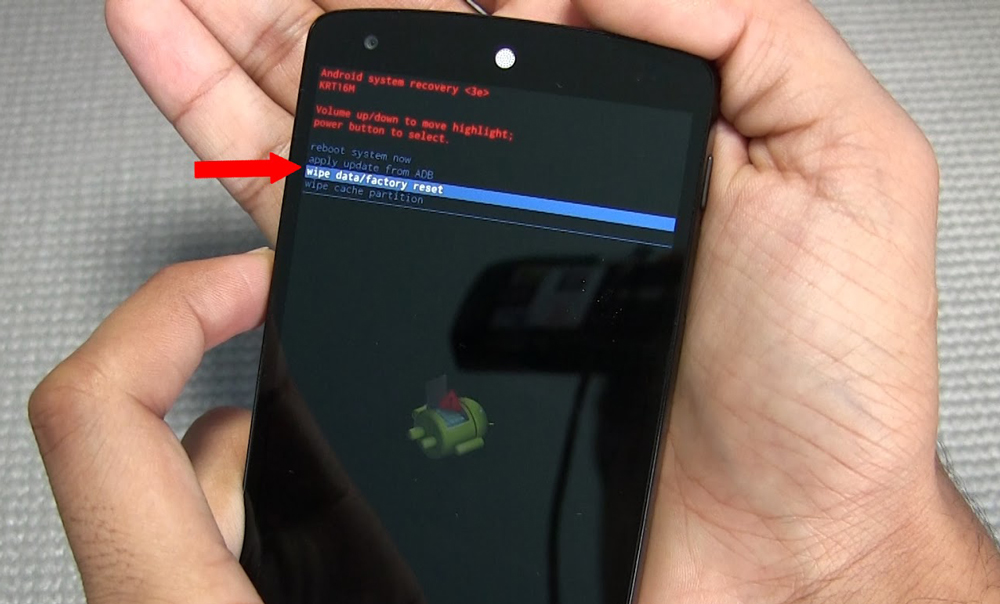
- So, now launch Recovery Mode, where you should see an Android icon with an exclamation mark. Press the power and volume down buttons again.

- In the menu that appears, we will need to select wipe data / factory reset. Reboot the device with reboot system now.
- Ready! You are amazing and have stock firmware on your smartphone.
Answers to some questions
Friends, let’s answer for ourselves some questions that users most often have even after a successful flashing of the device.
- Will official Google updates come to the device “over the air” if I return to the stock firmware? Yes, you will receive updates as expected.
- Will the repair warranty expire? Of course, your warranty won’t void. However, in order to return the device to a store or official service center, you will need to lock the Bootloader and reset the jailbreak flag.
Summing up
So, today we have learned how to flash or reflash an LG Nexus 5 smartphone. We also looked at the solution to one of the most common problems – the eternal reboot of the device. In addition, we answered two frequently asked questions about stock firmware. Now you can consider yourself completely savvy in this matter. Good luck, dear friends! Don’t forget to share your results in the comments.