While working on a computer, users often have to take screenshots. This is an extremely convenient way to capture an image on the screen, then save it or send it to another person. You can use the standard tools of operating systems, but specialized programs have great potential. One of them is the PicPick application, which greatly expands the possibilities for creating screenshots.
Contents
Program description
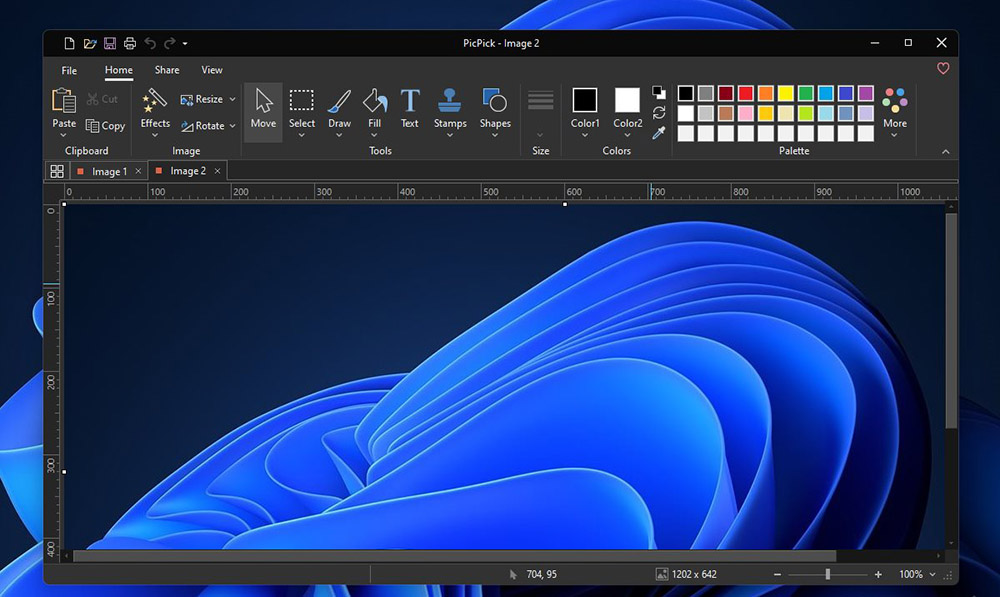
PicPick is a free application that any user can freely install on their computer. This is an advanced graphics editor designed to expand the possibilities when creating screenshots and editing images. The program includes an extensive set of tools for working with graphics.
The application has a built-in function for capturing images from the screen, and also has a full-featured image editor. Thus, the user can quickly create a screenshot and put on it all the notes of interest (arrows, markers, etc.).
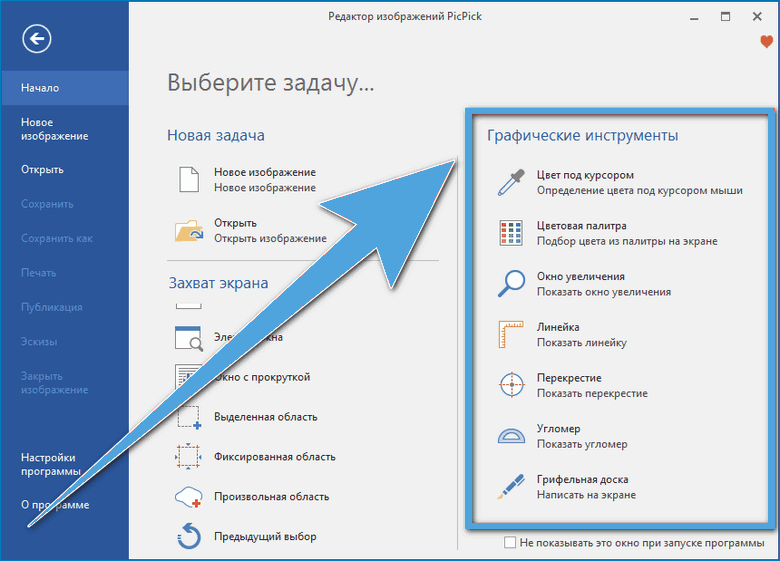
The functionality of the program also includes numerous settings for brightness, shadows, watermarks, frames, and the like. In the list of available graphic tools, you can find a ruler, a magnifying glass, a color palette, as well as a standard crosshair for easy image marking.
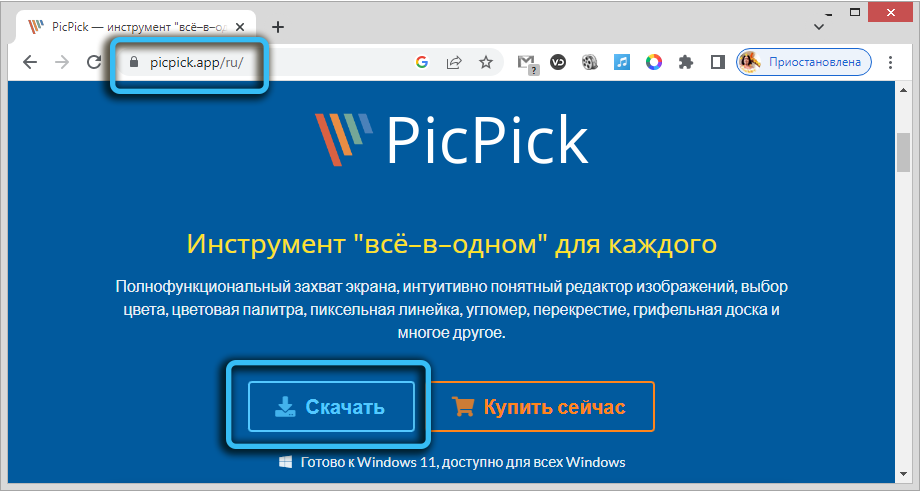
You can easily download the PicPick application on the official website of the developer for free. There are two versions to choose from: an installation file and a portable version that works without installation.
Basic Functions
Once the PicPick program is installed on the computer, the user can launch it through a special shortcut. The workspace of the program will open, which includes all the necessary interface for working with images.
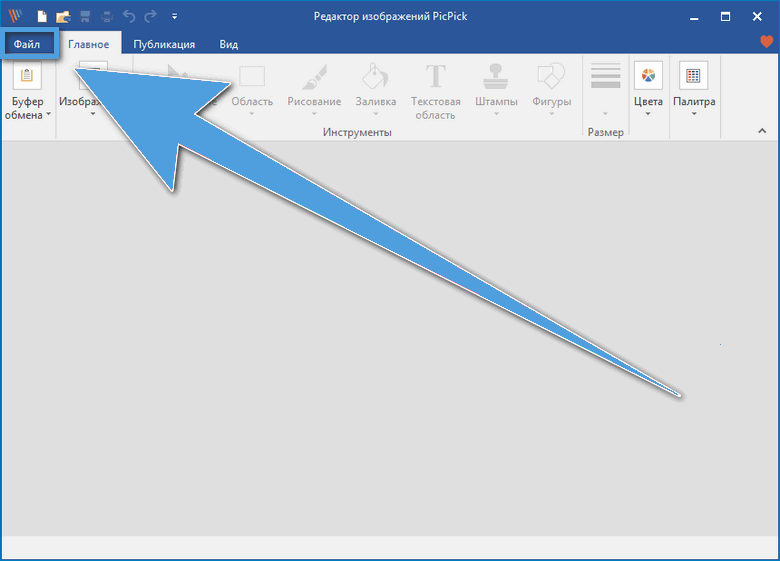
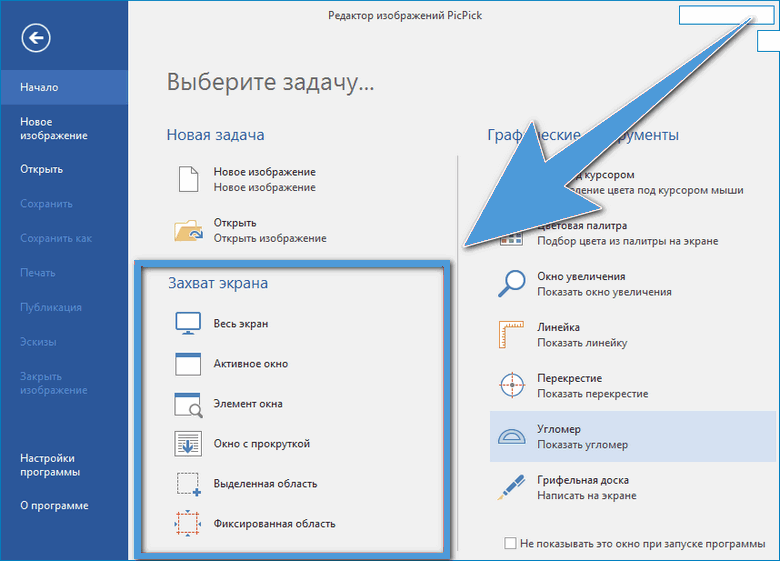
All the main functions are located in the “File” menu in the upper right corner of the window. There, the user has the opportunity to launch a new task, edit an already saved image, or create a new screenshot.
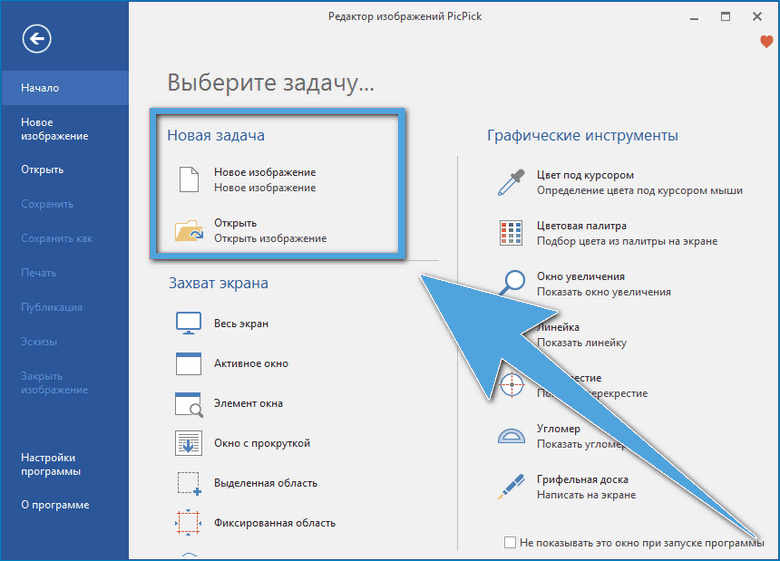
You can capture the entire screen at once or limit yourself to only the active window. This way you can avoid the appearance of unnecessary elements in the picture. Also nearby is a set of graphic tools (palette, ruler, protractor and inscription). Additionally, functionality is available to accurately determine the shade under the cursor.
How to take a screenshot
The easiest way to take a screenshot with PicPick is to use the corresponding icon in the notification area. Also, along with the application, a floating widget is installed, which includes all the necessary buttons.
You need to right-click on the icon in the notification area or find the command in the widget. Next, you need to specify the method of capturing the screen (completely, within the active window, part of the window).
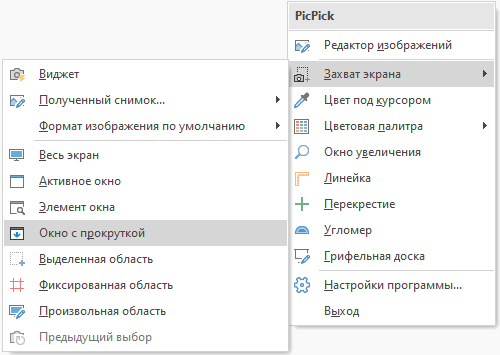
There is extensive functionality available for setting the saved area. You can even take a scrolling window snapshot, allowing you to capture an entire web page.
In the application settings, you can configure hotkeys to avoid long screenshot debugging. In this case, it will be enough just to press the appropriate combination of buttons to get the image of interest.
The finished screenshot can be opened in the built-in PicPick editor, automatically saved to disk, or sent to a specific address (cloud storage, mail). It all depends on the individual user settings.
Image editing
If the default settings have not been changed, the built-in image editor will open immediately after taking a screenshot using the program. If necessary, this feature can be immediately disabled in the application settings.
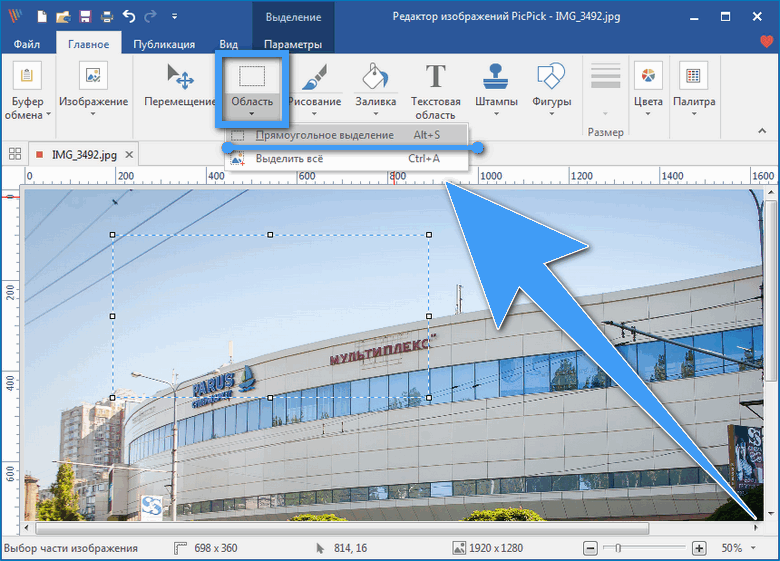
The editor includes a set of tools for easily editing a screenshot just before saving it. Here you can easily resize, crop the area of interest, add an inscription or change the hue of individual areas. In particular, it is often necessary to blur certain elements (signature, account numbers, last names, etc.).
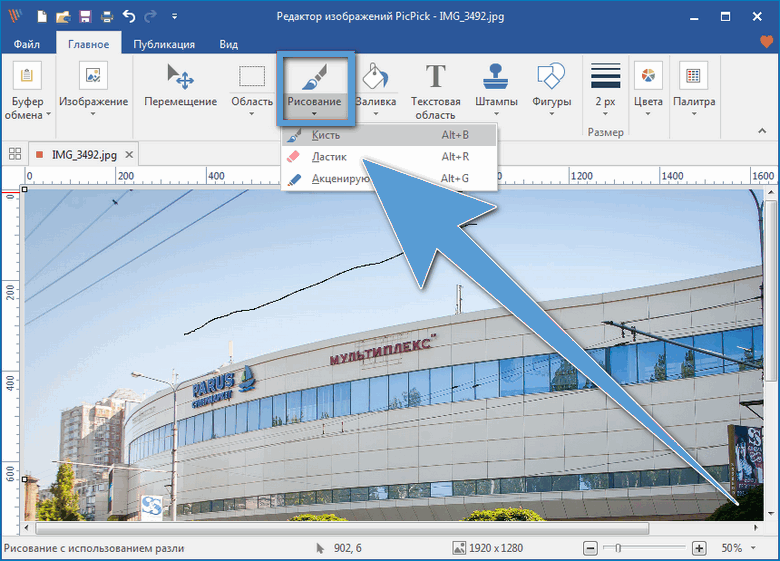
An extremely convenient tool is drawing on the screen. So you can easily select the part of the screenshot that interests you, create pointers, markers, and the like.
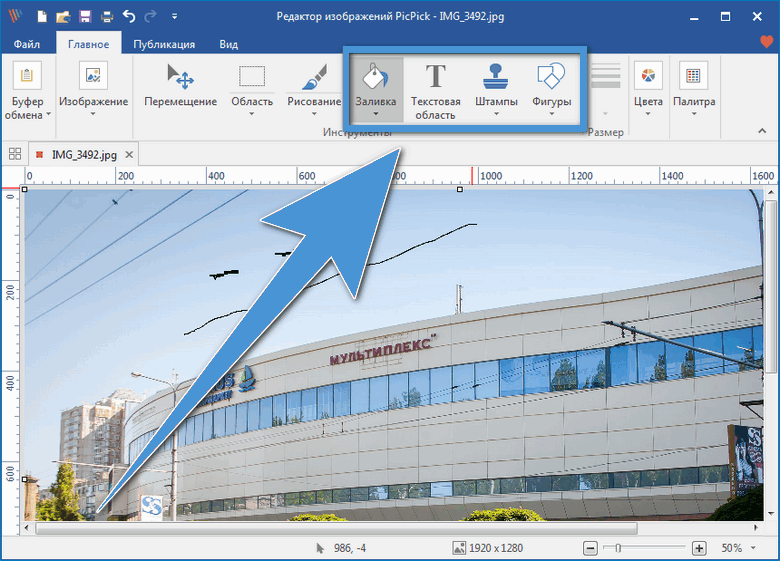
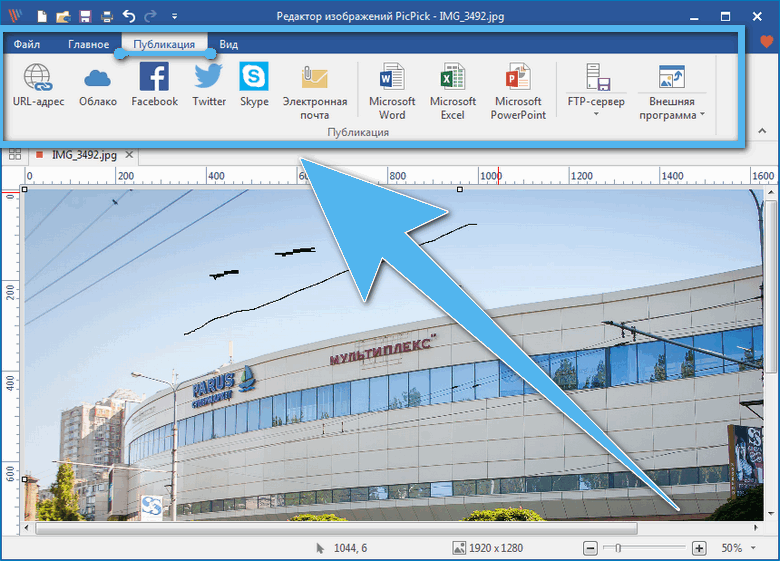
Once editing is completed, the finished file can be saved to your computer. Also, in the settings, autosave screenshots in the folder of interest immediately after creation is configured. In some cases, it is convenient to use the functionality for automatically sending images to cloud storage or by e-mail.
The PicPick program is a multifunctional software for those who do not have enough standard OS capabilities to create screenshots for comfortable work. The application does its job perfectly and does not overload the system.