Contents
Introduction
The Internet is considered accessible if it can be used without regard to the speed and volume of downloaded information. 3G Internet can hardly be considered fully accessible, since it is not always fast and often very expensive. Wi-Fi is just the way to remedy this situation. It is available in many public places, with routers in almost every home. You just need to correctly configure everything.

Connecting Wi-Fi to your phone may seem like a simple question, but not for beginners who are not yet familiar with Android or iOS. This instruction is addressed to them.
Enabling Wi-Fi on Android
To configure wireless Internet, you must first start the Wi-Fi module. This is done by clicking on the wireless connection icon in the notification bar in the status bar. Swipe down from the top of the screen, select the icon in the right corner, find the Wi-Fi icon among the highlighted icons and click on it.
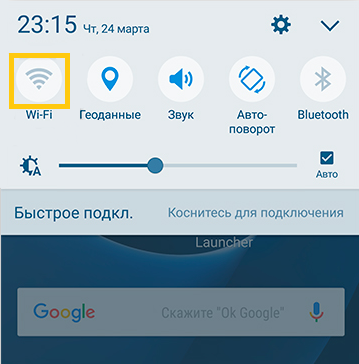
If for some reason you cannot use this scheme, enable access in the settings menu. Go to Settings → Wireless & networks → Wi-Fi → Enable.
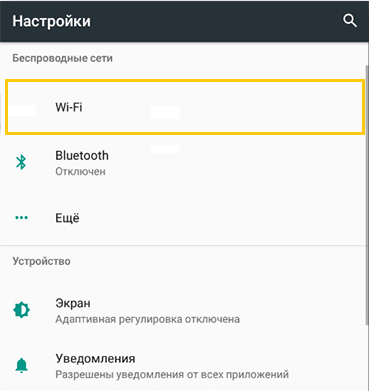
Then select the network you want to connect to. When using the status bar, hold down the connection icon for a few seconds, after which you will see a list of available connections. If it is encrypted, enter the access password. If you are going to use it regularly, check the box “Remember”.
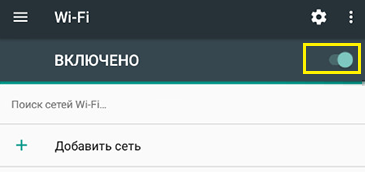
If you enabled access through the settings menu, in front of the enable slider enter the Wi-Fi menu, after which possible connections will be displayed. Follow the steps above.
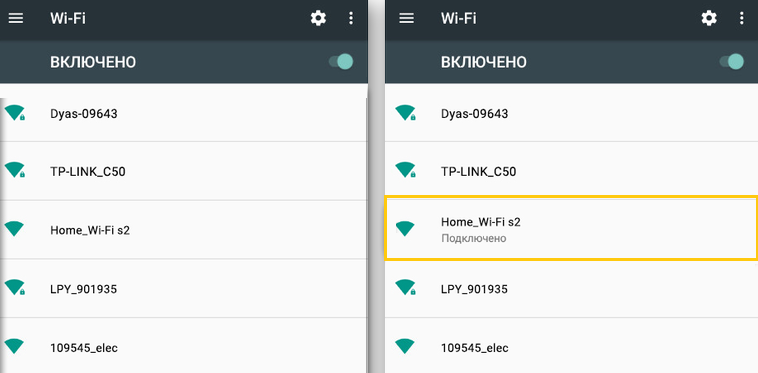
Follow these steps to set up your phone to connect to a new network. When you are in the coverage area of the memorized connection, the device will be able to connect you automatically.
If you use Wi-Fi mainly at home, you can establish the Internet directly through a router. Each of them has a WPS secure communication button that allows you to connect any device using an encrypted signal. To use this function, you need:
- Go to Settings → Wireless networks → Wi-Fi, click on the icon in the form of two circular arrows.
- The system will prompt you to press the WPS button on the router. Complete this requirement.
- After a while, the connection will be established.
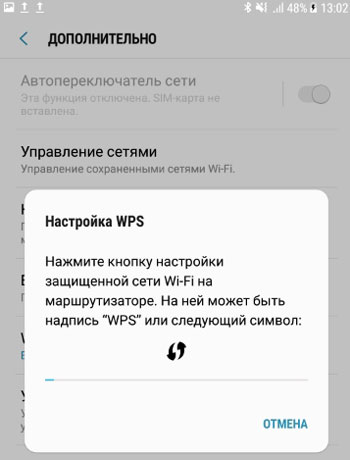
This method is relevant only at home, because you do not need to enter a password every time. Of course, you can’t use it in a cafe or shop.
Wi-Fi connection on iOS
Connecting on iOS is virtually the same as on Android. To connect your phone to Wi-Fi, go to Settings → Wi-Fi, activate the On slider. After that, select the desired network from the list, enter, if necessary, a password, and – welcome to the Internet. Setting up Wi-Fi on iOS is absolutely not difficult.
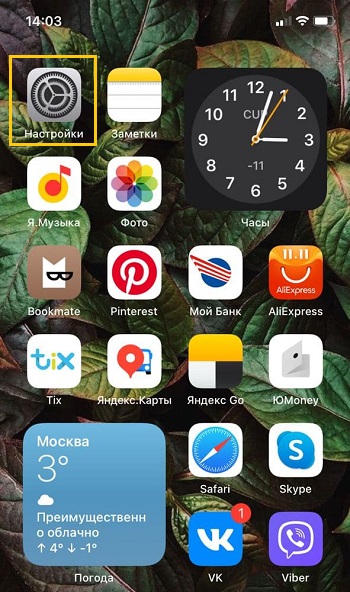
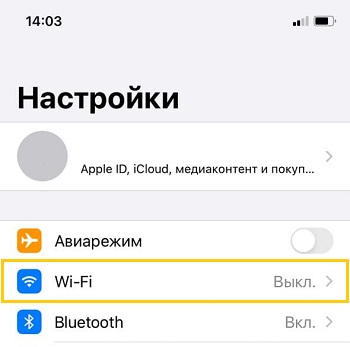
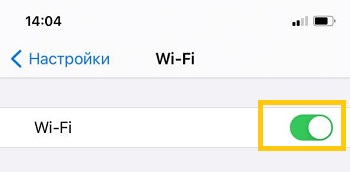
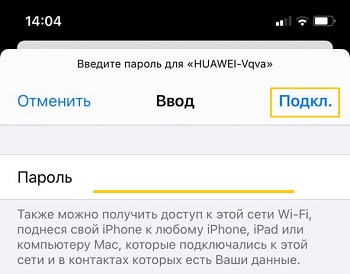
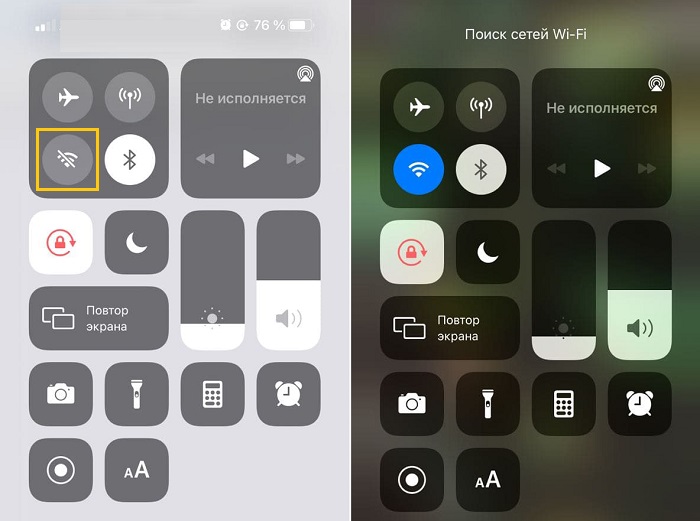
Starting with iOS 7, it is possible to quickly connect a device to a wireless connection via the Control Center. Swipe up from the bottom of the screen, click on the Wi-Fi icon, select the desired connection from the available ones in the list, enter the access code and connect.
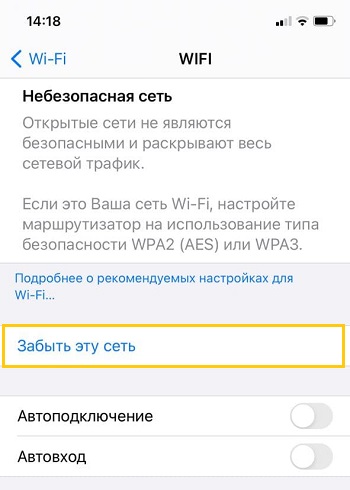
In the future, the phone itself will communicate with the selected network, once it gets into its coverage area. If you don’t want this, click on the connection and select “Forget this network.” In addition, you can manually adjust criteria such as IP address, DNS, and subnet mask. To do this, in the “Static” properties tab enter the required information.
If suddenly something does not work
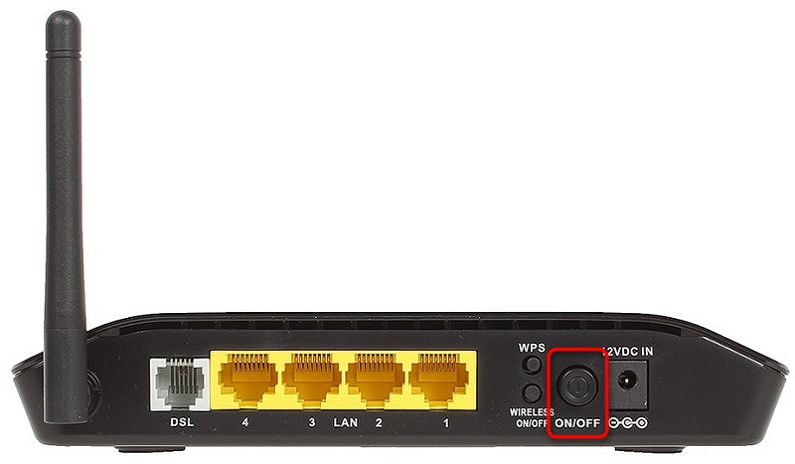
In this case, you shouldn’t blame anyone. Often, it is enough to reboot the router and the connection will work as expected. It also doesn’t hurt to check your phone’s settings to see if you’ve entered anything by mistake.
Conclusion
All users periodically face the problem of connecting the phone to Wi-Fi. We hope that after reading this guide, you will not have similar questions.
Do you use Wi-Fi on your phone? Do you have any problems with this? We are waiting for your responses in the comments.