Since optical drives are becoming an anachronism, and many modern PC models are already equipped with them, installing an OS from a USB flash drive is becoming the de facto standard. To create such a bootable media, there are many programs, the essence of which is to write an iso-image of the operating system to a USB flash drive along with accompanying software.
As a result, only installation files will be located on the USB drive, which for Windows 10 are about 5 GB in size. If the volume of the medium itself is 16 GB, then it is clear that most of it will be empty.
It is quite understandable that many users want to use this space for plausible purposes – for example, to host utilities for restoring a computer or an image of another OS. In most cases, the option to create a multiboot flash drive is not supported, since the algorithm itself provides for formatting the drive and only then transferring the iso image to it.
But there is a solution to the problem, and his name is Ventoy.
Contents
What is the Ventoy utility for?
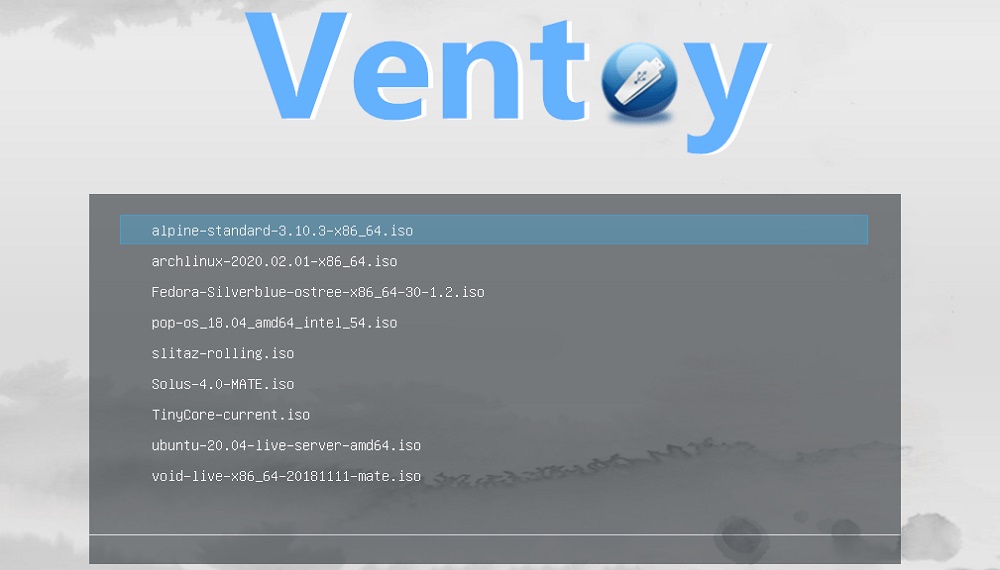
The principle of operation of Ventoy and similar programs is to turn an external drive into a bootable one, after which the installation images of the necessary operating systems are simply cloned onto it, be it Windows or a Linux distribution kit. Figuratively speaking, Ventoy is a convenient tool for creating a boot menu on a USB flash drive. A similar menu is generated automatically when the computer starts to boot from this drive. The main difference between Ventoy and its counterparts is support for all the most common image formats (except ISO, the utility understands WIM, IMG, VHD / VHDX types), support for installing Windows / Linux with the ability to record emergency LiveUSB (for Linux / WinPE). Finally, Ventoy can handle both BIOS flavors, UEFI and Legacy.
Program settings and options
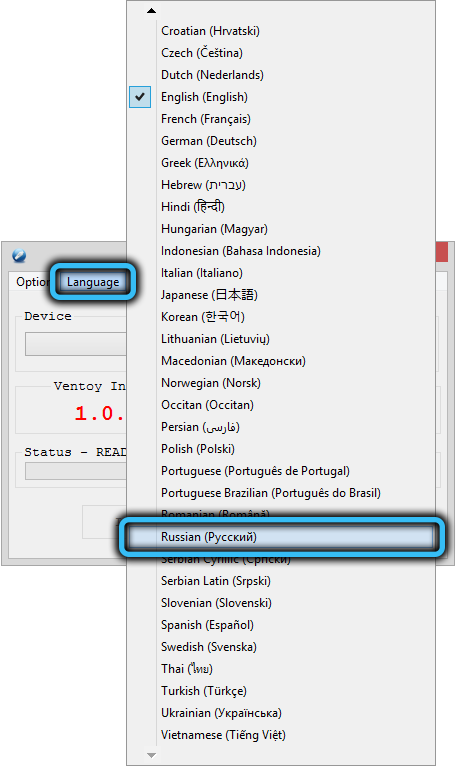
Let’s consider the main features of the utility. The main Ventoy menu includes settings (Options) and an item for selecting the interface language. With the latter, everything is clear – we choose Russian.
But the “Options” menu is worth considering in more detail.
Secure Boot Support refers to UEFI, that is, firmware that replaces the outdated BIOS. The main purpose of this function, as the name suggests (“Secure Boot”), is to prevent malicious code from executing while the operating system boots. Security is a useful thing, but sometimes it is excessive, and then it prevents the OS from starting from a flash drive, so it is advisable not to use this option for a PC with UEFI.
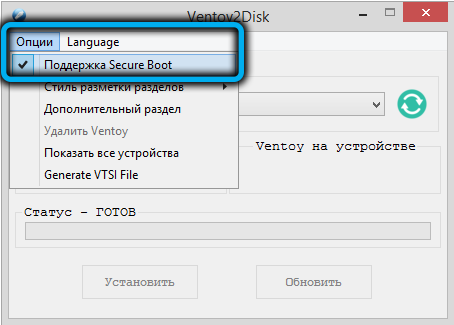
Yes, and on older computers with BIOS, the same problems are possible, so you should activate the function only in those cases when the boot from the USB media does not go according to plan.
The “Partition layout style” menu item allows you to select the format of the disk partition structure, MBR or GPT. The latter, of course, is preferable, since it supports drives with a capacity of over 2 TB, but in principle, the utility does not care which one you choose. The default is MBR, you can leave it, because in most cases this format will work, but old GPT PCs will not understand. On the other hand, computers of the latest generations do not understand MBR and will not be able to boot from a USB flash drive created for this format.
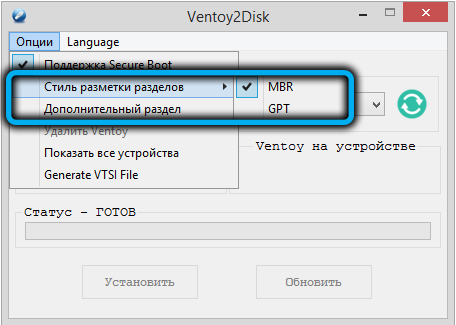
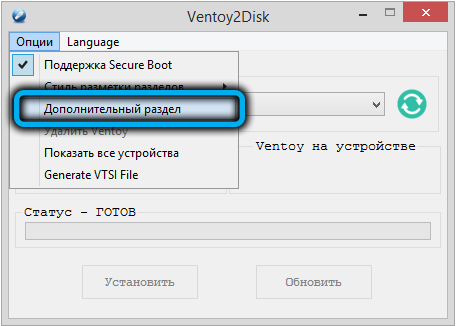
The item “Additional partition” makes sense to use if the flash drive has a large volume (from 32 GB or more) and you would like to use it not only as a bootable or multiboot, but also as a regular data storage. The creation of an additional section just allows you to implement your plan.
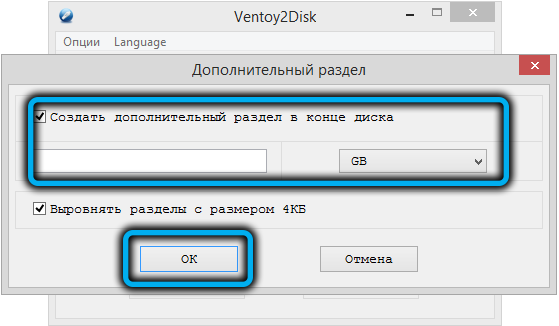
The partition will be created at the end of the disk, and its size can be set independently, and in MB or GB. In fact, not a disk partition will be formed, but an unallocated area in which you can create the required number of partitions.
If you use an additional section, then in the main program window, next to the Device field, a value will appear equal to the size of the additional section. section, but with a minus sign. This will mean that the main boot size of the flash drive partition will be less than its size by the specified number.
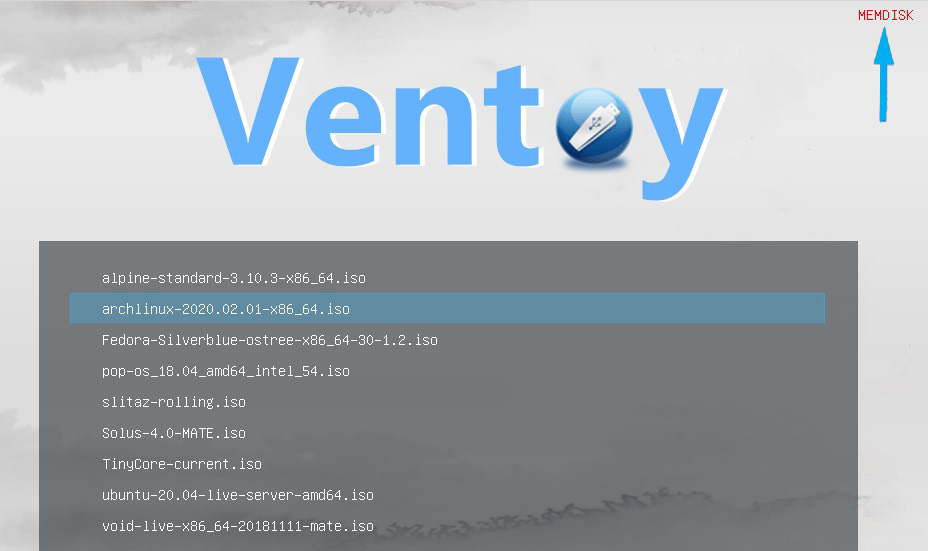
Another Ventoy menu, controlled by the function keys, is located at the bottom of the program.
Let’s consider these options as well:
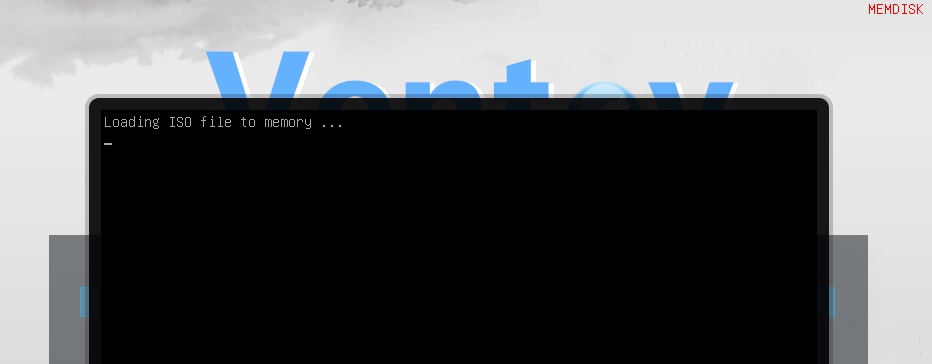
- F1 is used to activate Memdisk mode. Without it, launching any executable file leads to the fact that only the executable code is displayed in memory, but if you enable Memdisk, then this file will be loaded into memory in its entirety. It is recommended to use this mode when running small programs on a PC with BIOS. It is categorically not recommended to enable the mode for installing Windows. Shutdown Memdisk is done by pressing F1 again;
- F2 is used to call the Power menu (shutdown, restart the computer, sleep mode);
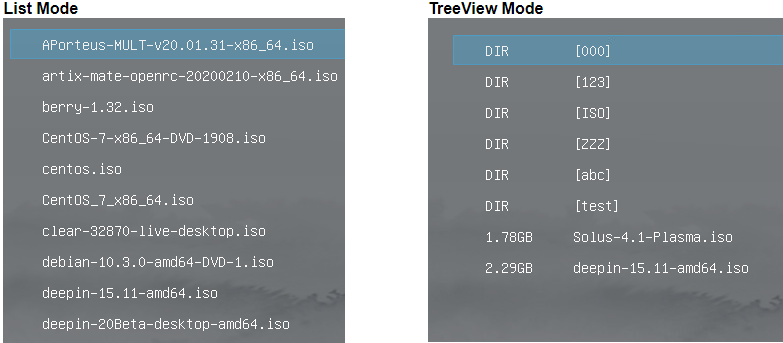
- the F3 key (TreeView) allows you to display the tree-like file structure of the flash drive, through which you can and conveniently navigate, as in the Total Commander;
- F4 – PC boot mode from a local disk, if there is a boot sector on it. In addition to booting from local disks, you can choose another boot loader – Grub or Windows;
- finally, the F5 key is the utility settings. Here you can select a keyboard layout, screen resolution, check the configuration file of installed plugins;
- F6 is a menu of functions that can be manually configured using a configuration file.
Speaking of plugins. A lot of them have been written for Ventoy, they can be used for a variety of purposes – for example, to password-protect the launch of a utility or to launch a program with Memdisk activation. In any case, these additional tools are primarily intended for system administrators and power users.
Before installing Ventoy on Linux, you should also familiarize yourself with the possibility of changing the appearance of the program. This is done using themes, a large pool of which is available on the gnom-look.org website. Installing themes is carried out as follows: download the archive with themes, unpack it into a separate folder and copy this folder to the root of the boot partition on the USB flash drive.
How to create a bootable USB using the Ventoy utility
Now, after familiarizing yourself with the functions and settings of the program, it’s time to get down to business.
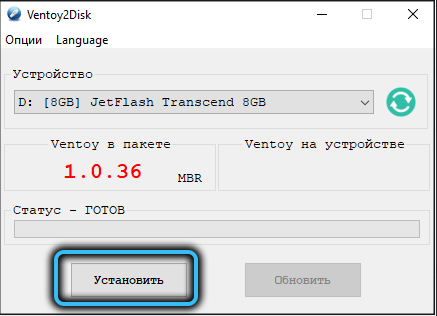
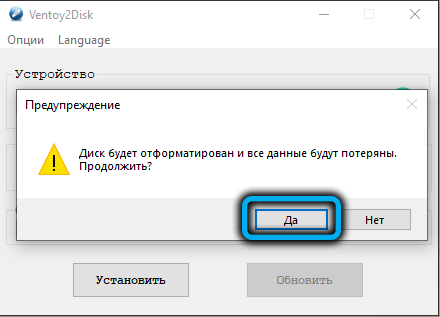
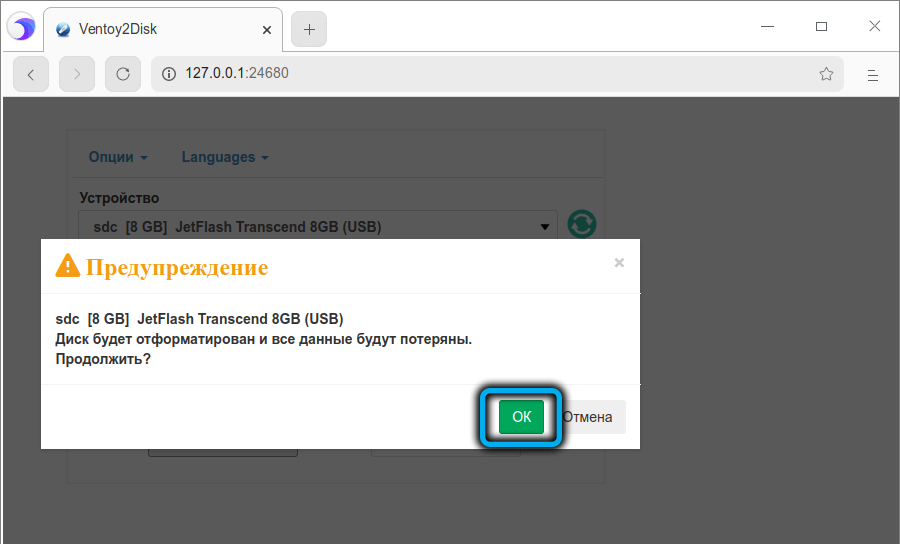
The actual interface of the working window is minimalistic. Here all you need to do is select a USB drive from the list next to the “Device” label, and then press the “Install” button. Several consecutive warnings will follow that as a result the flash drive will be formatted, which means that all files on it will be irrevocably destroyed. Each time we agree by clicking the “Yes” button. All that remains is to wait for the completion of the procedure for creating a multiboot drive.
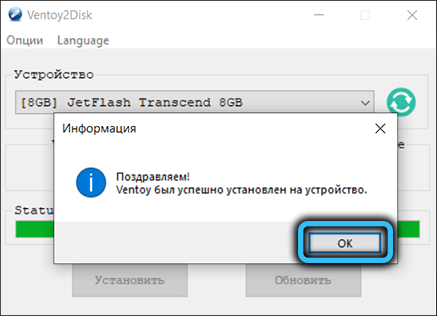
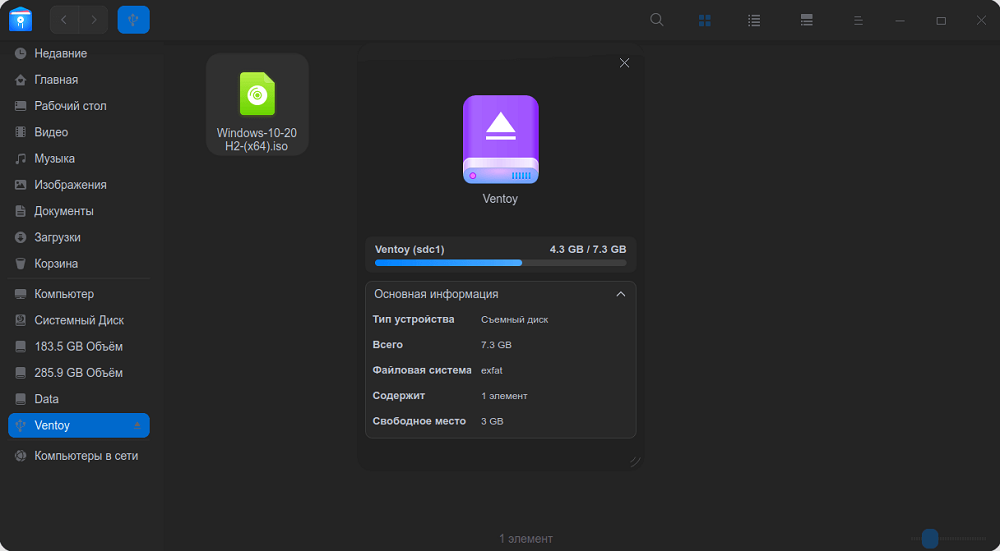
Now the flash drive will be bootable, and if you run the disk management utility and select our flash drive, we will see two partitions on it – one bootable, small in size, and the other, occupying the entire remaining volume, in the form of a partition with the exFAT file system. If the boot partition is not displayed in Windows Explorer, then the exFAT partition will be available, and images of operating systems can be copied to it (but only necessarily to the root!).

The main rule here is one: the name of the image file should not contain Cyrillic characters, otherwise in the Boot menu you will see incomprehensible krakozyabry instead of a meaningful name of the operating system.
That’s all you need to know about creating a multiboot flash drive in Ventoy, whether for Windows 10 or Ubuntu.
Now you can try to boot from this flash drive, and you will be taken to the Grub2 Boot menu with a unique style of design and a list of operating systems available for loading.
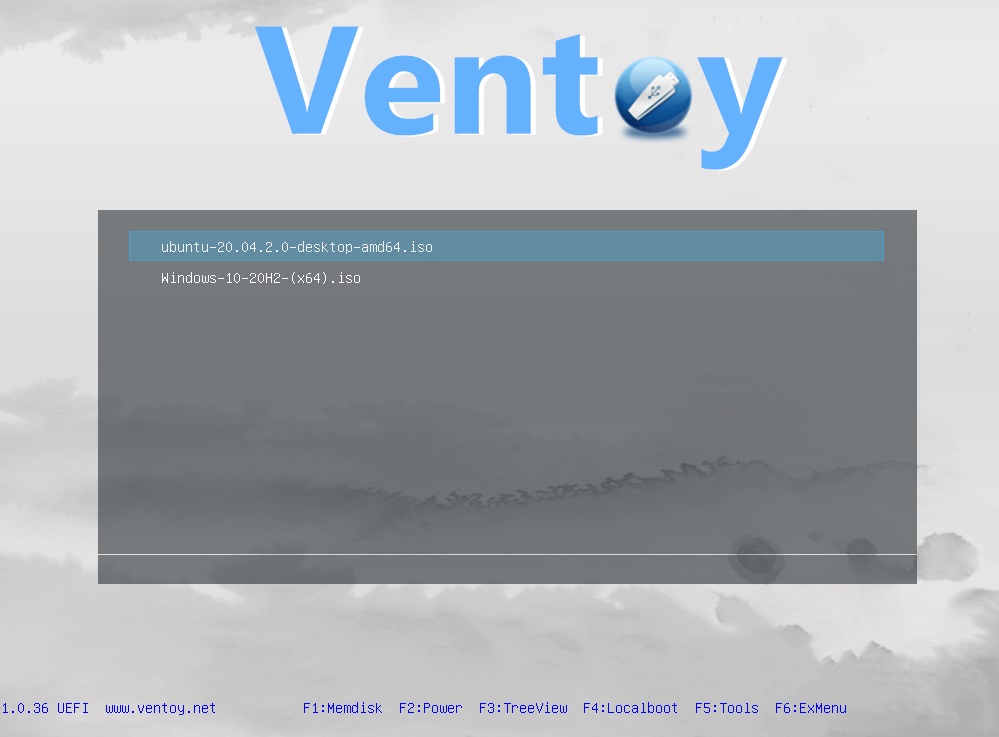
Note that the flash drive will remain bootable no matter what manipulations you perform with the images – rename them, add new ones or delete unnecessary ones. In any case, every time you start the boot menu, it will always be up-to-date. If the changes you made are not displayed, just run the utility and change the configuration file manually by clicking the “Update” button.
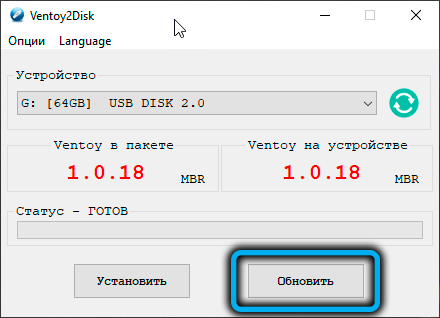
So, we figured out how to use Ventoy in the Win environment, but many still have questions about how to create multiboot flash drives in Linux.
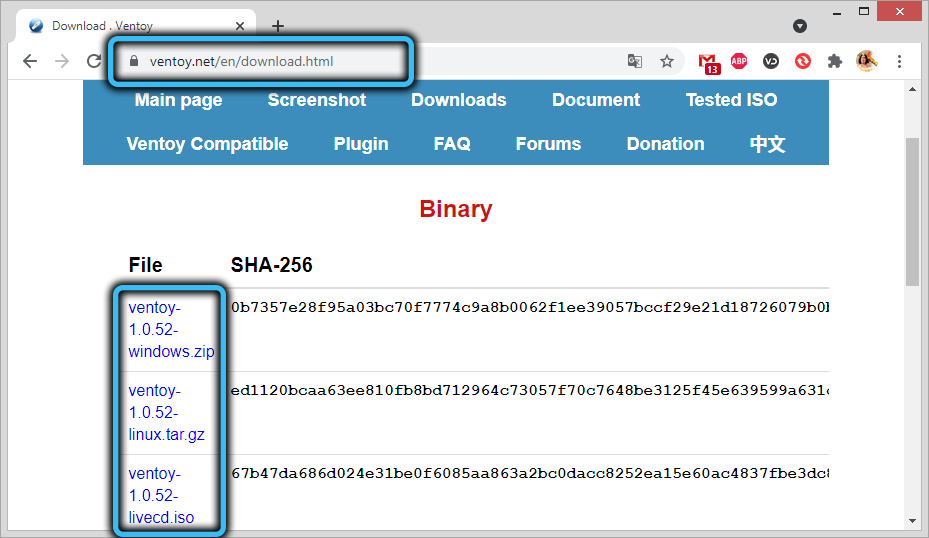
The first thing to do is to unpack the utility archive downloaded from the official GitHub site into any folder. This is done through the command
$ tar zxf <имя файла>.tar.gz.
Now you can start installing Ventoy. The most convenient way to do this is in graphical mode. To do this, go to the directory with the program:

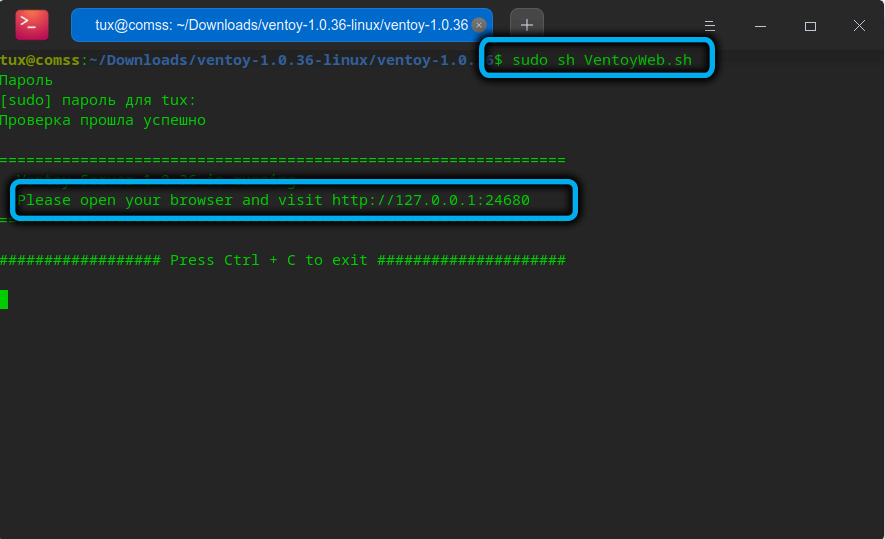
And run the VentoyWeb.sh script with the command:
$ sudo sh VentoyWeb.sh
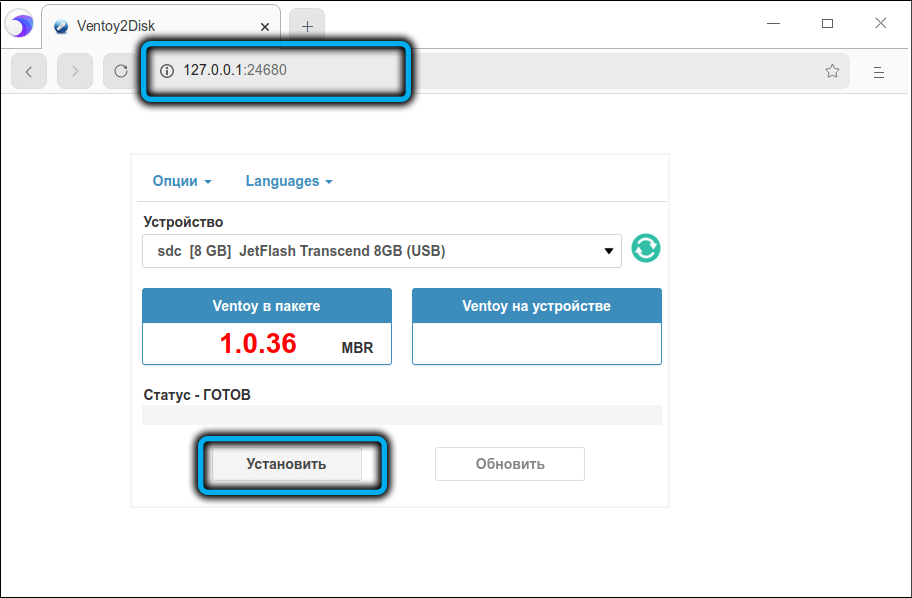
The script will ask you to launch the browser and type the address http://127.0.0.1:24680 in the address bar. So we do it.
The utility will start and look exactly the same as the Windows version. That is, we again select the interface language, go through the options and set what we need, then select the drive that we want to make bootable (the list will contain all logical drives, not just flash drives), and press the “Install” button.
When the creation of the bootable media is completed, exit the terminal window by pressing the combination “Ctrl + C”. Now, as in the version with Windows, boot images of any operating systems from the Windows and Linux families can be copied to the root directory using the file manager.
In terminal mode, working with the Ventoy program (or rather, installing it) is much more difficult, so we will not describe how this is done – today you will not find fans of terminal work even among ardent Linux fans in the daytime with fire.
Removing a program
Now let’s look at how to remove the Ventoy utility from a multiboot flash drive. Since it contains several partitions, including a bootable one, it is not difficult to remove the program in principle, but the medium itself will remain bootable.
If there is a desire to make it common for more mundane purposes, launch the utility and select the “Remove Ventoy” item in the “Options” menu. After successful uninstallation of the program, you will be prompted to format the media using standard Windows tools. This will be enough to be able to use the flash drive as a normal storage medium.
Summary
In terms of ease of use, Ventoy is clearly one of the best utilities in its class, as we have seen. Add to this the ability to create multiboot media and the omnivorous nature of the program, and you get an irreplaceable, albeit specific, software product that will work in any operating system.