Any operating system becomes overgrown with applications over time, so it is important to keep track of the amount of available disk space. When it becomes critical, there are several ways to solve the problem:
- buy a new drive with a larger volume;
- remove unnecessary programs;
- clean the disk from various debris.
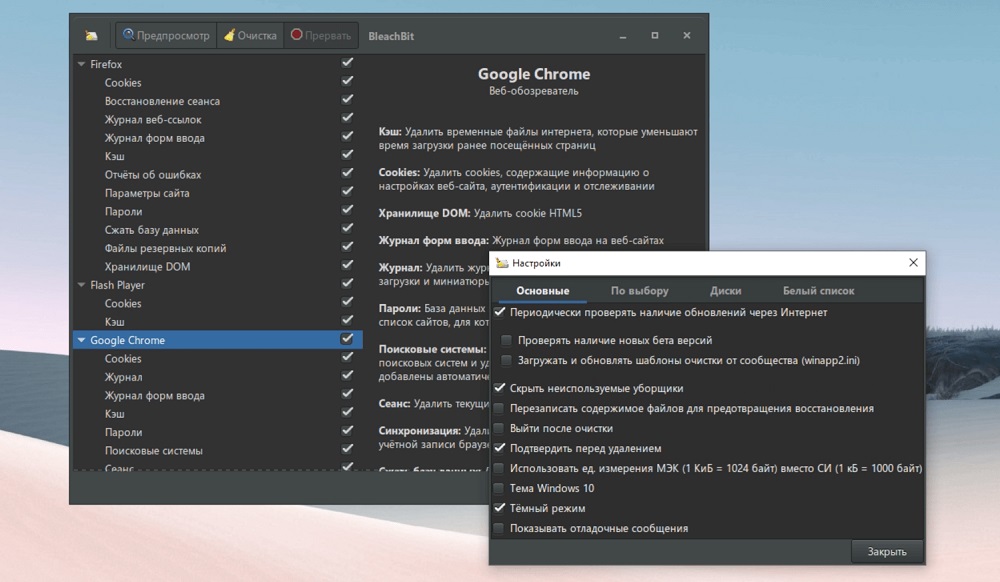
The first option is a cardinal, but rather expensive method. The second, sooner or later, also exhausts its capabilities. But cleaning the operating system from accumulated garbage, although it may seem strange to someone, is a very effective tool for removing unnecessary files (system and application caches, temporary files and other data), which take up a lot of disk space and are difficult to search manually.
On the other hand, specialized utilities such as CCleaner (Windows) or BleachBit (a universal tool that works perfectly in both Linux-like OS and Windows) do an excellent job with this task. Today we’ll talk about the latest program, distributed free of charge.
Contents
BleachBit features
The utility, distributed under the terms of open source, can not only perform disk cleanup – with this program you can upload files that may be useful to the cloud, as well as delete files without the possibility of their recovery. Of course, the main functionality is still cleaning, and here the capabilities of BleachBit are quite extensive:
- deleting temporary files for most well-known applications;
- cleaning of OP, virtual memory, swap partition;
- multiple overwriting of deleted files to exclude the possibility of their recovery;
- removal of unused and erroneous (referring to non-existent programs) shortcuts;
- the ability to use a console interface to automate the process;
- clearing the cache (in Linux-like OS) of package management systems;
- availability of its own markup language CleanerML, which can be used to write scripts for cleaning the drive;
- the ability to remove unused interface languages;
- deleting cookies, cache and passwords of all common browsers, the list of uploaded files;
- optimization of databases of a large list of programs, from aMule and Beagle to Miro and Pidgin;
- cleaning files like thumbs.db (Windows).
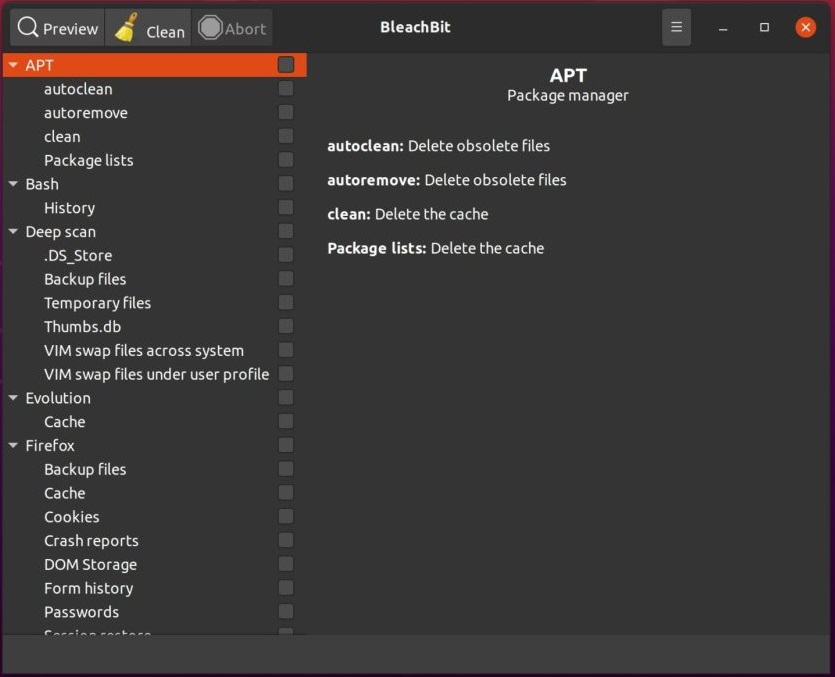
Linux adepts may say that rm is enough for them, but in fact, this way you can only delete huge system logs, which are known where they are. To perform a complete cleaning, you need to spend a lot of time and at the same time be extremely concentrated so as not to remove anything unnecessary and necessary.
The BleachBit program does all this automatically, while it is guaranteed to delete only those files that it considers not affecting the operation of the operating system. Moreover, the utility always shows which files it plans to delete so that the user can cancel the procedure, in part or in whole. The program can split files into categories, and not only by extension, many of these categories are specific and depend on the type of operating system. For example, the apt category (redundant package manager files) is typical for OS distributions based on Debian. The Chromium category will only be present if you have this browser installed.
Installing BleachBit on Linux
If you download the distribution kit of the utility from the official repositories, the general view of the launch line of the terminal installation procedure will look like this:
sudo apt install bleachbit
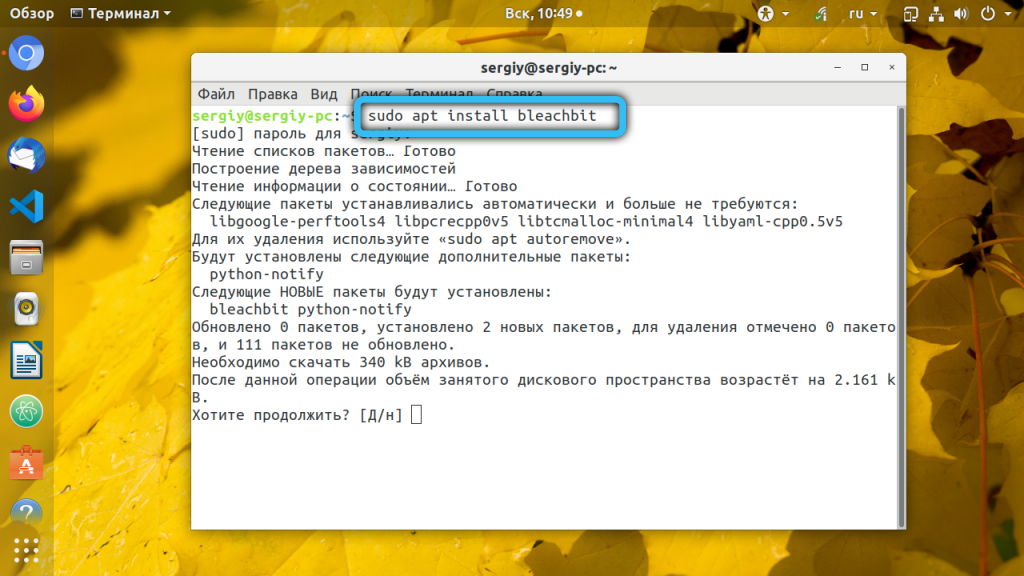
The problem is that this way you will definitely install an outdated version. To get the latest one, it is better to use the download page from the official site, where there are not only the latest versions of the utility, but also loaders for all popular Linux distributions, with Python3 and GTK3 packages. After downloading, you can install the program using the appropriate package manager.
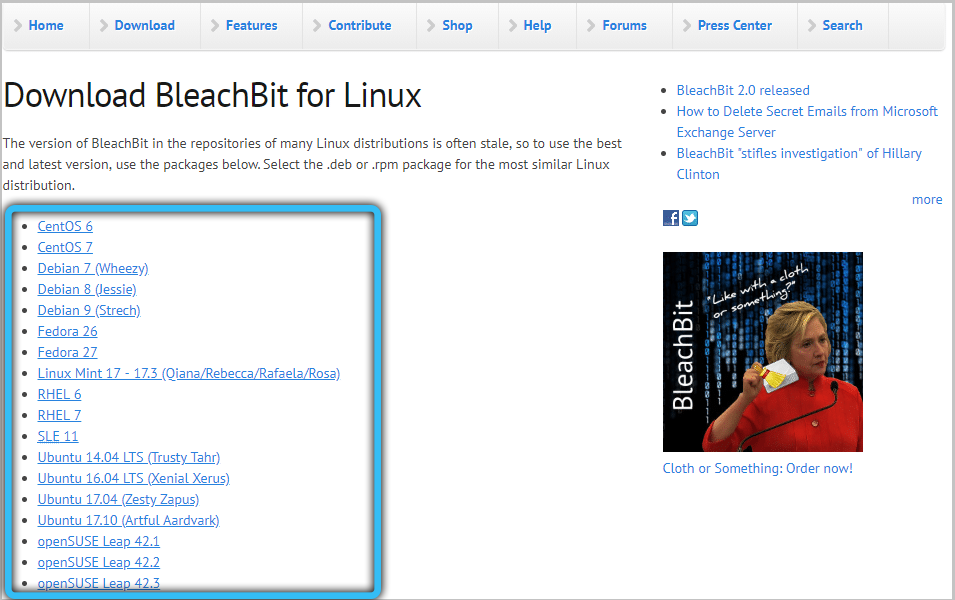
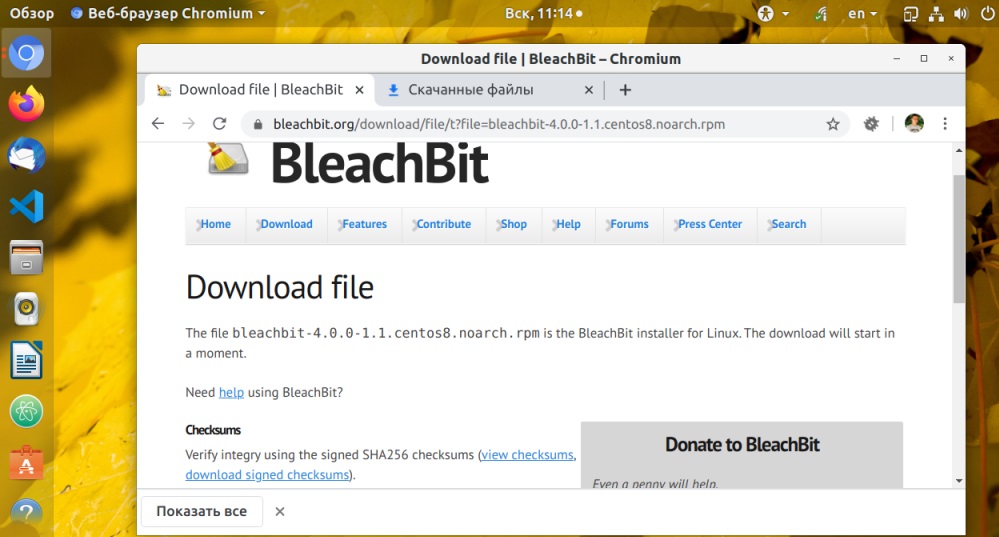
For lovers of terminal installation, the version of the command will differ depending on the OS distribution. So, for Ubuntu, the BleachBit installation console line will look like this:
sudo apt install bleachbit_4.0.1_all_ubuntu.deb
For Debian, the installer launch line will be appropriate:
sudo apt install bleachbit_4.0.1_all_debian.deb
In Fedora distributions, install the utility with the following line:
sudo yum install bleachbit-4.0.1-1.1.fc.noarch.rpm
On CentOS, the line looks like this:
sudo yum install bleachbit-4.0.1-1.1.centos8.noarch.rpm
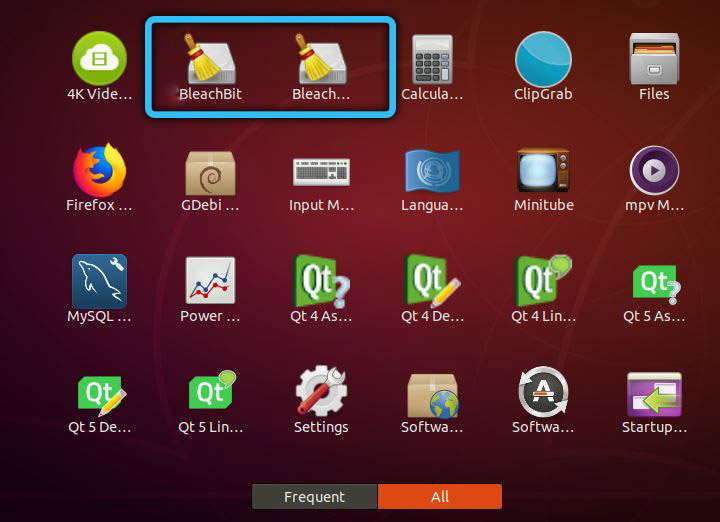
The Disk Cleanup utility is launched in the standard way, through the “Applications” shortcut (in the “System Utilities” folder). Here you can see two icons: BleachBit itself, and also sudo BleachBit. The first shortcut can be used if you plan to clean up media in your home directory / home / user, for which you do not need superuser privileges. In all other cases, for example, to remove unnecessary interface localizations or the APT cache, you need superuser rights, so you need to use a shortcut named sudo BleachBit. As for the version for Windows, here you just run the installation file, although you can use the portable version of the program as well.
BleachBit: how to use the utility
Structurally, the program interface looks the same for all OS versions: on the left there is a section with a list of elements that can be cleaned / deleted, on the right – a section that displays all the actions performed. Let’s consider how to work with the utility in Linux environment.
Setting up BleachBit
During the first launch of the program, you will be prompted to make some basic settings. However, you can skip this step, and use it at any time by selecting “Settings” from the hamburger menu located on the main screen.
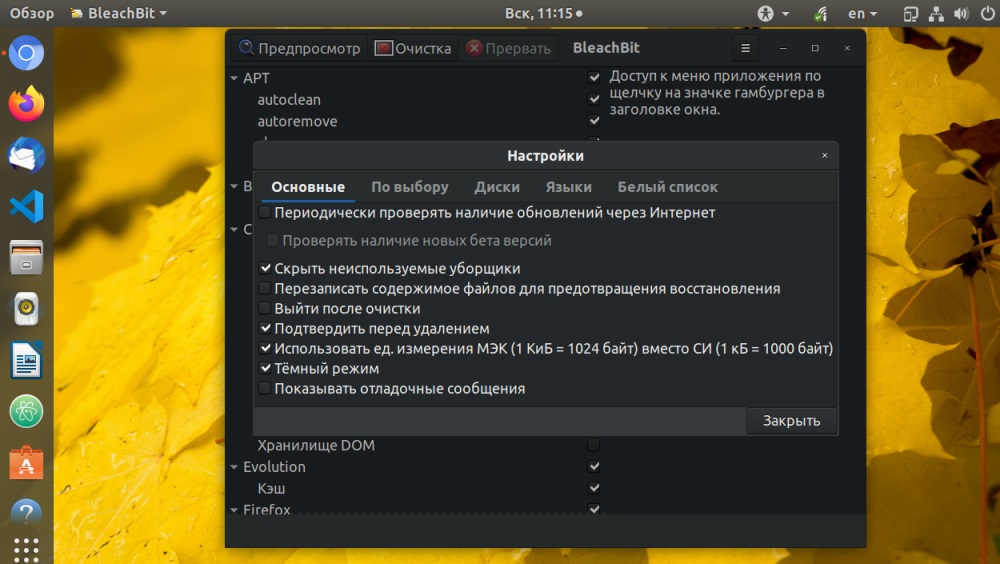
The settings window consists of several tabs. In the “General” tab, you can configure the following options:
- automatic check for updates (if desired, together with beta versions);
- writing files to the cloud to be able to recover them;
- showing / hiding file categories relative to the applications supported by the utility, even if they are not installed on the system;
- exit from BleachBit after cleaning;
- showing checkboxes to confirm file deletion;
- in what units to show the file sizes (1KB = 1024 B or 1 KB = 1000 B);
- use a dark or light cent scale of the program interface;
- Whether to show debug messages when performing cleanup.
In the “Custom” tab, you have the opportunity to fine-tune the directories and files that need to be scanned for deletion.
The “Disks” tab is designed to configure the overwriting mode of the freed disk space so that deleted files and even their fragments cannot be recovered.
With the “Languages” tab, everything is more or less clear: here, from the full list of languages installed in the system, you indicate those that you will not use and that you consider necessary to remove.
Finally, in the “Whitelist” tab, you specify the disk directories that the utility should ignore.
Disk Cleanup in the GUI
To free up disk space in the GUI, there is the left panel of the utility, which lists all categories, scripts and files found during the disk scan. This list depends not so much on the specific programs installed, but on the type of Linux distribution. You can exclude entire categories or specific file types from the list.
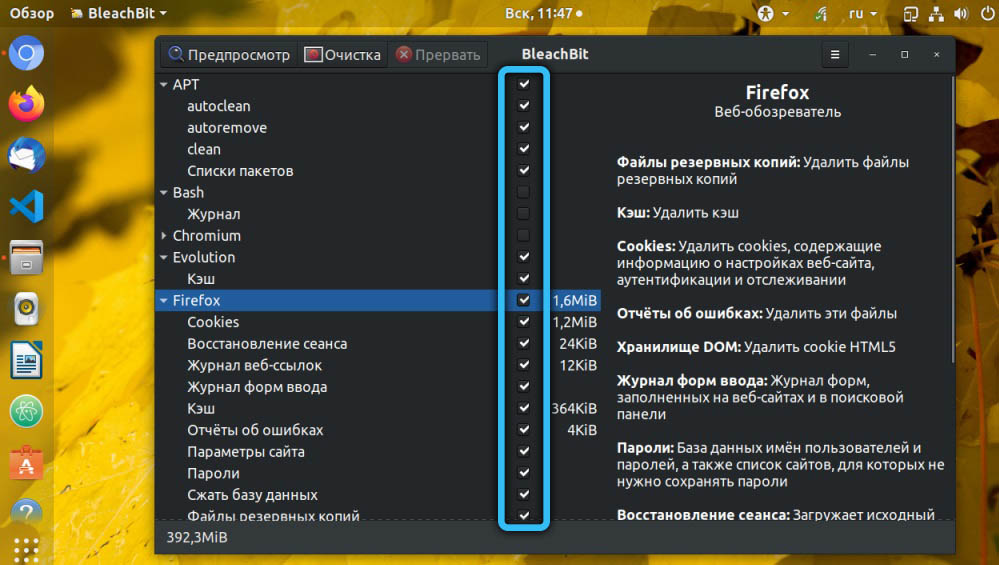
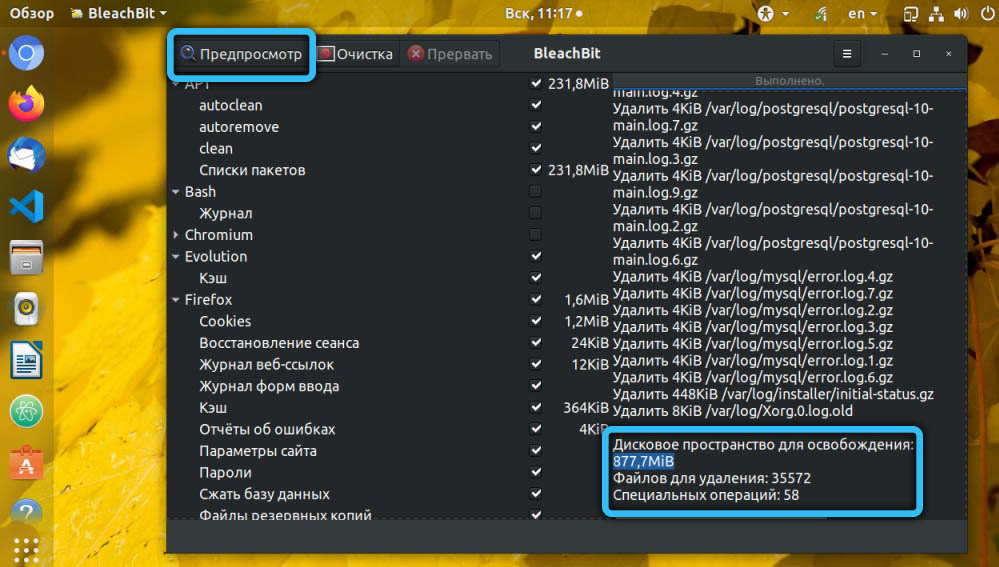
By default, some list items will have a check mark, some will not. You will need to correct the list and then click the “Preview” button in the top menu, which will allow you to watch the cleaning process and see how much disk space has been freed.
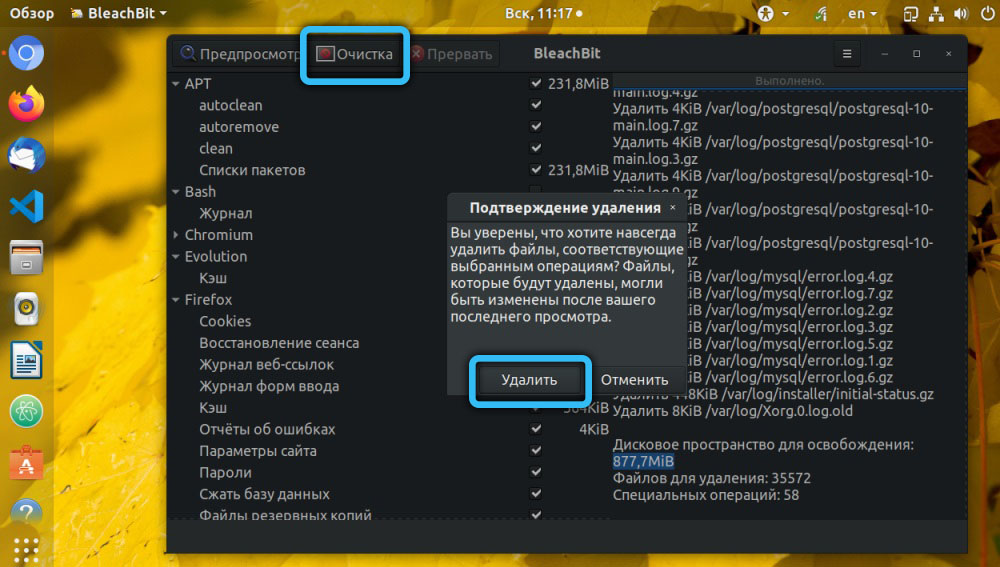
To start the utility, click on the “Clean” button, confirming your choice.
Free up space in terminal mode
Many Linux users prefer to use console mode. BleachBit developers have provided for its presence, which makes it easier to start automatic disk cleanup by entering the appropriate command in the crontab.
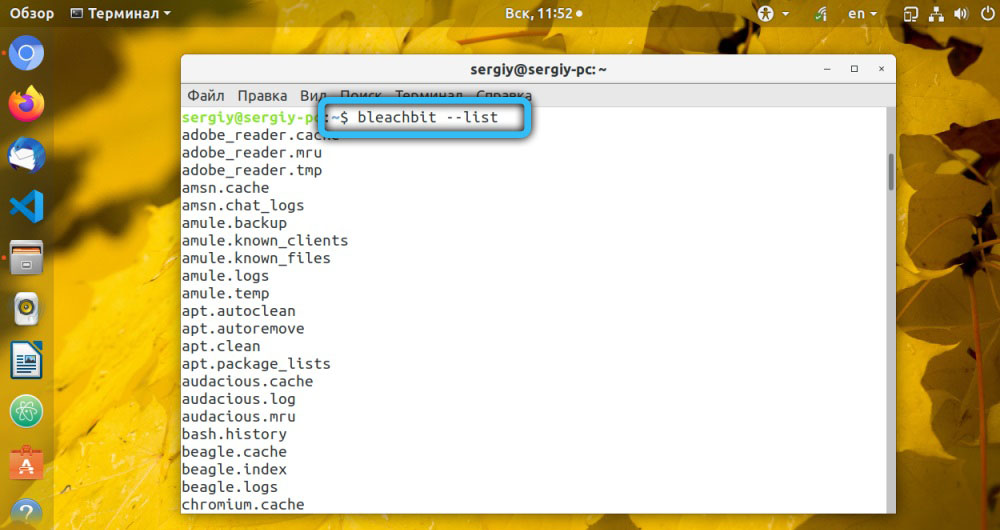
To view the possible parameters of the utility, use the bleachbit –list command.
The –preview option in combination with other parameters allows you to estimate the amount of free disk space.
If you want to use GUI preferences, use the –preset parameter.
The command to start cleaning the drive will look like this:
sudo bleachbit —clean —preset

Use the –override parameter if you want to permanently delete files that are overwritten many times.
Irrevocable deletion
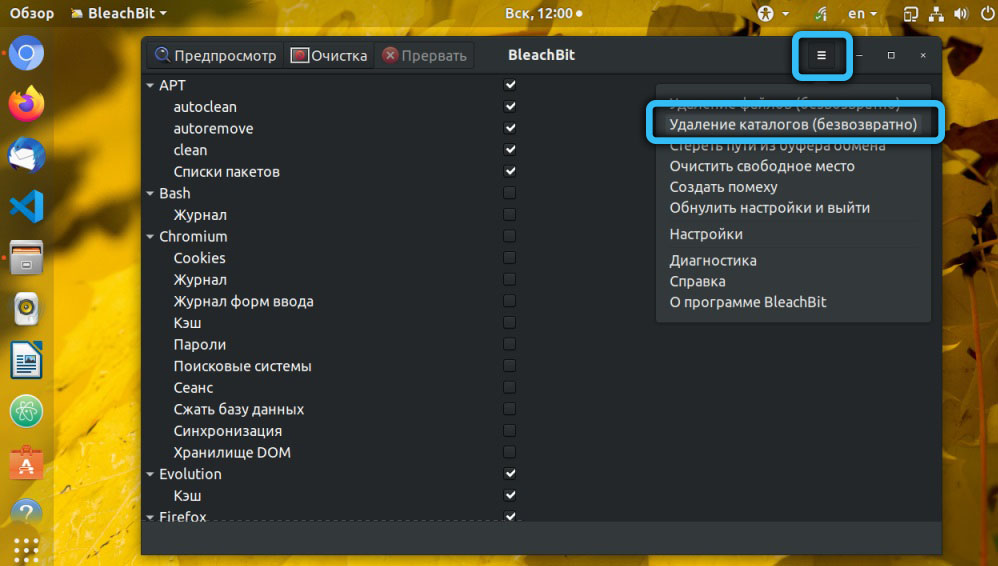
In the graphical mode, you can configure the complete deletion of files or directories without the possibility of their recovery, without going into the “Settings” – in the utility menu there are separate items for this. By selecting this item, you can specify the list items to which this setting will be applied.
Of course, BleachBit can hardly be called as well-known utility as CCleaner. But it does its job just as well, especially when it comes to Linux. And yes, it is lighter and easier to use, so the number of fans of the program is constantly growing.