Undoubtedly, one of the problems that Android users complain about the most is the limited capacity that their devices often have to store files. Of course, this limit can be expanded by installing an SD memory card, as long as our Android smartphone or tablet has a slot for this type of expansion.
Installing an SD card in an Android device allows us to store much more music, videos and documents, however, if our Android phone or tablet does not have an SD card slot, we can always use external drives, pen drives and memory cards. external memory via USB connection.
In this article we will find all the necessary steps to achieve it safely, easily and quickly.
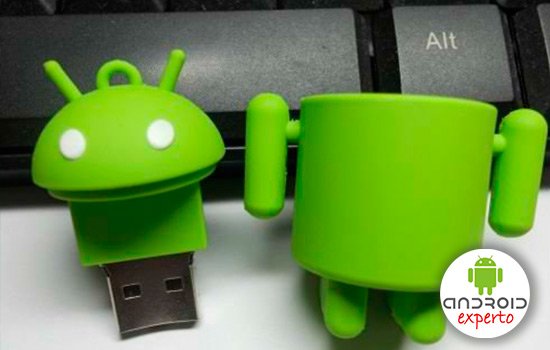
Currently, most Android devices offer support for the connection of USB storage units, however, there is still a large number of Android phones and tablets in which it may be necessary to use rooting techniques to achieve this.
From this point we are going to know the necessary steps to connect a USB storage unit to our Android in a simple and comfortable way.
Contents
Simple method via OTG cable
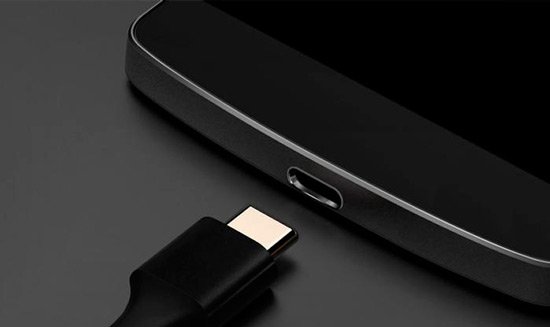
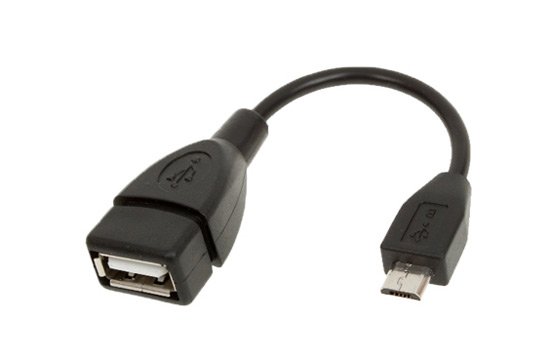
Most likely, we have noticed a long time ago that our device does not have a normal size USB port, it is much smaller. That is why to connect USB storage units we will need an adapter cable, called USB OTG (On-the-go).
Basically, this is a short adapter cable with a small MicroUSB connection on one end and a standard USB connection on the other end, which can be obtained at any electronics store at a fairly affordable price.
Unfortunately, despite having this adapter, it is possible that our device does not have the possibility of being able to use this adapter, not for a physical issue, but for design.
Many Android phones and tablets cannot act as a USB host by design. That is why before buying the cable, it might be necessary to do an Internet search to verify that the make and model of our device is compatible with USB OTG.
If so, then we will not have any problem, we just have to connect the cable to the device at the correct end and the other to the corresponding USB drive. It should be noted that through this adapter we can add to our Android device all kinds of accessories such as keyboards, mice, and joysticks, among others.
About supported file systems
For a storage drive to function properly, it should be formatted using the file system called FAT32, which would ensure the best possible compatibility between the devices that will use this drive.
It is also possible that we will find some Android phones or tablets on the market that use the exFAT file system, but without a doubt we will not find any that support the NTFS file system, typical of Windows, which would really be a guarantee of total compatibility without no problem.
In the event that the storage unit is not formatted in the appropriate file system, we will have to give it the appropriate format, which we can do without problems on the same Android device.
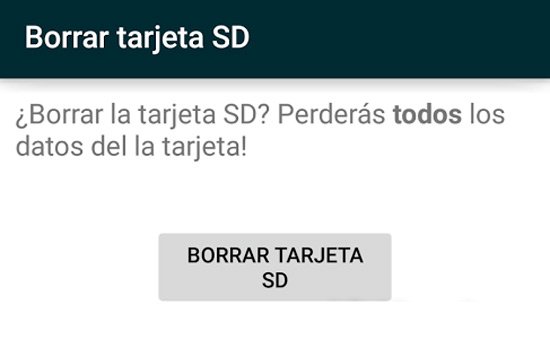
It should be noted that when formatting a storage unit, all the data that is stored in it will be lost, therefore we must make a backup, in the event that this data is important.
Use an external storage drive on Android without being root
On most newer Android devices, when connecting a storage unit using an OTG cable, a notification will appear advising us that the unit is ready to be used.
Most likely, we will also receive, depending on the version of Android that we are using on our device, other types of notifications, in which case we must go to the user manual to find out their meaning.
It is also possible that in the same notification we find a button that allows us to access the contents of the storage unit, in addition to another button that helps us to eject the unit safely, that is, to avoid data loss, in the same way as we would with Windows.
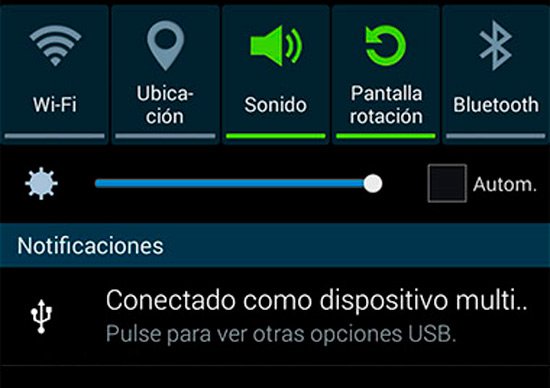
Once we click on the button or the notification, in the case of an older version of Android, the system will take us directly to the file browsing application, where we can manage the files on the USB drive as if they were of files stored in the internal memory of the device, that is to say that we can manage the contents of the unit to erase, create a folder or store contents of the device in it.
It should be noted that it is also possible to install a third-party file management application, which many times offer us features that the default Android manager does not have. In this sense, one of the best file managers is FX File Explorer, which is free in its Lite version.
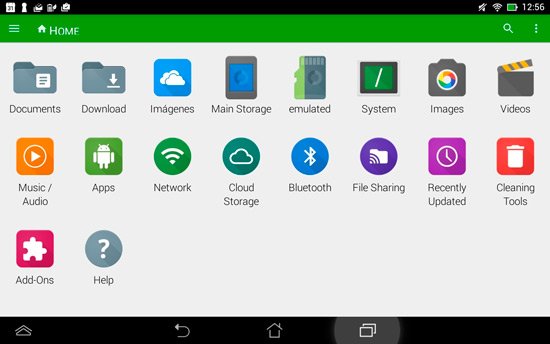
If you wish, you can download and install FX File Explorer by clicking on this link.
Other ways to manage a USB storage drive on Android
Having the possibility of connecting a storage unit such as a pendrive or external disk is an excellent alternative to carry with us music, videos or documents that would otherwise take up a lot of space on the device.
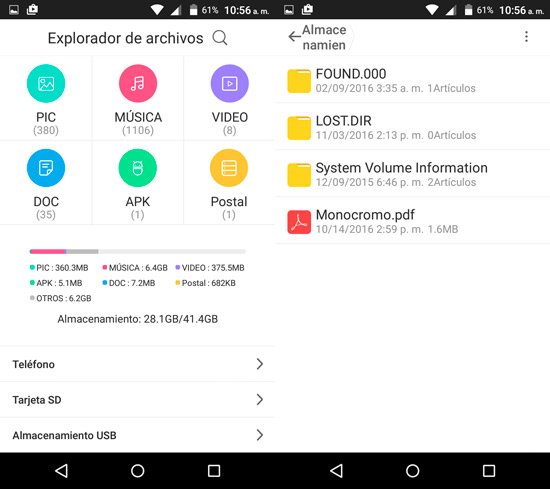
In this sense, there are many ways in which we can access and check the occupied space of documents and files that a USB drive contains on Android. In addition to the ways of managing files mentioned above, we can also check how much space is used and in what way, for this, all we have to do is access the configuration and click on the “Storage” section.
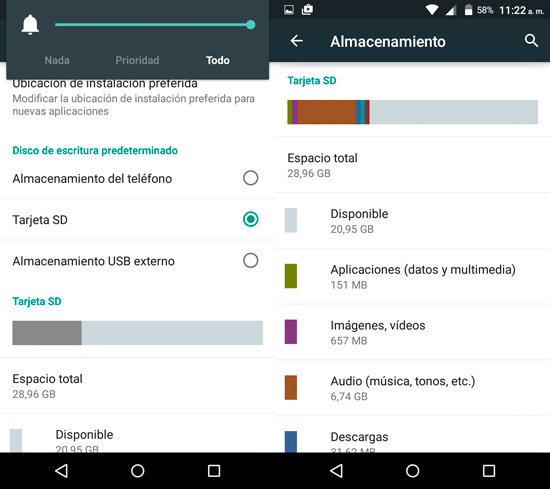
There we can check the used space capacity and the one that we still have of the USB drive, and also of the other storage media installed in the device.