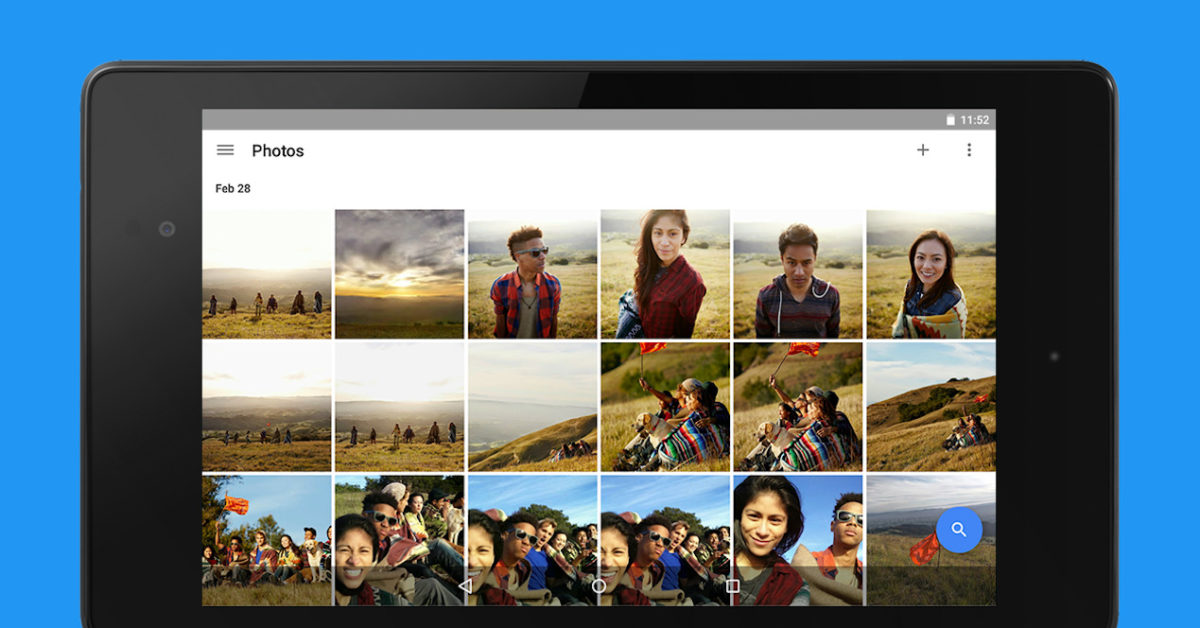
Animated GIFs caused a real sensation at the beginning of the Internet back in the 90’s. And although most of us don’t show that enthusiasm now, they are still used on occasion, especially now with the rise of instant messaging. But if you are creative and the ones you find online are not enough, it may be interesting for you to know how to make a GIF animation with your photos from Google Photos . The steps to follow are those:
- On your Android phone or tablet, open the Google Photos app
- Sign in with your Google account
- At the bottom, tap Library> Utilities
- Click on Create and choose Animation
- Select the photos from which you want to create the GIF
- In the upper right corner, tap Create
The process is that simple, it won’t take more than a few seconds to have your own GIFs. What you should keep in mind is the type of photos you should use to create your GIFs. Ideally, you should use images of the same person or object , so that the end result looks like an animation. If you choose good photos, the end result can be very satisfying.

WHERE GIFS ARE STORED IN GOOGLE PHOTOS
You already have your GIF created and now the next question comes, and that is to know where the GIFs are stored in Google Photos . The reality is that when you create a GIF it will be stored directly in the cloud, without the need for you to save it on your device.
If you have created it recently, it will appear on the application’s home screen, where you can find the latest photos or videos that you have uploaded to the service. In case it is longer than you created it, you can search for it by date. You also have the option to include it in an album or even to create an album with all your GIFs , to find them more easily.
In case you want to have it in the memory of your device, you always have the option to download it. To do this, you just have to enter the GIF and press the Download button that you will find at the top. In a matter of seconds (always depending on the speed of your connection) you will have the GIF saved on your device for whatever you want.

HOW TO SHARE A GIF FROM GOOGLE PHOTOS
The normal thing is that we do not want a GIF simply to have it saved in the memory of the phone, but we create it to show it to others. And therefore, it is interesting to learn how to share a GIF from Google Photos . If you have used the application regularly, it will not be too complicated for you, since it is the same as sharing a photo.
Thus, all you have to do is enter the GIF you have created and select the Share option that will appear at the bottom. In the menu that appears, you will have to select the application you want to share with, and then the contact you want to send it to.
In this way, the GIFs you have created will reach your friends easily. Both the creation process and the sharing process are quite simple and intuitive , so that you do not need to have great knowledge to do it.