Initially, sleep mode was conceived as a way to save energy, which is especially true for laptops that work offline. Typically, the computer will go to sleep if it has been idle for a certain amount of time, but the time and method of activating the sleep mode can be changed.

Sleeping a PC is turning off almost all of its energy-consuming components, while the current state of the computer is recorded in RAM. She just stays awake, ensuring a quick awakening. Sleep should not be confused with hibernation – in the latter case, the state of the computer is written to disk, which allows you to minimize power consumption, but waking up will also last much longer. Many users prefer sleep mode for this very reason – so as not to waste time getting the PC to a working state. Today you will learn how to activate sleep mode if necessary and how to ensure that you wake up from it.
Contents
Using the Start Button Menu
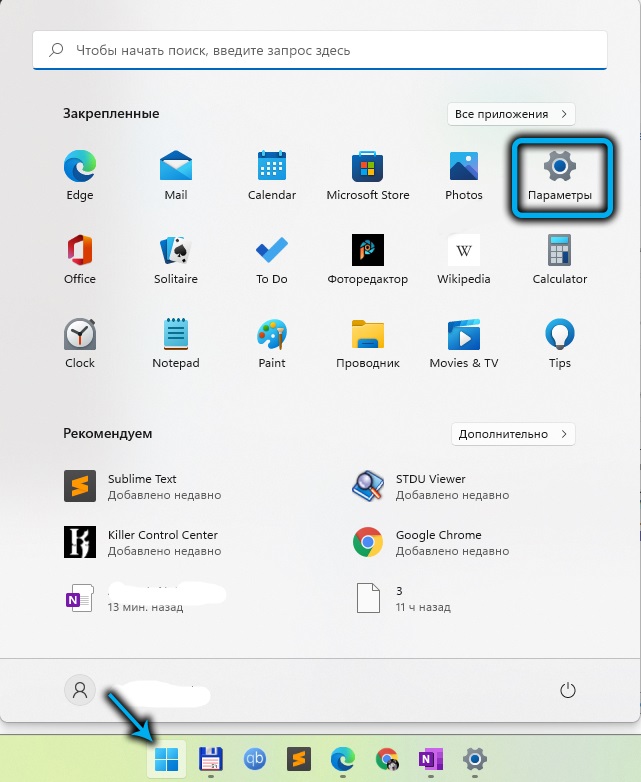
If you want to put your computer to sleep immediately, the quickest and easiest way is to use the Start button menu. By clicking on it, click on the power icon located in the lower right corner, and select the “Sleep Mode” item from the menu that appears. Immediately after that, the PC will “fall asleep”, waiting for the awakening by pressing any key on the keyboard or moving the mouse.

Using a dedicated key on the keyboard
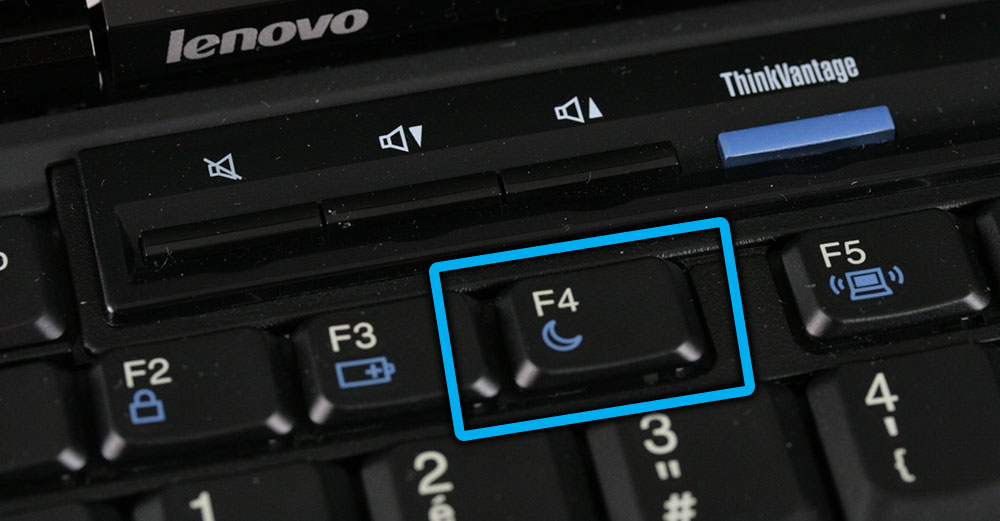
Many built-in laptop keyboards, as well as external keyboard models, are equipped with a special button for quickly entering sleep mode. As for the designation of such keys, there is no single standard here – some manufacturers use a crescent moon icon, there are buttons labeled Sleep, sometimes the sleep key is denoted by two small letters “Z”. In such cases, putting the computer into sleep mode will be the fastest.
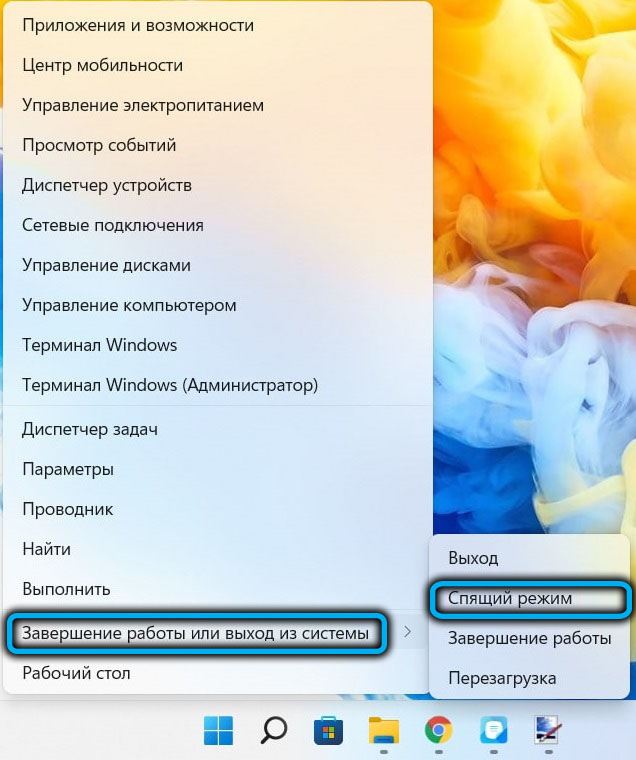
Users who do not have extensive experience with Windows may not be aware of the existence of such a menu. It appeared in the seven, and then, with some revisions, migrated to older versions. The essence of the power user menu is to provide a menu with the most frequently used applications. To enable it, right-click on the Start icon or use the Win + X combination, and to enable or disable sleep mode, repeat the steps described in the previous section.
Using the command line
This method can be advised to experienced users, especially in cases where sleep is used as often as hibernation, and we have already talked about the difference between these modes.
So, the algorithm of actions will be as follows:
- in the search console of the start menu, we begin to type the word “command”;
- as soon as the command line icon appears in the search results, right-click on it and select the launch item with administrator rights in the context menu that appears;
- in the command line console, type the command
powercfg -h offThis is not a hibernation yet, this is turning off the default hibernation mode;
- the actual command to put the computer into sleep mode looks like this:
rundll32.exe powrprof.dll, SetSuspendState Sleep - if you do not execute the first command before executing it, the PC will be put into hibernation mode, but this only applies to the first launch of the command line. After that, at any time, it will be possible to call the sleep mode by running the second command.
You can disable sleep mode in the standard way – by pressing any key, and if you want the next mode to be hibernation, run the powercfg -h on command.
Using the Windows 11 login screen (or Ctrl+Alt+Delete screen)
You can also set up the computer to sleep using the well-known combination Ctrl + Alt + Delete, which is used both when turning off and when restarting the PC. Or through the Windows 11 login screen, for which you need to click on the power icon located in the lower right corner and select the “Sleep Mode” item in the small context menu.
Going to sleep using the timer
If you need to enable sleep mode in Windows 11 at a specific time or on a schedule, you can use the following algorithm:
- launch the “Settings” application (with the combination Win + I or through the “Start” menu);
- click on the “System” tab;
- select the sub-item “Shutdown and battery”;
- in the right window we are looking for the “Power” section, and in it – the “Screen and sleep mode” subsection;
- here we are interested in the last two parameters indicating how long it takes to automatically put the computer into sleep mode) depending on whether it is a laptop running on battery power or a desktop PC powered by mains).
Note that in this case, “falling asleep” will occur after the period of time you specified, not relative to the time interval set in the settings, but only if the computer is idle during this period of time – for example, if you went to the store or on other business, forgetting to turn off the PC . The only disadvantage of this function is the impossibility of specifying an arbitrary time interval, although the available range is sufficient for most cases.
If a situation arises when automatic sleep is no longer needed, you can turn it off here by setting both options to Never.
We also note that you can do exactly the same with turning off / on the monitor: it will switch to economy mode after a specified time interval and “wake up” as soon as the owner of the computer is active.
Strictly speaking, most modern monitors can turn off on their own if no control signals come from the PC, so the first two parameters concern mainly laptops.
Disabling sleep mode using the Control Panel
An alternative way to disable automatic computer sleep is to use the Control Panel. This method migrated unchanged to Windows 11 from the “tens”. Here is a step by step algorithm:
- to launch the Control Panel, use the Run console, called by the Win + R combination, and then enter the powercfg.cpl command;
- the section of the Panel that we need will open, which is responsible for setting up power schemes;
- click on the link “Configuring the power plan” opposite the scheme currently used (if desired, such a setting can be made for other schemes that you activate depending on the need);
- in the window that opens, you need to set the parameter responsible for putting the PC to sleep, set the value to “Never”. Unlike the settings of the previous mode, there is no separation by type of power supply (mains or battery), that is, this option is more global;
- We fix the manipulations made by pressing the “Save changes” button.
Note that in the power settings window it is possible to turn off sleep mode when other events occur – after pressing the computer shutdown button or after closing the laptop lid. The corresponding settings are available in the power plan selection window.
Shutdown using the PowerToys utility
This tool is a Microsoft development that was not included in the operating system. However, you can install the utility by downloading this free utility package from the Microsoft Store.
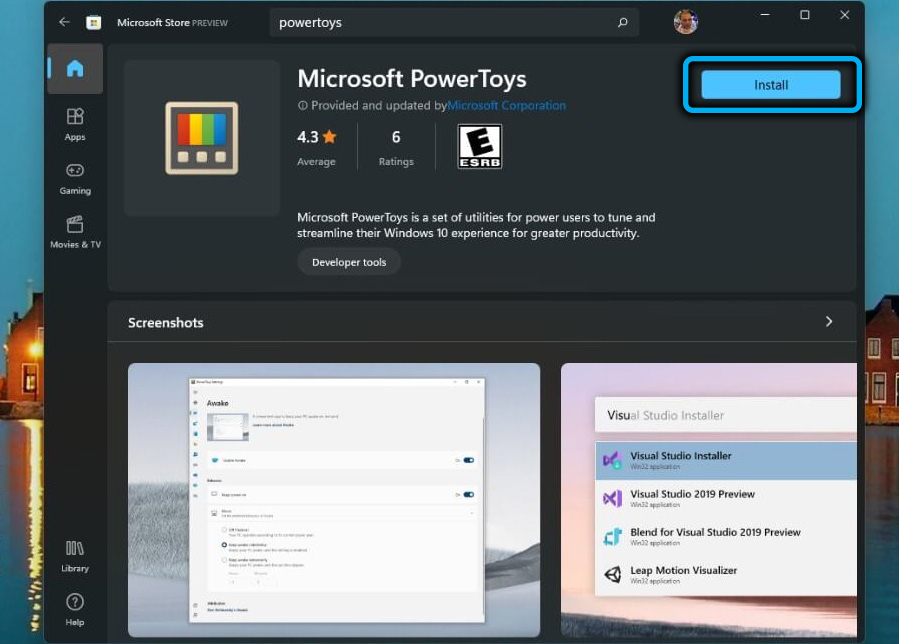
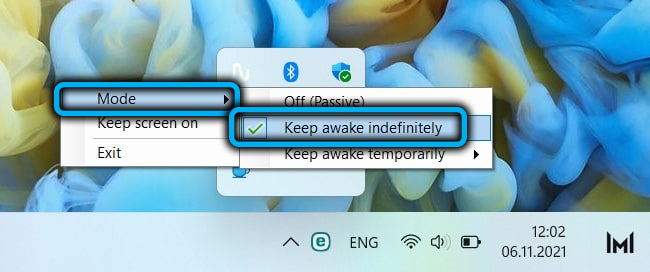
Using PowerToys is good because it adds a separate icon to the taskbar, which greatly simplifies putting the computer to sleep.
To do this, launch the application, activate the Awake module, after which an icon with the image of a cup of coffee will appear on the taskbar. We click on it, for the “Mode” option, select the “Keep Awake Indefinitely” mode, putting a tick next to it.
Conclusion
Sleep mode is a useful feature that allows you to save energy (and indirectly, the hardware component of your computer), while minimizing the time it takes to return to normal mode after waking up. For desktop PCs, this behavior is more acceptable than hibernation, although laptop owners use it quite often.


