A thorough check of the video card and its capabilities is mainly of concern to people using resource-intensive applications: games, professional drawing programs, animation, etc. This is not accidental, since it is the quality of the graphics adapter that affects the accuracy of the picture display. Endurance, heat resistance, speed are also very important. Manufacturers themselves test their product and provide the relevant information, but not everyone buys a new video card – some take a used one. To check it, they resort to special software. We will describe in detail one of the most popular ones below.
Contents
What is this program for?
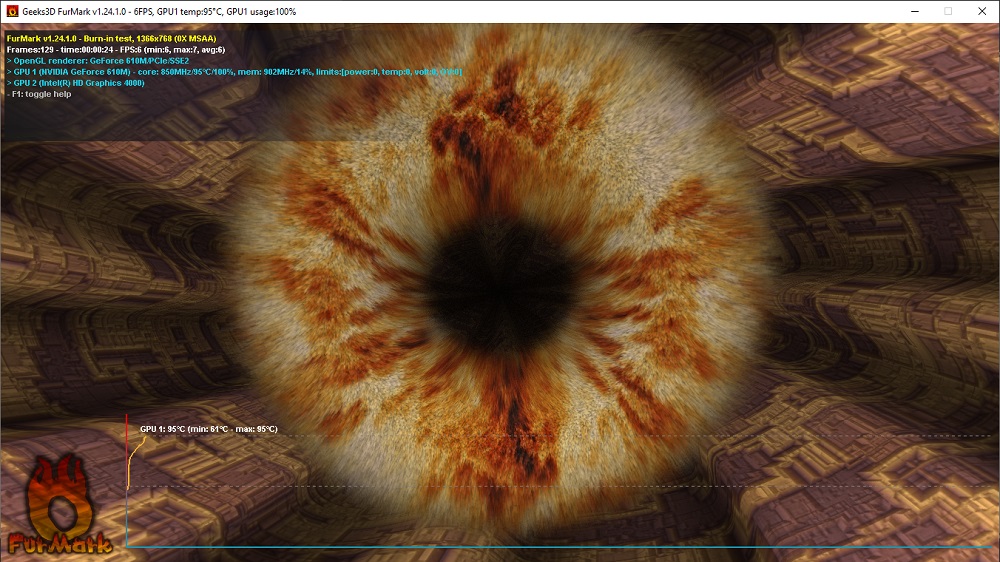
FurMark gives the adapter some load, specially designed so that possible defects show themselves – that’s what this program is. It analyzes how the video card copes with tasks under the most difficult conditions, how quickly it reacts to frame changes, how long it takes and how much it heats up / cools down.
But most importantly, FurMark will tell you if there are any problems in the PC that affect the performance of the graphics card. Sometimes users blame it for its low power and sluggishness, and then it turns out that the problem was hidden in the power nodes or system settings.
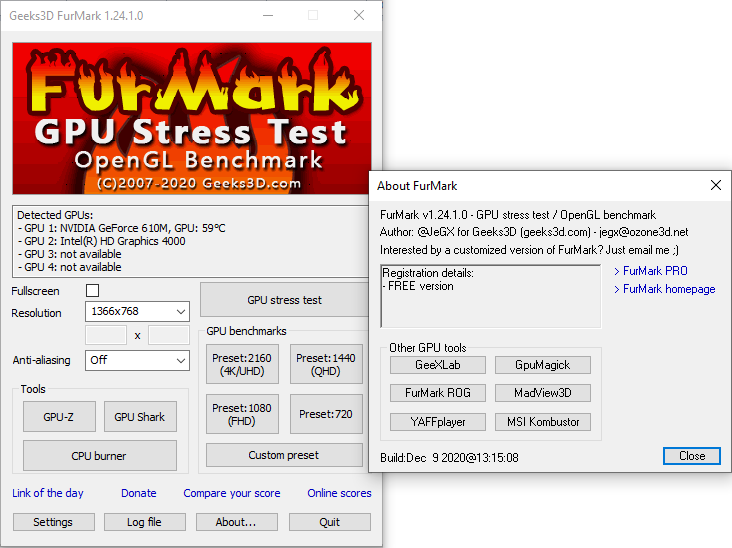
Everyone who has tested their equipment can share the results on the FurMark website – this way, a common base is accumulated that allows you to get an idea of certain brands, and to understand whether a particular video card complies with the norm that analogs demonstrate.
Main features of the application
With FurMark, you can:
- Check video cards for operability using a special scenario of high load and search for vulnerabilities. At the same time, you can yourself observe the temperature changes and the number of frame changes per unit of time on the screen.
- Change the test conditions if you are interested in some specific research: for example, indicators with enabled and disabled anti-aliasing options.
- Conduct the so-called “Burnout Test”, which identifies problems with the cooler and the card’s resistance to extreme load.
- Open the page content to full screen, or, conversely, reduce the window to the required size during testing (some similar programs expand to full screen by default, and this cannot be changed).
- Access the test results of other people’s video cards and compare indicators.
Download and install
The licensed FurMark has an English-language interface. Some resources offer a Russified version, but we do not recommend downloading the application from unverified sources, especially since the original can be obtained for free.
So, proceed as follows:
- Go to a verified developer resource.
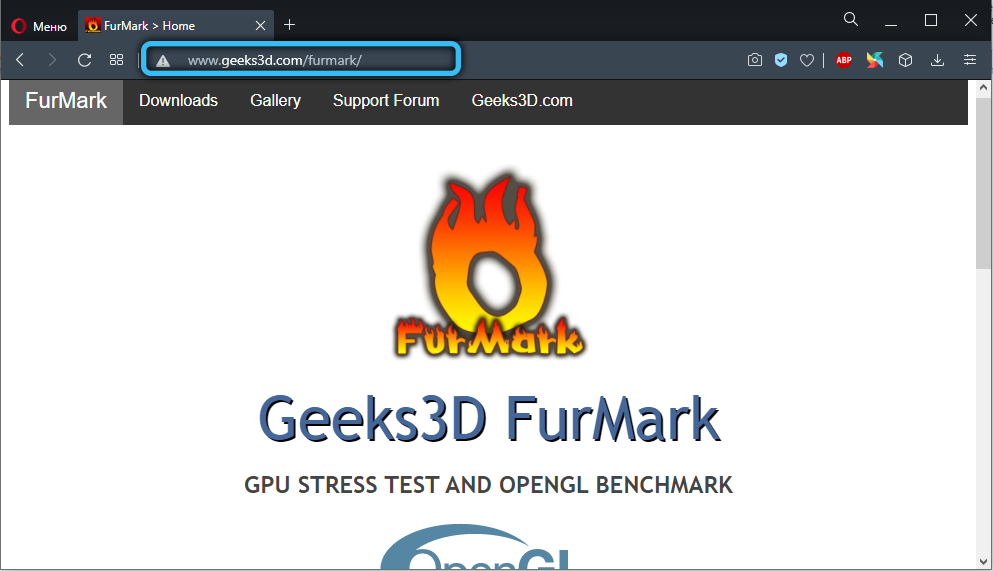
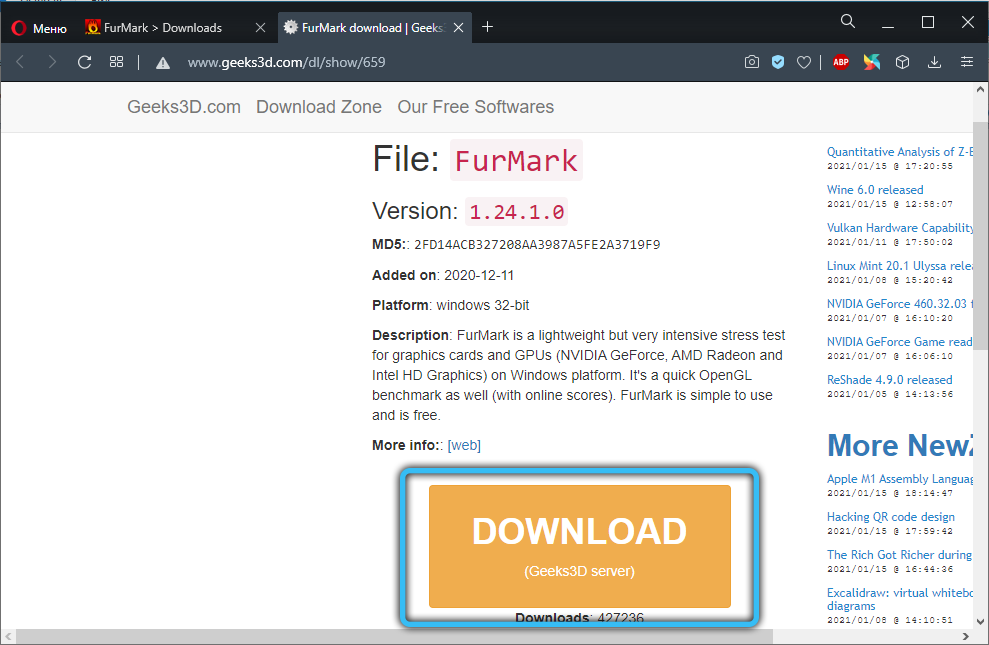
- You will immediately see a large plate with the words “Download” – click on it.
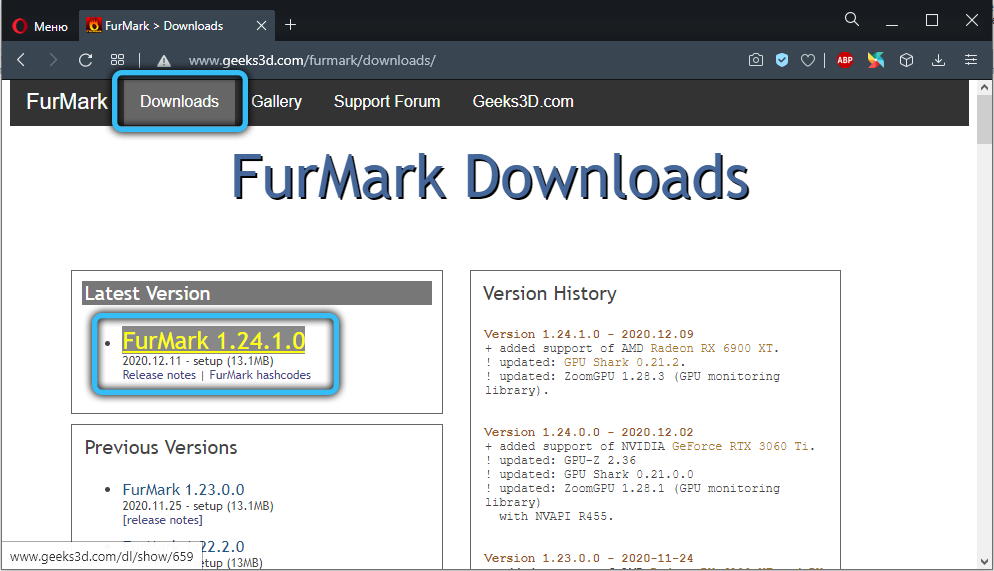
- Select the latest software version, click on its name.
- Click Download again, wait for the download to finish, double click on the file.
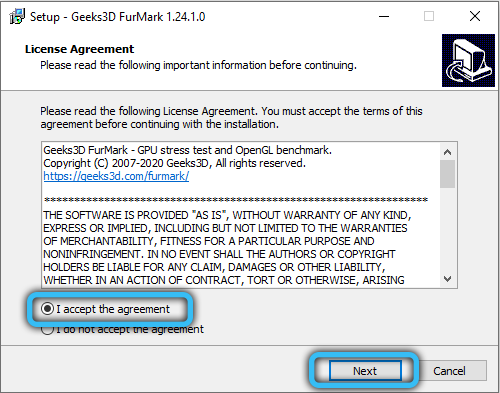
- Check the box next to the phrase: “I accept the agreement” and click Next.
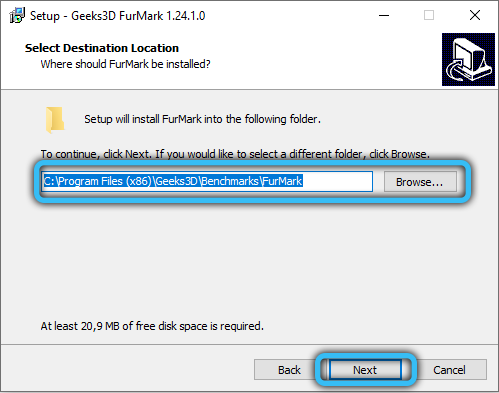
- Next, specify the directory for unpacking, agree or refuse to create a shortcut on the desktop and click Install.
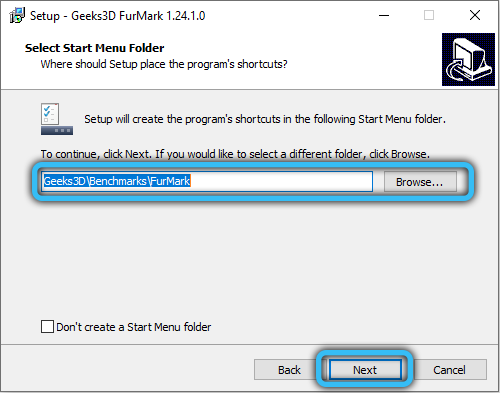
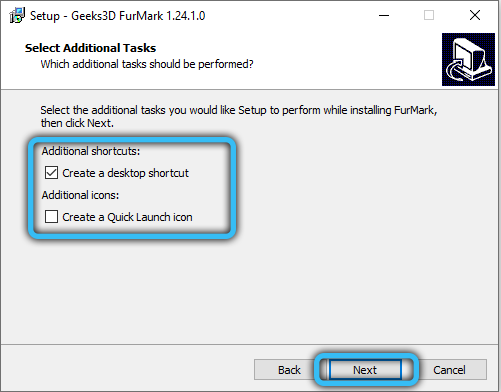
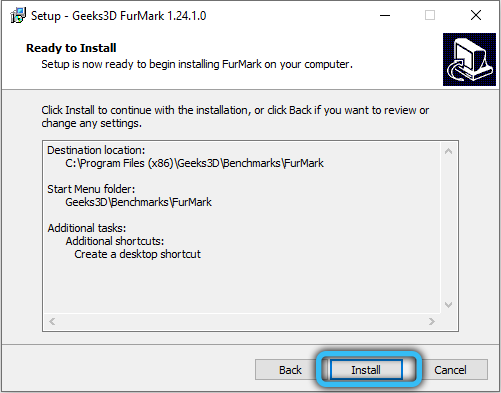
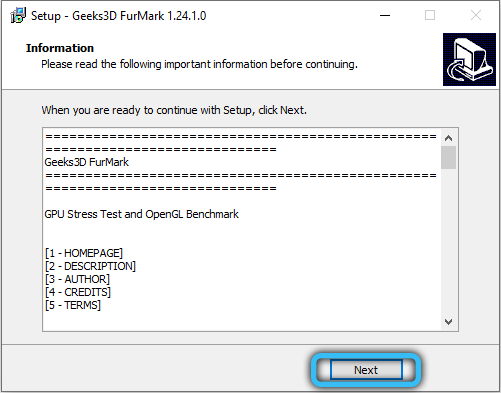
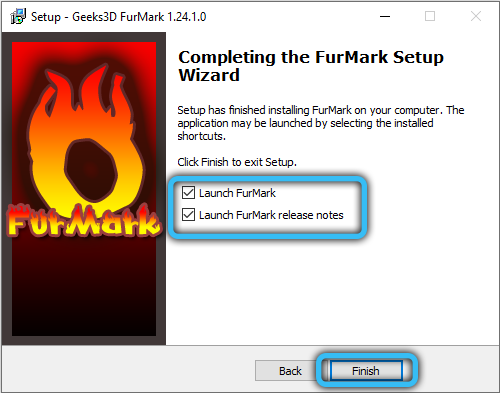
FurMark usually installs very quickly.
Program interface
In order to properly test the video card and not harm it, you must first understand the interface and all other functions (especially if you do not speak English). So, run it and take a close look:
- Signal about overheating. In this field you need to enter the temperature maximum for the test and the interval between measurements. Better to stop at 80 degrees. The video card should not go beyond this threshold, if it happens, you will see. This will indicate poor stability of the adapter due to insufficient activity of the cooling system or outdated thermal paste.
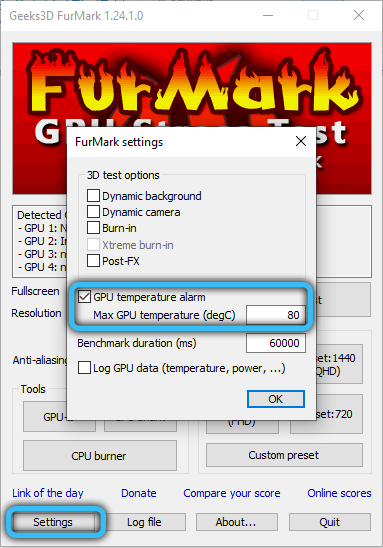
- Temperature Log. This box prompts you to check the box if you want to observe temperature fluctuations during the verification process.
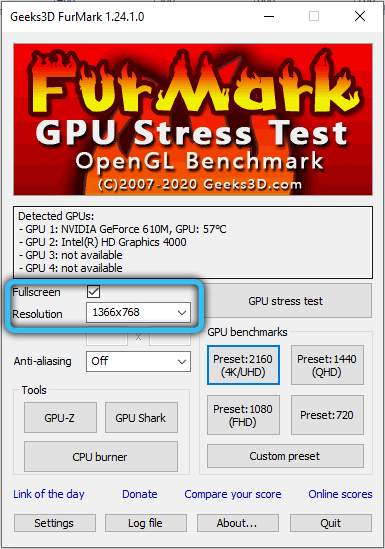
- Full Screen. Uncheck the box if you do not want the testing window to be displayed in full screen mode.
- Resolution. Here you need to specify the screen resolution to check how the video card works with it.
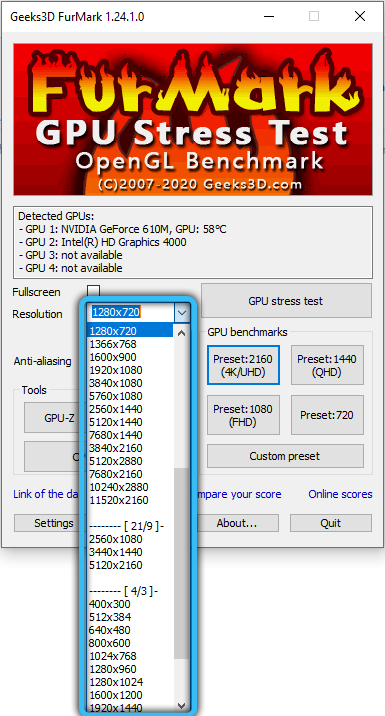
- Anti-aliasing. The anti-aliasing parameters are written here.
- Active background. Check this box if you are going to work with a PC during the test.
- Active Cam. Activate so that the webcam does not turn off.
- Heavy Mode. Unlimited testing time – it will last until you interrupt. It is best to enable this option if you are well versed in the technique and understand exactly what you are doing.
- Post-processing. It is worth choosing to be able to change the characteristics of the image during testing.
- GPU Stress Test (also referred to as Extreme Load Test). It offers the most stringent conditions, and they cannot be delayed for a long time. Watch the indicators and, as soon as you see what interested you, interrupt the process, otherwise the adapter will burn out.
- Burn-in benchmark 1920 × 1080 15 min. Fifteen-minute burn-in test on high-resolution screens.
- Performance Test. General check of the status and settings of the graphics card.
- Benchmark Preset. Testing in a specific monitor extension.
At the very bottom, you can select the type of tracking information:
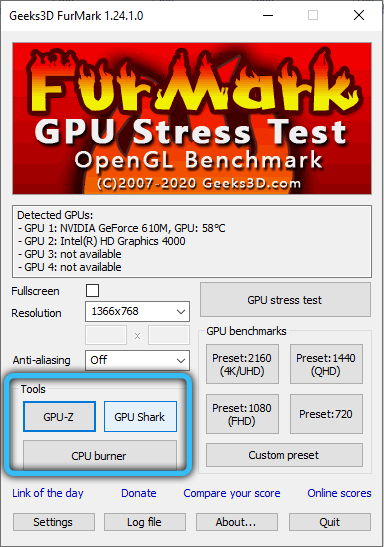
- GPU-Z. You will only see the basic information about the graphics adapter.
- GPU-Shark. Allows you to assess the state of the card at the moment.
- Results. You will be able to see how other people’s video cards passed the test and understand how yours matches them.
How to run FurMark graphics card test
Read the instructions on how to use the already installed FurMark program:
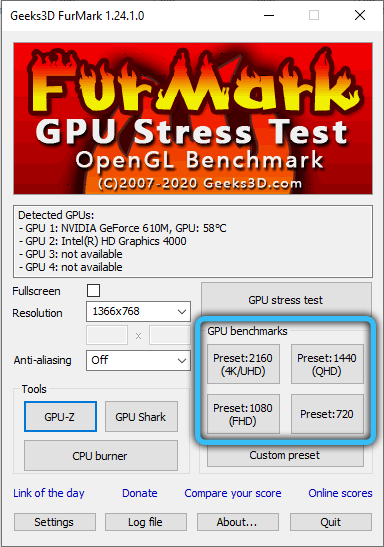
- Select your screen resolution from Benchmark Preset.
- Click GPU Stress Test.
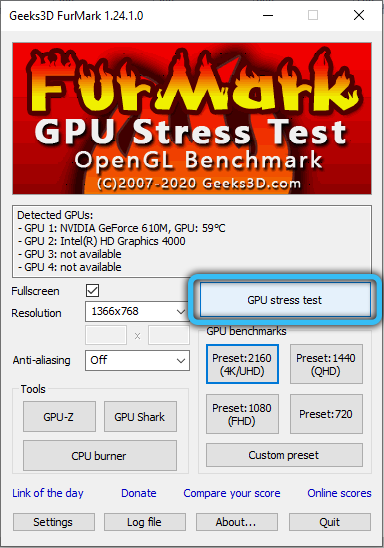
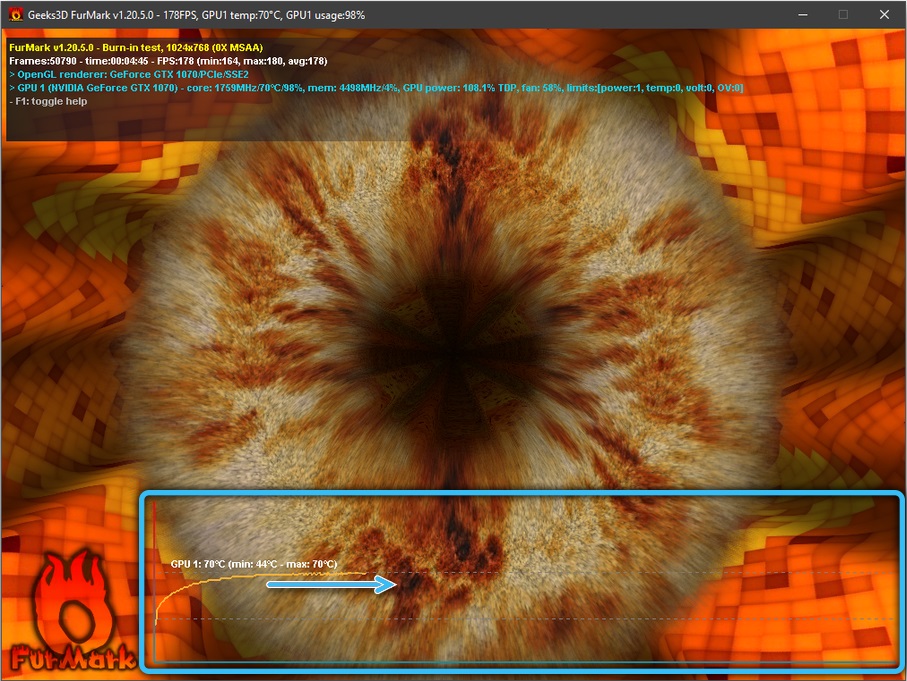
- Do not leave and do not be distracted, look at the schedule, the temperature deserves special attention. As soon as it goes beyond what is allowed, immediately click the “End Test” button.
- Even if the card does not overheat, do not make the check last longer than 20 minutes.
If you are not interested in the “vulnerabilities” of the graphics adapter, but in general performance indicators, you can run the Performance Test – it is more secure. If you are looking for a way to check a video card for burnout and you don’t need anything else, run Burn-in benchmark 1920 × 1080 15 min – the program in this case keeps track of how long the test is running.
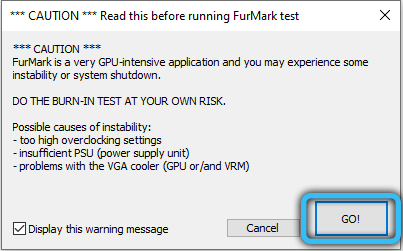
Take precautions when overclocking and stress testing. FurMark in extreme mode relies entirely on the user and does not reduce the load, even when it is time to do so. Therefore, the graphics card is at risk. Before using one of these FurMark modes, activate GPU-Z or GPU-Shark. In some versions they are included in the general package, but if not, download separately. With their help, you will see in all details what is happening with the adapter, processor, cooling system.
Now you know how to test a video card, it remains to figure out how to correctly evaluate the results.
How to analyze FurMark benchmark results
To fully assess the performance of the graphics adapter, you need to pay attention to two indicators:
- Maximum operating temperature – watch how the line on the graph changes during the test: it should go up sharply, and after reaching the limit, make a curve and turn into a horizontal line along the border. This testifies to the timely reaction of the coolers. If the card continues to heat up, you need to replace the cooling system and heatsink paste.
- Fan speeds – if they work at maximum acceleration, and the temperature does not drop, then this is a noticeable defect. The PC will emit a loud rumble during the game, but this is not the worst thing – the video card can fail at any time. There is another extreme – the blades of the cooling system, as if not noticing heating, rotate slowly (you will see 25-30% on the graph). In this case, check if the drivers are up to date.
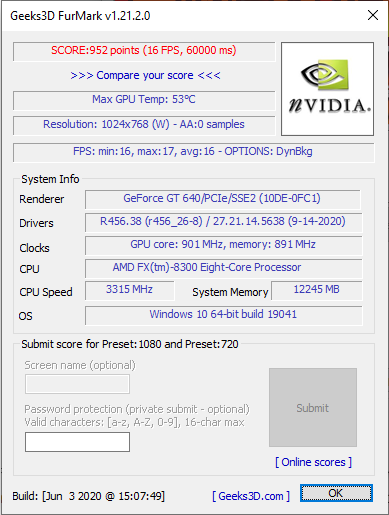
Sometimes during testing, the computer turns off – this means that it cannot supply the graphics adapter with the proper level of power.
Have you used FurMark software? How much did you like it and were there any problems during testing? Write about it in the comments.