In the process of working with the word processor Word, users sometimes need to process not only the text they (or other people) typed, but also edit the scanned fragments. For example, so as not to manually retype any text, letter or anything else scanned and received in this form. Previously, until recognition systems, the so-called OCR, were in use, it was just such a tedious job that had to be done. Today, you can simply use not only numerous third-party programs, but also built-in Windows tools and, in particular, Microsoft Office. It is even more convenient, because you do not need to keep the installed software close at hand, be tied to one computer, etc. And in the modern world this means a lot.
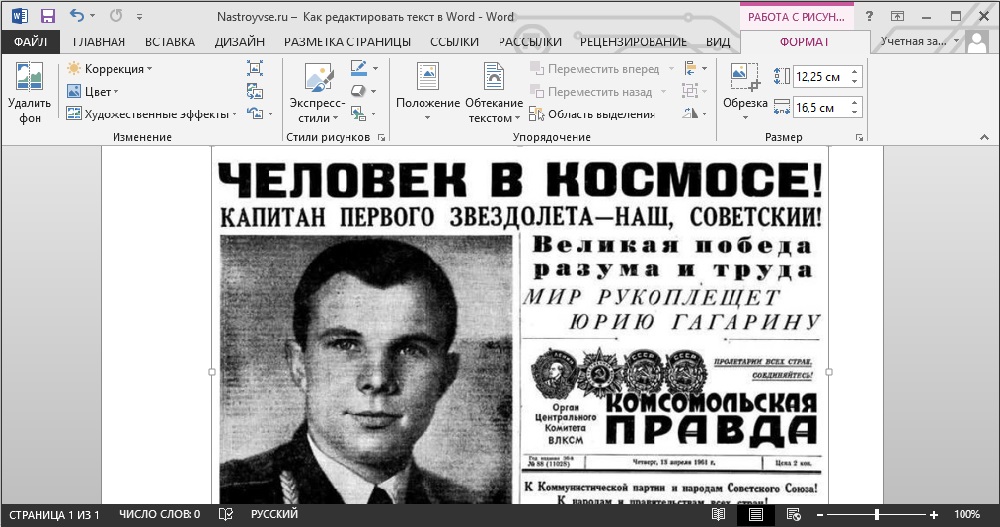
So, there is a scanned text and the task is to insert it into your own document so that after this fragment you can edit. There are two ways; consider both.
Contents
First way
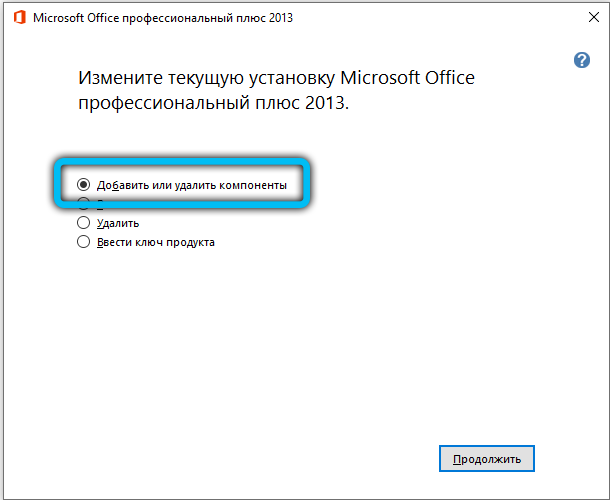
It consists in using the built-in Microsoft Word tools. The fact is that if you insert a scanned fragment without additional actions, then it will be just a picture. The main text will wrap around it, and you can edit only the size and transparency. This is especially annoying when you only need to redo a couple of lines. But if you insert this scanned fragment as a Microsoft Image Viewer object in Word, then it will be inserted as normal, editable text. To do this, you need to make sure that the file has the .tiff extension, and if not, then use Paint by opening it and overwriting it in the desired format. After that, a special component of the Microsoft Office platform comes into play, which we mentioned just above. This is what you should open in the main menu. If not,then you have to dig into the control panel.
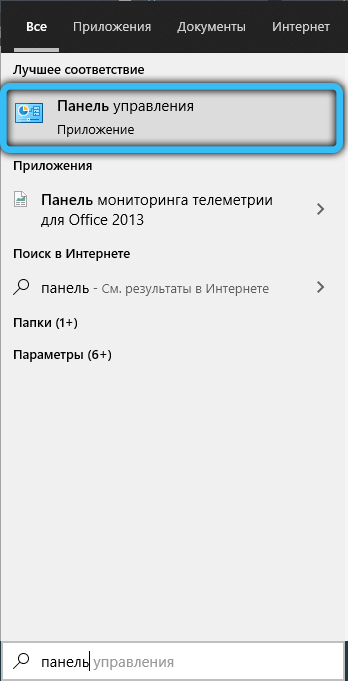
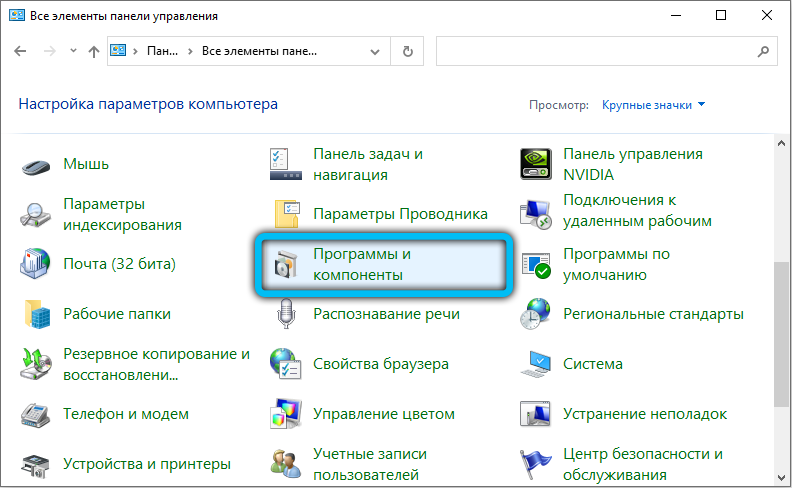
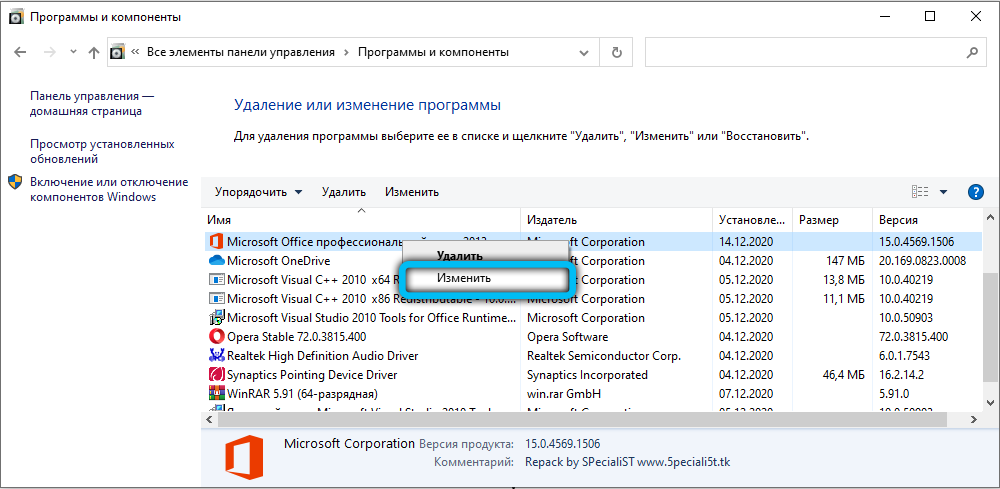
Find the item “Add or Remove Programs” in it, find Office in the list that opens and go to the selection of components. Among them, you will find the Image Viewer that we need to complete the task. Once installed, it will appear in the main menu.
So, after opening it, drag’n’drop’om or through the window menu, open the scanned file in this program. You will need to wait a couple of minutes, as a progress bar will appear on the screen, displaying the progress of recognition. Upon completion of the process, in fact, a window with the recognized text will open. You can copy it into Word for further editing. Of course, you should take into account that recognition of text distorted by scanning may not be perfect, so it is worth doing the so-called “proofreading”, that is, edit it, correcting incorrectly recognized characters. The situation is much worse with handwritten text, the likelihood that it will be possible to edit it strongly correlates with the color of the paper and ink, the quality of the scan and, of course, the legibility of the handwriting. But such work is rarely done with handwritten text,usually we are talking about the printed one.
Second way
In general, the second method is the same as the first, with the only difference that to enable the OCR mode and edit it, first third-party software is used, and then Word. An installed program is required. Perhaps it will even work better than Microsoft’s solution, since such programs are developed and designed specifically for this task. The authors promise almost 100% accuracy when working with printed text and slightly more modest numbers when it comes to handwritten text. But to separate marketing gimmicks from the real state of affairs, you have to set foot on the path of empirical verification.
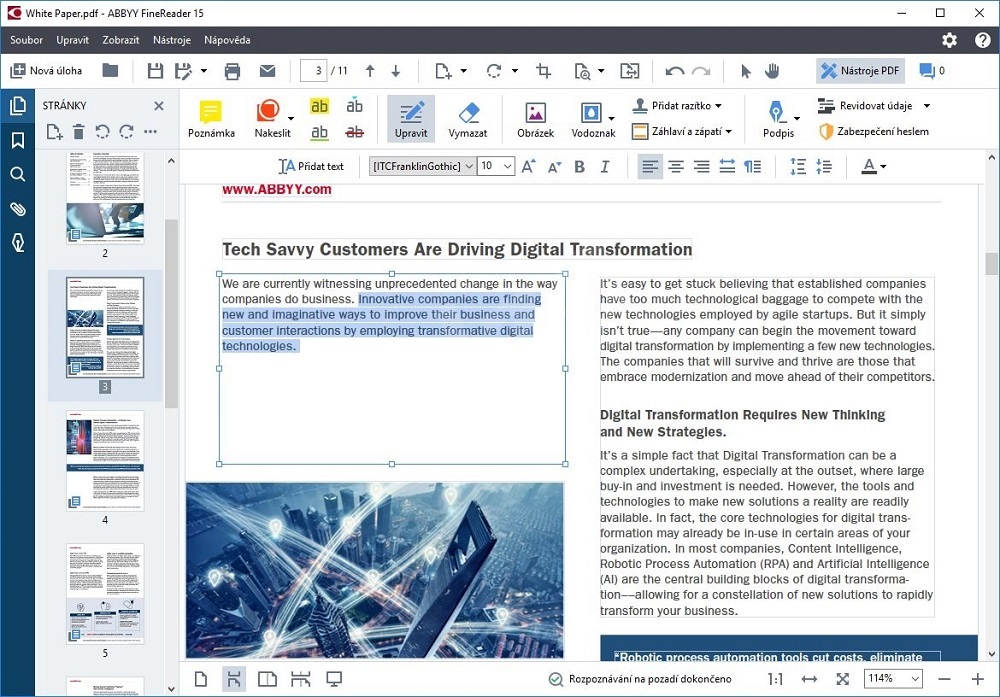
ABBYY FineReader
In practice, it turns out that the gap is not so great. Yes, it may seem convenient to someone that you do not need to turn on the text editing mode through the Microsoft Image Viewer – Microsoft Word bundle, but for this you have to use another bundle of programs, and the character recognition accuracy will be consistently high for printed documents. Therefore, the reasons for paying more for one of these programs when there is a solution built into the Office suite are very vague. It is a different matter if you are dealing with special cases. For example, you have a lot of poor quality scanned documents that need to be digitized and prepared for editing mode. Then highly specialized software, tuned to work with noise and distortion in such images, of course, will be predictably better. It will more accurately process the sheet with symbols,it recognizes them more correctly and transfers them to Word for further work. But there are not so many such cases and, as a rule, an ordinary user does not encounter them. Therefore, this path is practically not used for typical tasks.
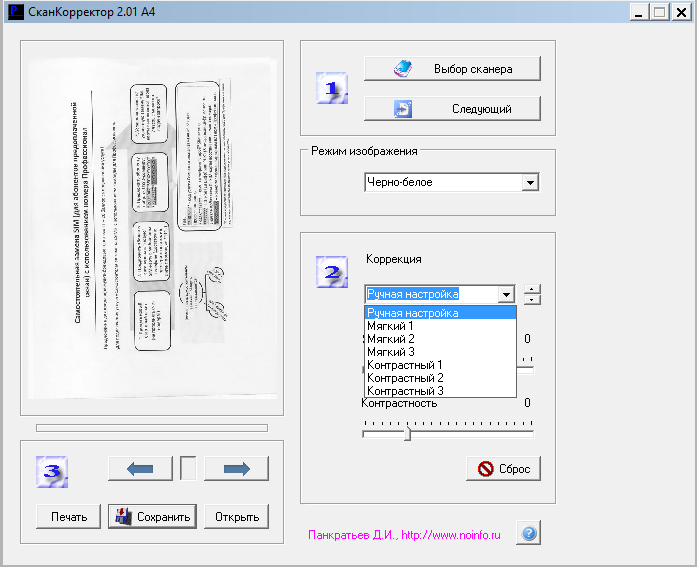
Scan Corrector A4 program
Features of correcting text documents
However, editing can mean not only editing scanned documents, but any proofreading in general. Let’s start with the simplest thing – deleting characters. For this, the Backspace and Delete keys are provided. The first option deletes the character to the left of the mouse cursor. The second, respectively, the one to the right of the cursor.
We may also need to separate individual paragraphs from each other to improve overall readability. We use the Enter key for this purpose. If we want to perform the opposite procedure, then we take place at the very beginning of the second paragraph. Pressing the Delete button will move the second paragraph close to the previous one.
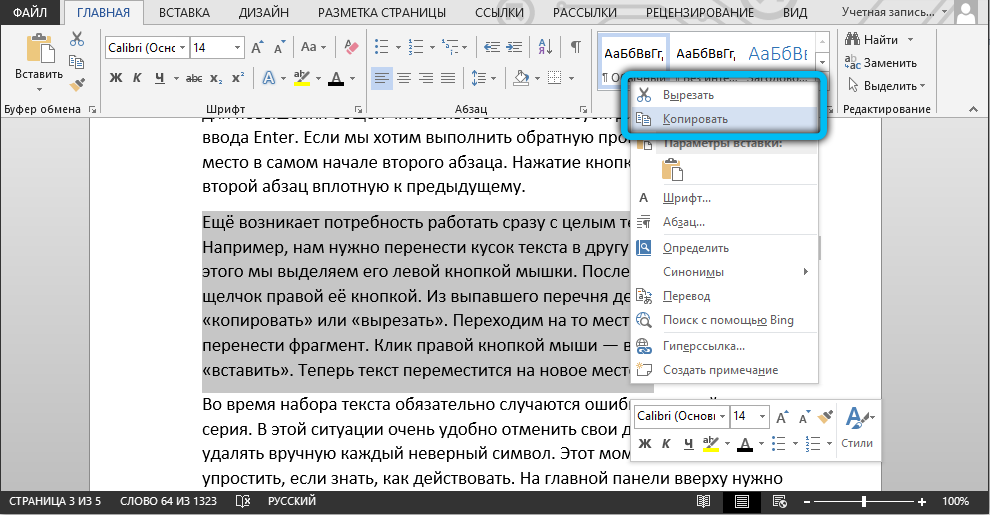
There is also a need to work with a whole text fragment at once. For example, we need to move a piece of text to another part of the document. To do this, we select it with the left mouse button. After that, we make one right-click on it. From the drop-down list of actions, select “copy” or “cut”. Go to the place where you want to move the fragment. Right-click – select the “paste” command. The text will now move to a new location.
During typing, mistakes always happen, and sometimes, a whole series at once. In this situation, it is very convenient to undo your actions, so as not to manually delete each invalid character. This point can be greatly simplified if you know how to proceed. On the main panel at the top, you need to find an arrow showing the opposite direction. It may look different in different versions of Word. Or use the hot key combination “Ctrl + Z”. The last typed character is canceled.
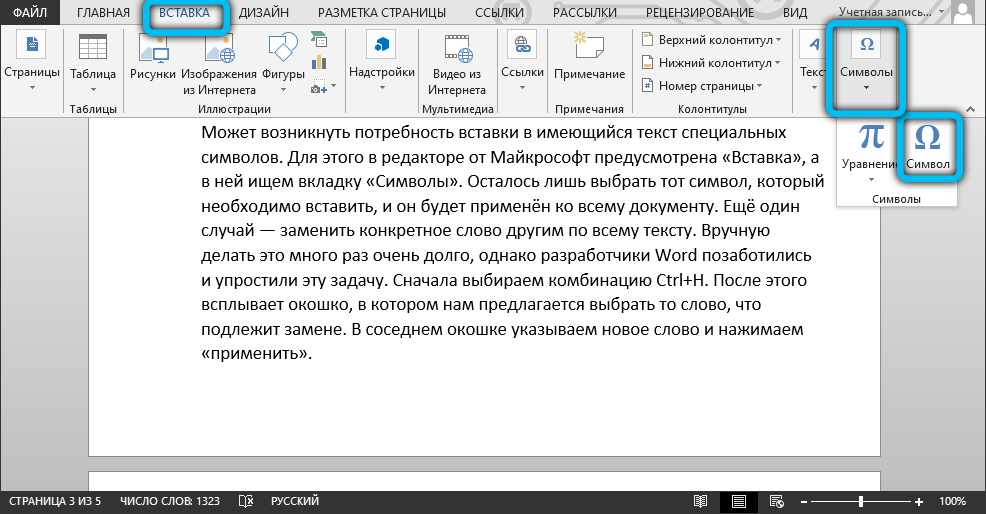
You may need to insert special characters into the existing text. To do this, the Microsoft editor provides “Insert”, and in it we look for the “Symbols” tab. It remains only to select the symbol that you want to insert, and it will be applied to the entire document. Another case is to replace a specific word with another throughout the text. Manually doing this many times is a very long time, however, the developers of Word took care and simplified this task. First, select the combination Ctrl + H. After that, a window pops up, in which we are asked to select the word that needs to be replaced. In the next window, specify a new word and click “apply”.
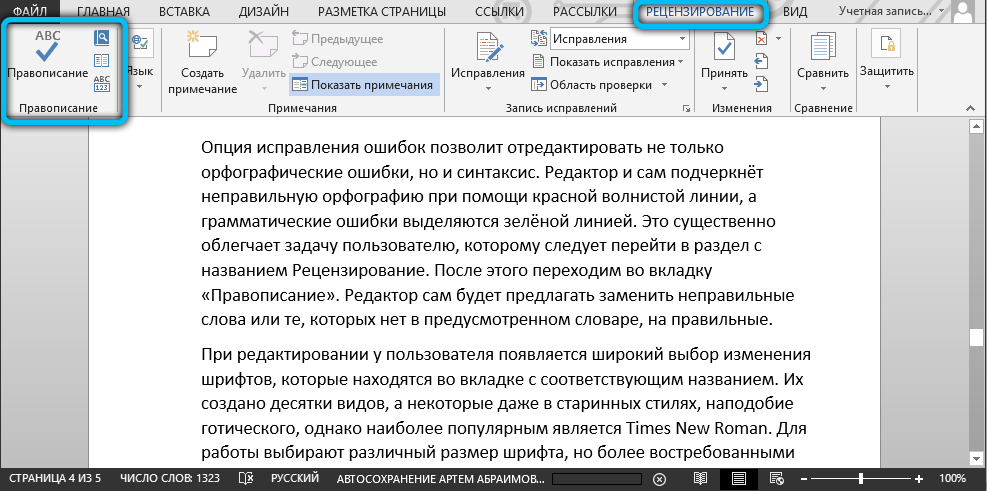
The error correction option will allow you to edit not only spelling errors, but also the syntax. The editor himself will underline the incorrect spelling with a red wavy line, and grammatical errors are highlighted with a green line. This greatly simplifies the task for the user, who should go to the section with the name Review. After that, go to the “Spelling” tab. The editor himself will offer to replace the incorrect words or those that are not in the provided dictionary with the correct ones.
When editing, the user has a wide choice of changing fonts, which are located in the tab with the corresponding name. There are dozens of them created, and some even in old styles, like Gothic, but the most popular is Times New Roman. For work, choose a different font size, but numbers 12 and 14 are more in demand. And the finished font can be made bold, underlined, made italicized.
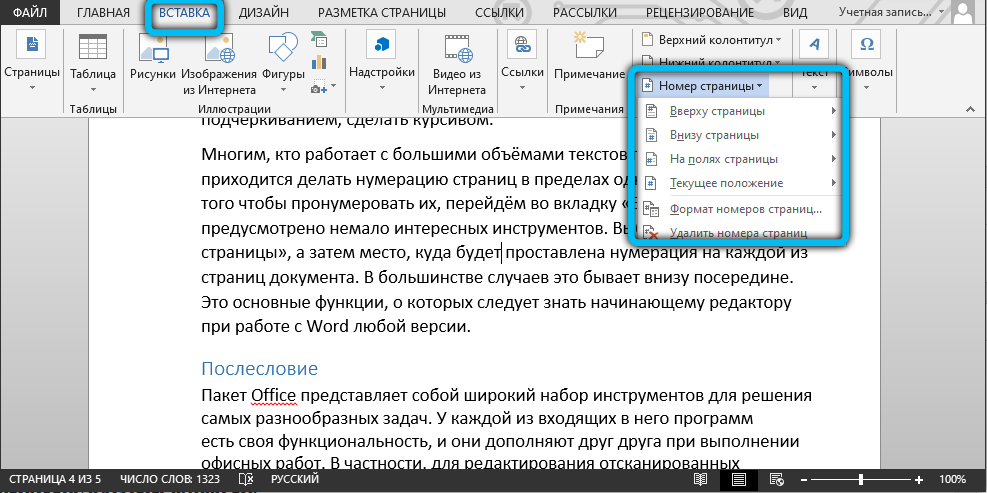
Many who work with large volumes of texts on study and work have to do page numbering within one document. In order to number them, go to the “Insert” tab, which provides a lot of interesting tools. Let’s select the “page number”, and then the place where the numbering will be put on each of the pages of the document. In most cases, this is at the bottom in the middle. These are the main features a beginner editor should be aware of when working with any version of Word.
Afterword
Office is a wide range of tools for solving a wide variety of tasks. Each of the programs included in it has its own functionality, and they complement each other when performing office work. In particular, to edit scanned documents in Word, you will need an OCR program, and it is provided in the package. This “all-in-one” structure is very convenient, since you do not have to think about where to find and how to install third-party software, you do not need to deal with the peculiarities of its interface: there are solutions made in the same style. Therefore, Office has been and remains the de facto standard for office work.
As for the ability to insert an image directly into Word and edit it directly from there, so far this mode is not supported. However, given the trend towards bundling programs within a suite and going online (we mean Office365), this should be expected soon. Now you will need to install the required component (if it has not been installed yet) and work just like that.