Windows 10 offers users a lot of options for working with various files and applications. And among other things, this shell also provides a firewall – a specialized application for effective protection against various kinds of network attacks. The utility checks traffic in real time and automatically blocks potentially dangerous sources. A firewall does not replace antivirus software, but it can provide additional protection.
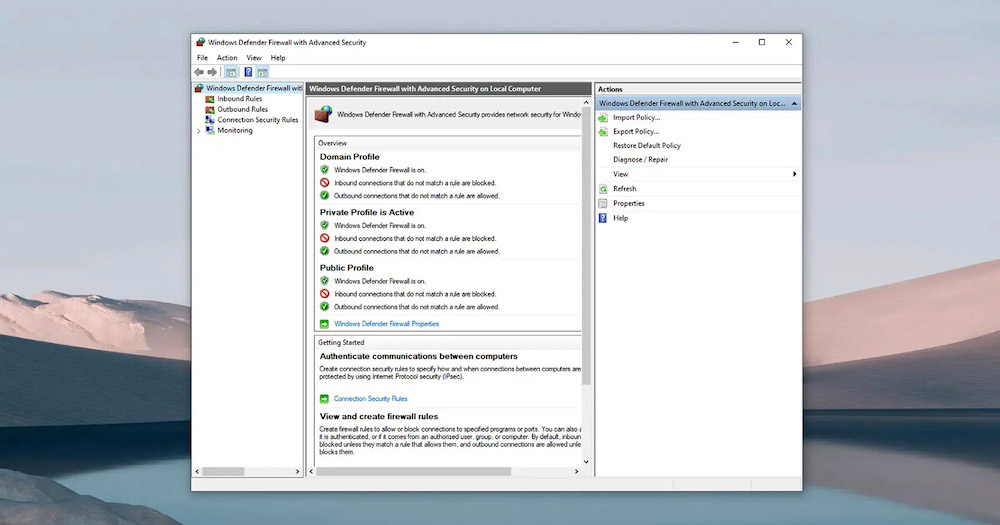
At the same time, in some cases, the firewall built into the operating system does not work quite correctly, blocking fairly safe programs and games. As a result, the user faces a number of problems. And in order to guarantee the normal operation of the applications of interest, it is necessary to add them to the firewall exceptions using one of the available methods.
Configuration via “Windows Security”
The easiest way is to use a separate settings interface called “Windows Security”.
Sequencing:
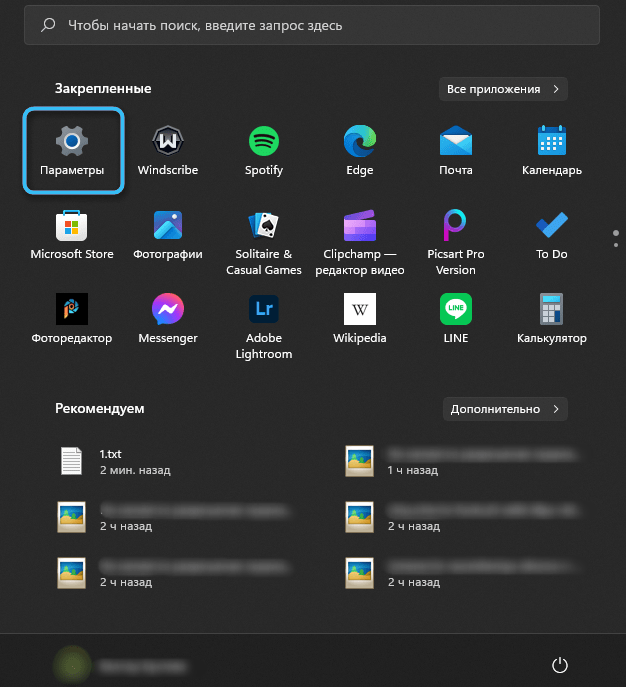
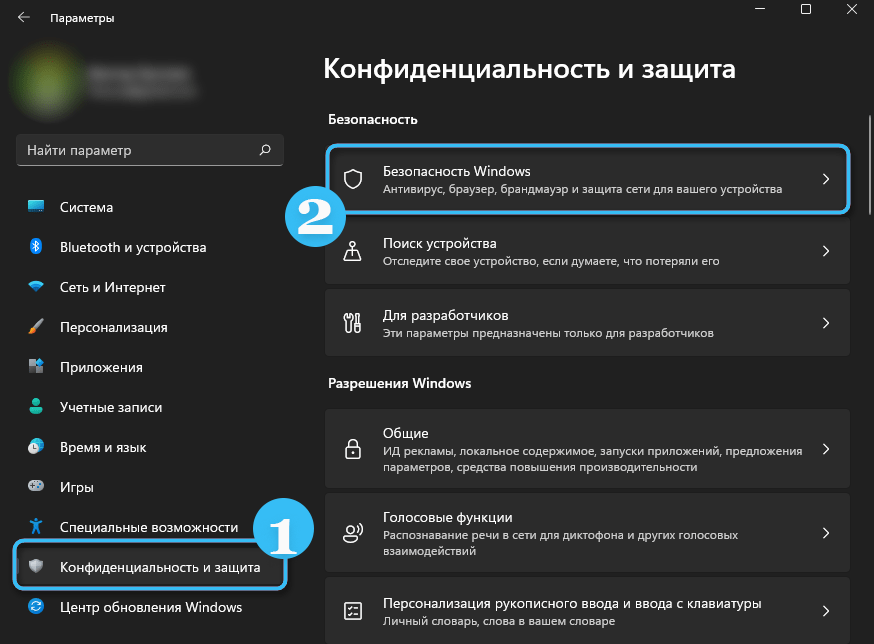
- Through the Microsoft Defender icon or the general Settings menu, open the Windows Security utility.
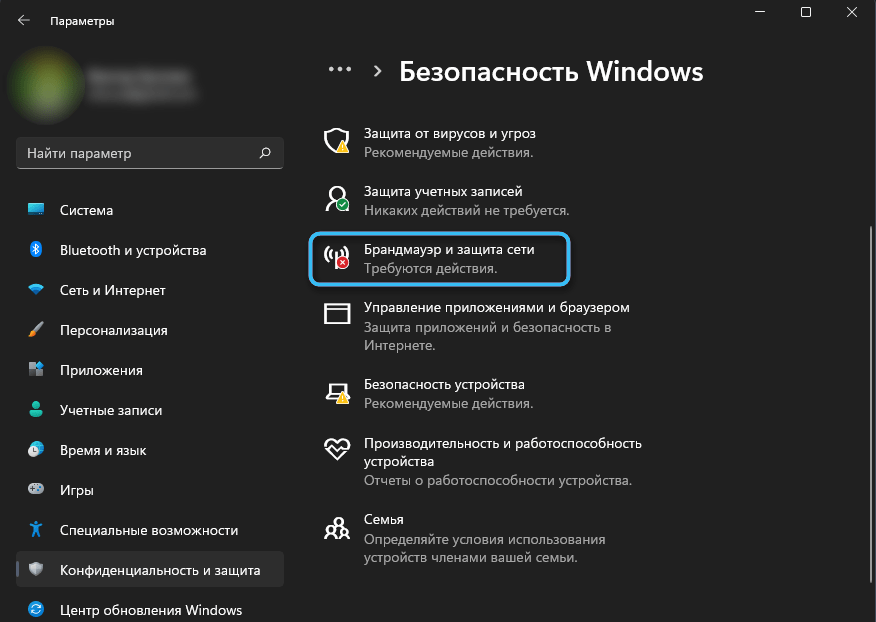
- Go to the section called “Firewall and Network Security”.
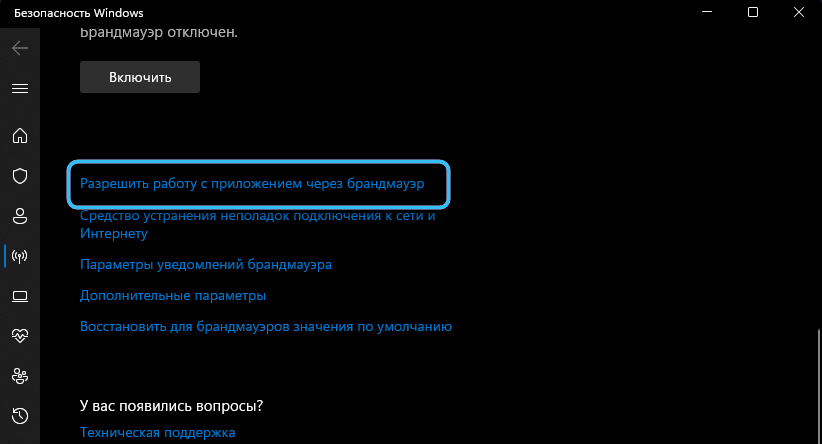
- Examine the list of configured network profiles and click on the “Allow the application through the firewall” button located below.
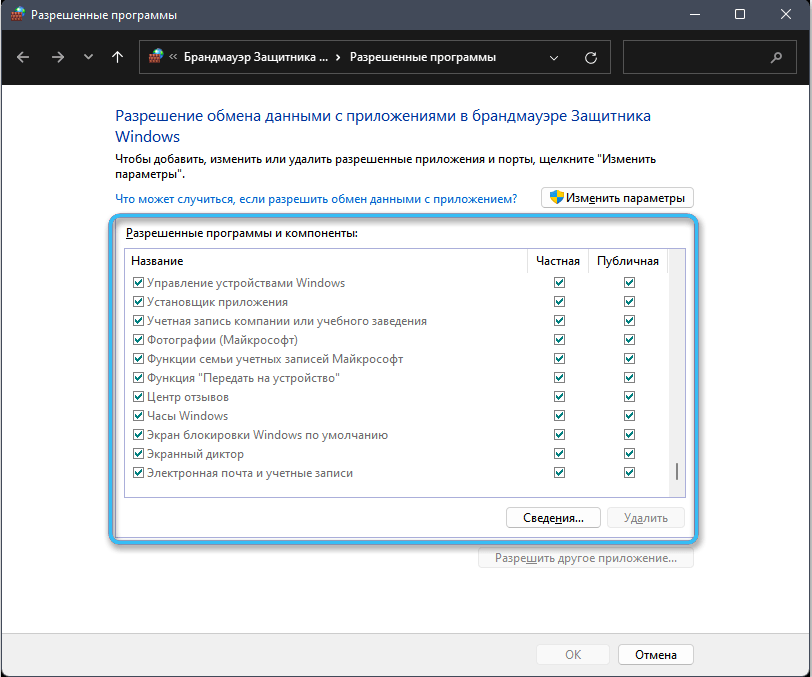
You can also open the menu of interest through the Control Panel by going to the “Windows Defender Firewall” section. There will be a link “Allow communication with an app or feature in Windows Defender Firewall”.
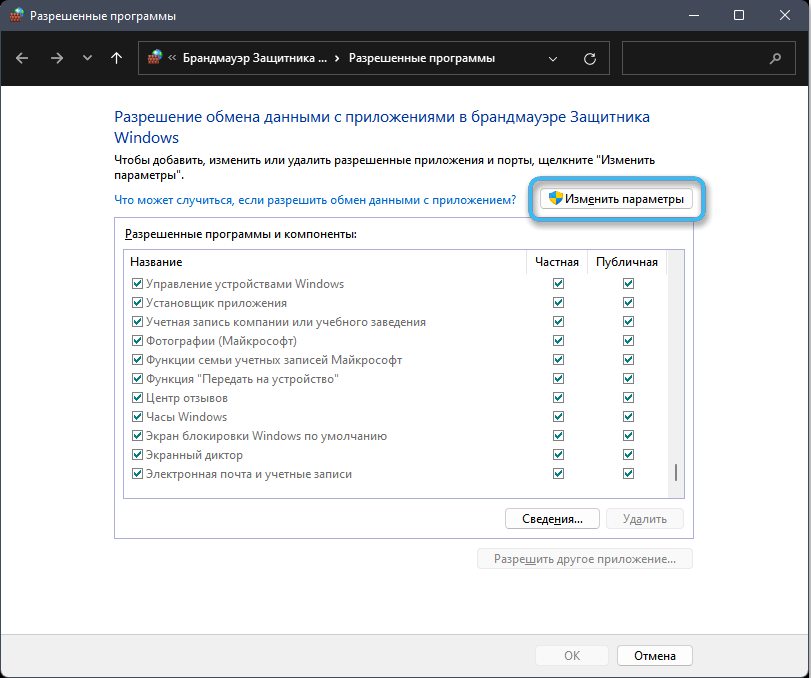
- Find the item “Change settings” and select it. It should be borne in mind that you will need administrator rights to make the appropriate changes.
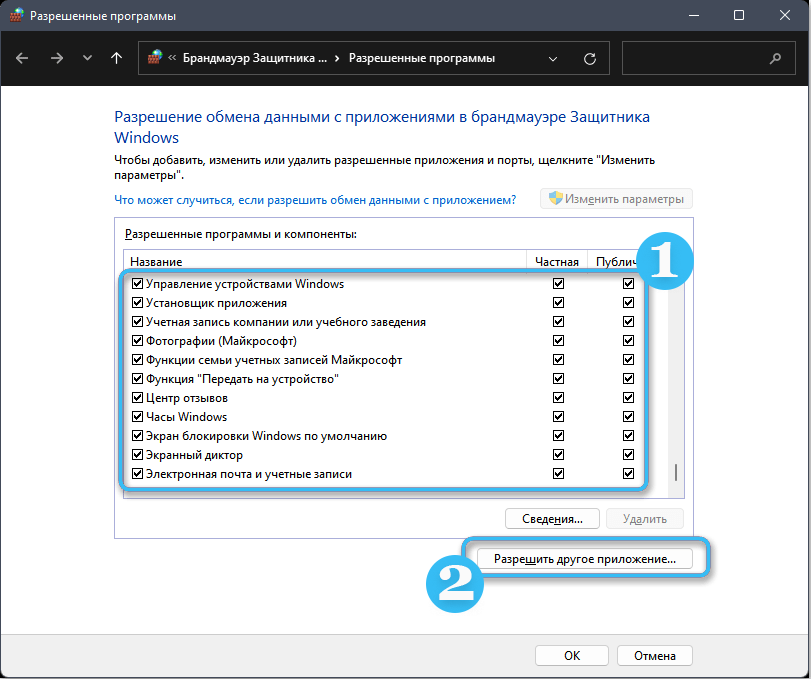
- Find the desired application in the list that appears and set the appropriate checkboxes, allowing access to the network.
- If you cannot find the required program in the list, you must click on the “Allow another application” button located next to it.
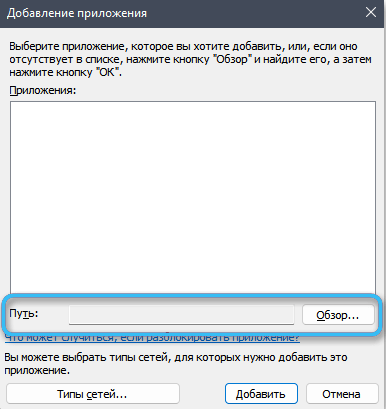
- Now, through the “Browse” you need to specify the path to a specific application that will be added to the firewall exceptions.
- In the “Types of networks” section, check the boxes next to the networks to which the application can freely connect.
- Click on the “Add” button.
After applying the changes, the settings will be saved. From this moment on, the program used will begin to access the network normally and will not be blocked by built-in security systems.
Firewall Monitor with Advanced Security
You can also use the firewall monitor to configure network access. This is a built-in service that is not difficult to find in any version of the Windows operating system.
The debugging process does not take much time and comes down to executing a simple algorithm:
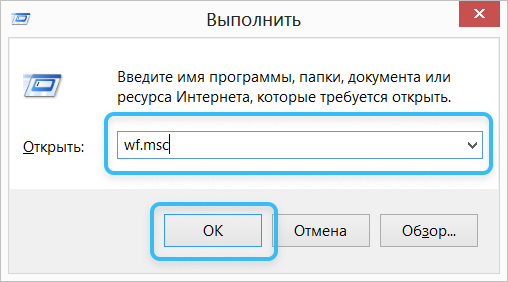
- Using the key combination Win + R, open the “Run” window for entering various commands.
- Enter the wf.msc command in the window and press the Enter key to activate the procedure.
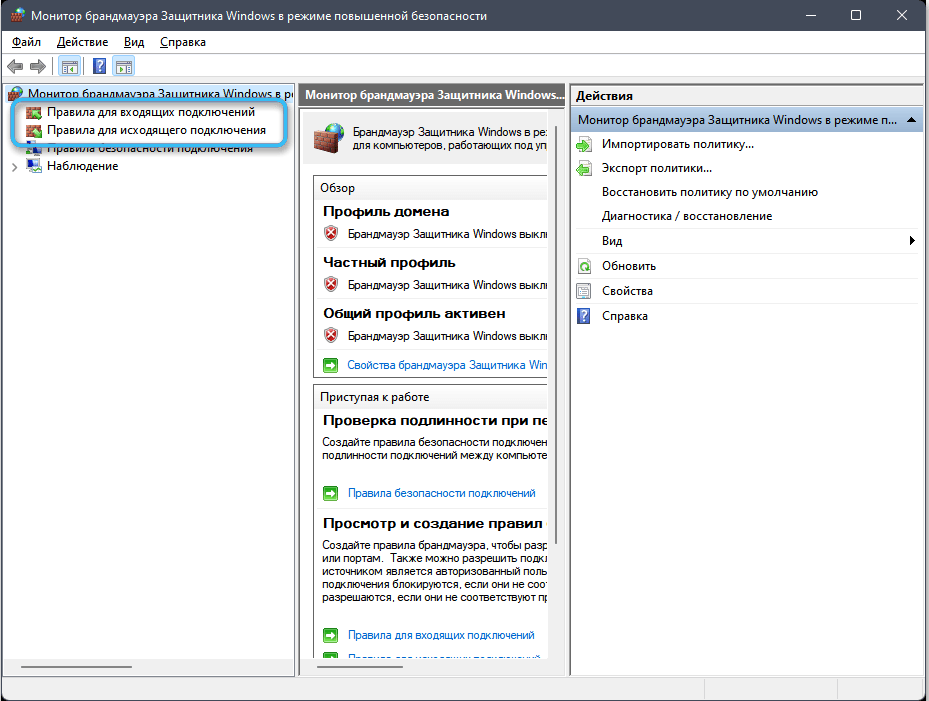
- Click on the “Rules for incoming connections” button.
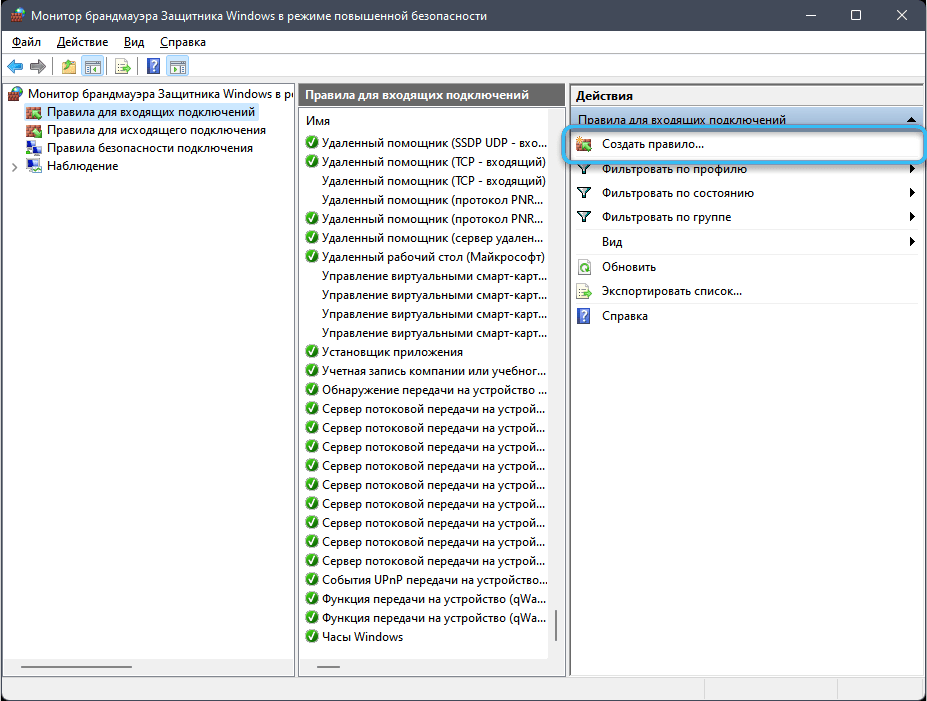
- In the right part of the window that opens, find the item “Create a rule” and click on it with the mouse.
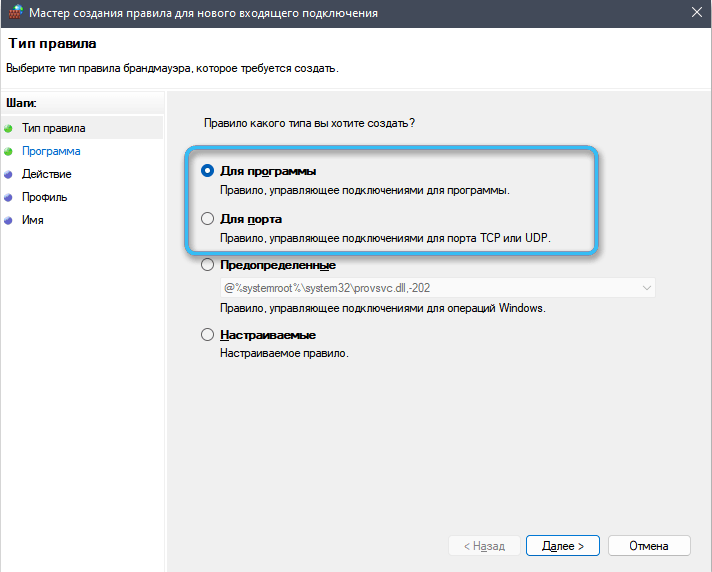
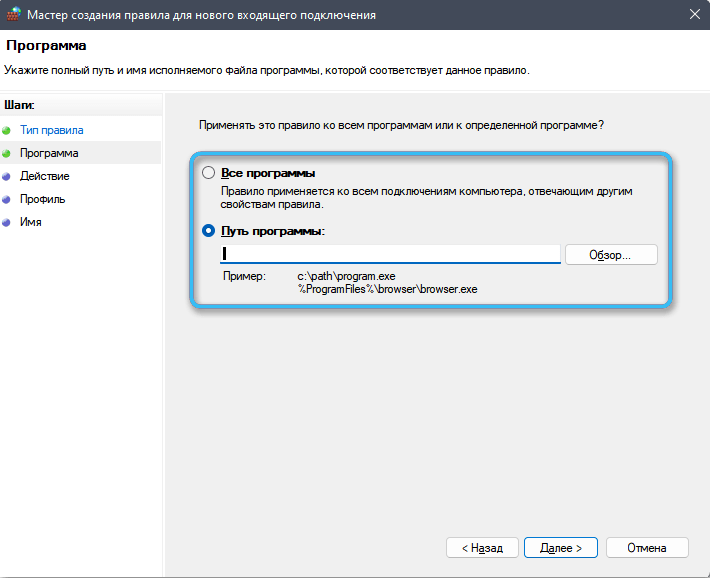
- Go to the “For the program” section.
- Select “Browse”, and then through Explorer specify the path to the executable file of the application of interest.
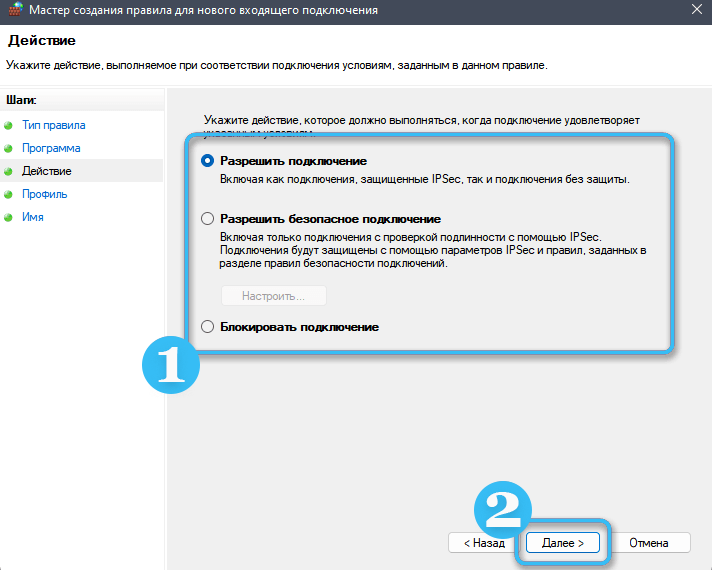
- Give permission to connect to the network.
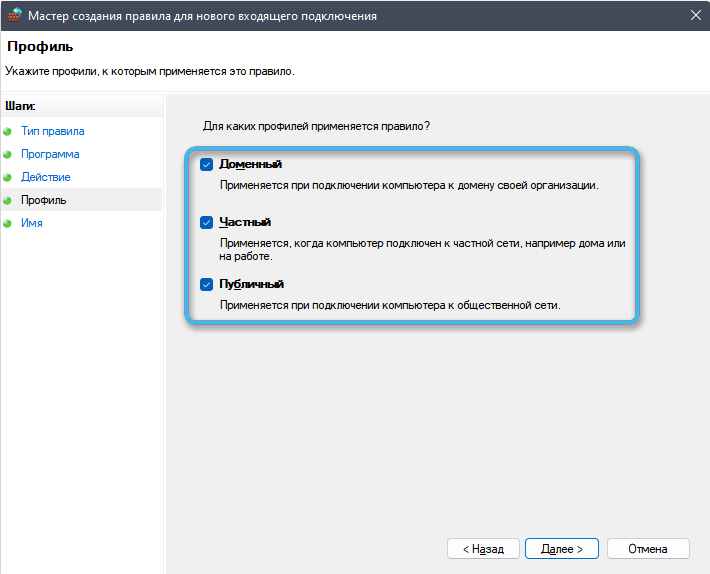
- Leave all other marks in place.
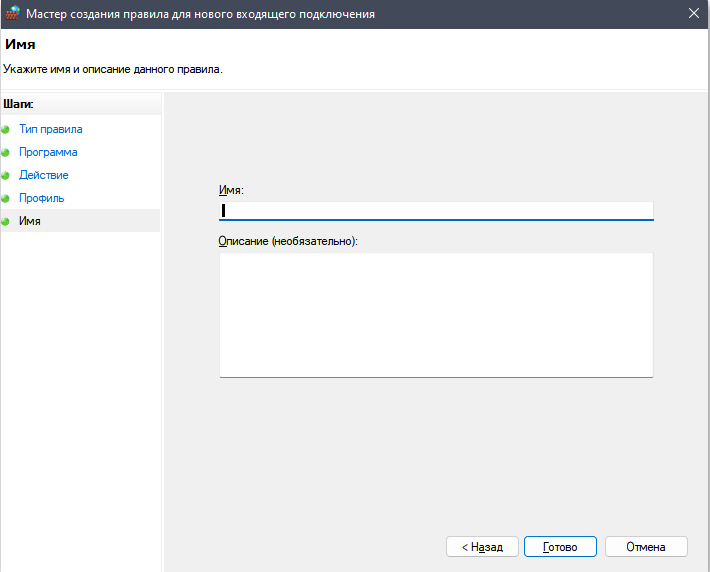
- At the last stage, come up with a name for the rule and its description. This will seriously help in the future with further system settings.
Once the rule is saved in the Firewall Monitor, it will take effect. Thus, the specified program will be able to freely connect to the network without any restrictions from the Defender.
Through the command line
Each assembly of Windows has a multifunctional tool called “Command Line”, through which, using certain algorithms, you can make almost any changes.
In this case, you need to open the command prompt as an administrator by finding it in the list of programs or through the built-in search. You can also use the Run window (Win + R) by typing cmd in it.
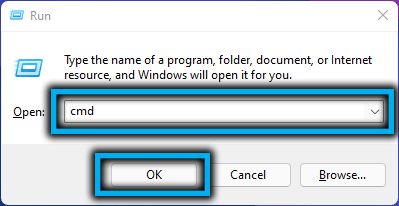
Once the command line is open, you need to enter special commands into it to allow a specific program to access the network or open a specific port.
Allowing incoming and outgoing connections, respectively:
- netsh advfirewall firewall add rule name=”RuleName” dir=in action=allow program=”path to program” enable=yes
- netsh advfirewall firewall add rule name=”RuleName” dir=out action=allow program=”Program Path” enable=yes
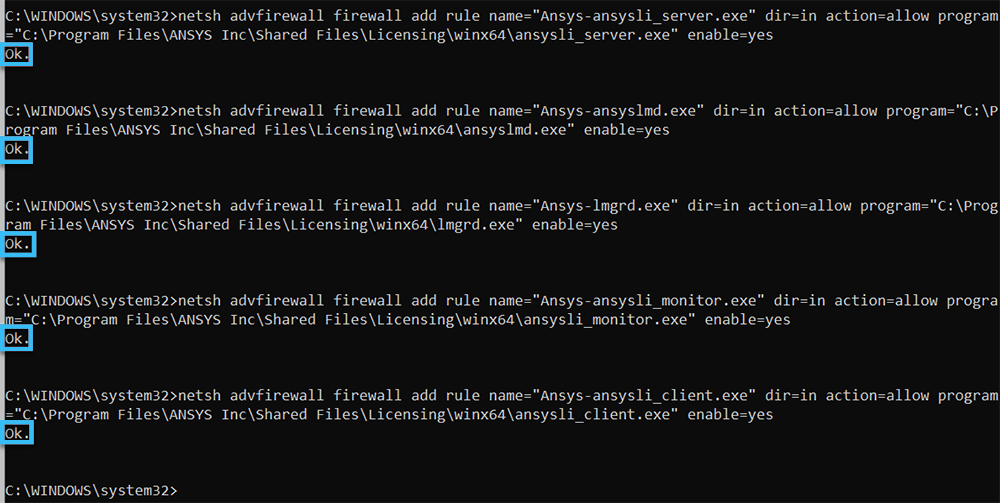
Both presented lines introduce edits that work immediately on all network profiles.
Opening an incoming and outgoing connection to a port:
- netsh advfirewall firewall add rule name=”RuleName” dir=in action=allow protocol=TCP localport=portnumber
- netsh advfirewall firewall add rule name=”RuleName” dir=out action=allow protocol=TCP localport=portnumber

Thus, any user can easily solve the problem of denied access to the network for any program. The easiest way is to use the standard settings, but the command line allows you to make deeper changes to the system.
Have you tried making firewall exceptions yourself? If yes, please share your experience in the comments.
